Here’s a question nobody asks but everyone should: what if the games you played were things you actually made? Not downloaded, not bought in a box with forty pieces of plastic packaging, but sculpted — small enough to fit in a coat pocket, beautiful enough to leave on a coffee table, and personal enough that playing it feels like more than just killing time.
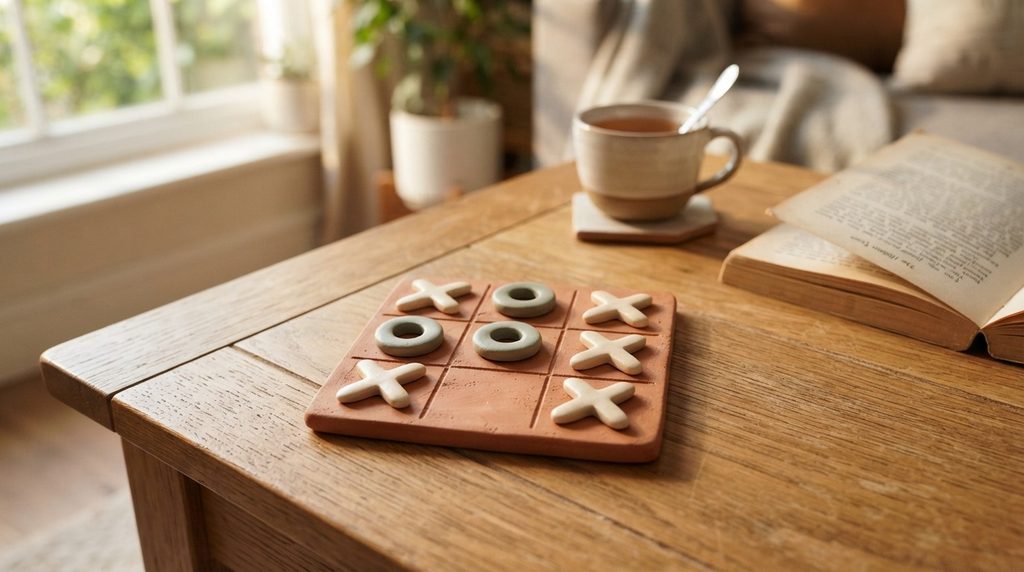
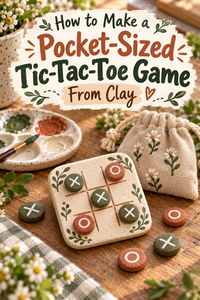
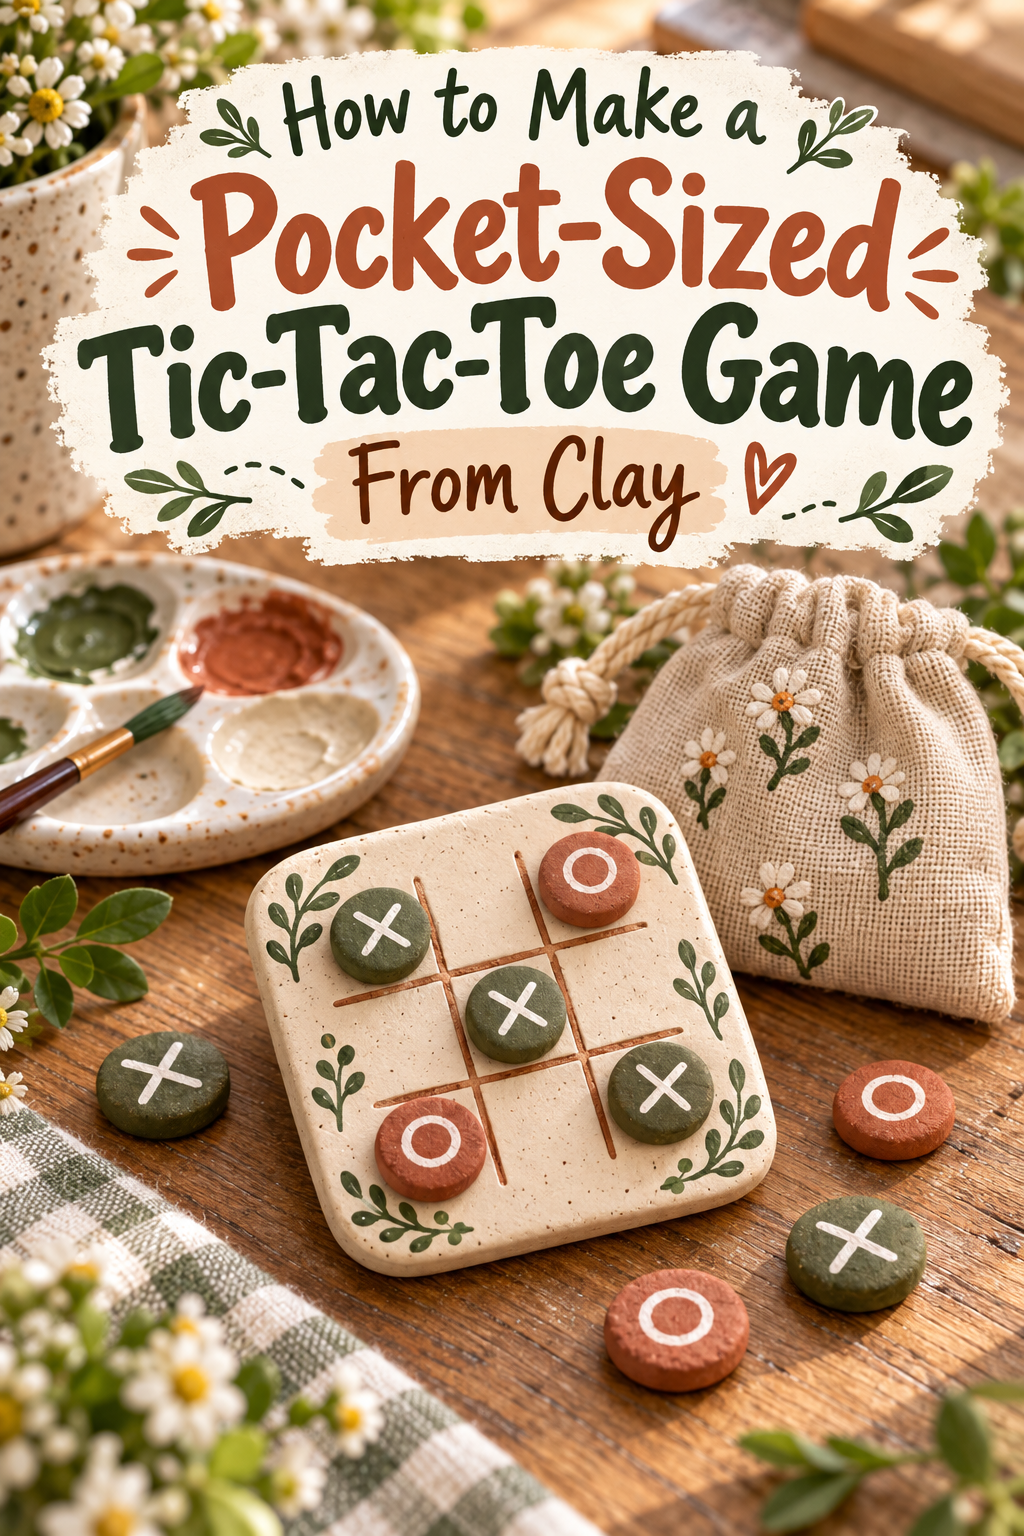
A clay tic-tac-toe set is one of those projects that lands in the perfect intersection of genuinely fun to make and genuinely useful once made. The game travels anywhere. It starts conversations. It sits beautifully on a shelf between uses. And when someone picks up one of the playing pieces and says, “Wait, is this handmade?” — you’ll be very glad you spent this afternoon the way you did.
What You’ll Need
Short list, low cost, high reward.
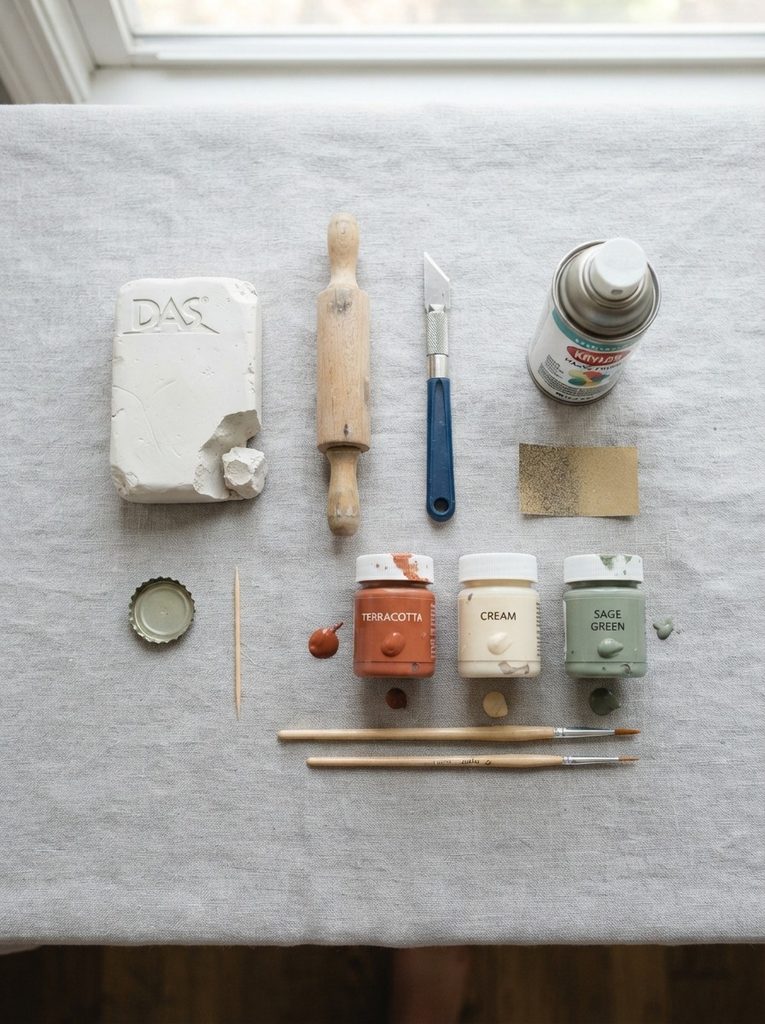
- Air-dry clay — a 250–300g block is plenty for a complete set
- A rolling pin or smooth glass bottle
- A sharp craft knife and ruler
- A toothpick or skewer for etching the grid and marking tokens
- Round cookie cutters or a bottle cap for sizing tokens consistently
- Sandpaper — fine grit (220 grit)
- Acrylic paint in two contrasting colours plus a base colour for the board
- Small paintbrushes — a flat brush for base coats, a fine liner for detail
- Matte sealant spray
- A small drawstring bag, tin, or box for storing pieces (optional but makes it gift-ready)
Planning Your Set Before You Start
A tic-tac-toe set has three components — the board, the X tokens, and the O tokens — and each one needs a decision before you touch the clay.
The board:
- Size matters for portability. Aim for roughly 10–12cm square — large enough to play comfortably, small enough to slip into a bag.
- Decide on thickness: 7–8mm gives you something substantial that feels like a real game piece rather than a flimsy tile.
- The grid can be etched into the surface, built as raised lines, or painted on after drying. Etched is the most satisfying and durable.
The tokens:
- You need 5 of each — ten pieces total.
- Keep them small: roughly 2.5–3cm across. They need to sit clearly within each grid square without overlapping the lines.
- Decide your X and O distinction method early: shape (circular O tokens, square X tokens), symbol (both round, one marked with an X, one with an O), or colour only (identical shapes in two contrasting colours). Colour plus symbol is the most readable during play.
The palette:
- Board in a neutral — terracotta, matte white, or raw clay
- Two contrasting token colours — cream versus sage, black versus dusty pink, cobalt versus terracotta
Making the Game Board
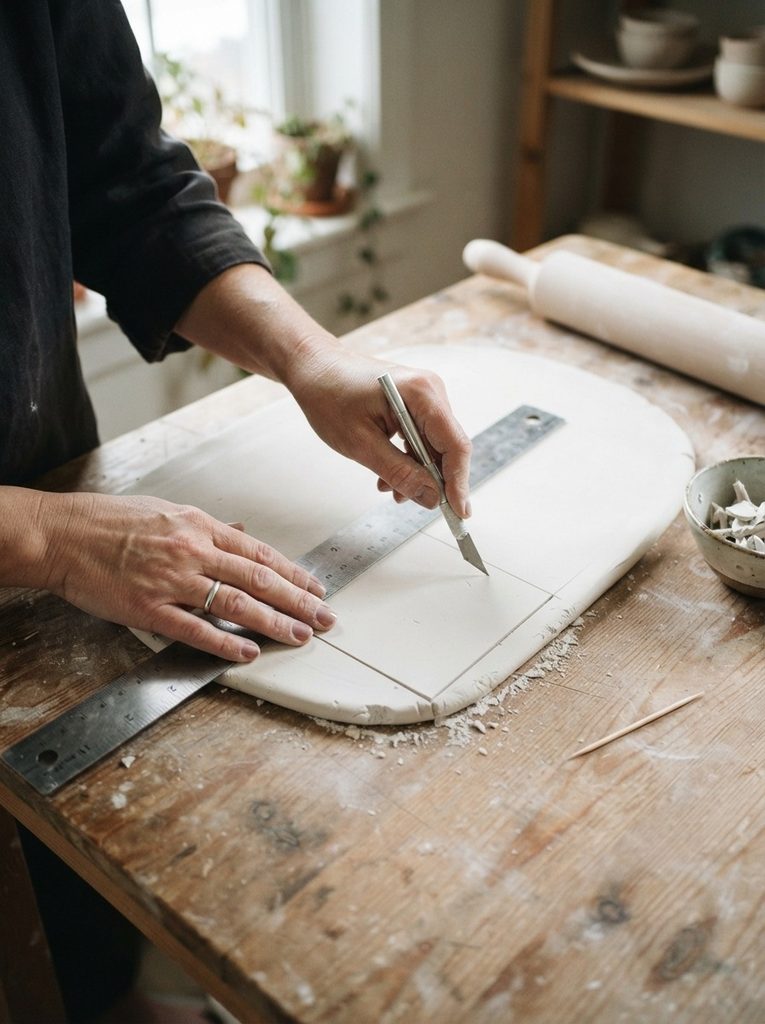
The board is the foundation — take your time here.
- Condition and roll your clay into an even slab, 7–8mm thick throughout. Uneven thickness means uneven drying and a board that won’t sit flat.
- Cut your square using a ruler and craft knife. Measure twice, cut once — the clean geometry of a game board makes wonky edges obvious.
- Smooth all edges with a damp fingertip, running it along each side in one confident stroke.
- Etch your grid lines using a ruler and toothpick. Press firmly and evenly — you want lines deep enough to be clearly visible after painting, not surface scratches that disappear. The grid divides your square into nine equal sections: two horizontal lines, two vertical lines.
- Optional border detail: run your toothpick along the outer edge of the board to create a subtle frame line that visually contains the grid.
Place the board flat on parchment paper and leave it completely undisturbed for 48 hours minimum. A warped board is a frustrating board. Flat drying on a level surface is non-negotiable.
Making the Playing Tokens
Ten small pieces, and consistency is everything — tokens that vary wildly in size look unfinished rather than handmade.
For consistent sizing every time:
- Weigh each clay portion on a kitchen scale — aim for 4–5g per token
- Roll each portion into a smooth ball between your palms, then flatten gently with your palm or the base of a glass to a uniform disc shape
- Use a bottle cap or small round cutter to trim any irregular edges into a clean circle
Marking your tokens:
- X tokens: use a toothpick to draw two intersecting diagonal lines across the face of the disc, pressing firmly and confidently. Don’t hesitate — hesitant lines show.
- O tokens: press a smaller circular object (a thick pen cap works perfectly) into the center of each disc to create a clean recessed ring
- Alternative: leave both sets of tokens completely smooth and rely entirely on colour differentiation — cleaner and more modern, slightly less readable for young players
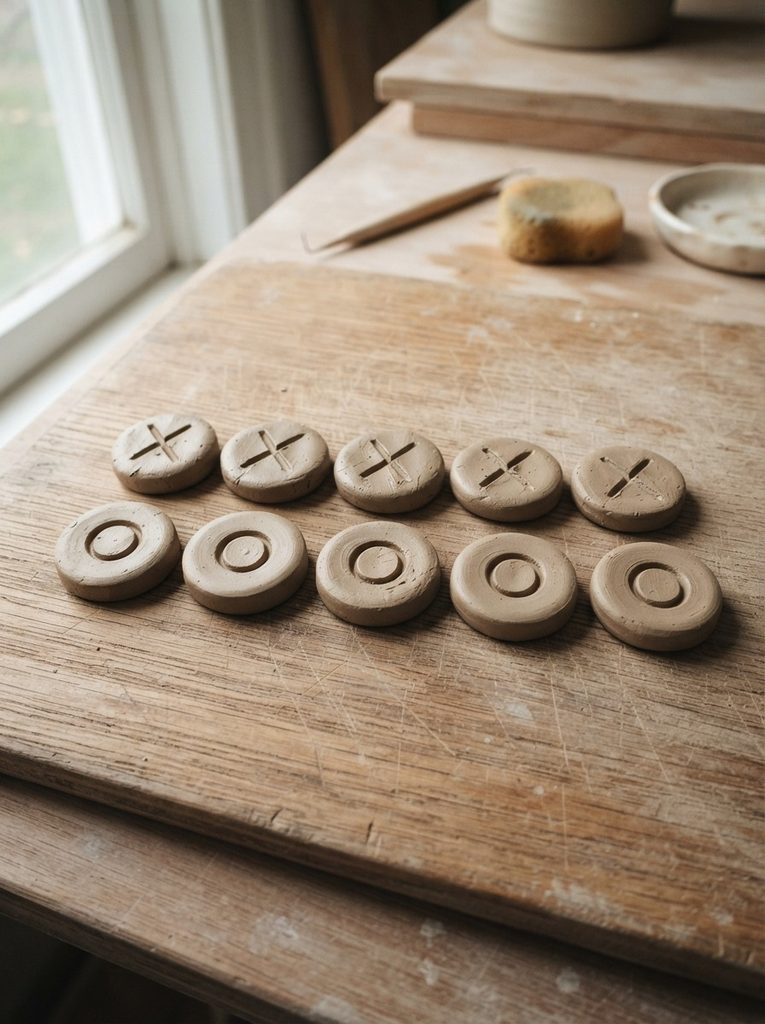
Dry all tokens flat for 24–48 hours, flipping at the halfway point so both faces dry evenly.
Sanding, Painting, and Finishing
Once everything is fully dry — board and all ten tokens — sand lightly with 220 grit sandpaper. Focus on:
- The base of the board (must be perfectly flat; sand in circular motions on a flat surface)
- Any rough edges around the tokens
- The etched lines on the board — a very light pass only, preserving the depth of the grooves
Wipe all dust away and paint:
- Board: two thin coats in your chosen base colour. Use a fine brush to paint into the etched grid lines in a contrasting darker tone — this makes the grid pop dramatically and looks far more considered than a single flat colour.
- X tokens: base coat in your first token colour, dried fully, sealed
- O tokens: base coat in your second contrasting colour, dried fully, sealed
Apply two coats of matte sealant to everything. Tokens especially — they get handled constantly and need the protection.
Ready to Play
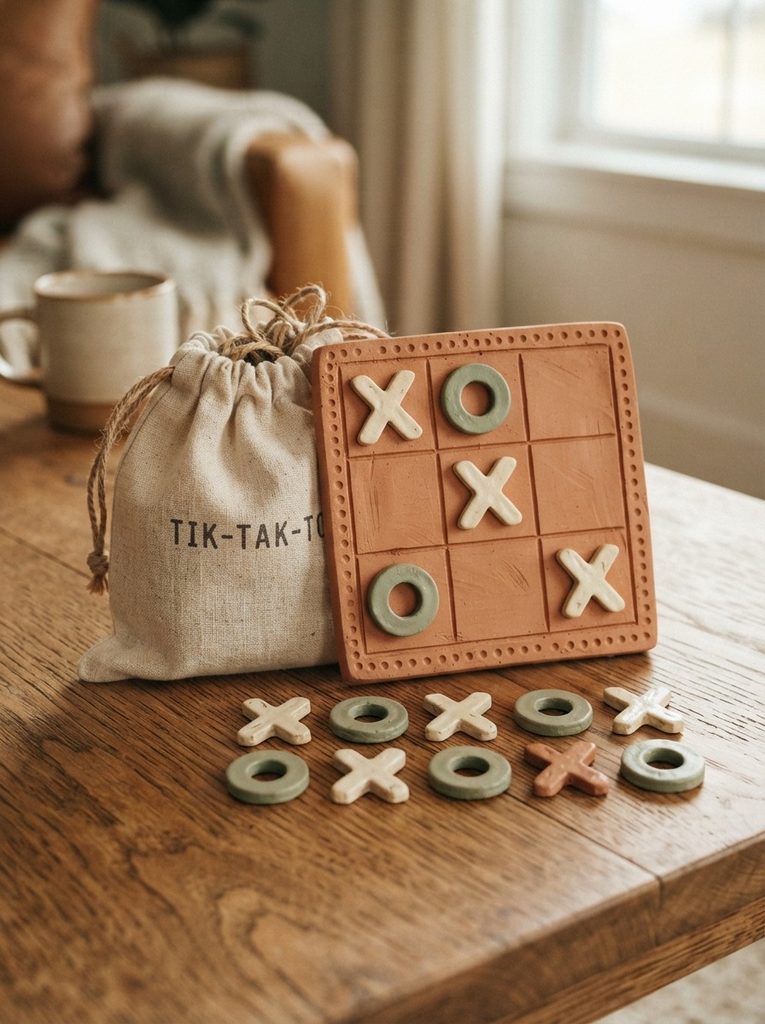
Tuck your board and ten tokens into a small drawstring bag, a tin, or a little wooden box — and you have one of the most charming, genuinely playable handmade gifts imaginable. Perfect for a road trip, a café afternoon, a child’s birthday, or just your own coffee table.
Save this project for a weekend afternoon and make two sets — one to keep and one to give away. Because once someone sees a handmade clay game sitting on your table, they’re going to want one of their own.