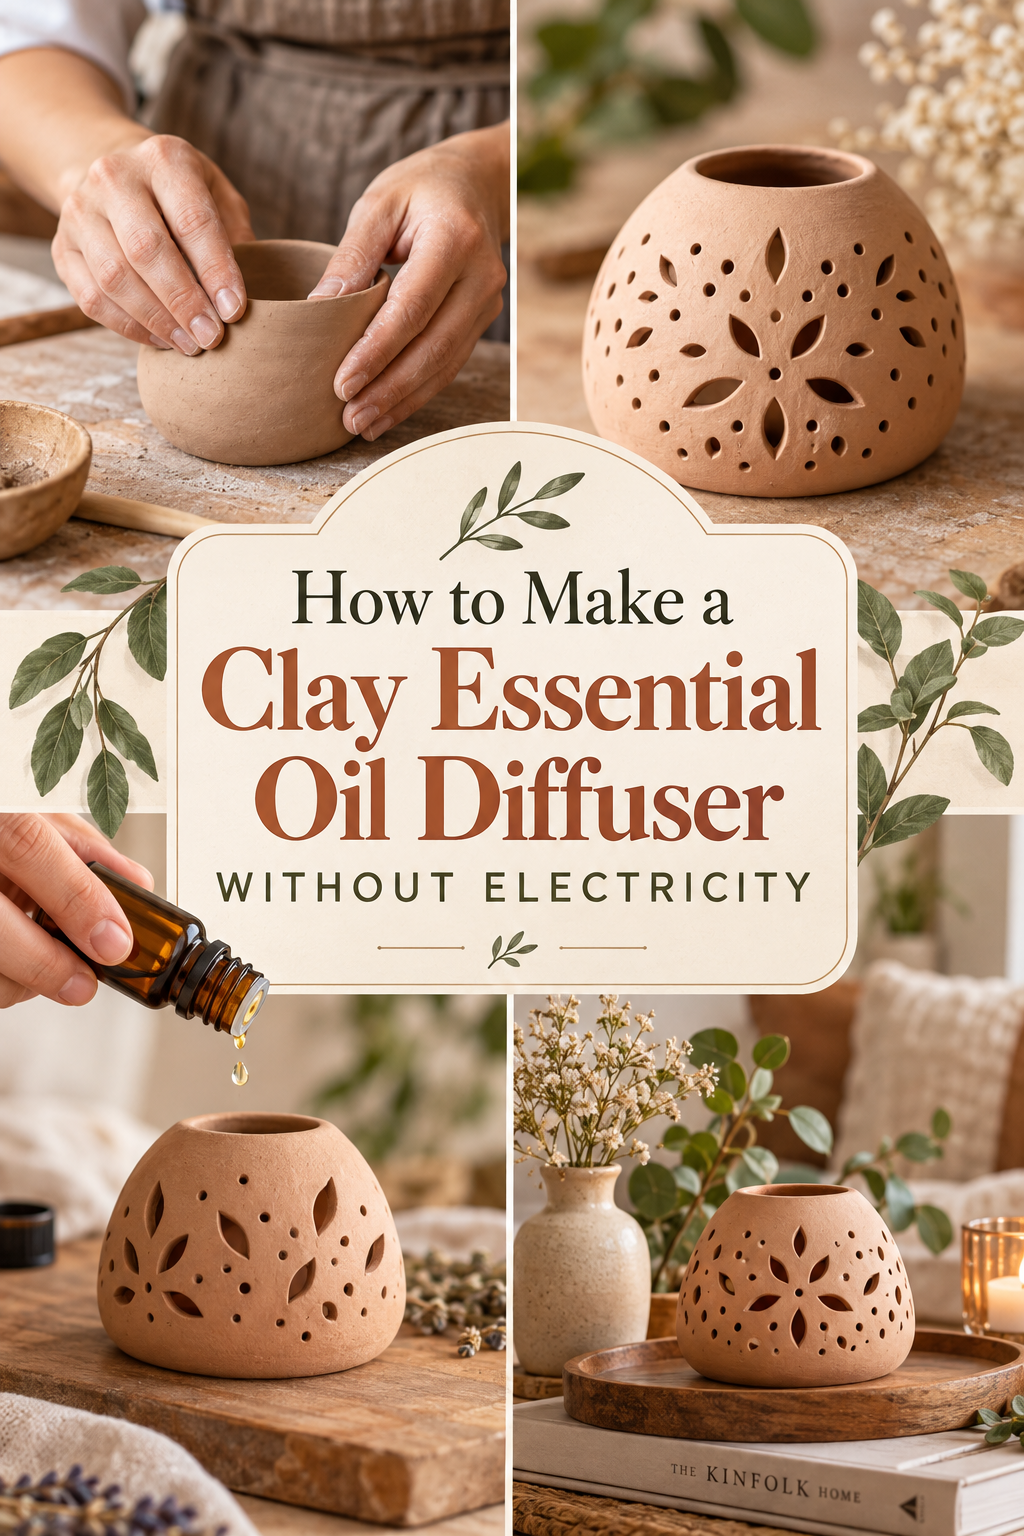
No plug. No water tank. No timer settings to figure out. Just a small piece of handmade clay, a few drops of your favourite essential oil, and a scent that drifts quietly through your room for hours like it was always there. A passive clay diffuser is one of those beautifully simple objects that makes you wonder why everything in modern life got so complicated.
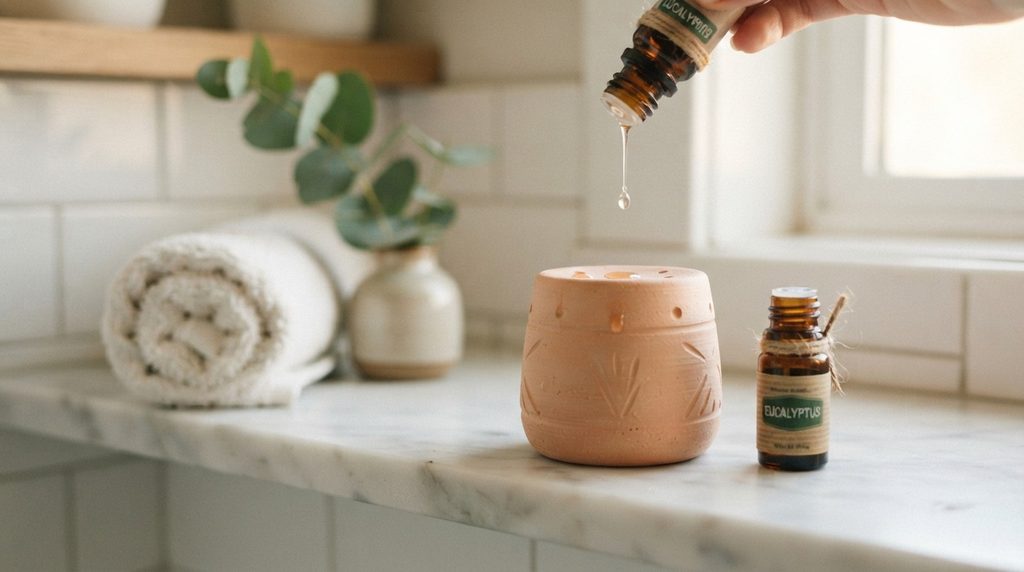
Clay is the perfect diffuser material for one elegant reason: it’s naturally porous. Unglazed, unsealed clay absorbs essential oil and releases the scent slowly as it evaporates — no heat required, no electricity, no ultrasonic anything. Ancient civilisations figured this out thousands of years ago. You can make one this afternoon.
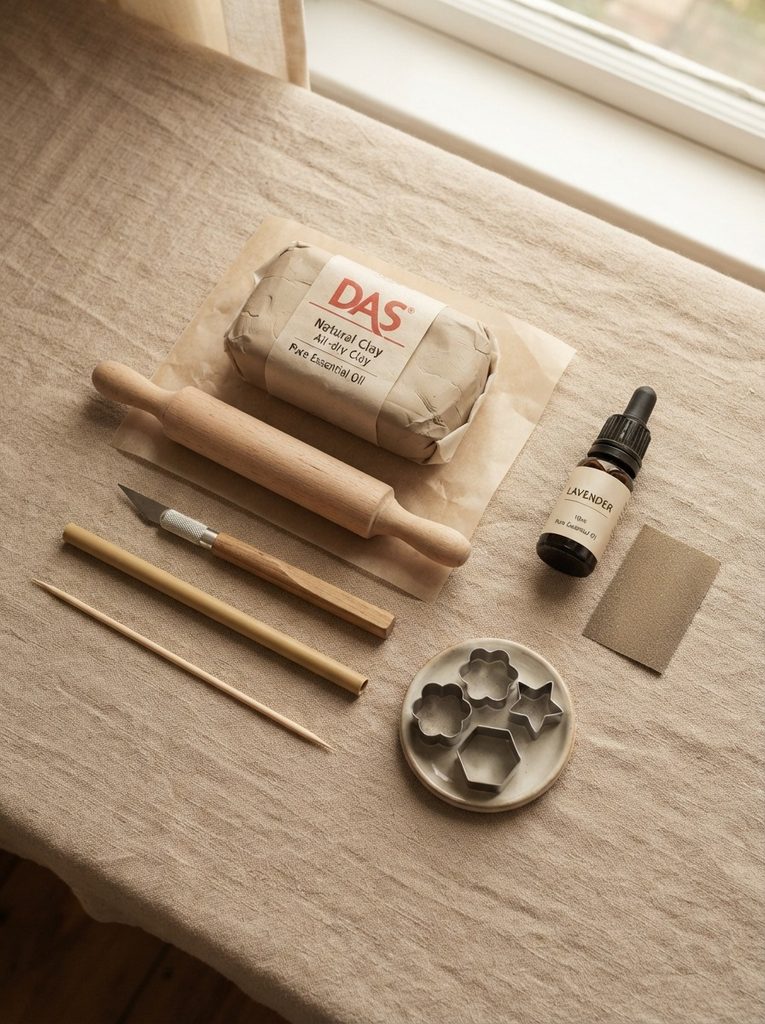
What You’ll Need
The supply list for this project is intentionally short. Simplicity is the whole philosophy here.
- Air-dry clay — unglazed and unsealed is essential for this project. The porosity is the mechanism.
- A rolling pin or smooth bottle
- A sharp craft knife or clay blade
- Cookie cutters, cardboard templates, or freehand cutting
- A toothpick or skewer for piercing holes and adding texture
- A drinking straw for punching clean decorative holes (these increase surface area and boost scent release)
- Sandpaper — fine grit only (220 grit)
- Optional: stamps or natural materials for surface texture
- Do NOT seal or paint this diffuser — sealant and paint block the pores and defeat the entire purpose
Understanding How It Works
Before you shape anything, it helps to understand the mechanism — because it directly influences how you design your diffuser.
The science is simple:
- Unglazed clay has microscopic pores throughout its structure
- Essential oil dropped onto the surface absorbs into those pores
- As the oil slowly evaporates from the clay surface, it releases fragrance molecules into the surrounding air
- More surface area exposed = faster and stronger scent release
- Thinner clay = more porous and more diffusion
This means your design decisions actually matter functionally, not just aesthetically:
- Holes and cutouts dramatically increase surface area — punch as many as you reasonably can
- Thinner pieces diffuse more actively than thick ones — aim for 5–7mm, not 1cm+
- Flat or slightly curved shapes work better than thick solid forms
- Rough-textured surfaces diffuse slightly better than perfectly smooth ones — another reason to skip the sanding obsession on this particular project
Choosing Your Diffuser Shape
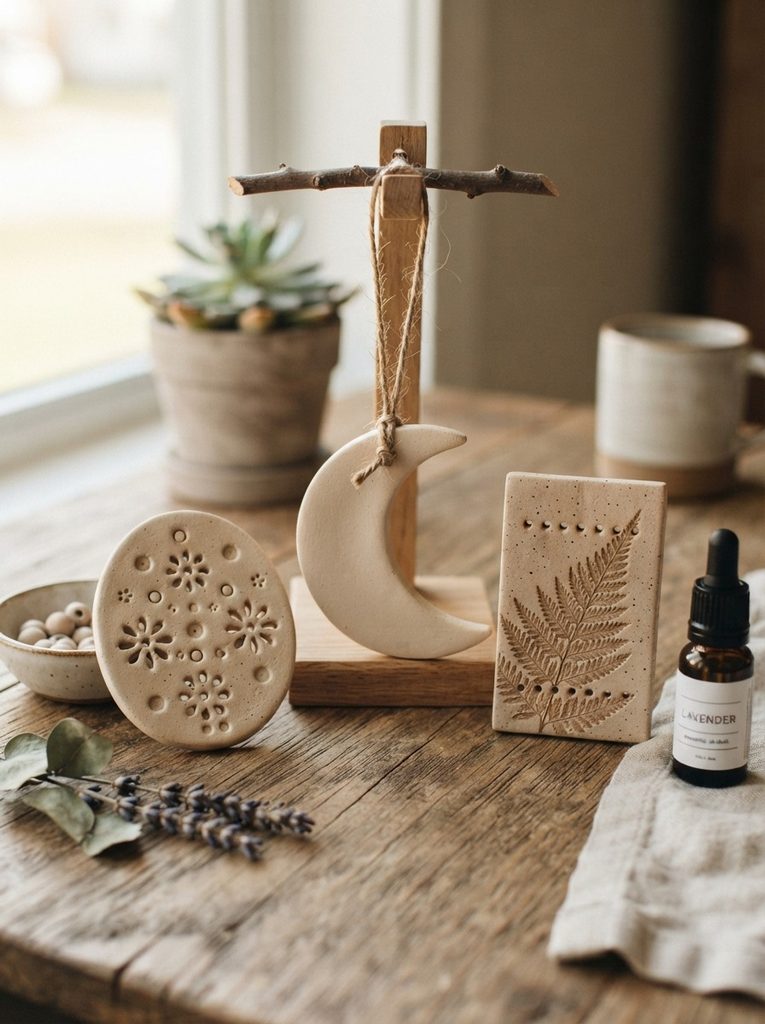
The beauty of making your own is that the shape can go anywhere your taste takes it. Here are the most popular and functional forms:
- Flat tile or disc — the most beginner-friendly. Roll, cut, punch holes, dry. Simple and extremely effective.
- Hanging crescent or moon shape — punch a hole at the top before drying, thread with jute cord, and hang near a window where air movement amplifies the scent. Beautiful in a bathroom or bedroom.
- Car diffuser clip — a small, slim rectangle or oval with a hole punched at the top, hung from a rear-view mirror. One of the most practical applications of this technique.
- Flower or leaf shape — organic, botanical, and visually gorgeous on a shelf or windowsill.
- Open vessel form — a small shallow dish or bowl shape that holds a few drops in a slight well, diffusing from the interior surface.
Pick one. Make several once you’ve mastered the first.
Shaping and Punching Your Diffuser
This is the hands-on hour — and it moves faster than you expect.
- Condition your clay for two full minutes — smooth, warm, and completely crack-free before you begin.
- Roll your slab to 5–7mm thickness. Even pressure throughout; uneven slabs dry with stress points that crack.
- Cut your shape with a craft knife against a template, or press a large cookie cutter straight through the slab.
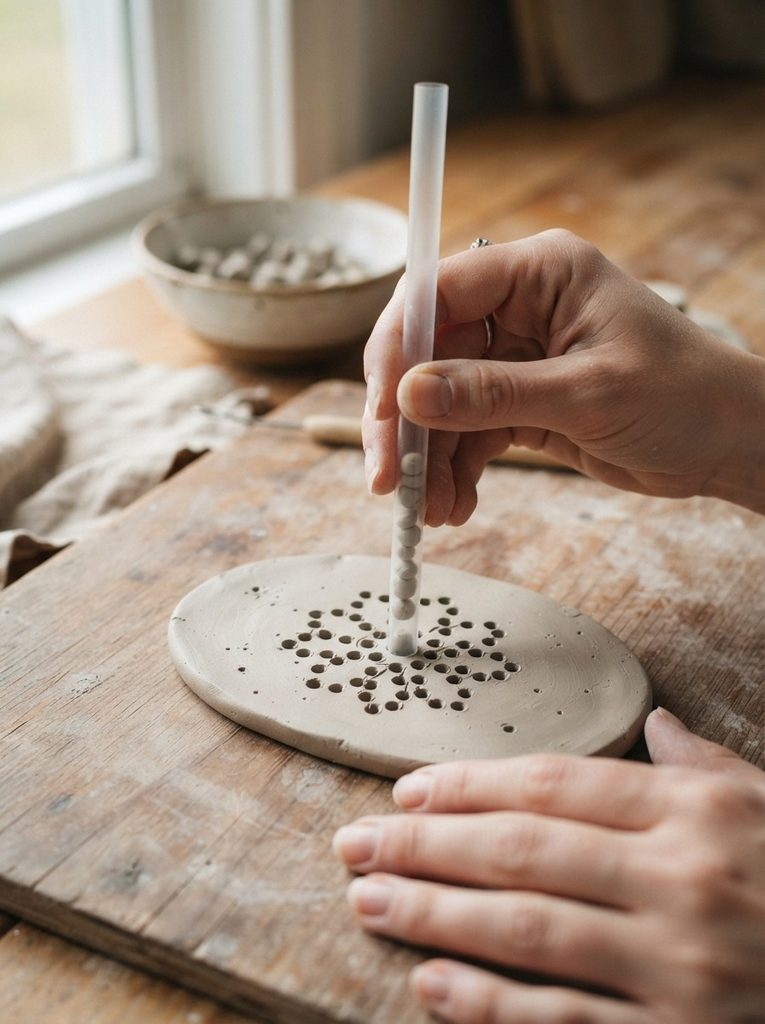
- Punch your decorative holes using a drinking straw — press straight through and twist slightly for a clean circle. Remove the clay plug from the straw after each punch. Create patterns: a cluster of circles, a geometric grid, a scattered organic arrangement.
- Add texture if desired — press a real leaf face-down and roll over it lightly, or drag a fork across the surface in parallel lines. This both decorates and increases surface area.
- Pierce a hanging hole at the top if your design will be suspended — use a skewer and make it slightly larger than you think you need, as clay shrinks slightly as it dries.
Lay everything flat on parchment paper and dry for 24–48 hours. Thin pieces dry faster — check at 24 hours.
Sanding and Finishing — Carefully
Once fully dry, a light pass with fine 220 grit sandpaper is all you need — and all you should do.
Sand only to:
- Smooth any sharp edges around the perimeter
- Clean up the edges of punched holes if they feel rough
- Remove any unintended fingerprints from flat surfaces
Do not sand aggressively. You want to preserve the natural surface texture and — crucially — the open pores. Over-sanding can partially clog the surface and reduce diffusion effectiveness.
Do not seal. Do not paint. Do not varnish.
This is the one clay project where the unfinished surface is not just acceptable — it’s the entire point.
Using Your Diffuser
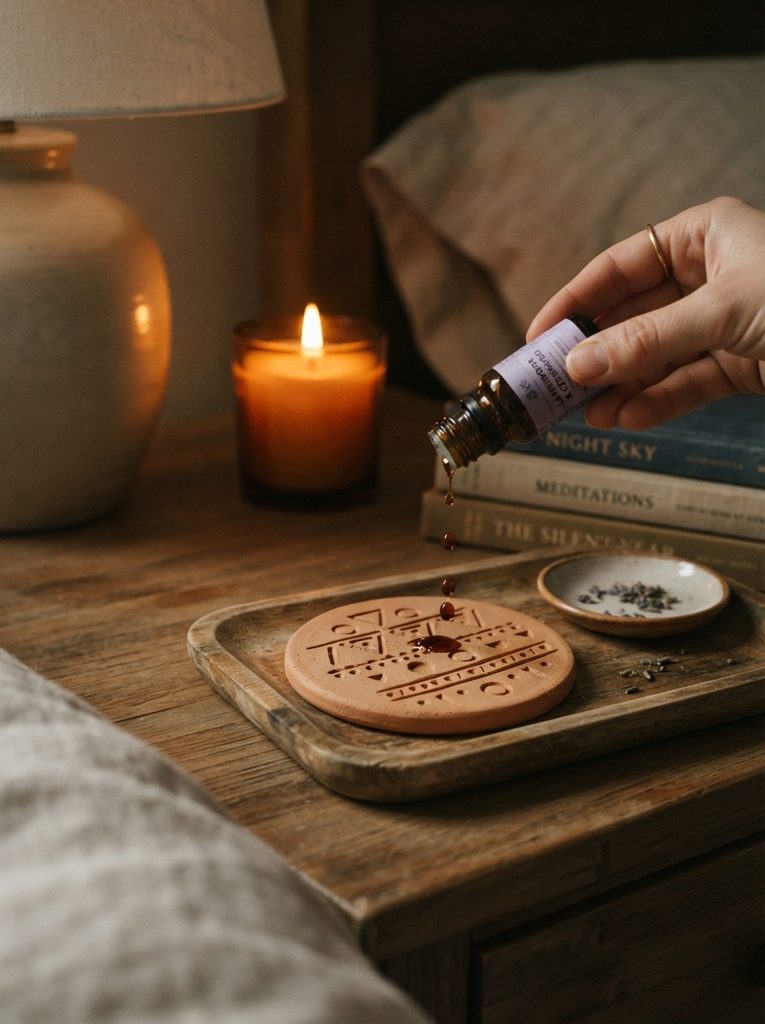
Using it is almost comically simple — which is the point:
- Drop 3–5 drops of essential oil directly onto the clay surface
- The oil absorbs within seconds — you’ll watch it disappear into the clay
- Scent releases gradually over 2–6 hours depending on the oil, the temperature, and the airflow in your space
- Reapply when the scent fades — usually once the surface looks and feels completely dry again
- Clean between scents by letting the diffuser dry completely outdoors for a few hours, or placing it in direct sunlight. The UV and airflow clear residual scent naturally.
Best oils for passive clay diffusion: lavender, eucalyptus, peppermint, sweet orange, and cedarwood — all have strong enough scent profiles to perform well at room temperature without heat amplification.
The Quietest Kind of Luxury
No cord to hide. No water to refill. No setting to adjust before bed. Just clay, oil, and scent — the way it worked before anyone thought to plug aromatherapy into a wall socket.
Save this project for a slow afternoon and make two — one for your bedroom, one for your bathroom. Gift a third to someone who loves their essential oils but hates the clutter of another appliance on their shelf. Sometimes the oldest solutions really are the best ones.