Skip to content

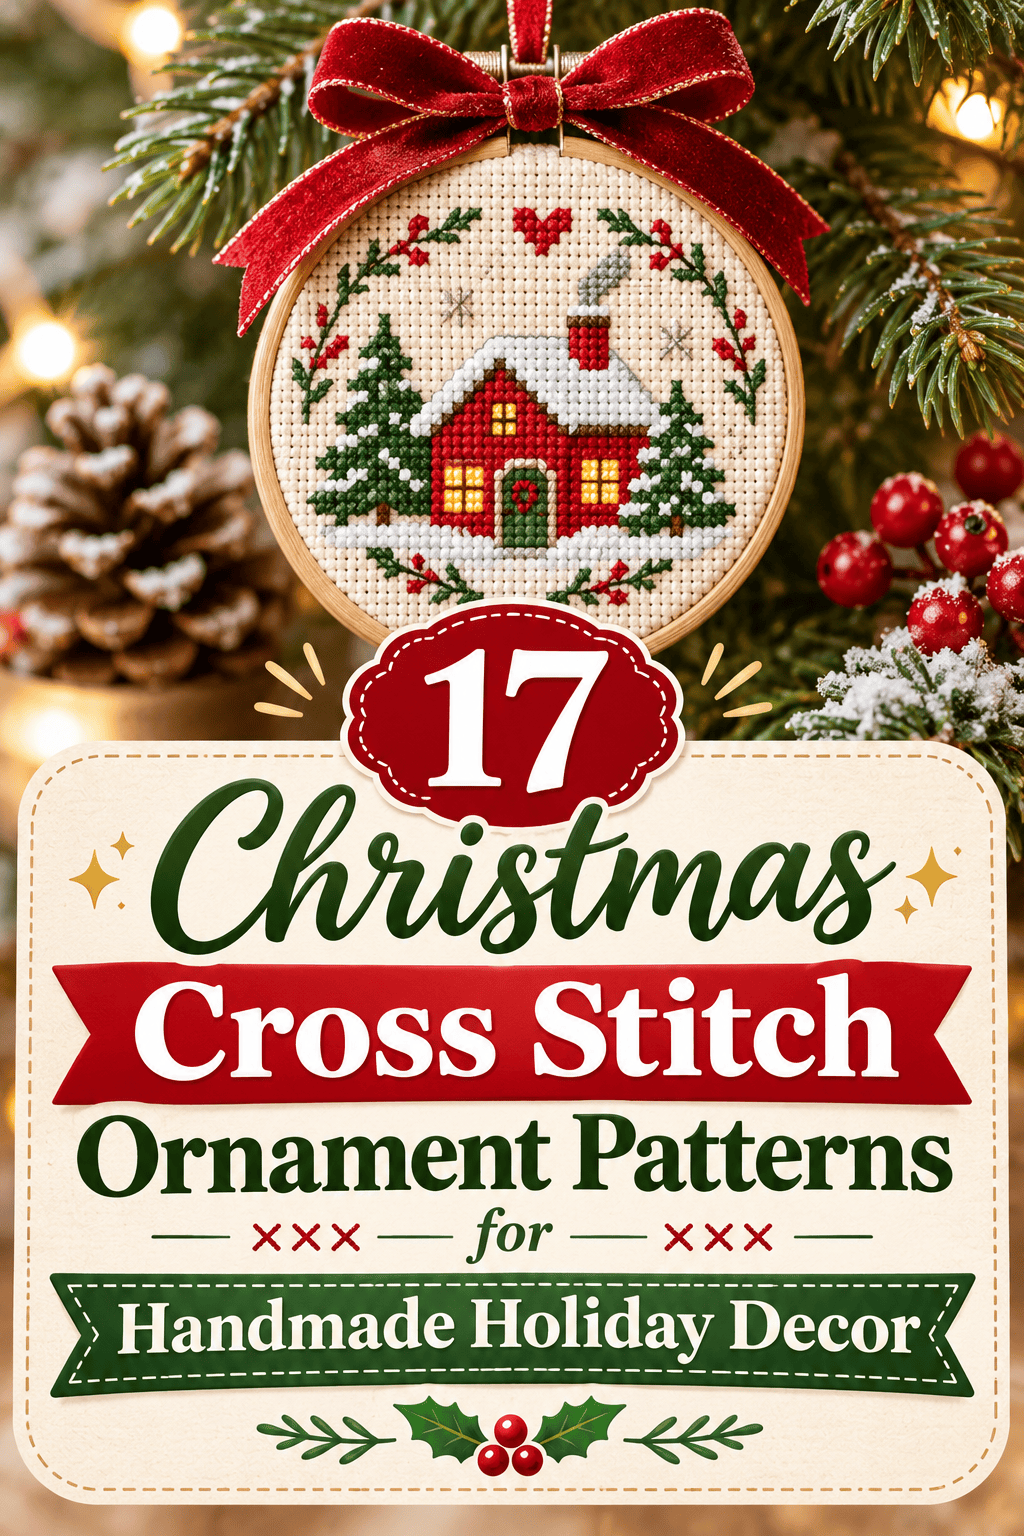

A cross stitch ornament is small enough to finish in a weekend and sweet enough to keep for decades. Each X is a tiny square of color, so even a simple tree or snowflake looks crisp when you hang it on the branch. You do not need a big kit or fancy gear. Aida cloth, a needle, a few skeins of floss, and a small hoop are enough. If you are searching for Christmas cross stitch ornament patterns, this list gives you 20 designs to try. Each one stays under 40 stitches wide, uses two or three colors, and costs only a few dollars. Pick one, grab your floss, and stitch your first ornament tonight.
1. Mini Christmas Tree
A tree is the best first pattern. It is a triangle made of stepped rows.
Cut a six-inch square of 14-count Aida cloth. Fold it in quarters to find the center and mark it with a pin. Start there so the design sits straight.
Chart the tree on graph paper. Make the top row one stitch wide, then add two stitches to each row below. Stop at ten rows. Add a two-stitch trunk in brown.

Stitch with two strands of green floss. Work each X the same way, with the top stitch leaning the same direction. Uniform crosses look neat.
Add red French knots or single red stitches as ornaments. Use gold for the star on top.
Save money by buying single skeins of green, red, and brown. One skein finishes several trees.
Frame the finished piece in a four-inch wooden hoop from a craft store.
2. Snowflake Sparkle
Snowflakes are symmetrical, so you chart one arm and copy it five times.
Pick navy or deep blue Aida so white floss glows. Mark the center with a pin. Stitch a plus shape first, then a diagonal X over it. These are the six arms.
Add small branches on each arm. Place two diagonal stitches on each side, about halfway out. Keep them even.

Stitch with white or metallic silver floss. Metallic thread tangles, so use shorter strands, about 14 inches.
Wax the thread with a candle stub to calm the fray. It costs nothing.
Save money by using plain white floss and adding silver to only the tips.
Count carefully. Symmetry hides small mistakes, but one wrong stitch shows up on all arms. Check each arm before you move on.
Trim the fabric into a round shape and glue it onto felt for a hanging disk.
3. Candy Cane Pair
A candy cane is a stripe and a hook. Red and white alternate every two stitches.
Chart a curved hook at the top and a straight body below. Make each cane about four stitches wide and 16 tall. Alternate two red stitches and two white stitches down the cane.
Use red and white floss on cream or pale green fabric. Outline the cane in a darker red backstitch to make the shape pop.

Stitch the second cane in reverse so the pair crosses in the middle.
Add a tiny green bow where they cross. Use a few green stitches and a single center knot.
Save money by stitching one cane first. If you like it, add the second.
Use a water-soluble pen to mark the pattern lines on the cloth. The marks vanish with a damp cloth.
Finish with a loop of red ribbon sewn to the back.
4. Stitched Mitten
A mitten is a rounded rectangle with a thumb. It holds a pattern well.
Chart the mitten shape about 18 stitches tall and 12 wide. Make the thumb a small bump on one side. Add a cuff band at the bottom in a second color.
Stitch the body in red floss. Add a tiny snowflake or dot pattern in white on the front. A simple plus sign repeated looks cute.

Stitch the cuff in white or cream. Two rows of long stitches create a fluffy band.
Backstitch the outline in a darker shade for a clean edge.
Save money by using leftover floss from other projects. Mitten patterns use less than a skein.
Cut the fabric into a mitten shape with half an inch of margin. Back it with felt and stitch around the edge for a flat ornament.
Make a pair of mittens in different colors for a matched set.
5. Gingerbread Man
The gingerbread man is a head, a body, and four limbs. It is easy to chart and fun to stitch.
Chart a simple figure about 14 stitches tall. Use a round head, a squared body, and short arms and legs. Fill it with brown floss.
Add white icing lines with backstitch along the arms and legs. Use three simple dots for buttons down the middle. Add two dots for eyes and a curve for a smile.

Stitch a red bow under the chin.
Use tan fabric or cream for the background. Brown floss shows best on lighter colors.
Save money by using brown, white, and red floss only. Three colors are plenty.
Fill the shape with half stitches for a lighter texture. It saves thread and speeds up the work.
Frame it in a small hoop or sew it onto a felt backing to hang.
6. Pine Branch With Berries
A pine branch uses angled lines and dots. It looks natural and takes little planning.
Chart a diagonal line for the stem. Add short diagonal stitches along both sides for needles. Make the needles shorter near the tip.
Use two shades of green floss. Light green on top and dark green on the lower needles add depth.

Add red berries as small clusters. Three stitches in a triangle make one berry group. Place two or three groups along the branch.
Add a brown cone with a few overlapping stitches near the base.
Save money by using single strands of floss. Thin thread suits needle shapes.
Stitch on cream or ivory linen if you want a more natural look. Linen costs a bit more than Aida but gives a softer texture.
Finish with a ribbon loop on the hoop.
7. Little Reindeer Face
A reindeer face is a small triangle with antlers. The red nose makes it a favorite.
Chart a rounded triangle about 14 stitches wide and 14 tall. Put two ear stitches on the sides. Stitch antlers as thin branching lines above the head.
Stitch the face in brown floss. Add two black eyes with single stitches. Make the nose a red square at the bottom.

Use backstitch for the antlers in a lighter tan so they stand out.
Save money by stitching in three colors only: brown, black, and red.
Add a few white highlight stitches on the cheeks for a soft look.
Stitch on kraft-colored fabric for a rustic feel. If you only have white cloth, tea-dye it. Soak the fabric in a strong cup of tea, rinse, and dry flat.
Finish the ornament by cutting a circle around the face.
8. Holly Leaves and Berries
Holly needs only two shapes: a pointed leaf and a round berry. The red and green look festive.
Chart a leaf shape with a wavy edge. Make each leaf about 10 stitches long. Add a center vein in a lighter green with backstitch.
Place two leaves side by side, angled apart. Add three red berries between them. Each berry is a small square of four stitches.

Use dark green for the leaves and bright red for the berries. A tiny white dot on each berry makes it look glossy.
Save money by stitching on scrap Aida you already own. A four-inch square is enough.
Use two strands of floss for the leaves and three strands for the berries. The thicker thread makes the berries pop.
Trim the cloth into a circle and glue it onto a wooden disk from a craft store for a hard base.
9. Star Topper
A star is the simplest shape with the most impact. Gold on dark green looks rich.
Chart a five-point star on graph paper. Keep it about 15 stitches wide. Stepped lines make the points. Fill the center with solid stitches.
Stitch with gold metallic floss. Use shorter lengths, about 12 inches, so the thread does not twist.

Pick dark green or red fabric so the gold glows. Lighter fabrics wash out the shine.
Backstitch the outline in a deeper gold or brown to sharpen the points.
Save money by using one skein of gold. A small star needs about two yards.
Skip metallic thread if it frustrates you. Use yellow cotton floss for a soft look.
Sew the finished piece onto a felt back. Add a loop of gold ribbon for hanging.
10. Stocking With Cuff
A stocking is a boot shape with a cuff. It uses blocks of solid color.
Chart a long rectangle for the leg and a short block for the foot. Add a heel patch and a toe patch in a different color. Leave the cuff at the top in white.
Stitch the body in red floss. Use green for the heel and toe. Fill the cuff with white or cream.

Add small stripes or dots on the cuff for texture. Two rows of tiny crosses in green look pretty.
Backstitch a thin outline in dark red to sharpen the edges.
Save money by using three floss colors: red, green, and white.
Make a loop at the top with a strip of fabric or ribbon. Sew it on before you assemble the ornament.
Back the stitched piece with felt and sew around the edges. Stuff with a bit of polyfill.
11. Bell With Bow
A bell is a rounded cone with a small dot at the bottom. The bow adds color.
Chart a bell shape about 14 stitches tall. Make the top narrow and the base wide. Add a small ring at the bottom for the clapper.
Stitch the bell in gold floss. Add a lighter gold highlight on one side for shine.

Add a red bow at the top. Chart two loops and two tails with a small knot in the middle. Stitch in bright red.
Save money by using yellow cotton floss if you do not have gold.
Use a single strand of floss for the outline. It creates a neat edge.
Frame the finished bell in a small hoop or glue a loop of ribbon to the back and hang it.
12. Mushroom in Snow
A mushroom is a cute winter detail. Red and white pop on dark blue.
Chart a dome-shaped cap about 12 stitches wide. Add a short stem below it. Place small white dots on the cap.
Stitch the cap in red, the stem in cream, and the dots in white. Add a few snowy dots around the base in white.
Choose navy or dark gray fabric for a night scene. Add a few tiny white dots for falling snow.
Save money by sticking to three floss colors. Red, cream, and white are enough.
Backstitch the stem outline in a light gray for definition.
Use a two-inch hoop for a tiny ornament. Trim the extra fabric and glue it on the back.
Make a pair of mushrooms for a woodland pair.
13. Wreath of Dots
A wreath is a ring of stitches. Dots of red make it look festive.
Chart a circle about 18 stitches wide. Use graph paper and make the circle by stepping the lines inward at the corners. Leave a hole in the center.
Stitch the ring in two shades of green. Alternate light and dark stitches for a leafy look.

Add red berries at random. Single red stitches or small French knots work well. Space them unevenly.
Add a red bow at the bottom with a few stitches.
Save money by using leftover green floss in two shades. Wreaths use less than one skein.
Frame in a hoop and tie a ribbon at the top. Hang on a door or a tree.
Make a mini wreath on a one-and-a-half inch hoop for a tiny ornament.
14. Snowman Face
A snowman is a circle with a tiny face. The scarf adds color.
Chart a round head about 14 stitches wide. Fill it with white stitches. Leave small gaps for eyes and a carrot nose. Stitch two black dots and a small orange triangle.
Add a row of dots for a smile. Five tiny black stitches in a curve look sweet.

Stitch a striped scarf below the face in red and green. Add a small tail on one side.
Use pale blue fabric so the white face shows well.
Save money by using half stitches for the face. It saves thread and gives a soft look.
Add a small black hat at the top with a thin brim.
Back the finished piece with felt and hang from a loop of ribbon. Make two or three in different scarf colors.
15. Tiny Gift Box
A gift box is a square with a ribbon. It is one of the quickest ornaments to stitch.
Chart a square about 12 stitches wide. Fill it with red floss. Add a vertical ribbon in gold down the center and a horizontal ribbon across the middle.
Add a bow at the top. Make two loops and a knot. Stitch it in gold.

Pick a bold color for the box. Red, green, or deep blue all work well with gold.
Save money by using gold thread only on the ribbon. The rest uses plain cotton.
Add a small shadow on one side of the box with a darker red.
Stitch a set of three boxes in different colors. Hang them together from one loop.
Finish by gluing the fabric to a felt back and sewing on a ribbon.
16. Cardinal on a Branch
A cardinal brings strong color to a small ornament. Red and brown look warm on cream.
Chart a bird shape about 16 stitches wide. Use a round body, a small head, and a pointed tail. Add a crest on top of the head.
Stitch the body in red floss. Add a small black patch around the eye and beak. Stitch the beak in orange.

Add a brown branch below the bird with a few green needles on each side.
Use backstitch for the legs and the branch. Single strands give a fine line.
Save money by using four floss colors: red, black, orange, and brown.
Stitch on cream or pale blue fabric so the bird stands out.
Frame the piece in a small oval hoop or glue it onto a wooden disk. Add a ribbon loop at the top.
17. Hot Cocoa Mug
A cocoa mug is a rounded rectangle with a handle. It feels cozy and takes little time.
Chart a mug shape about 12 stitches wide and 12 tall. Add a handle on one side. Stitch the mug in blue or red. Add small white dots for a pattern.
Fill the top with brown floss for cocoa. Add three small white marshmallows on top. A single square stitch is enough for each.
Add a tiny steam curl above the mug with backstitch.
Use cream or tan fabric to match the cocoa theme.
Save money by using two or three colors. Blue, brown, and white are enough.
Stitch a matching candy cane to rest beside the mug for a set.
Back the finished piece with felt and hang it on the tree.
Conclusion
Cross stitch ornaments are small, cheap, and easy to finish. Trees, snowflakes, mittens, bells, and gift boxes all use simple shapes and a few colors, and each one makes a lasting piece of holiday decor. Start with the mini tree or the snowflake, then try the cardinal or the stocking once your stitches feel even. Keep a small box with fabric squares, a few skeins, and a pack of hoops so you can stitch anytime. Pick one pattern today, chart it on graph paper, and stitch your first ornament tonight.