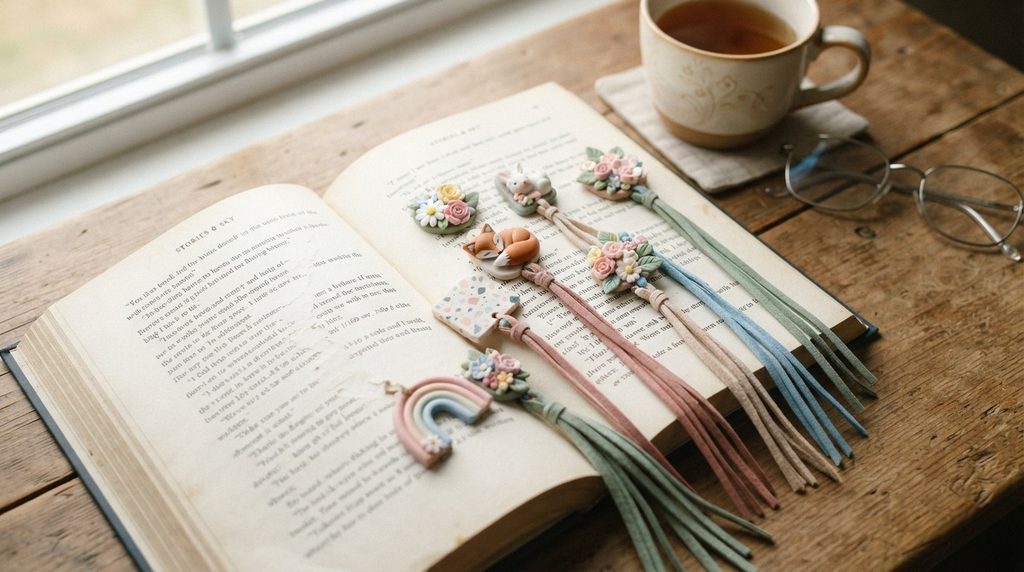
If you love books, you probably have strong opinions about bookmarks too. A clay bookmark is something different — it sits at the top of your page like a tiny piece of art, marking your place while also making you smile every time you pick up your book. They are made from polymer clay or air-dry clay, shaped into a corner pocket that slides over a page corner, and decorated however you like. They are affordable to make, genuinely fun to design, and one of the best handmade gifts for any reader in your life. This guide covers 13 creative clay bookmark designs — each one practical, approachable, and full of personality.
1. Sleeping Cat Corner Bookmark
A sleeping cat bookmark is one of the most beloved clay bookmark designs — and for good reason. It is cute, quick to make, and feels like a natural match for a cozy reading session.
Start with a flat right-angle triangle of clay — this is the corner pocket that slides over your page. Make sure the pocket opening is large enough for a standard book page corner but snug enough to grip.
Shape a small cat face from orange, grey, or black clay. Add two small rounded ear triangles on top. Press two crescent-shaped closed eyes using a needle tool — the cat is sleeping, which is the charm of the design.
Roll tiny white clay logs for whiskers — three on each side. Press a small pink triangle nose between the whisker sets.
Attach the cat face to the outside of the corner pocket while both pieces are still unbaked. Press firmly so they fuse during baking.
Bake flat. Once cooled, seal with matte varnish for a soft natural finish.
Budget Tip
Orange, grey, and black clay are standard in most polymer clay packs. One small bookmark uses barely any material — you can make a full set of six in different cat colors from a single mixed-color pack. These are excellent craft fair sellers and beloved gifts for cat-owner readers.
2. Sunflower Petal Bookmark

Sunflowers are cheerful, warm, and recognizable — making them one of the most popular floral bookmark designs.
Build your corner pocket from a flat right-angle triangle of yellow or neutral clay. Keep the walls about 4mm thick for durability.
Make the sunflower head separately. Roll a ball of brown clay and flatten it slightly. Press a ball stylus all over the brown center to create the characteristic dimpled seed texture.
Roll small flat yellow petals and press them around the edge of the brown center in a ring. Add a second ring of petals staggered between the first ring for a full layered look.
Press a small green clay leaf on each side of the flower before attaching it to the corner pocket. The leaves peek out from beside the flower when the bookmark sits on a page corner.
Press the assembled flower onto the outside corner point of the pocket firmly. Bake together as one piece.
Budget Tip
Yellow and brown clay are widely available in starter packs. The sunflower requires small amounts of each. Sunflower bookmarks are quick to make in batches once you have the petal attachment process flowing.
3. Miniature Open Book Bookmark
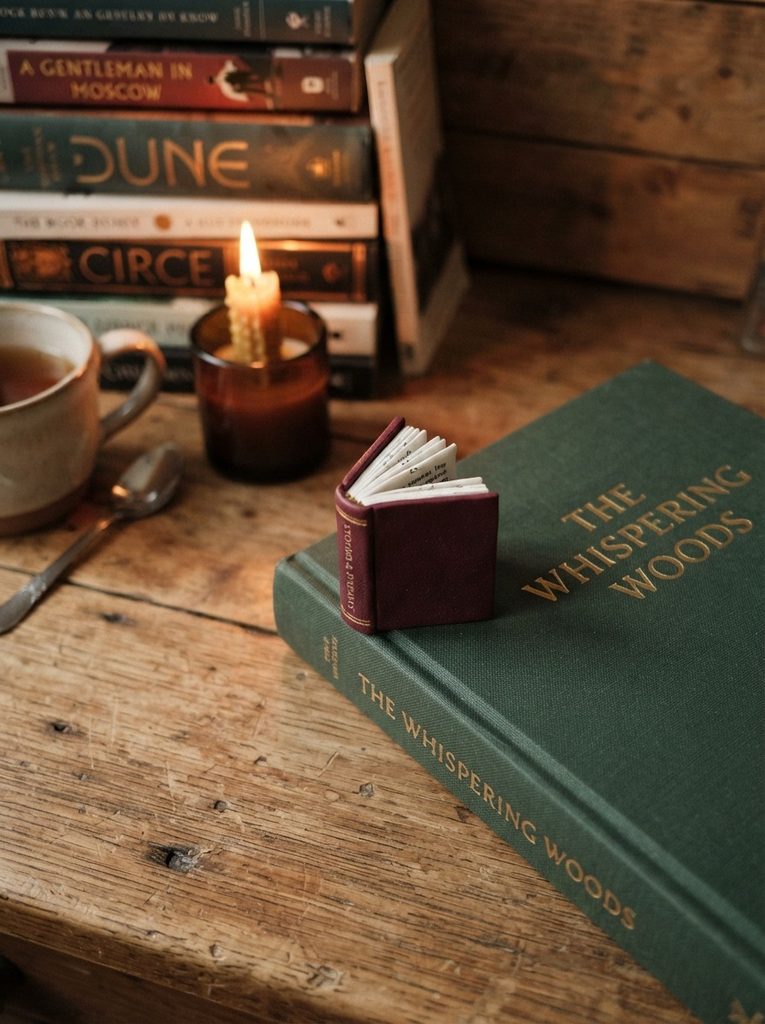
A bookmark shaped like a tiny open book is the most bookish design possible — and readers love the self-referential humor of it.
Build the corner pocket from burgundy or navy clay. Keep it clean and rectangular with crisp corners.
Make the miniature book topper separately. Shape a small rectangular block — this is the book. Press it open slightly so the spine curves and two page halves fan outward.
Add a thin clay strip for the spine pressed along the curved center. Make the pages from white clay sheets pressed on top — two flat rectangles leaning away from each other.
Press fine parallel lines across each white page using a needle tool to suggest text lines. This small detail makes the miniature book look unmistakably like a real open book.
Attach to the outside corner of the pocket. Bake. Once cooled, paint the cover in deep burgundy or forest green.
Budget Tip
This design uses minimal clay — the book topper is tiny. These bookmarks are particularly popular gifts for literature teachers, librarians, and devoted readers who appreciate the layered concept of a book sitting on top of a book.
4. Cottagecore Mushroom Bookmark
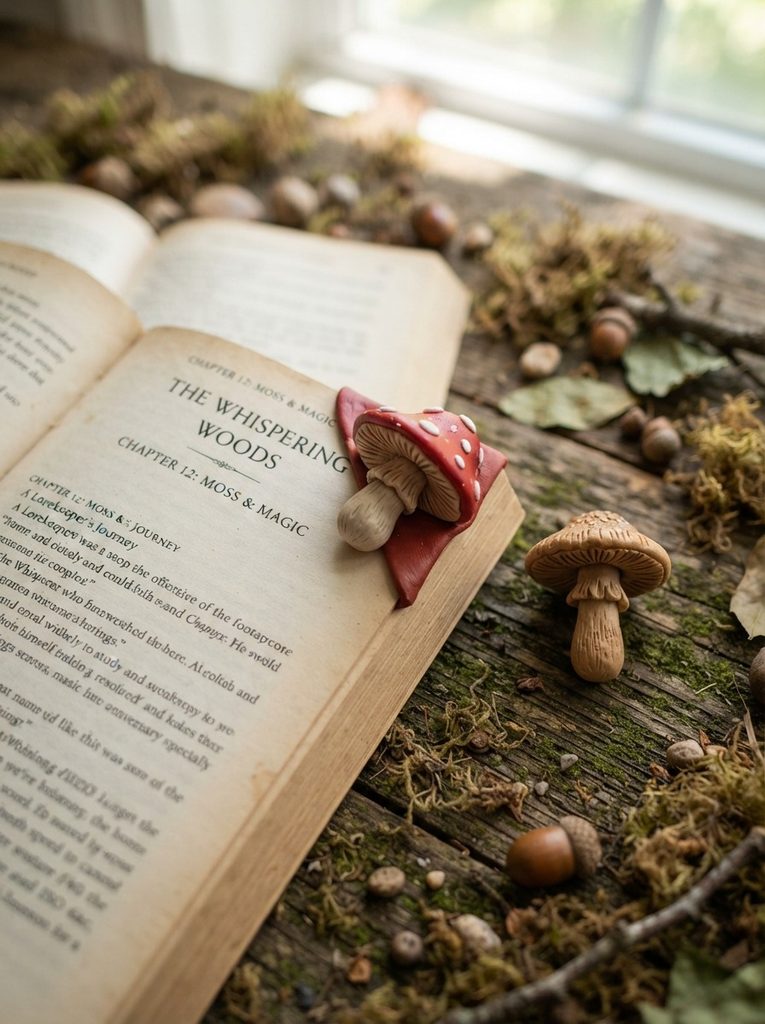
Mushroom designs are deeply popular in the cottagecore and fantasy book communities — and a mushroom bookmark pairs perfectly with any fairy tale or fantasy novel.
Build the corner pocket from cream or brown clay. Smooth all surfaces cleanly.
Make the mushroom cap as a dome of red clay. Press white dot indentations across the cap using a ball stylus — or add tiny raised white clay dots for a three-dimensional spotted effect.
Build a short white clay stem and attach the cap on top. Keep the total mushroom height proportional to the corner pocket — too tall and the bookmark becomes top-heavy.
Attach the mushroom firmly to the corner point of the pocket. Press the base of the stem into the pocket corner and smooth the join.
Add a tiny flat green clay leaf pressed beside the mushroom base for extra detail. Bake. Seal with satin varnish.
Budget Tip
Red, white, and cream clay are all affordable standard colors. Mushroom bookmarks use very little of each. Make a woodland-themed set — red mushroom, tan mushroom, and small toadstool — for a cohesive collection that appeals to fantasy and cottagecore readers equally.
5. Crescent Moon and Stars Bookmark
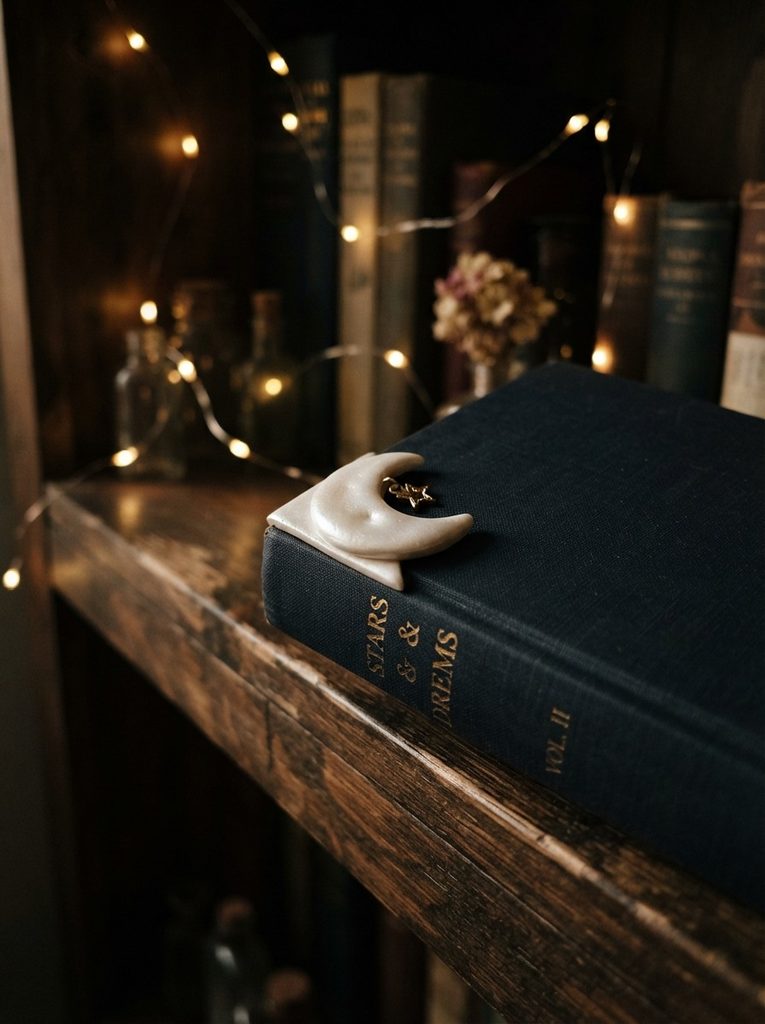
Moon and star bookmarks suit fantasy, mythology, astronomy, and romance readers — and the aesthetic photographs beautifully for online listings.
Build the corner pocket from deep navy, black, or pearl white clay.
Make a crescent moon from white or gold clay. Cut a circle, then use a slightly smaller circle cutter to cut a partial overlap — removing a section — leaving a clean crescent shape.
Add small flat five-pointed stars in different sizes pressed around the moon. One larger star and two or three smaller ones create a natural celestial composition.
Dust the moon and stars with gold or silver mica powder before baking. The metallic shimmer makes the celestial elements glow beautifully.
Attach to the corner of the pocket. Bake. Seal with matte varnish to keep the mica shimmer visible.
Budget Tip
Gold and silver mica powder are inexpensive and one small jar covers dozens of projects. These bookmarks are particularly popular in online marketplaces during autumn and winter when the celestial aesthetic is at peak demand.
6. Fox Face Corner Bookmark
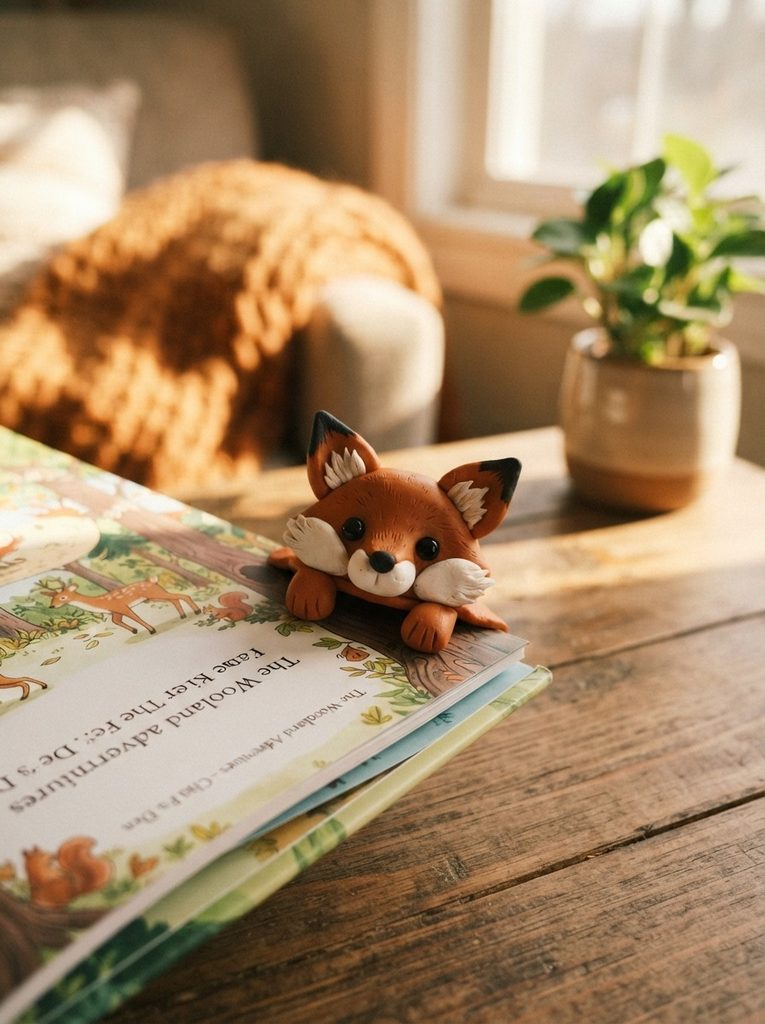
Fox bookmarks appeal to a wide audience — children, young adult readers, and adults who love woodland-themed accessories all respond strongly to them.
Build the corner pocket from russet orange clay. Keep the orange consistent between the pocket and the fox face for a cohesive look.
Shape the fox face as a rounded triangle — wider at the top, narrowing to a small chin. Add two pointed ears on top with small inner ear triangles in a slightly lighter orange or pink.
Press white clay onto the lower half of the face — cheeks and snout. Add a small black or dark brown clay nose at the snout tip.
Use a needle tool to add fine fur texture lines radiating from the nose across the cheeks. This texture adds realism and warmth to the face.
Press two small black dot eyes. Add small white highlight dots inside each eye for life. Attach to the corner pocket and bake.
Budget Tip
Orange clay often appears in standard multicolor packs — mix red and yellow to get the right russet fox tone. Fox bookmarks appeal across all ages and reading communities, making them a strong seller in any handmade bookmark collection.
7. Stacked Mini Books Bookmark

A corner bookmark topped with a stack of three tiny clay books is a gift every dedicated reader will understand immediately.
Build the corner pocket from neutral cream or tan clay.
Make three small rectangular clay blocks in different colors — deep blue, forest green, and burgundy red. Stack them slightly offset, as books look when stacked on a nightstand.
Press a thin clay strip along the spine edge of each book. Add a tiny pressed texture or dot pattern on each cover for visual variety.
Stack the books with the largest at the bottom and the smallest on top. This natural tapering makes the stack look stable and realistic.
Press the whole stack firmly onto the corner of the pocket before baking. Once baked and cooled, add small painted title blocks on each spine.
Budget Tip
The tiny book blocks use minimal clay per piece. The visual impact comes entirely from color contrast between the three book covers. Keep each book very small — the total stack height should be under 3cm so the bookmark stays practical on an actual page corner.
8. Friendly Ghost Bookmark
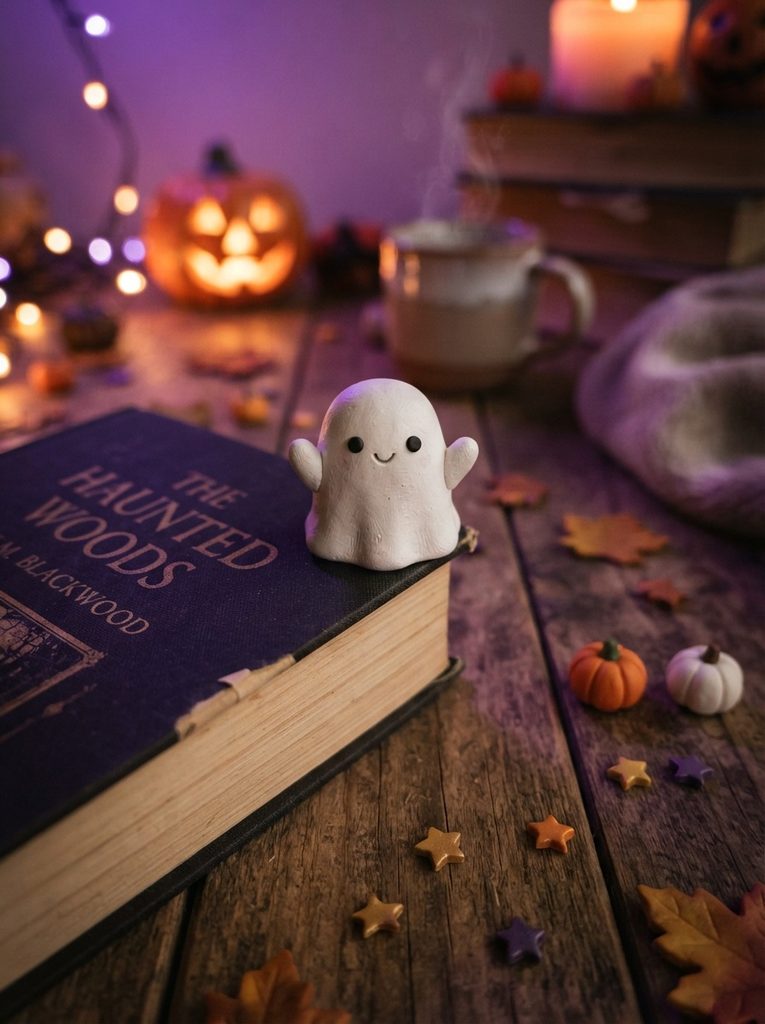
A ghost bookmark sits perfectly at the overlap of spooky-book season and year-round whimsical reading culture.
Build the corner pocket from white clay. Keep it clean and smooth — the whole piece will be white so surface quality matters more than usual.
Shape the ghost body as an oval with a slightly wavy bottom edge. Add two small arm stubs raised at slight angles on each side. The raised arms give the ghost personality immediately.
Add two simple dot eyes and a small curved smile. Keep the face gentle and friendly rather than scary — a friendly ghost bookmark works year-round and has much broader appeal than a scary one.
Press the ghost body onto the back of the corner pocket so it rises above the corner point. The ghost appears to peek over the top of the page corner. Bake. Seal with matte varnish.
Budget Tip
White clay is the most affordable and widely available polymer clay color. Ghost bookmarks are extremely fast to make — simple shapes, minimal details, quick assembly. They are strong seasonal sellers in autumn but also sell consistently year-round in bookshops and at craft markets.
9. Rainbow Arch Bookmark
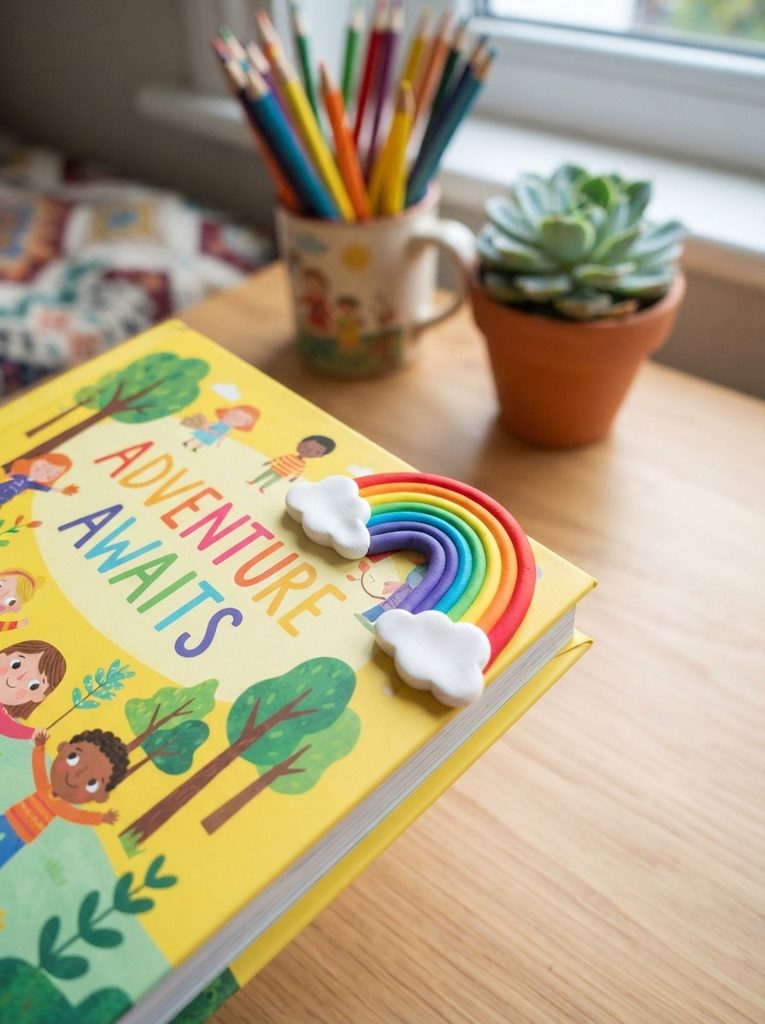
A rainbow bookmark is bold, colorful, and instantly cheerful — a perfect companion for bright illustrated books or gifting to children.
Build the corner pocket from white clay. Keep it neutral so the rainbow colors carry all the visual energy.
Make the rainbow arch by rolling thin logs of each color — red, orange, yellow, green, blue, purple — and pressing them side by side. Gently curve the combined strip into an arch shape.
Work slowly when curving the arch. Clay can crack if rushed at the bend. Warm the clay strip between your palms first to make it more pliable before curving.
Add two tiny white cloud shapes at each end of the arch — small flattened balls with scalloped edges. Press the completed rainbow arch onto the corner point of the pocket. Bake.
Budget Tip
Rainbow bookmarks are a perfect use for small amounts of many different clay colors. A multi-color clay sample pack — often sold very cheaply — provides all six rainbow colors in one purchase. These bookmarks photograph beautifully against white backgrounds and sell well to parents buying for young readers.
10. Succulent Rosette Bookmark
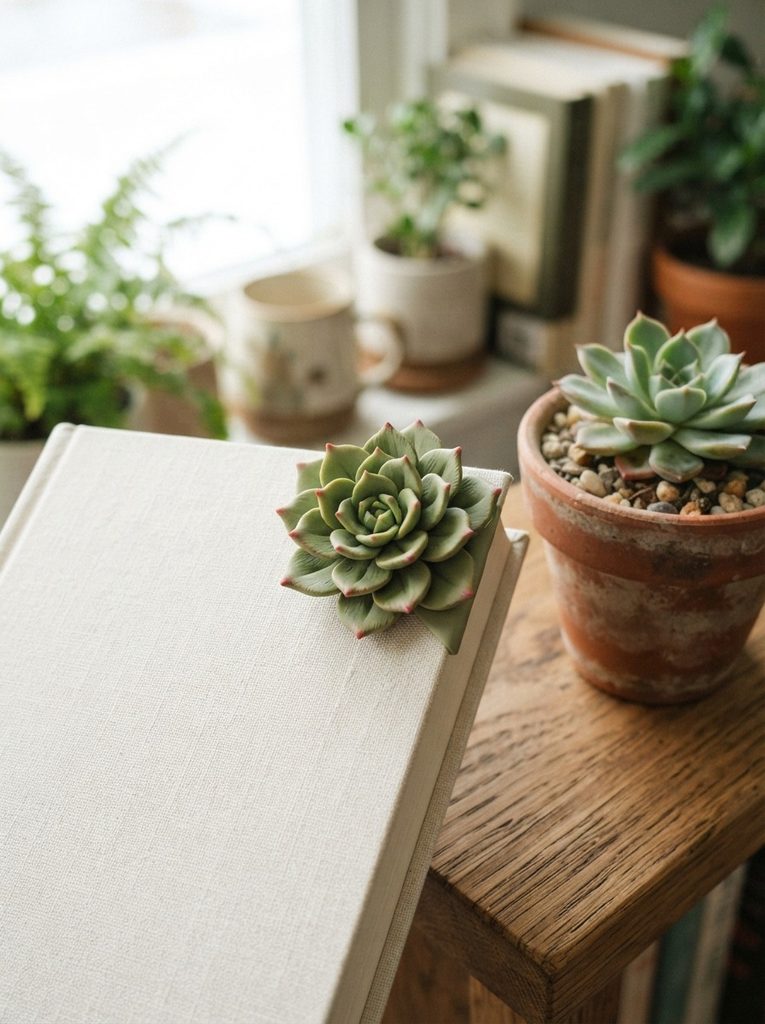
Plant lovers who also love books will immediately want this design. A clay succulent rosette bookmark is one of the most detailed designs in this list — and worth every minute.
Build the corner pocket from sage green or neutral clay.
Make the succulent by stacking progressively smaller petal layers. Start with five or six larger outer petals — flat teardrop shapes pressed into a circle. Add a second smaller ring of petals inside. Continue inward until you reach a small tight center bud.
Use two or three shades of green for realistic depth. Olive green outer leaves, medium sage middle leaves, and slightly yellow-green inner leaves create a convincing echeveria rosette.
Add a faint reddish tint to the tips of the outer leaves by blending a tiny amount of red clay in lightly. Press the completed rosette firmly onto the corner of the pocket. Bake. Seal with satin varnish.
Budget Tip
Mix your green shades from yellow and blue clay rather than buying three separate green packs. Succulent bookmarks appeal strongly to the plant parent community — a large and enthusiastic buyer group for handmade goods at every price point.
11. Dragon Head Bookmark

Fantasy readers are a passionate community — and a dragon bookmark is the kind of design they immediately share with others.
Build the corner pocket from deep green, purple, or black clay.
Shape the dragon head from a rounded clay block. Add a protruding snout by pressing a smaller clay cylinder forward from the lower face. Press two small nostril holes with a needle tool.
Press small scale textures across the head and snout using a needle tool in short curved strokes. Scales do not need to be individually cut — implied texture reads well at this scale.
Add two small horns from pointed clay cones pressed into the top of the head. Roll a tiny white cloud of clay for smoke from the nostril — press it loosely to suggest a puff rather than a solid shape.
Attach firmly to the corner pocket. Bake. Paint with metallic green or purple and seal with satin varnish.
Budget Tip
Dragon bookmarks are among the highest-demand designs in the fantasy reader community. They sell consistently at book fairs, comic conventions, and online handmade marketplaces. The extra time this design takes is justified by the price point it commands.
12. Vintage Typewriter Key Bookmark

A typewriter key bookmark is the perfect gift for a writer who also reads — or anyone who loves the literary vintage aesthetic.
Build the corner pocket from cream or warm ivory clay.
Shape the typewriter key as a small square with gently rounded corners — just like a real typewriter key. Keep it slightly thick for the characteristic chunky typewriter key profile.
Press a letter deeply into the center of the square using a letter stamp or needle tool. The letter should take up most of the face of the key.
Press the letter clearly and deeply so it remains fully readable after painting. A shallow impression fills with paint and becomes illegible.
Paint the key in cream base coat. Once dry, brush dark gray paint over the whole surface then wipe back quickly with a dry cloth — the dark paint settles into the pressed letter making it read clearly.
Budget Tip
Letter stamp sets are inexpensive and reusable across many projects. Typewriter key bookmarks sell well to writers, journalists, English teachers, and anyone who loves vintage literary aesthetics. Make a personalized set spelling out a meaningful word across multiple bookmarks for a standout gift.
13. Honey Bee Bookmark
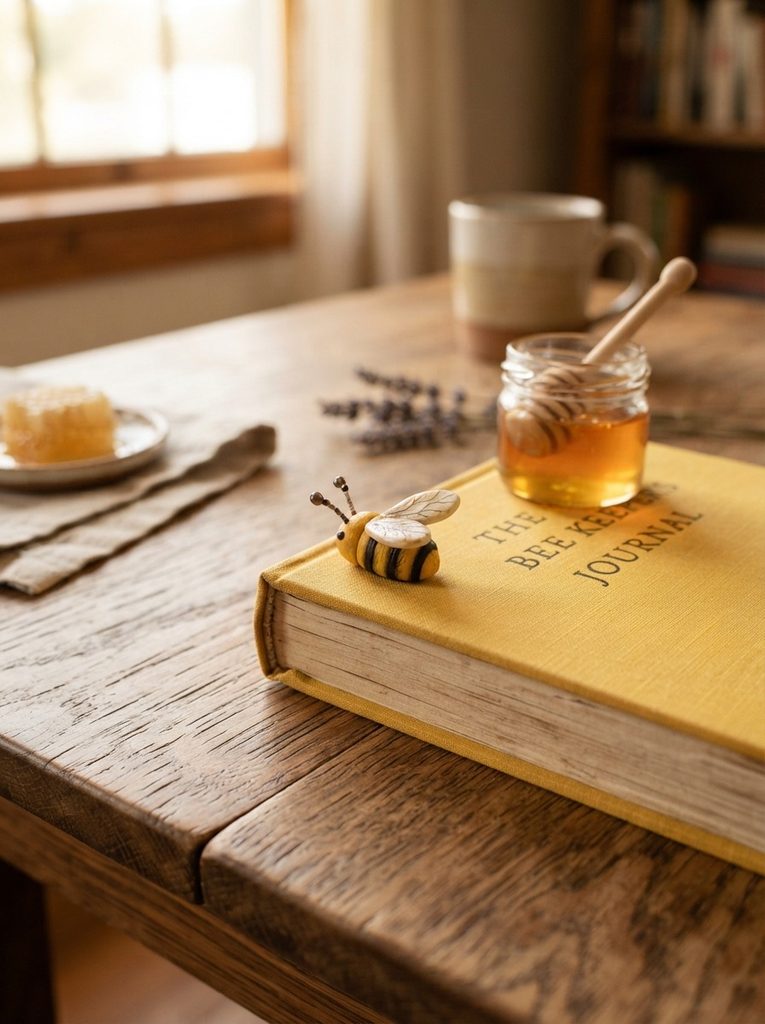
A honey bee bookmark is joyful, summery, and appeals to readers who love nature, gardens, and the natural world.
Build the corner pocket from yellow or neutral clay.
Shape the bee body as a small oval. Add yellow and black clay stripes by pressing alternating thin clay strips across the body surface.
Press two teardrop-shaped wings from translucent or white clay. Add fine vein lines on each wing using a needle tool. The wings should be thin enough to look delicate.
Press the wings onto the back of the bee body so they extend outward from each side. Roll two very thin antenna wires from black clay. Press them into the top of the head with tiny ball tips at the ends.
Attach to the corner pocket. Bake. Seal with satin varnish for a polished finish.
Budget Tip
Yellow and black clay are both standard in most starter packs. Honey bee bookmarks appeal to a broad audience — nature lovers, gardeners, and children. They sell especially well in spring and summer and make wonderful additions to gift baskets alongside honey and botanical items.
Conclusion
Clay bookmarks are small enough to make in an afternoon but meaningful enough to keep for years. Each design in this list gives a reader something personal to slide onto their page — a sleeping cat, a tiny dragon, a sunflower, or a crescent moon — each one made by hand and carrying the personality of the person who crafted it. Whether you make them for yourself, as gifts for the readers in your life, or to sell at a craft market, all 13 designs here are achievable with basic clay tools and an affordable starter pack. Start with the simplest design that appeals to you, get comfortable with the corner pocket technique, then work up to the more detailed pieces. The more bookmarks you make, the faster and more intuitive the process becomes. Pick up some clay, choose your first design, and make something a book lover will reach for every single day.