Skip to content

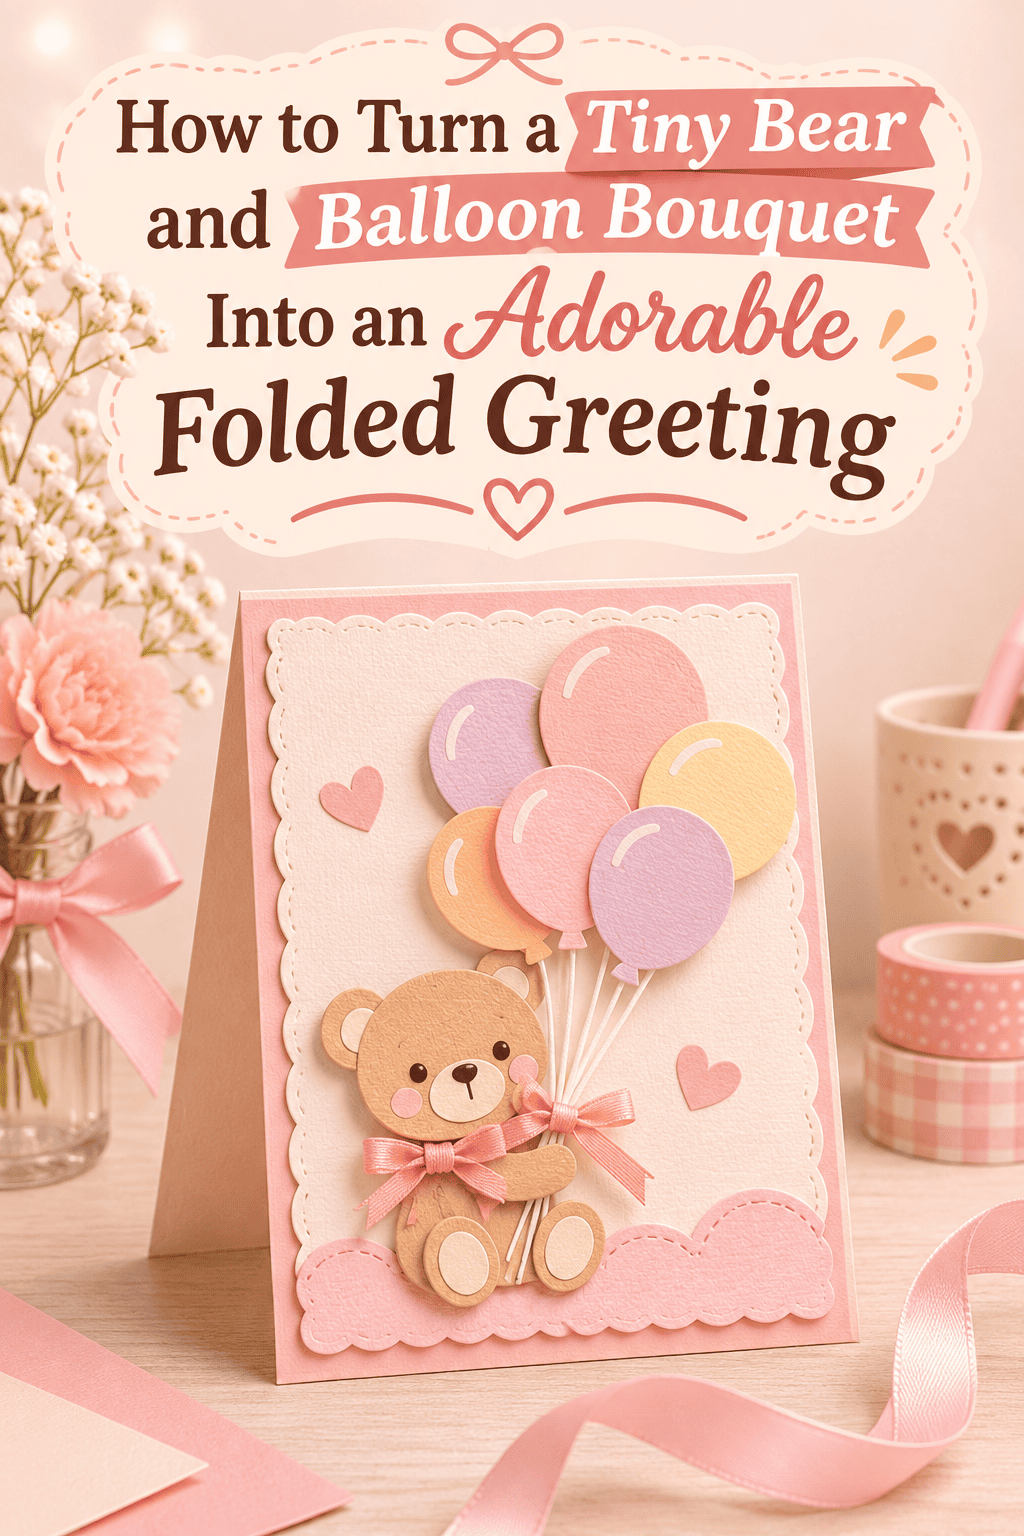
Imagine opening a card and a tiny teddy bear pops up, clutching a bunch of colorful balloons. Instant smiles, guaranteed.
This pop-up greeting is easier than it looks, and it only takes paper, scissors, and a little glue. It works for birthdays, baby showers, thank-yous, or “just because.” Let’s fold one.

What You’ll Need
- Heavyweight cardstock for the card base (A5 or 5 x 7 inches)
- Cardstock or kraft paper in brown or tan for the bear
- Pastel and bright colored paper for the balloons
- Scissors and a craft knife
- Ruler and pencil
- Bone folder or the back of a spoon for crisp folds
- Double-sided tape or craft glue
- Foam adhesive squares (optional, for extra dimension)
- Black fine-tip pen and a pink pencil for the face and cheeks
- Twine or thin ribbon for the balloon strings
Tip: Use cardstock for the base and thinner paper for the bear and balloons. It keeps the pop-up light and easy to fold.

Step 1: Build the Card Base
- Fold your large cardstock sheet in half and crease it firmly with the bone folder.
- Decorate the front however you like: a solid color, a scalloped edge, or a tiny paper cloud.
- Choose a soft pastel for the inside so the bear and balloons stand out.
A clean, simple base lets the pop-up be the star.
Step 2: Make the Pop-Up Mechanism
This is the clever part, and it’s simpler than it sounds.
- Cut a strip of cardstock about 1 inch wide and 4 inches long.
- Fold it into a rectangular box shape, like a small tube.
- Glue the tab to close it, then flatten it.
- Attach one side to the inside back of the card and the other to the inside front.
- Close the card slowly to check that it folds flat.
Test it before adding the decorations. Adjust the strip length if it bulges.
Step 3: Shape the Bear
Keep your bear small and sweet.
- Cut a circle (about 1.5 inches wide) for the head
- Add two small half circles for ears
- Cut a larger oval for the body
- Add four tiny ovals for the arms and legs
- Layer a lighter tan oval on the belly and muzzle for contrast
Glue the pieces together, then draw tiny dot eyes, a nose, and a curved smile. Dab a little pink pencil on the cheeks.

Step 4: Make the Balloon Bouquet
- Cut 5 to 7 balloon shapes in different sizes. Ovals with a tiny triangle at the bottom work well.
- Add a small white highlight to each balloon with a gel pen or scrap of white paper.
- Cut strings from twine in varying lengths.
- Glue the strings to the back of each balloon.
- Gather the loose ends and glue them to the bear’s paw.
Mix pastels with one or two bold colors for a playful, joyful look.
Pro tip: Slightly curl each balloon around a pencil so they look rounded instead of flat.
Step 5: Attach It All to the Pop-Up
- Glue the bear to the front of the pop-up box
- Use foam squares behind the bear for a lifted effect
- Fan out the balloons so they rise above and beside the bear
- Fold the card shut slowly to make sure nothing sticks out
If the balloons catch, trim the longest ones or shorten the strings.

Add the Final Touches
Little details make it feel truly special.
- Write a message on the inside back panel (birthday wishes, congratulations, or a thank-you)
- Add a tiny paper banner or bunting across the top
- Scatter paper confetti or small star stickers on the inside
- Add a few embossed dots or gold-foil accents on the balloons
Leave space around the bear so the pop-up has room to breathe.
Fun Variations
Once you’ve mastered the basics, try these:
- Baby shower: Use soft neutrals and a bear in a tiny paper bow tie
- Birthday: Add a paper party hat and a bold rainbow of balloons
- Get well soon: Add a mini bandage on the bear’s arm
- Anniversary: Switch to red and pink heart-shaped balloons

Gift It Beautifully
- Slip the card into a kraft envelope with a ribbon or wax seal
- Add a tiny matching sticker to the back flap
- Tuck in a small treat, like a chocolate or a packet of seeds
- Pack it flat so the pop-up doesn’t crush in the mail
Final Thoughts
A tiny bear and a bunch of balloons can turn a simple card into a moment of delight. With a few folds, some paper, and a little patience, you can make a greeting that feels personal and a little bit magical. Make one for a friend, then maybe a few more for the season ahead.
Loved this project? Save this post to your DIY Paper Crafts board and make your bear-and-balloon card this weekend!