Skip to content

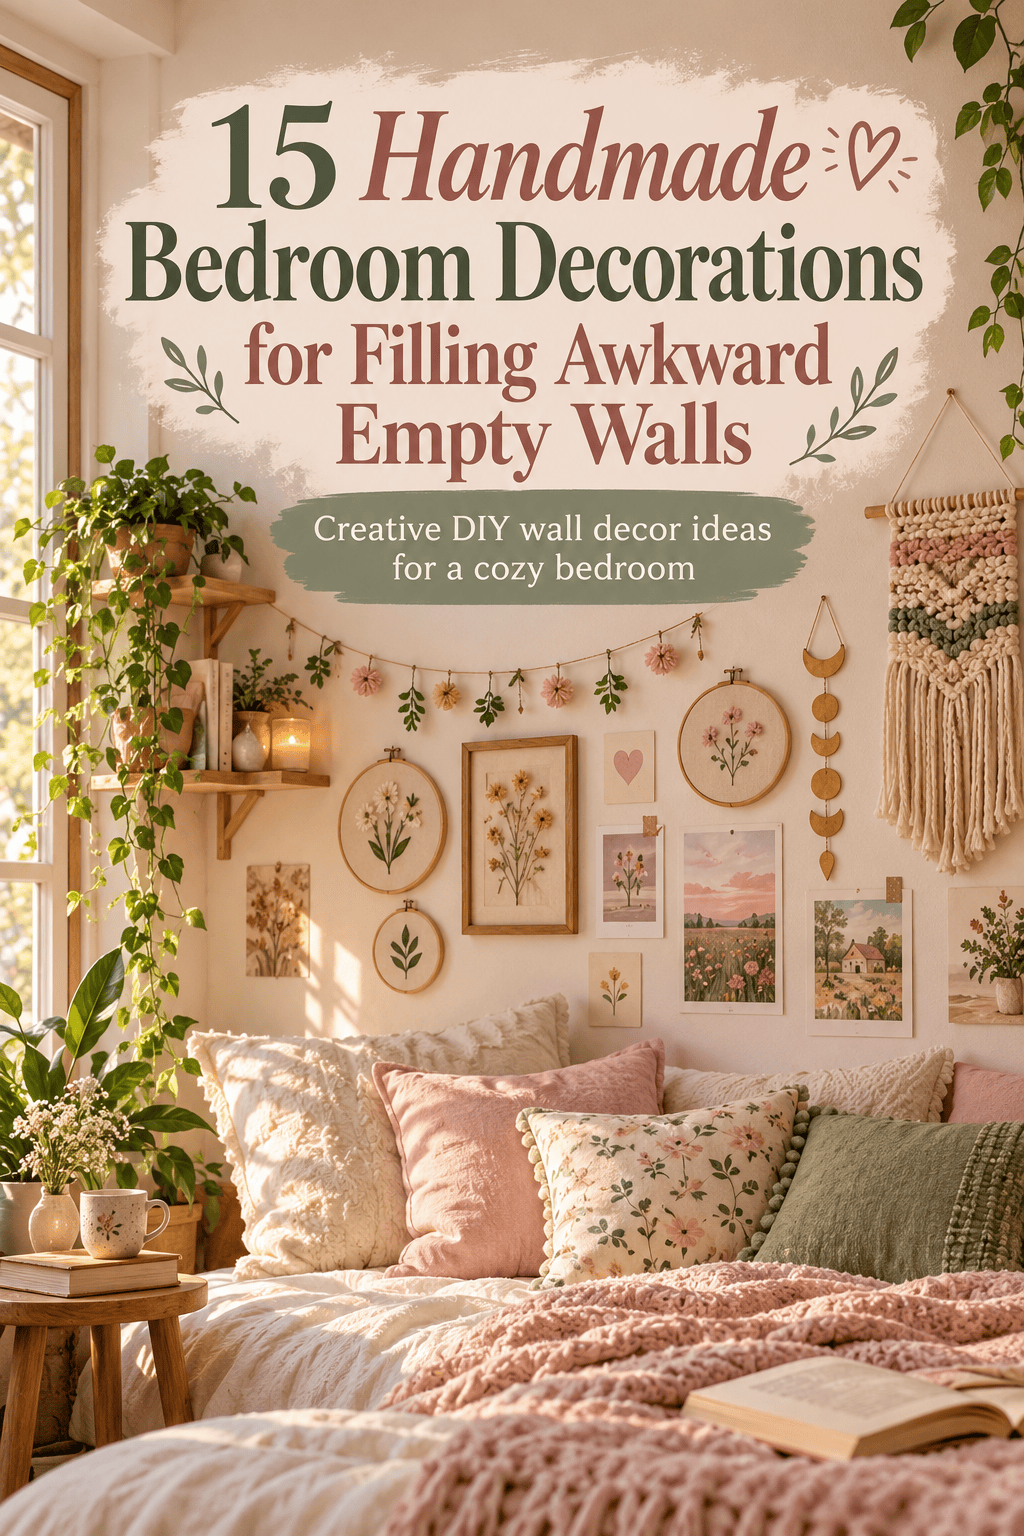

An empty bedroom wall has a way of nagging at you — it is the first thing you see when you wake up and the last thing before sleep. Filling it well matters, but filling it with something mass-produced from a home goods chain feels like a missed opportunity. Handmade bedroom decorations bring personality, warmth, and a sense of ownership to a space that no shop-bought poster can replicate. They also cost a fraction of the price of framed art or statement furniture. This guide covers 15 handmade bedroom decoration ideas that work specifically for awkward empty walls — too wide, too narrow, too high, or just difficult to fill with a single piece.
1. Macramé Wall Hanging
A macramé wall hanging fills a large expanse of empty wall with texture, dimension, and warmth — it suits almost every bedroom style from minimal to maximalist.
Buy a wooden dowel or thick branch about 50cm wide. Cut lengths of cotton macramé rope — 3mm single strand is the most beginner-friendly weight. Each rope should be four times your desired finished length.

Fold each rope in half and attach to the dowel using a lark’s head knot. This is the starting knot for almost all macramé work — fold the rope in half, push the loop over the dowel, and pull the two tails through the loop.
The most beginner-friendly macramé pattern uses only square knots. Take four strands and tie: left strand over the two center strands and under the right, then right strand under the center strands and through the left loop. Repeat for the reverse half. Together these form one square knot.
Work rows of square knots down the hanging. Alternate the groupings between rows for a diagonal diamond pattern.
Trim the bottom ends into a fringe or comb them out for a fluffy finish.
Budget Tip
A 100-meter spool of 3mm macramé cotton covers a generous wall hanging. Wooden dowels are sold cheaply at craft and hardware stores. A complete macramé wall hanging costs under ten dollars in materials and makes a dramatic impact on an empty wall.
2. Pressed Flower Gallery Wall
A gallery of pressed flower frames turns an empty wall into a botanical display that looks genuinely curated — and costs almost nothing if you collect the flowers yourself.
Collect flowers from your garden or on walks. Press them between sheets of absorbent paper inside a heavy book. Leave for two to three weeks until completely dry and flat.

Mount pressed flowers on card or watercolor paper cut to fit standard frames. Position the flower on the card, dab a tiny amount of PVA glue on the stem and heavier parts, and press gently. Allow to dry flat before framing.
Choose frames in a coordinating finish — all natural wood, all white, or all black — for a cohesive gallery look. Mixing frame styles can look scattered rather than collected.
Arrange frames on the floor in your intended layout before hanging anything. Photograph the arrangement from above and use the photo as your hanging guide.
Budget Tip
Identical frames from a discount home store are more affordable than mixed frames from a framing shop. Buy the same frame in multiple quantities — the per-unit price is often lower. Wildflowers, garden flowers, and foliage all press beautifully and are free.
3. Woven Yarn Tapestry
A woven wall tapestry is slower to make than a macramé piece but produces a completely flat textile surface that suits more minimal bedroom styles.
Build a simple loom from a wooden picture frame. Wrap warp threads — plain cotton string or thin yarn — around the frame from top to bottom at even intervals of about 5mm. These vertical threads are the foundation of your weave.

Thread a blunt tapestry needle with your chosen yarn and weave horizontally over and under alternate warp threads. At the end of each row, reverse direction. Push each row tightly against the previous one with a fork or comb.
Change colors freely — cut the old yarn and begin the new color at the same point. The back of the tapestry hides all the yarn ends.
Create texture by making loops — push the yarn under a warp thread and pull up a small loop rather than lying it flat. Rows of loops create a pile texture.
Budget Tip
Yarn from thrift stores or yarn swaps is free or nearly free. Old knitwear unraveled provides free yarn in interesting textures. The loom is a picture frame from a charity shop. A complete woven tapestry uses materials that cost almost nothing and produces a unique piece that suits a bedroom wall particularly well.
4. String Art Geometric Panel
String art turns a wooden board and a handful of nails into a graphic geometric wall panel — the overlapping threads create complex visual patterns from a simple nail arrangement.
Cut or buy a wooden board in your desired size — 30x30cm or 40x40cm suits most bedroom walls. Stain or paint the board in a dark color — navy, black, or deep walnut stain — to maximize contrast with the string.

Draw your design onto the board with pencil. Simple shapes work best — a diamond, a star, a triangle, or a heart. Hammer small nails at regular intervals along all the outline edges of your drawn shape.
Thread a spool of fine craft string — metallic copper, gold, or silver work beautifully against dark boards. Tie the string to one nail and begin wrapping — nail to nail in any sequence you choose. There is no fixed rule for the wrapping sequence.
The more threads you add, the denser and more complex the pattern becomes.
Budget Tip
A small bag of panel pins and a spool of metallic craft thread cost very little. The board can be a piece of reclaimed wood cut to size at a hardware store. String art panels are particularly effective in narrow spaces between windows or beside doorways where a framed picture would be too wide.
5. Personal Shadow Box Display
A shadow box filled with personally meaningful small objects makes a bedroom wall decoration that is entirely unique — no one else in the world has the same collection of objects with the same meaning.
Buy a deep shadow box frame — these have a depth of 3–5cm between the backing and the glass front, allowing three-dimensional objects to sit inside.

Collect small objects that carry personal meaning — dried flowers from a meaningful occasion, a ticket stub, a small photograph, a stone from a memorable place, handwritten notes on card.
Arrange objects on the backing card before fixing anything permanently. Move them around until the composition feels balanced — vary heights using small pieces of foam backing to lift some objects forward.
Fix objects to the backing with strong adhesive or small pins. Close the frame.
The finished shadow box is deeply personal — it tells a specific story in a way no purchased art piece ever could.
Budget Tip
Shadow box frames are sold affordably at craft stores and can be found secondhand. The contents cost nothing — they are objects you already have with personal significance. A shadow box makes an excellent bedroom decoration because it is the one wall piece in the room that is entirely about the person who lives there.
6. Abstract Painted Canvas
An abstract painting on canvas is genuinely approachable for anyone willing to try — abstract work has no right or wrong result, which removes the pressure that makes people avoid painting.
Buy a pre-stretched canvas in the size that suits your wall. A 40x50cm canvas suits a medium wall section. A 60x80cm canvas fills a larger space as a single statement piece.
Start with three colors maximum. Choose colors that already exist in your bedroom — pull from your bedding, curtains, or a rug. Squeeze paint directly onto the canvas in rough blobs.

Use a wide brush, a palette knife, or even a piece of card to spread the paint across the canvas in broad strokes. Do not aim for a recognizable image. Work quickly while the paint is wet for soft edge blending.
Let the first layer dry. Add a second layer with one of the same colors in a slightly different position. Add pencil or charcoal marks over the dried paint for line detail.
Budget Tip
Acrylic paint from a budget craft range costs very little. Pre-stretched canvases are affordable at craft stores, especially in standard sizes. An abstract canvas in colors that match your room always looks considered regardless of skill level because the color coordination does the work.
7. Dried Botanical Branch Display
A natural branch mounted on the wall with dried flower bundles hanging from it brings an organic, earthy quality to a bedroom wall that no framed print can achieve.
Find a straight branch or piece of driftwood about 60–80cm long. Strip any loose bark and let it dry completely if freshly cut.
Mount the branch on the wall using two small cup hooks screwed directly into the wall or two nails with the branch resting in the notch above each nail.

Tie dried flower bundles to the branch using natural twine. Hang bundles at different heights and with varying spacing for an organic, asymmetric display rather than an even line.
Dried lavender, pampas grass, wheat, eucalyptus, and dried rose heads all work beautifully together. Mix textures — fluffy pampas beside fine wheat beside solid round rose heads.
Add small clay beads or wooden beads threaded onto twine between some bundles for textural variation.
Budget Tip
Garden dried flowers are free from your own growing season. Pampas grass is widely available cheaply at discount home stores. Eucalyptus branches dry beautifully from fresh — hang upside down for two weeks. The branch itself costs nothing if collected from a garden or park.
8. Hand-Painted Wall Mural
A painted directly-on-the-wall mural fills an awkward large empty space better than any hanging — and a simple design is achievable even without formal art skills.
Choose a simple design that suits your style — a mountain range silhouette, a botanical branch with leaves, a geometric arch frame around a window, or an abstract color wash along the lower third of the wall.

Sketch the design lightly with pencil first. Use a level for any horizontal or geometric elements. For organic shapes like leaves and branches, draw freehand.
Use wall paint for large areas and acrylic paint for detail work. Wall paint in tester pot sizes covers most mural-sized areas. Mix colors to match your room palette.
Paint the design in two thin coats rather than one heavy coat. Thin coats dry faster and give more control.
If you make a mistake, repaint the background color over the error once dry and try again.
Budget Tip
Tester pots of wall paint cost very little and one pot covers surprisingly large areas of mural design. Acrylic paint handles detail and fine line work at low cost. A mural is permanent — plan the design thoroughly before picking up a brush. A removable chalk sketch on the wall first lets you test scale and position.
9. Wire and Clip Photo Display
A wire photo display is one of the most flexible bedroom wall decorations — photographs can be updated, added to, and rearranged without any rehung frames or wall damage.
Install two small cup hooks on the wall at your chosen height, spaced to the width you want. Stretch thin copper or brass wire between the hooks with enough tension to hold it horizontal — wrap the wire around each hook several times to secure.

Add two or three rows of wire at different heights below the first. Space the rows 15–20cm apart.
Clip photographs to the wires using small bulldog clips, wooden peg clips, or simple paper clips. Arrange photos by color, by theme, or completely randomly.
Add small dried flowers, fabric scraps, or notes between photographs for variety.
Budget Tip
A spool of thin copper craft wire costs very little. Small wooden peg clips are sold in bulk packs cheaply. Print photographs at home on standard photo paper or use an affordable photo printing service. The whole display costs under five dollars and holds as many photographs as you want to hang. Update it whenever your photographs or memories change.
10. Paper Sculpture Wall Art
A large paper sculpture mounted on the wall fills an empty space with three-dimensional texture that catches light differently throughout the day — particularly striking in white on white.
Cut petal shapes from thick white card — about 15–20cm long and 8cm wide at the base. Score a central line down each petal with the back of a knife and fold along the score line for a dimensional curve.

Arrange petals in concentric rings on the wall using removable adhesive putty or double-sided tape. Start with the outer ring, slightly overlapping each petal. Add inner rings with progressively smaller petals. Finish with a center cluster.
The overlapping dimensional petals create shadows that shift as the light in the room changes — the same piece looks different in morning and evening light.
This works beautifully in white on white — wall color visible between petals and petal faces catching light simultaneously.
Budget Tip
Thick white card from an art supply store or card blank packs is inexpensive. Removable adhesive allows the piece to be adjusted and rearranged without wall damage — ideal for rental properties. The material cost for a 40cm paper sculpture is negligible. The labor is a weekend afternoon of cutting and shaping.
11. Patchwork Fabric Wall Hanging
A patchwork panel made from fabric scraps becomes a soft, textural wall hanging — the combination of different fabric patterns and textures creates visual richness without any single piece needing to be particularly interesting alone.
Collect fabric scraps in a coordinating color palette — all cream and warm neutral tones, or all blue-green tones, or all terracotta and warm earth tones. The color coordination is what makes a patchwork hanging feel designed rather than random.

Cut scraps into equal-width horizontal strips — about 8cm wide each — and varying lengths. Sew the strips together end to end in a long joined strip, then fold the joined strip back and forth into rows, sewing the rows together.
Press all seams flat after sewing each join. Flat seams create a smoother, more deliberate finished panel.
Fold the top edge of the panel over a wooden dowel and hem it in place. This creates a channel that the dowel slides through for hanging.
Leave the lower edge raw or stitch a simple hem.
Budget Tip
Fabric scraps from old clothing, thrift store fabric finds, and remnants are free or nearly free. A wooden dowel costs very little. This hanging works beautifully in a space that needs softness and warmth added to hard walls — it has an acoustic softening effect in the room as well as visual warmth.
12. Air-Dry Clay Wall Tiles
A cluster of handmade clay tiles mounted on a wall creates a three-dimensional, tactile art installation from inexpensive air-dry clay.
Roll air-dry clay into flat slabs about 8mm thick. Cut irregular organic shapes — not perfect squares or circles, but slightly imperfect forms that read as handmade.
Press different textures into each tile before drying — a real leaf for botanical vein texture, a comb for parallel lines, a sponge for organic surface irregularity, and a smooth tool for a clean untextured tile. Vary the textures across the full set.
Press a small hanging loop from wire into the back of each tile while still soft. This loop allows the tile to hang on a small nail or hook.
Dry the tiles slowly and completely — rushed drying causes cracking. Once dry, seal with matte varnish.
Budget Tip
Air-dry clay is one of the most affordable craft materials available. A large block costs under five dollars and makes many tiles. The wire loop hangers allow individual tiles to be removed and rearranged at any time — add to the cluster as you make more tiles over time. The collection grows and changes naturally.
13. Hand-Lettered Wall Quote
A hand-lettered quote written directly on the wall is a bold statement piece that fills a large empty space with personal meaning and personal handwriting.
Choose a short quote — under 10 words — that genuinely means something to you rather than a generic sentiment. Personal significance makes a quote worth waking up to.

Practice the lettering on paper first until you are confident with the layout. Work out letter spacing, word breaks across multiple lines, and the overall size. Transfer the layout to the wall using a light pencil sketch first.
Use a chalk marker for a semi-permanent version that can be wiped off with a damp cloth if you want to change it later. Use wall paint with a fine brush for a permanent version.
Brush script lettering looks impressive and is forgiving of slight inconsistencies — the natural variation of handwork gives it charm rather than looking like a mistake.
Budget Tip
A white or black chalk marker costs very little and is the most reversible option for rental properties. The design costs nothing beyond the marker. Practice writing at large scale before starting on the wall — large-scale hand lettering feels different from writing at normal size and a few practice sessions on paper build the muscle memory needed.
14. Twig Sunburst Mirror Frame
A round mirror surrounded by a DIY sunburst frame made from twigs or dowels becomes a bold statement wall piece — mirrors add light and depth to a bedroom wall while the sunburst frame fills the surrounding empty space.
Buy a simple round mirror — unframed mirrors are sold cheaply at discount home stores. Place the mirror on a flat surface.

Collect straight twigs of varying lengths from garden pruning or buy thin wooden dowels. Cut them to lengths that graduate from shortest at the inner ring to longest at the outer points.
Arrange twigs in a radial pattern around the mirror edge with the inner end of each twig sitting against the mirror rim. Glue each twig firmly to the mirror backing or to a circular backing board that the mirror is mounted on.
Spray paint all the twigs in matte gold or leave natural.
Mount the whole piece on the wall with a strong picture hook through the backing board.
Budget Tip
Twigs from pruning are free. An unframed round mirror from a discount store costs very little. Matte gold spray paint transforms natural twigs into something that looks like a deliberate design material. The sunburst shape fills a much larger wall area than the mirror alone — making it ideal for large, awkward wall spaces.
15. Chunky Yarn Fiber Art Hanging
A thick yarn fiber art piece — made from heavy-weight yarn in natural tones — creates the most tactile, dimensional wall piece on this list. It suits a bedroom wall that needs warmth and softness more than color.
Mount a thick wooden dowel on the wall — either directly wall-mounted or hanging from two nails. The dowel should be wide enough to support the full width of the hanging.
Cut chunky yarn in multiple lengths — some at 60cm, some at 80cm, some at 100cm. The variation in length creates an organic, layered bottom edge.

Fold each yarn length in half and attach with a lark’s head knot to the dowel. Pack the knots closely together so the yarn hangs densely.
Work sections in different treatments — leave some sections as smooth hanging strands, braid others, twist some pairs together, and knot groups of four in alternating rows.
Trim the bottom edge in a straight line or a V-shape.
Budget Tip
Chunky yarn from the sale bin at a craft store or unraveled from old knitwear is free or nearly free. Heavy natural fibers — jute rope and cotton macramé cord mixed with yarn — add texture variation. This piece requires no tools beyond scissors and produces an installation that looks considerably more expensive than its material cost.
Conclusion
Awkward empty bedroom walls stop being a problem the moment you decide to fill them with something made rather than something bought. The 15 ideas in this guide cover every wall type — large feature walls that need a single statement piece, narrow strips between windows that suit a slim string art panel, and high walls above the bed that are perfect for an oversized macramé hanging. The materials are affordable across every single project here, and most require only a weekend afternoon to complete. Start with the project that suits the specific wall you are looking at right now — the awkward one that has been empty too long. Make it, hang it, and step back. The difference a handmade piece makes in a bedroom is not just visual. It changes how the room feels to spend time in — and that is worth a weekend’s work.