Skip to content

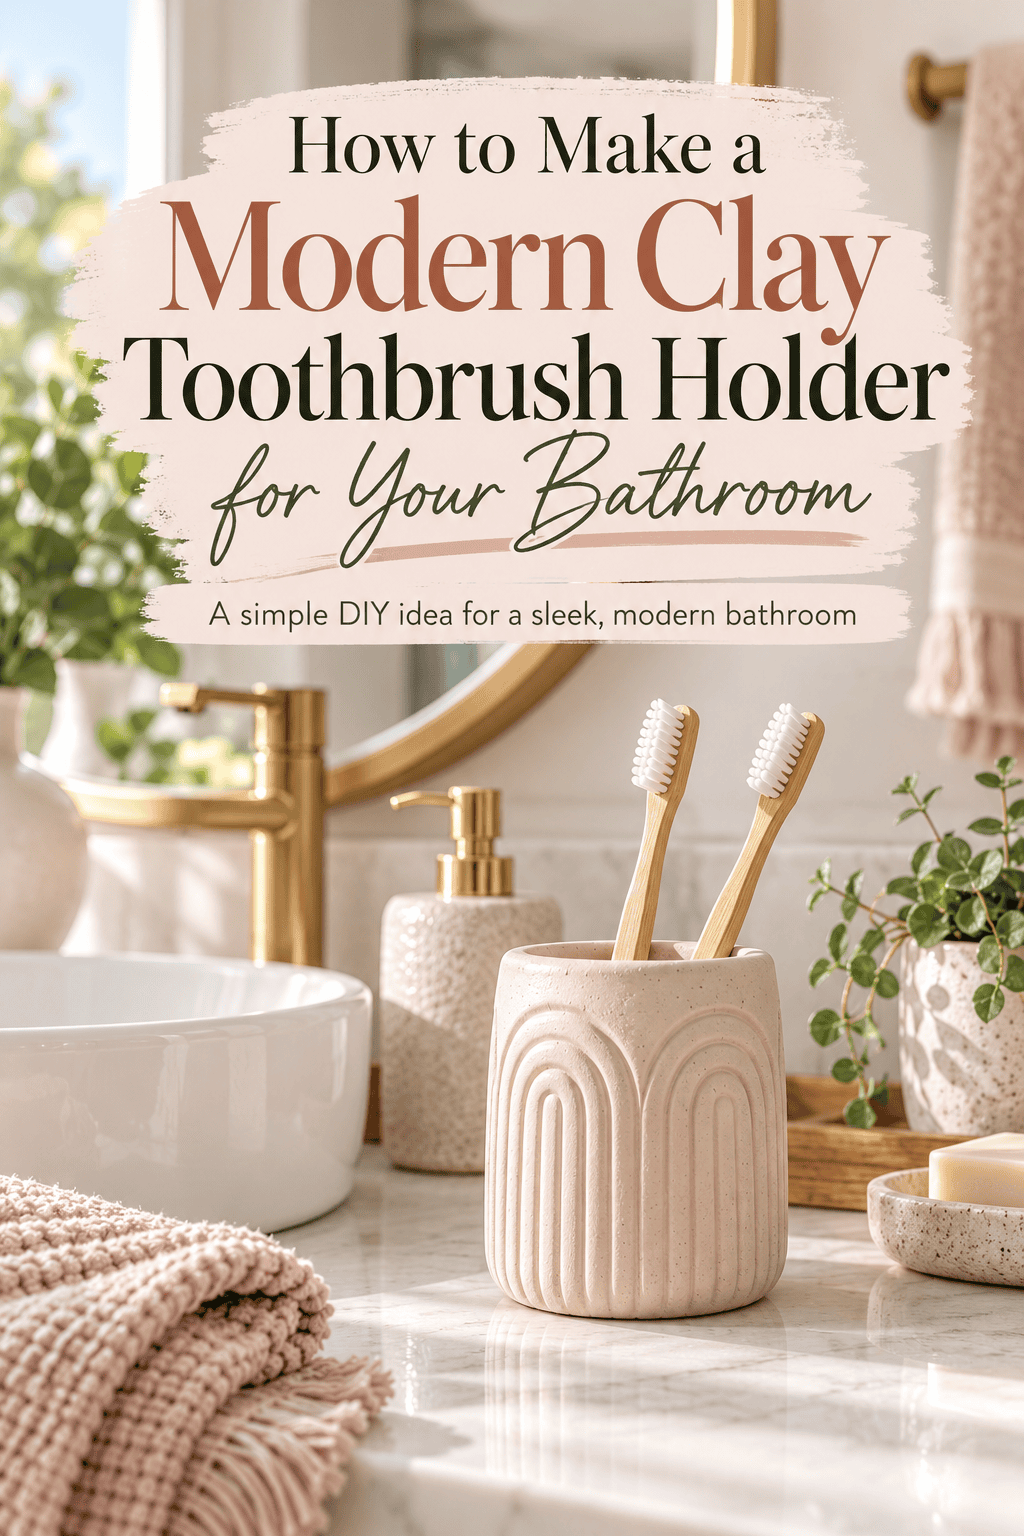
Here is a small but significant truth about bathrooms: they’re used twice a day, every single day, for your entire life — and yet most people put almost no thought into how they actually look. The toothbrush holder sitting on your sink right now is probably a glass tumbler, a plastic cup, or some forgettable piece of hardware store ceramic that you bought without really deciding on it. It’s time to replace it with something you actually chose. Something you actually made.

A clay toothbrush holder is bathroom self-care in the most literal sense — a functional object made by hand, built to your exact specifications, in the finish and style that actually suits your space. And since it lives on your sink counter every day, the return on a single afternoon of making is essentially infinite.
What You’ll Need
The supply list is short. The impact on your bathroom is not.
- Air-dry clay — a 300–400g block is sufficient for a standard toothbrush holder
- A rolling pin or smooth glass bottle
- A sharp craft knife or clay blade and metal ruler
- A round cutter, thick marker lid, or drill bit for sizing the toothbrush holes
- A toothpick or skewer for texture and detail work
- Sandpaper — medium grit (120) for shaping, fine grit (220) for finishing
- Acrylic paint in your chosen finish
- Waterproof sealant — use exterior-grade polyurethane or waterproof craft varnish, not standard indoor sealant. A bathroom is a wet environment and this step is non-negotiable.
- A foam brush for smooth, even sealant application
- Optional: stamps, lace, or botanicals for surface texture

Choosing Your Holder Style
Before rolling any clay, decide on your construction approach. The style you choose determines how you build from the ground up.
The three most buildable modern toothbrush holder forms:
Option 1: The solid block with punched holes
A thick rectangular or cylindrical block with holes pushed straight down through the top surface. Clean, minimal, architectural. The holes hold toothbrushes upright from above. The most beginner-friendly option with the most modern aesthetic.
Option 2: The open vessel
Built like a small vase — walls assembled around a base, open at the top. Toothbrushes rest inside at a natural angle. More traditional in form, beautiful when given a modern finish.
Option 3: The slanted tray
A thick slab with holes punched at a slight forward angle so toothbrushes lean slightly toward you for easy grabbing. Functional and visually interesting — the angled handles give the piece an intentional, designed quality.
Pick your form and sketch the approximate dimensions. A standard toothbrush handle is roughly 2.5cm wide — your holes need to be just slightly wider than this for a clean fit without forcing.
Building Your Holder
[Detailed Image Prompt] Hands pressing a thick marker lid straight down into a solid clay block to punch a clean circular toothbrush hole, three other cleanly punched circular holes already visible across the top surface of the rectangular clay block, a ruler and craft knife resting beside the piece on a wooden work surface, calm natural window light, focused and methodical clay construction process detail.
For the solid block method — the approach most beginners find cleanest and most satisfying:
- Condition your clay thoroughly — two full minutes of kneading until completely smooth, warm, and crack-free when flexed.
- Build your block in layers rather than from one solid mass. Roll thick slabs and stack them, scoring and slipping between each layer, until you reach your desired height — aim for 8–10cm tall so toothbrushes sit securely with enough handle exposed for easy gripping.
- Compress and smooth the exterior with damp hands once your layers are built up, blending the joins completely until the exterior looks like a single solid piece.
- Flatten all four sides by pressing firmly against a flat surface — a tile works well for this. A perfectly rectangular block looks far more modern than a slightly rounded one.
- Mark your hole positions on the top surface with a light fingertip press before committing — space them evenly, leaving at least 1.5cm between each hole and 1cm from each edge.
- Punch your holes using a thick marker cap, a large straw, or a dowel the same diameter as a toothbrush handle. Press straight down with a firm, even twist — remove the clay plug from your punch tool after each hole.
- Clean up each hole interior with a damp fingertip, smoothing the inner walls of each channel so toothbrushes slide in and out cleanly.
Texture and Surface Design

A modern toothbrush holder earns its aesthetic through restraint — the texture should feel deliberate rather than decorative.
Surface options that read as genuinely modern:
- Vertical toothpick lines drawn at even intervals around all four sides — minimal, graphic, and very clean
- Single geometric stamp pressed once or twice on the front face only — a diamond, square, or hexagon motif
- Completely smooth — no texture at all, letting the form and colour carry everything. Particularly striking in matte black or warm white.
- Linen impression — press a small piece of fine linen fabric against one face and roll lightly over it for an all-over fabric texture that looks refined and tactile
Work surface texture while the clay is still soft, then set aside to dry. A solid block this thick needs four to five days to dry completely through to the center. Test by pressing the base firmly — if it feels even slightly cool or gives at all, it’s still drying.
Sanding, Painting, and Waterproofing
Sand in two deliberate stages once bone dry:
- 120 grit — flatten the base completely, refine all four side faces, sharpen any geometric edges you want crisp
- 220 grit — entire exterior until smooth and consistent. Run your fingertip across every surface; any roughness you can feel will show through paint.
Clean all dust with a barely damp cloth and allow to dry fully before painting.
Modern bathroom colour options:
- Matte white — the most versatile, most bathroom-appropriate finish. Works with marble, tile, wood, and every towel colour.
- Warm cream — slightly softer than pure white, with more warmth. Beautiful against natural stone countertops.
- Matte black — graphic and bold. Particularly striking in a predominantly white bathroom.
- Sage green — unexpected and quietly beautiful. Brings a botanical softness to bathroom styling.
- Terracotta — warm and earthy, particularly lovely in a bathroom with warm wood accents
Two to three thin, even coats of acrylic paint, fully dried between each. A foam brush gives a smoother result than a bristle brush on flat geometric surfaces.
Then seal — and seal properly, because this object will live in a wet environment permanently:
Apply waterproof polyurethane varnish in four to six coats, curing fully between each. Pay particular attention to the interior of every toothbrush hole — these surfaces contact wet toothbrush handles daily and need thorough coverage.

Two Minutes Every Morning, Now Beautiful
Load your toothbrushes in, set it on your bathroom counter, and notice the difference every single morning and evening for the rest of time. That’s the return on this project — daily.
Save this project for your next bathroom refresh and make the matching soap dish and small tray while you have the clay out. A cohesive handmade bathroom set in the same finish is the kind of detail that makes a whole room feel like it was designed rather than assembled. Your bathroom deserves that. 🪥✨