Skip to content

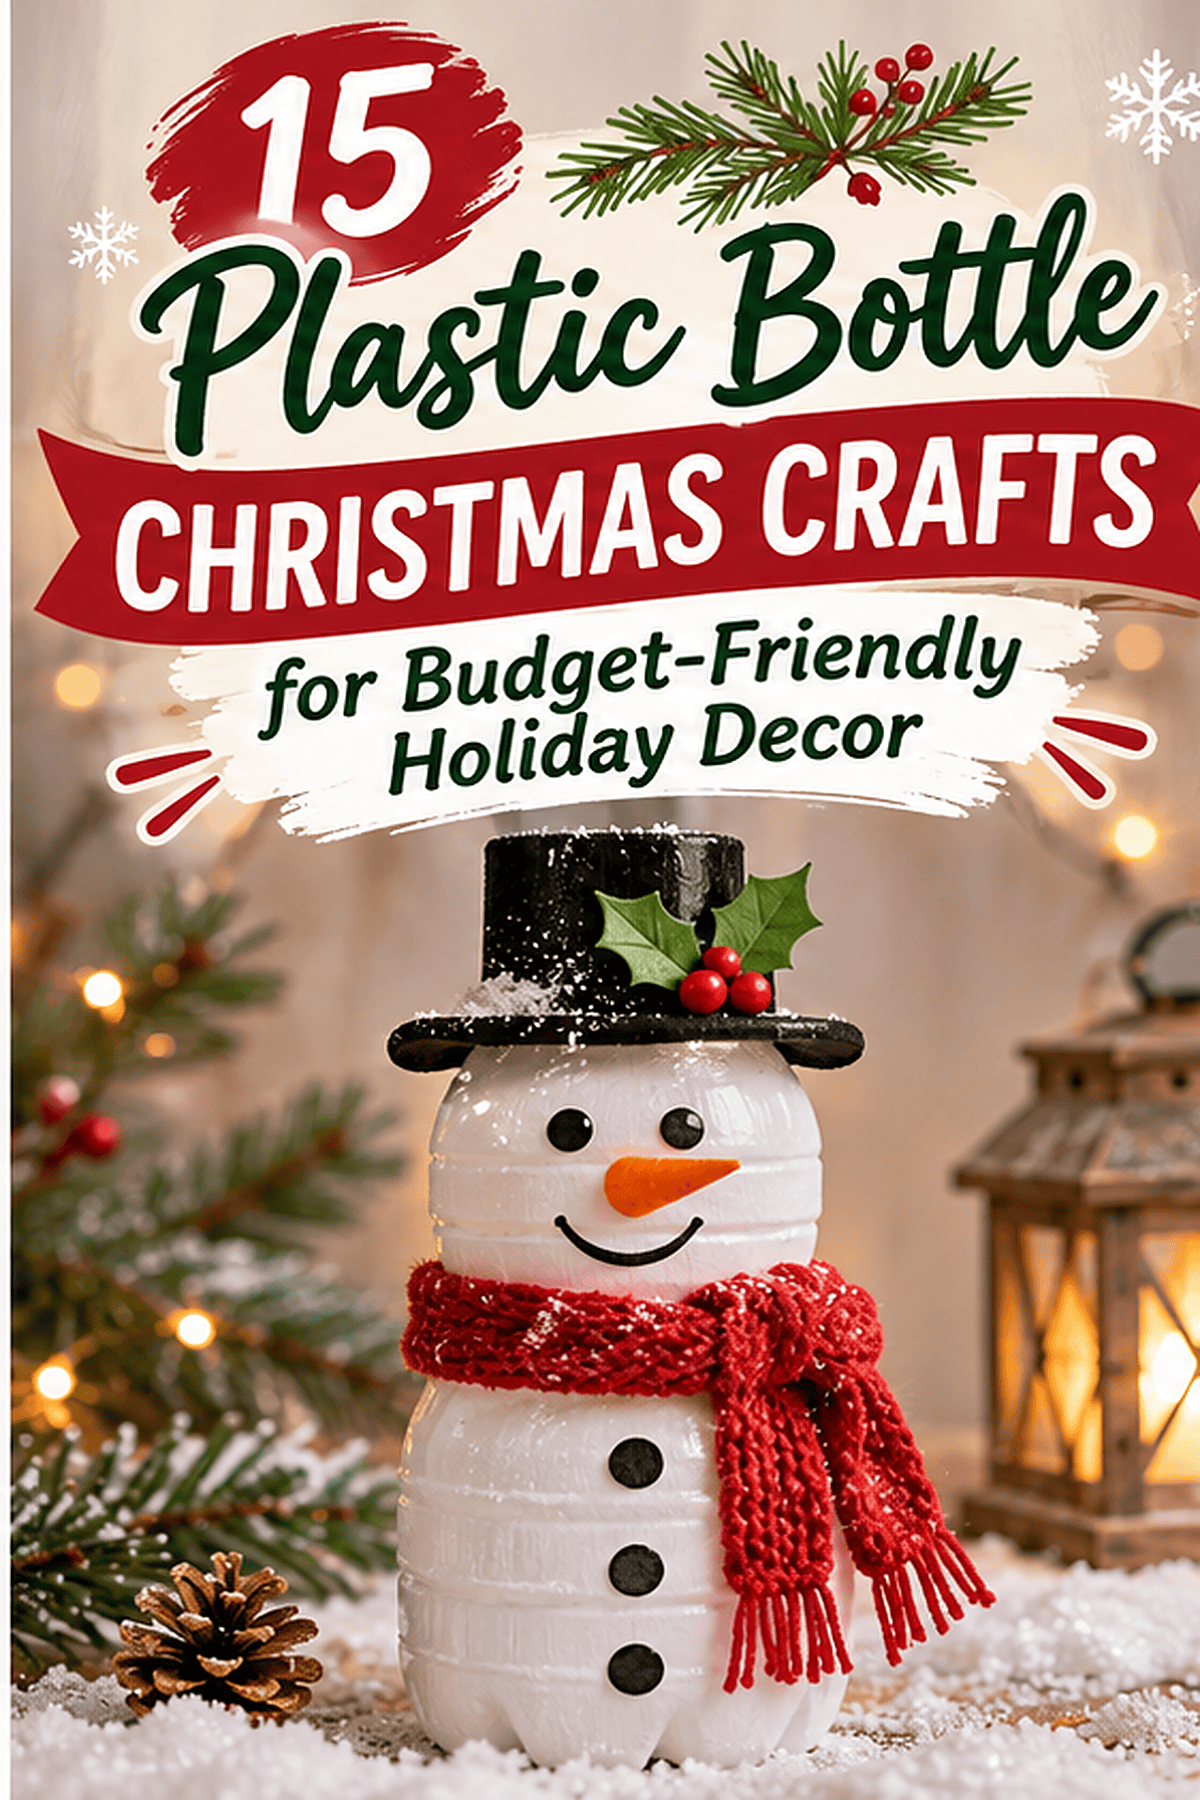

Every December the recycling bin fills with plastic bottles, and most of them could become holiday decor. A cut bottle bottom looks like a flower. A clear bottle frosted with paint looks like glass. A few cuts, some glue, and a little paint turn trash into snowmen, bells, wreaths, and lanterns. You do not need special tools or a big budget. If you are searching for plastic bottle Christmas craft ideas, this list gives you 20 projects to try. Each one uses bottles you already have and cheap supplies like glue, twine, and acrylic paint. Rinse a few bottles, pick one project, and start making this weekend.
1. Frosted Bottle Snowman
A snowman is the easiest bottle character. The round shape already looks like a body.
Rinse a clear two-liter bottle and peel off the label. Let it dry fully. Paint the outside with white acrylic paint, using a sponge for a soft, frosted look. Add a second coat once the first dries.
Cut a strip of red fabric for the scarf and tie it around the neck. Make a hat from black craft foam or a paper cup painted black. Glue it to the cap.

Roll a small orange cone from paper for the nose. Glue it on. Add two black dots for eyes and a row of dots for the mouth with a marker.
Fill the bottle with a handful of rice so it does not tip. Do this before painting.
Save money by using leftover paint and fabric scraps from old clothes.
Make a family of three in different bottle sizes. Line them up on a mantel.
2. Bottle Bottom Poinsettia
The bottom of a bottle has built-in petals. Paint it red and it becomes a poinsettia.
Cut the bottom three inches off a clear bottle with petal-shaped ridges. Use sharp scissors and sand the edge smooth. Cut a few small slits along the rim to shape each petal into a point.
Paint the outside with red acrylic paint. Let it dry, then add a second coat. For a glossy look, finish with clear nail polish.

Make a second smaller layer from another bottle bottom. Nest it inside the first for a fuller flower.
Glue a gold button, a bead, or a clay dot in the center. Roll a tiny ball of air-dry clay, flatten it, and paint it gold.
Cut green leaves from a cereal box and paint them. Glue the flower on top.
Save money by using bottles from your recycling. Tape a loop of twine to the back to hang it.
3. Bottle Neck Jingle Bell
The tapered top of a bottle already looks like a bell. A little gold paint finishes the shape.
Cut the top four inches off a clear bottle, keeping the neck and the cap. Trim the cut edge with scissors so it is even. Sand it smooth.
Paint the outside with gold acrylic paint. Use two coats and let each dry for an hour. A sponge gives a nice textured finish.

Poke a hole in the cap and thread a wooden bead on a piece of string. Tie a big knot inside the bell so the bead hangs below the rim as a clapper.
Tie a red ribbon bow around the neck. Add a loop of twine to hang the bell.
Save money by using gold craft paint or a gold marker you already own.
Make five bells in different sizes. Hang them from a branch in a vase for a pretty display.
4. Bottle Cap Wreath
Bottle caps look like tiny ornaments. A ring of them makes a cheerful wreath.
Collect 30 to 40 plastic caps in red, green, and white. Ask friends to save theirs. Wash and dry them.
Cut a ring from a cardboard box. Make it about 10 inches wide with a three-inch band. Glue the caps onto the ring in a tight pattern. Use hot glue and work in small sections.

Overlap the caps slightly so no cardboard shows. Alternate colors for a festive look.
Paint plain caps if you do not have enough colors. Use red and green acrylic and let them dry.
Add a ribbon bow at the bottom. Tie a loop at the top for hanging.
Save money by gluing the wreath onto a cardboard ring instead of buying a foam one.
Hang it on a door or a wall. Make a small one for a window.
5. Bottle Pinecone Tree
A small tree made of bottle scales looks like a pinecone. It stands on a shelf or a table.
Cut many strips from the sides of green bottles. Make them about two inches wide and three inches long. Round one end of each strip to look like a scale.
Cut a cone from cardboard about 12 inches tall. Glue it onto a flat cardboard base for stability.

Glue the scales onto the cone in rows, starting at the bottom. Overlap each row so the glue hides. Work upward until the cone is covered.
Paint the tips with white acrylic for a frosted look.
Add a gold star at the top. Cut one from craft foam or a cardboard cutout covered in foil.
Save money by using green soda bottles. Clear bottles work too if you paint them green.
Wrap a string of battery lights around the tree for a cozy glow.
6. Bottle Lantern With Cutouts
A lantern throws star-shaped light on the wall. A bottle gives you the right size and shape.
Cut the top off a clear two-liter bottle. Keep the bottom half. Sand the cut edge smooth.
Draw small stars and dots on the outside with a marker. Heat a nail or a metal skewer and carefully poke a hole at each dot. An adult should do this step. Use a small star cutter or a craft knife for bigger shapes.

Frost the bottle by dabbing on white paint with a sponge. Leave some areas thin so light passes through.
Place a battery tealight inside. Never use a real flame in a plastic bottle.
Save money by using a hole punch on a paper-covered bottle for a faster pattern.
Tie a ribbon around the base for a festive touch. Make three in different sizes.
7. Bottle Reindeer
A bottle reindeer is a body with antlers. Kids can help with the decoration.
Rinse a small plastic bottle, such as a juice bottle. Paint it brown with acrylic paint. Let it dry and add a second coat.
Twist two brown pipe cleaners into antler shapes. Push the ends into the cap, or glue them on top. Bend the branches for a natural look.

Glue googly eyes near the top of the bottle. Add a red pom-pom for the nose. Use a bit of black marker for nostrils.
Make ears from brown craft foam. Cut two small leaf shapes and glue them behind the antlers.
Save money by using buttons for eyes and a red bottle cap for the nose.
Add a small bow around the neck with a scrap of ribbon.
Make a whole team of reindeer in different sizes. Line them up on a shelf.
8. Bottle Snow Globe
A snow globe is a sealed bottle with a tiny scene inside. It is simple and magical.
Choose a small clear plastic bottle with a smooth surface. Wash it and remove the label. Make a tiny scene from air-dry clay. A small tree, snowman, or house works well. Paint it and let it dry. Seal it with varnish so it survives water.
Glue the scene to the inside of the cap with waterproof glue. Let it cure for a day.

Fill the bottle with water. Add a spoonful of white glitter and a few drops of glycerin or clear soap. These slow the snow as it falls.
Screw the cap on tightly. Seal it with a ring of hot glue around the edge.
Turn the bottle upside down and shake. Watch the snow swirl.
Save money by using glitter from old craft projects.
9. Bottle Angel Ornament
An angel is a body, a head, and a pair of wings. A bottle makes a handy body.
Cut the top four inches off a clear bottle. Turn it upside down so the neck faces up. The wide bottom forms a skirt. Paint it white with acrylic paint.
Glue a wooden bead onto the neck for a head. Draw a small face with a pen.

Make wings from two coffee filters. Fold each one in half, pinch the middle, and glue them to the back. Spray them with a bit of gold paint for shimmer.
Add a halo from a gold pipe cleaner. Bend it into a circle and glue it on top.
Save money by using paper towels for wings and a small button for the head.
Tie a loop of twine to the top of the head so you can hang it. Make several in different sizes.
10. Bottle Candy Cane Stripes
A candy cane bottle is a stripe pattern wrapped around a long shape. It makes a cheerful centerpiece.
Choose a tall bottle with a straight body. Rinse it and remove the label. Paint it white with acrylic paint. Let it dry fully.
Wrap a strip of painter’s tape in a spiral around the bottle. Leave even gaps between each wrap. Press the tape edges down well.

Paint the open spiral with red paint. Use a sponge brush and thin coats. Let it dry for an hour.
Peel off the tape while the paint is slightly damp. A clean white and red stripe pattern appears.
Add a green ribbon bow around the neck.
Save money by using a leftover paint sample.
Fill the bottle with dried branches or pine sprigs for a table display. Make two or three in different heights.
11. Bottle Garland of Snowflakes
A bottle’s flat side makes thin, clear plastic. It is perfect for cut snowflakes.
Cut the sides of a clear bottle into flat sheets. Rinse them and let them dry. Trace a snowflake template onto each sheet with a marker. Cut it out with scissors.
Paint the snowflakes white. Use a thin coat so the plastic still looks frosted. Add silver glitter while the paint is wet.

Poke a small hole near the top of each snowflake with a nail. Thread a piece of twine through each hole and tie them to a long string.
Space them about four inches apart on the string.
Save money by using kitchen glitter or crushed salt for a frosty look.
Hang the garland across a window. Light from outside makes it glow.
Make mini snowflakes from small scraps and attach them in the gaps.
12. Bottle Gift Tag Stars
A bottle’s plastic makes light, strong gift tags. Stars look pretty on kraft paper.
Cut a flat panel from the side of a bottle. Trace a star shape with a marker. Cut it out with sharp scissors. Smooth the edges with sandpaper.
Poke a small hole near one point with a nail. Paint the star in gold or silver with acrylic paint. Add a second coat once the first dries.

Write a name on the star with a paint pen once the paint has dried.
Thread a loop of twine or ribbon through the hole and tie it onto a gift.
Save money by making tags from thin plastic lids or yogurt containers.
Make a batch of ten at once. Keep them in a small box for last-minute gifts.
The tags double as tree ornaments. The recipient can reuse them every year.
13. Bottle Table Centerpiece Candles
A trio of painted bottles makes a centerpiece. Battery candles keep it safe.
Pick three bottles in different heights. Rinse and dry them. Paint each one with a base coat of white, red, or green. Let them dry. Add a second coat for solid color.
Decorate with dots or stripes using a small brush. Gold dots look elegant. Add a ribbon around each neck.

Set a battery tealight or LED candle on top of each bottle. Choose ones with a flat base. Never use real flames near plastic.
Arrange the bottles on a tray or a runner. Add pine branches, pinecones, and a few red berries around the base.
Save money by gathering pine from your yard.
Fill each bottle with sand or rice to add weight so the trio does not tip.
14. Bottle Mini Tree Forest
Cut bottles can become small trees. A group of them makes a winter forest.
Cut three bottles at different heights. Keep the bottom parts. Cut a zigzag pattern around the top edge of each piece so it looks like a pine silhouette.
Paint them green with acrylic paint. Dab white paint on the tips for snow. Let them dry.

Glue a small wooden bead or a clay trunk to the bottom of each tree so it stands on a flat base. Roll a small cylinder from air-dry clay, paint it brown, and glue it in place.
Arrange the trees on a white cloth or a tray with cotton for snow. Add a tiny snowman or a deer for a scene.
Save money by using scrap cardboard for the base.
Add battery lights under the cloth for a glowing effect.
15. Bottle Stocking Holder
A bottle can hold a stocking on a table or a mantel. It looks like a tiny Santa.
Choose a tall bottle. Rinse it. Paint the lower half red and the top white, so it looks like a coat and a face. Let it dry fully.
Cut a strip of white felt to wrap around the middle. Glue it in place to make a fur belt. Add two black buttons or paint two dots for a buckle.

Cut a small hat from red felt. Glue the seam and set it on the cap. Add a white pom-pom at the tip.
Cut a mini stocking from felt and drape it over the bottle’s arm. Or hang a small bag from a loop of ribbon.
Save money by using scrap felt or fabric.
Place several bottle Santas on a shelf, each with a stocking in a different color.
Conclusion
Plastic bottles turn into holiday decor with a little paint and a few cuts. Snowmen, bells, wreaths, lanterns, and snow globes all use bottles from your own recycling and supplies that cost almost nothing. Start with a snowman or a bottle bottom poinsettia, then try the lantern or the snow globe once you feel comfortable. Keep a bin of clean bottles and caps near your craft supplies. Always use battery candles with plastic, and ask an adult to handle the cutting and hole-poking steps. Pick one project today, rinse a bottle, and start making your holiday decor.