Skip to content

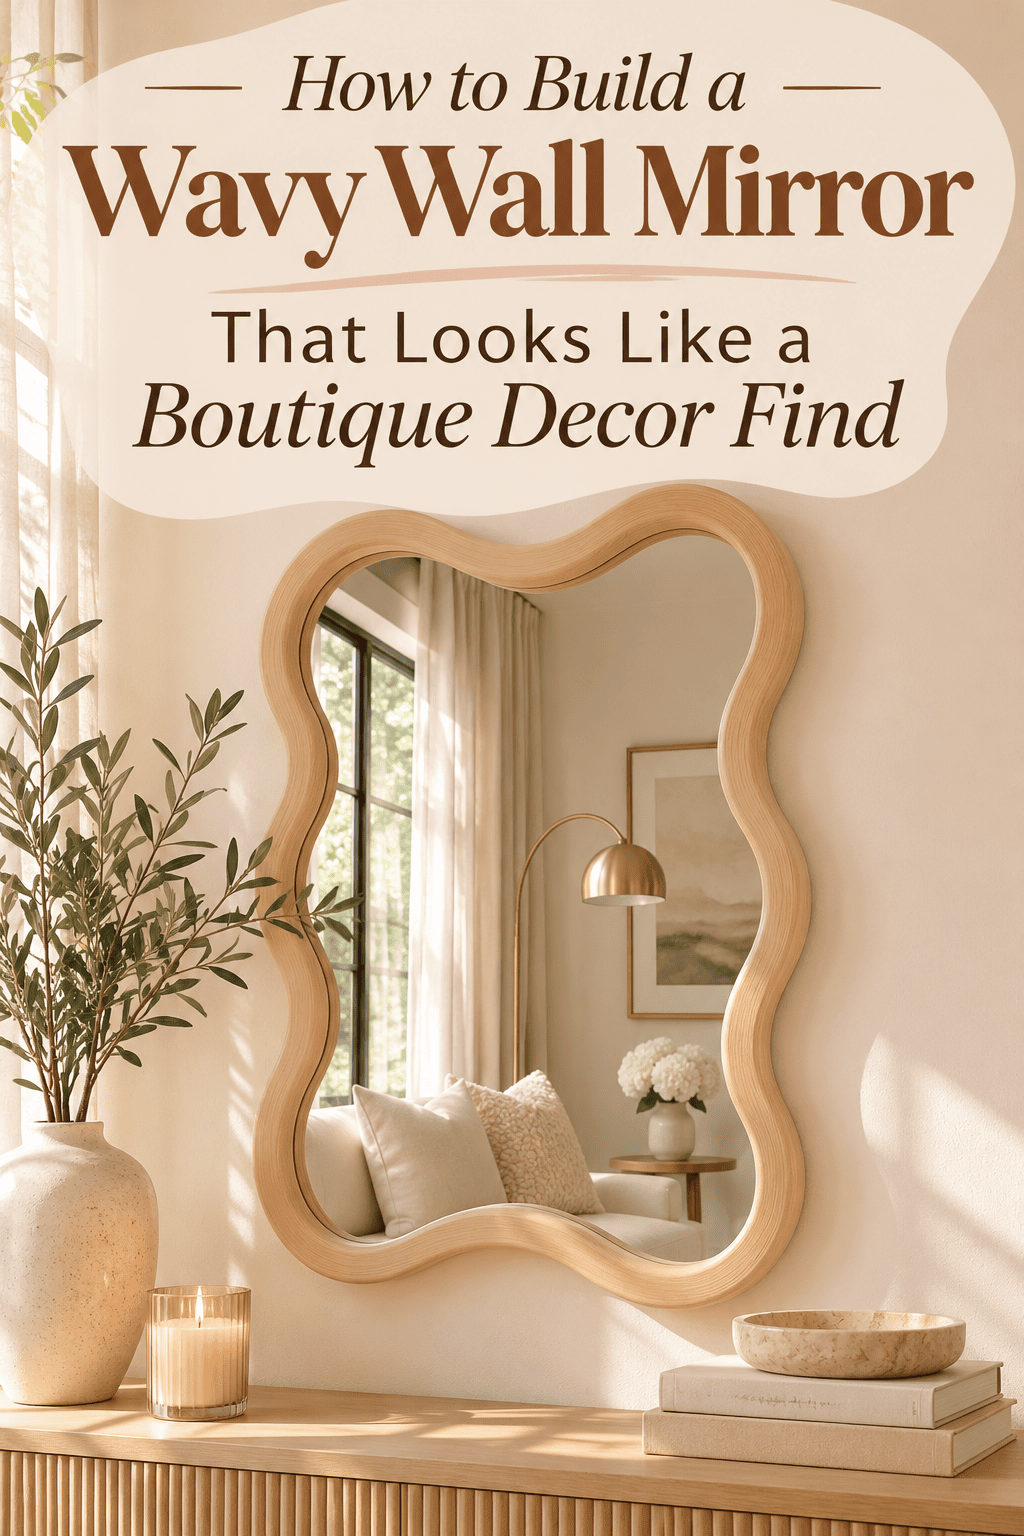
Those curvy, organic mirrors with soft, flowing edges are everywhere right now, and they often come with a hefty price tag. The good news? You can make one at home with a few simple materials and a free afternoon.
A wavy mirror adds softness, light, and instant style to any wall. Let’s build one that looks like it came straight from a designer shop.

What You’ll Need
- A mirror (round or oval, flexible mirror sheets or a standard mirror work well)
- Thick cardboard or 1/4-inch plywood or MDF for the wavy frame
- Pencil, ruler, and a large bowl or plate for tracing
- Jigsaw or sturdy craft knife (adult use)
- Sandpaper in medium and fine grit
- Strong construction adhesive or mirror adhesive
- Lightweight spackle, joint compound, or air-dry clay
- Acrylic paint or matte spray paint
- Matte clear sealer
- Picture-hanging hardware rated for the weight
Tip: Choose a smaller, lightweight mirror for your first project. It’s easier to handle and hang.

Step 1: Design Your Wavy Shape
Soft, flowing curves make the look.
- Trace your mirror onto the plywood or cardboard to mark the center.
- Draw a wavy outer edge about 2 to 4 inches away from the mirror’s edge.
- Keep the curves rounded, like gentle petals or ripples.
- Aim for 8 to 12 waves for a balanced shape.
Trace a bowl or plate repeatedly along the edge to create even scallops.
Step 2: Cut the Frame
- Cut along the wavy outline with a jigsaw (adults only)
- Cut out the center opening slightly smaller than the mirror, so the mirror sits behind it
- Wear safety glasses and a dust mask
- Sand every edge until smooth and rounded
Take your time with the curves. Slow, steady cuts give the cleanest result.
Pro tip: If you’re using cardboard, layer and glue two or three sheets together for strength.
Step 3: Sand and Smooth
- Start with medium-grit sandpaper to remove rough spots.
- Switch to fine-grit for a silky finish.
- Wipe away dust with a damp cloth.
- Check that every curve looks soft, not sharp.

Step 4: Add Texture for the Boutique Look
Texture makes it feel designer.
- Spread a thin layer of joint compound over the frame with a putty knife
- Dab with a sponge or brush for a plaster-like finish
- Let it dry fully, then sand lightly for a soft, stone-like feel
- Add a second coat for a thicker, more sculptural look
Slight imperfections add charm and make the mirror feel handcrafted.
Step 5: Paint Your Color
Pick a shade that fits your room.
- Warm cream: timeless and bright
- Terracotta: earthy and cozy
- Sage green: calm and organic
- Soft black: modern and bold
- Sand beige: subtle and natural
Apply two thin coats of matte paint and let each dry completely.
Tip: Matte finishes look more high-end than glossy ones.
Step 6: Attach the Mirror
- Lay the frame face down on a clean surface.
- Run a bead of mirror adhesive around the back opening.
- Carefully set the mirror in place, reflective side facing the frame opening.
- Press gently and weigh it down with books.
- Let it cure for 24 hours.
Use gloves when handling the mirror and keep fingers clear of edges.

Step 7: Seal and Hang Safely
- Brush on a thin coat of matte sealer to protect the finish
- Attach heavy-duty D-rings or a wire to the back
- Use wall anchors or studs rated for the mirror’s weight
- Ask a friend to help lift and hang it
- Check that it hangs level and secure
Always follow the weight guidelines on your hanging hardware.
Styling Ideas
- Hang it above a console table with a lamp and a vase
- Place it in an entryway to bounce light into a dark corner
- Lean a larger one on the floor for a casual look
- Pair with a floating shelf for a styled vignette
- Group two or three different sizes for a gallery feel

Troubleshooting Tips
- Edges look uneven? Sand again and smooth with a thin coat of compound
- Paint streaks? Use thinner coats and a soft brush
- Frame feels heavy? Use cardboard or MDF instead of plywood
- Mirror shifting? Add extra adhesive and clamp until cured
- Surface cracking? Let each coat dry fully before adding another
Final Thoughts
A wavy mirror is one of the easiest ways to bring boutique style into your home. With simple tools, a little texture, and a favorite paint color, you can craft a piece that looks designer and feels deeply personal. Start with one, enjoy the process, and watch your walls glow.
Loved this project? Save this post to your DIY Home Decor board and build your wavy mirror this weekend!