Skip to content

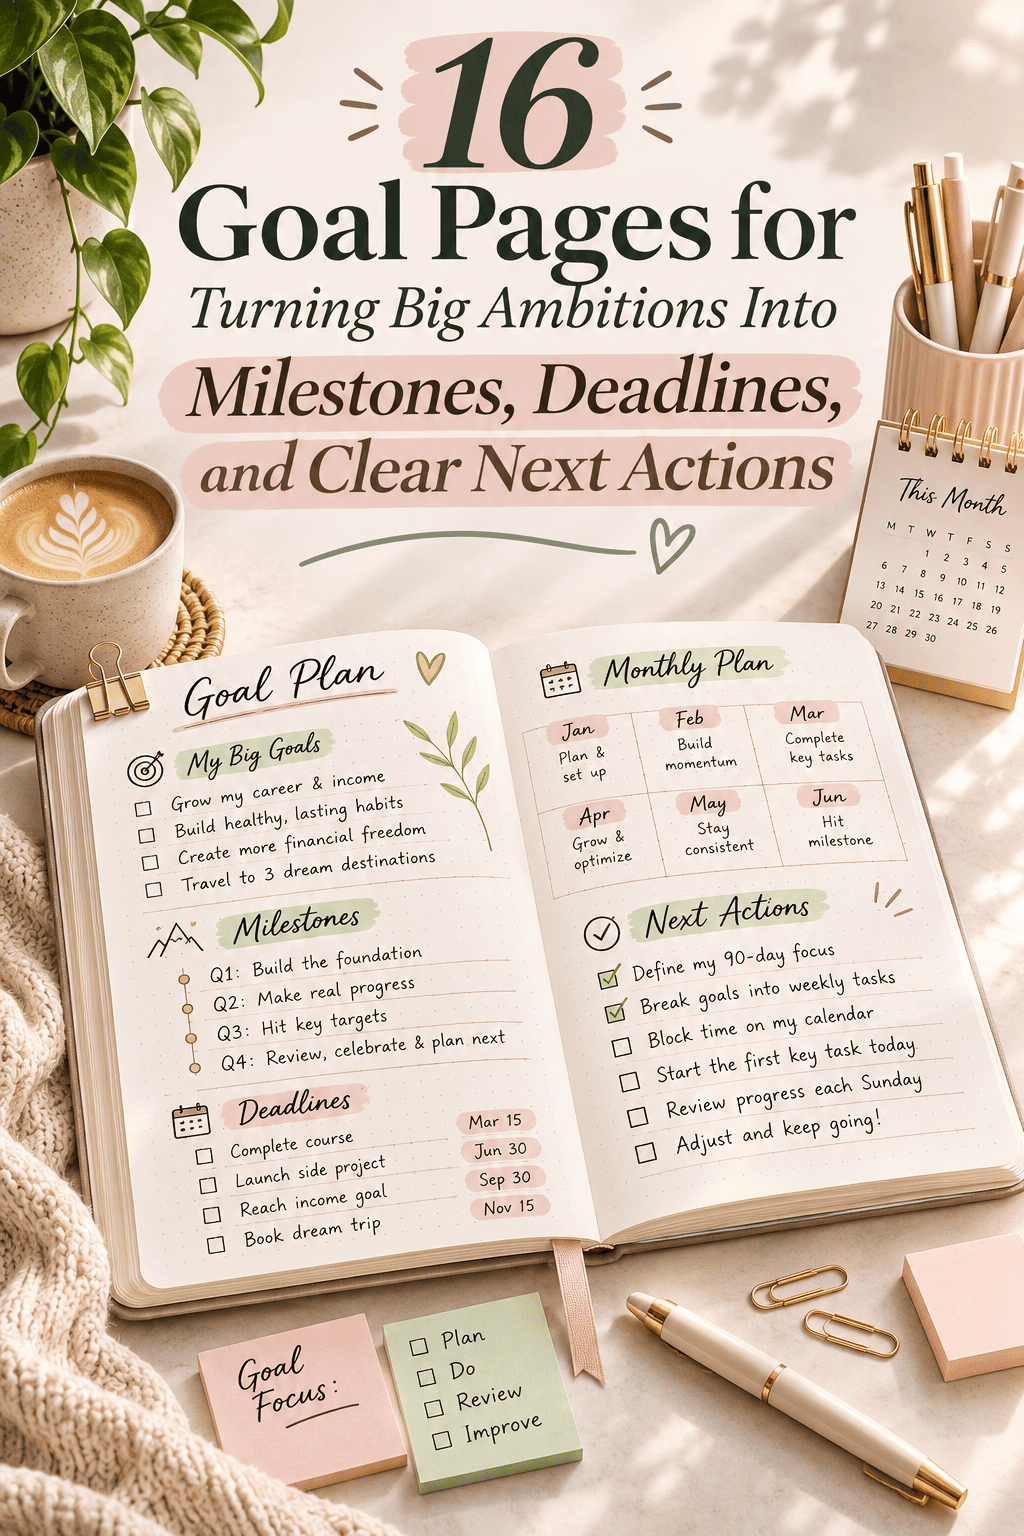

Big goals fail when they stay big. “Write a book” or “get fit” sounds exciting on January first, but it gives your brain nothing to do on Tuesday. A bullet journal fixes that by cutting the goal into pieces you can see, date, and check off. One page can hold the finish line, the milestones, and the very next move. If you are searching for bullet journal goal tracking ideas, this list gives you 20 page layouts to try. Each one uses a notebook, a pen, and a ruler. Each one takes about fifteen minutes to set up. Pick one big ambition, choose a layout, and draw your first page tonight.
1. Goal Mountain Page
A mountain turns a vague goal into a climb. You can see the top and every step on the way.
Draw a large triangle across the page with a ruler. Add a small flag at the peak. Write your goal beside the flag.
Slice the mountain into five horizontal bands with light pencil lines. Each band is one milestone. Label the bottom band “start” and work upward. Give each band a rough date.

Write one small action inside each band. Keep it short. “Outline chapter one” beats “make progress.”
Shade each band as you finish it. Use a colored pencil you already own.
Save money by sketching in pencil first. Ink the lines only when the layout feels right.
Add tiny trees at the base for fun. They cost nothing and make the page feel calm.
Review the mountain every Sunday. Pick the next band and plan your week around it.
2. Milestone Ladder
A ladder shows order. You cannot skip a rung, so the sequence is clear.
Draw two long vertical lines down the page, about an inch apart. Add six to eight rungs between them with a ruler. Put a small circle at each rung.
Write your goal at the top. Write your starting point at the bottom. Fill the rungs from the bottom up with milestones in order.

Add a date beside each rung. Space them out evenly or match them to real deadlines, like a class, a trip, or a race.
Fill each circle with color when you finish that rung. Seeing the bottom rungs filled gives you a lift on slow days.
Save money by using a ruler from your desk and any pen you have.
Keep rungs small. If a step feels heavy, split it into two.
Use this page for goals with a clear order, like learning a skill or saving for a purchase.
3. Deadline Countdown Strip
A countdown makes time visible. Each empty box is a day you still have.
Pick a deadline that matters, such as an exam, a launch, or a trip. Count the days between now and then. If it is 30 days or fewer, draw one box per day. For longer spans, draw one box per week.
Draw a long strip of boxes across the bottom of the page. Use a ruler and keep each box the same size. Number them from the first day to the last.

Color one box each day. It takes five seconds and feels good.
Add a mini milestone flag above key boxes. Draw a tiny triangle and a short note about what must be done by then.
Save money by using colored pencils or highlighters you already own.
Cut the strip across two pages if it is long. Use washi tape to link them.
Place a bright sticker on the final box so the deadline stands out.
4. Next Action Box
Most goals stall because the next step is fuzzy. A next action box fixes that with one clear move.
Draw a bold rectangle at the top of your goal page. Write only one task inside. It should take thirty minutes or less and start with a verb. “Email the venue” works. “Plan event” does not.
Below the box, list three backup actions in order. These are the moves that come after.

When you finish the action, cross it out and move the next one into the box. The box always holds one thing.
Keep the task physical and specific. Name the person, the file, or the place.
Save money by clipping a paper clip to the page. Move it to mark where you are.
Check the box first thing each morning. Do the action before you open your inbox.
If an action sits for three days, shrink it. Smaller tasks get done.
5. Reverse Timeline From the Finish
Planning backward shows you what must happen and when. Start at the finish and work toward today.
Draw a long horizontal line across a two-page spread. Put your finish date on the far right with a flag. Put today on the far left.
Ask one question at the finish: “What must be true one step before this?” Write the answer a few weeks earlier. Keep asking the same question as you move left.

Mark each answer with a small flag and a date. You will end with five to eight checkpoints.
Compare the gaps. If two flags crowd together, you have too little time. Move a date or cut a task.
Save money by using pencil until the dates feel right.
Add a buffer week before the final deadline. Life gets in the way.
Use this layout for projects with a hard date, like a wedding, a move, or a presentation.
6. Monthly Milestone Grid
A grid gives a full year at a glance. Each box holds one monthly milestone.
Draw a three-by-four grid on one page. Use a ruler for equal boxes. Label each box with a month, starting from the month you begin.
Write your year goal at the top. Then give each month a single milestone. Make early months easy. Put harder steps in the middle. Leave the last month for finishing and review.

Use one word and one number in each box when you can. “Draft 3 chapters” beats a paragraph.
Color the box when you hit the milestone. If you miss it, move the task to the next box and keep going.
Save money by drawing the grid in pencil and inking it later.
Add a tiny icon in each box, such as a book, a shoe, or a coin. Icons make the page quick to scan.
Review the grid on the first day of every month.
7. Weekly Sprint Spread
Weekly sprints turn milestones into doable chunks. You pick a small target and chase it for seven days.
Draw seven narrow columns across a spread, one for each day. Leave a strip at the top for your weekly target. Write one target tied to your current milestone. Keep it measurable, like “write 1,500 words” or “run three times.”
Place two or three tasks in each column. Circle the most important task each day.
Leave one day nearly empty. A rest day keeps the plan realistic.

At the end of the week, count what you finished. Write one line about what worked and one line about what slowed you down.
Save money by reusing the same layout every week. Draw it once and trace it on new pages.
Use a colored dot for each goal if you chase more than one. Blue for work, green for health.
Plan the sprint on Sunday evening. It takes ten minutes.
8. Habit Dot Tracker for Daily Goals
Big goals grow from small daily acts. A dot tracker shows whether you showed up.
Choose three to five habits that feed your goal. If the goal is to write a novel, try writing, reading, and walking. Keep habits small. “Write for ten minutes” works better than “write for two hours.”
Draw a grid with habits down the left side and days of the month across the top. Use dots in each box. A page like this takes about ten minutes to draw.

Fill a dot when you do the habit. Leave it empty if you skip. Do not erase empty dots. Honest dots help you spot patterns.
Look for chains. Seven filled dots in a row feels great and keeps you going.
Save money by using one colored pen and one pencil.
At the end of the month, count the filled dots. Write the total at the bottom and set a target for next month.
9. Savings Thermometer
A thermometer turns a money goal into a picture. As you save, the color rises.
Pick a savings target and a date. Divide the amount by the number of weeks. That gives you a weekly number. A $600 goal over 20 weeks is $30 a week.
Draw a tall thermometer with a round bulb at the bottom. Mark ten equal bands up the tube. Label each band with a running total. Write your final target at the top.

Color a band each time you save enough to fill it. Use red, coral, or any bright shade.
Make the page useful by adding a small box for how you saved. Note a skipped coffee, a sold item, or a side job.
Save money by finding no-spend days and logging each one.
Use a sticker or a small coin drawing at the top as a reward. Keep the picture simple and fun.
Check the thermometer on payday and move your color up.
10. Project Breakdown Tree
When a goal feels too large, split it. A tree shows how the big piece breaks into smaller pieces.
Draw a box at the top of the page and write your goal inside. Draw three lines down from it and add three boxes. These are your main parts. For a home refresh, they could be paint, furniture, and lighting.
Split each of those boxes into two or three smaller boxes. Keep splitting until every box at the bottom is a task you can finish in one sitting.

Number the bottom boxes in the order you plan to do them. Circle the first one.
Save money by using sticky notes instead of drawing boxes. You can move notes as the plan changes.
Use a pencil for the lines. Plans shift and erasing is easy.
Add a cost in the corner of each box. You will see where the money goes before you spend it.
Review the tree weekly and cross off finished boxes.
11. Priority Matrix Page
Not every task is equal. A matrix helps you pick what to do first.
Draw a large square across the page and split it into four boxes with a cross. Label the left side “urgent” and “not urgent.” Label the top “important” and “not important.”
List every task tied to your goal. Place each one in a box. Tasks that are important and urgent go in the top left. Important but not urgent tasks go in the top right.

Work from the top left first. Then spend your free time on the top right. Those tasks move your goal forward without a deadline pushing you.
Drop or delegate tasks in the bottom boxes. Many feel busy but do not matter.
Save money by using the matrix before you buy supplies. Many items fall in the bottom boxes.
Redraw the matrix once a month. Priorities shift.
Keep the top-left box short. Five tasks is plenty.
12. Obstacle and Solution Page
Plans fail on obstacles you did not see coming. This page lists them early and gives each one an answer.
Draw a line down the middle of the page. Label the left side “what could block me” and the right side “what I will do.”
Brainstorm five to seven obstacles. Think of time, money, energy, and other people. Write one on each line on the left.
Write a specific response for each obstacle on the right. Use an if-then format. “If I miss a workout, I will do ten minutes at night.” Keep each answer small and concrete.
Draw a small boulder beside each obstacle and a bridge beside each answer. The pictures make the page fun to read.
Save money by finding free fixes first. A library card or a friend can solve many problems.
Check this page when you feel stuck. The answer is already written.
Add new obstacles as you meet them.
13. Resource and Budget Tracker
Every goal costs something. A tracker shows what you need before you start.
Draw a table with four columns: item, cost, date needed, and bought. Fill the rows with everything the goal requires. For a garden, that might be soil, seeds, and tools.
Add the costs at the bottom to see the total. If the number feels high, cut or swap items.

Mark each row when you buy the item. Draw a check in the last column.
Save money by shopping secondhand first. Add a column for “free or borrowed” and fill it before you buy anything.
Set a spending cap at the top of the page. Stay under it.
List non-money resources too, such as time, helpers, and space. A goal with helpers moves faster.
Use this page for projects with real expenses, like a move, a class, or a home project.
14. Accountability Partner Page
Goals stick better when someone else knows about them. This page keeps a shared promise in view.
Pick a partner who has a goal of their own. A friend, a sibling, or a coworker works. Agree to check in once a week for ten minutes.
Draw a winding path across the page with two sets of footprints. Add stops along the path for your milestones.

Write your weekly promise at the top. Keep it small and clear. “Finish two lesson plans” works well.
Add a line at the bottom for your partner’s promise. You will each read the other’s page during the check-in.
At each meeting, color the footprints you earned. Ask your partner one question: “What got in the way?”
Save money by meeting on a walk or a phone call. It costs nothing.
Celebrate each milestone with a small treat, like tea or a short walk. Mark it with a star.
15. Reward Ladder With Small Treats
Rewards make progress feel good. A reward ladder links each milestone to a treat you pick in advance.
Draw five small gift boxes across the page, growing in size. Under each, write a milestone. The smallest box matches the first milestone and the largest matches the finish.
Choose a reward for each box. Keep the first ones free or cheap. A long bath, a favorite snack, or a free afternoon all count. Save the bigger reward for the final milestone.

Match the reward to the effort. A small win gets a small treat. A big win gets a bigger one.
Color the box when you earn the reward. Then actually take it. A reward you skip stops working.
Save money by making a list of free rewards. Walks, movies at home, and calls with friends all qualify.
Avoid rewards that work against your goal. A cake after a diet milestone sends mixed signals.
Update the ladder if a reward stops feeling exciting.
16. Monthly Review and Reset Page
A goal needs a regular check. A review page lets you learn from the month and set the next one.
Draw a large circle and split it into four wedges. Label them “worked,” “did not work,” “learned,” and “next.”
Fill the first wedge with wins. Write three things that went well. List the finished milestones and the habits that held.

Fill the second wedge with misses. Be honest and short. Name what slowed you down without blaming yourself.
In the third wedge, write one lesson. The fourth wedge holds your plan for next month: one milestone, one habit, and one deadline.
Do this on the last day of each month. Set a phone reminder. It takes fifteen minutes.
Save money by using the same page layout each month. Trace it or use a small stamp.
If a goal no longer fits, adjust it. A changed goal is not a failed goal.
Conclusion
A big ambition only moves when it has milestones, dates, and a next action. These pages give you a place to put all three. Start with one layout that fits your goal, such as the mountain, the countdown strip, or the next action box. Choose one ambition, draw the page tonight, and write the first small step in the box. Review it weekly and reset it monthly. Pencil, paper, and fifteen minutes are enough to start. Open your notebook now and draw your first goal page.