Skip to content

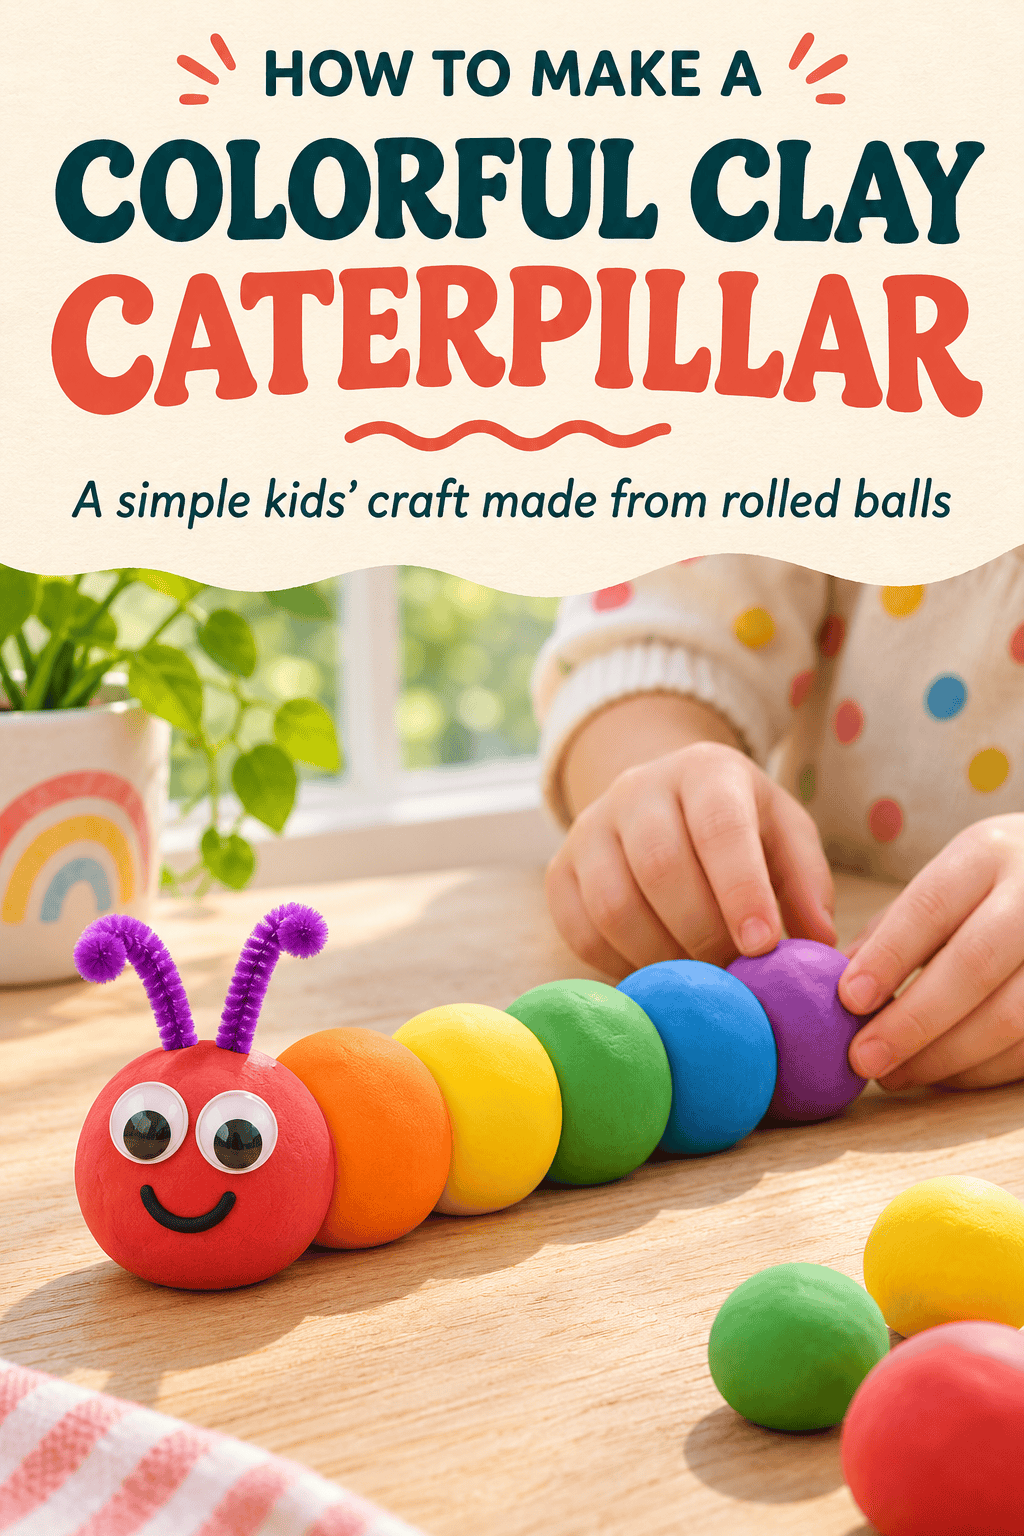
What’s green, wiggly, and made from nothing but squishy balls of clay? A caterpillar your kids can build all by themselves.
This craft is perfect for small hands. There’s no tricky technique, just rolling, stacking, and a whole lot of giggling. Grab some clay and let’s make a bug buddy.

What You’ll Need
- Air-dry clay or polymer clay in 4 to 5 bright colors
- Small black beads, or black clay for the eyes
- Thin craft wire or pipe cleaners for antennae
- Toothpicks for details
- A small bowl of water (for air-dry clay)
- A silicone mat or sheet of parchment paper
- Washable acrylic paint and a brush (optional)
- Clear sealer or glaze (optional)
Tip: Soft, pre-colored clay is easiest for little hands. Warm it up by squeezing it for a minute before you start.

Set Up a Kid-Friendly Workspace
A little prep keeps the fun going.
- Cover the table with a silicone mat or parchment paper
- Keep wipes or a damp cloth nearby
- Offer each child a small tray of colors
- Roll up sleeves and wear an old shirt
- Supervise young children, especially with small beads
Step 1: Choose Your Colors
Let kids pick their own palette. There’s no wrong choice.
- Classic: lime green and yellow
- Rainbow: red, orange, yellow, green, and blue
- Pastel: pink, lavender, mint, and butter yellow
- Pattern: alternate two colors for a striped look
Step 2: Roll the Body Balls
This is the heart of the project.
- Pinch off a piece of clay about the size of a grape.
- Place it between both palms.
- Roll in small circles until it turns into a smooth ball.
- Repeat to make 5 to 7 balls in different colors.
- Make one slightly larger ball for the head.
Pro tip: Roll balls of similar size for an even body. Or make them gradually bigger toward the head for a playful look.

Step 3: Connect the Body
- Line up the balls in a gentle curve
- Press each ball lightly against the next so they stick
- Use a dab of water on air-dry clay to help them bond
- For extra strength, push a toothpick through the center and trim it
- Make sure the bottom is slightly flattened so it sits steady
Gently smooth the seams with a fingertip so the caterpillar holds together.
Step 4: Create the Face
Now the personality appears.
- Press two black beads or tiny balls of black clay into the head for eyes.
- Add a small curved line with a toothpick for a smile.
- Roll two thin snakes of clay for eyebrows, or add pink cheeks.
- Poke two short pieces of wire or pipe cleaner into the top for antennae.
- Curl the ends for a silly, springy look.
Ask kids to give their caterpillar a name and a personality. Is it sleepy, silly, or super hungry?
Step 5: Add Fun Details
Little extras turn a simple caterpillar into a masterpiece.
- Press tiny clay dots onto each ball for polka-dot patterns
- Add small legs by sticking mini clay balls to the bottom
- Make a clay leaf for the caterpillar to munch on
- Roll a tiny flower to sit on the head like a party hat
- Use a toothpick to draw stripes or swirls

Dry, Paint, and Seal
- Air-dry clay: let it dry for 24 to 48 hours, flipping once
- Polymer clay: bake according to the package directions (adult-only step)
- Paint small details like cheeks or stripes once dry
- Brush on a thin coat of clear sealer for a shiny finish
Don’t speed up drying with heat, since air-dry clay can crack.
Fun Ways to Play and Display
- Build a whole caterpillar family in different sizes
- Make a “garden” from a shoebox with moss, twigs, and paper flowers
- Turn it into a story, from tiny egg to butterfly
- Use it as a desk buddy or bookshelf friend
- Attach a magnet to the bottom for a fridge decoration

Learning Tie-Ins
Crafting is learning in disguise.
- Talk about the caterpillar life cycle: egg, larva, pupa, butterfly
- Practice counting the balls and sorting colors
- Explore patterns by alternating colors
- Read a caterpillar-themed picture book together
Final Thoughts
A clay caterpillar proves that big creativity starts with tiny, simple shapes. Roll a few balls, give them a face, and watch kids light up with pride. It’s a rainy-day rescue, a gift idea, and a memory all in one.
Loved this idea? Save this post to your Kids Crafts board and build your caterpillar this weekend!