Pressed flower clay dishes are one of those quiet, beautiful projects that look expensive but cost almost nothing to make. You pick up a block of air-dry clay, press a few dried blooms into the surface, and end up with something that looks like it belongs in a boutique gift shop. These little dishes sit on nightstands, hold rings by the sink, catch loose change on a dresser, or just sit there looking pretty on a shelf. They make thoughtful gifts. They use flowers from your own garden. And they take maybe an hour of actual effort. Whether you have a stash of dried flowers already or you’re pressing your first batch between the pages of a heavy book, this guide walks you through 20+ ways to make pressed flower clay dishes that are genuinely worth making.
1. The Classic Single-Bloom Trinket Dish
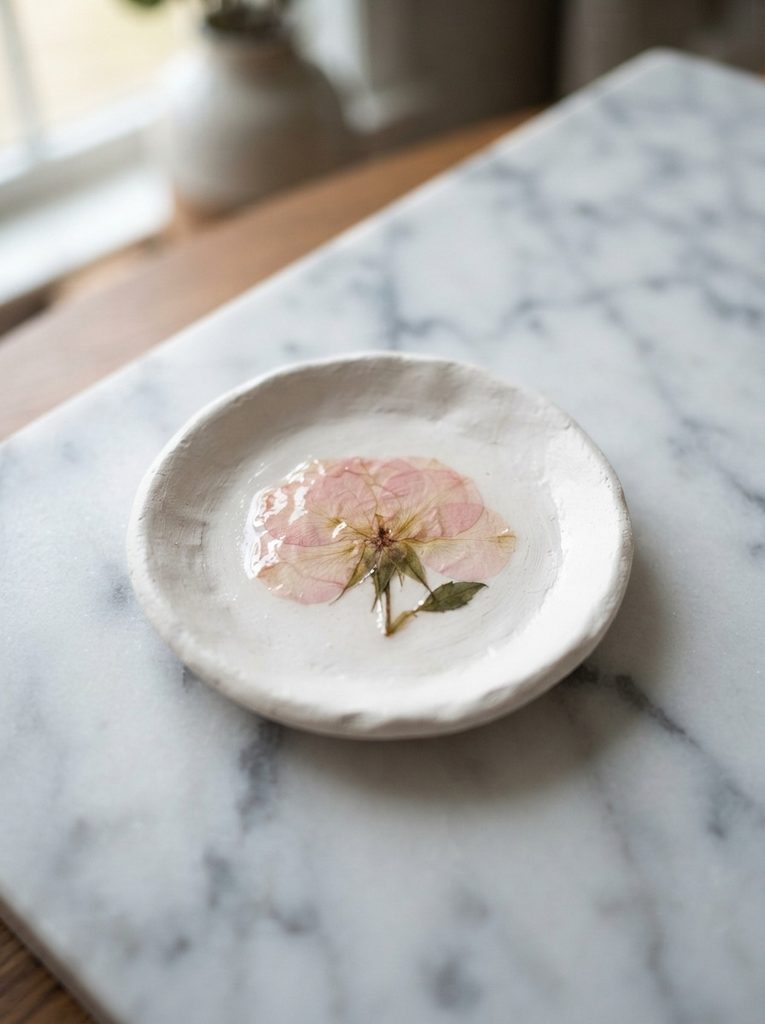
Start simple. One bloom, one dish. That’s it.
Pick your most beautiful dried flower—a rose, a daisy, or even a single pressed pansy. Roll out a small circle of air-dry clay about a quarter inch thick. Gently press your bloom face-down into the center while the clay is still soft.
The key is patience. Press firmly but slowly. You want the petals to leave an impression without crumbling.
Once the flower is embedded, shape the edges of the dish by curling them up slightly with your fingers. This creates that classic trinket dish look.
Let it dry for 24 to 48 hours on a flat surface. Flip it halfway through to prevent warping.
When it’s fully dry, seal the top with a thin coat of Mod Podge. This protects the bloom and gives it a soft sheen.
Budget tip: A $3 block of Crayola air-dry clay from a craft store makes about 6 to 8 small dishes. Mod Podge costs around $5 and lasts for dozens of projects.
This is the dish you make first. And then you make ten more.
2. The Wildflower Bouquet Dish
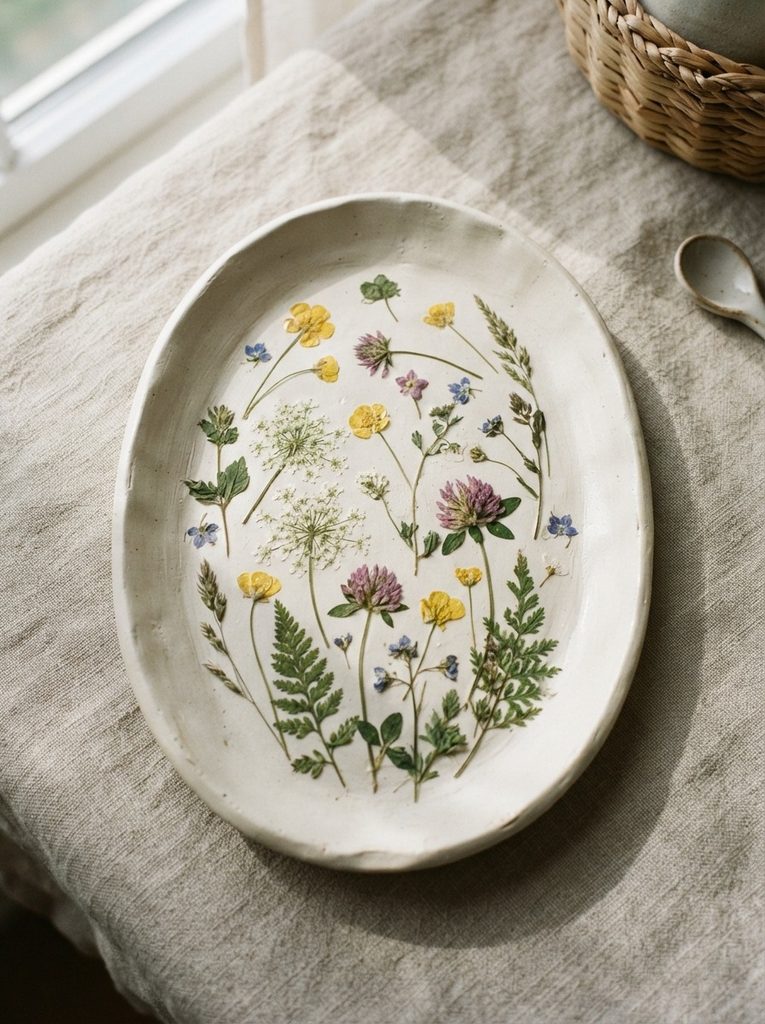
Not every dish needs to be perfectly centered or symmetrical. The wildflower dish celebrates the messy, natural beauty of a little gathered bouquet.
Collect a variety of tiny dried flowers—whatever grows near you. Queen Anne’s lace, clover, chickweed, or small roadside daisies all work beautifully.
Roll your clay into an oval or freeform shape. There’s no ruler needed here. The more organic the shape, the better.
Arrange your tiny blooms across the surface in a loose cluster, like a small bouquet tossed down. Press each one gently with a smooth tool or your fingertip.
Don’t overthink the layout. Overlapping petals and slightly crooked stems add to the charm. This dish is supposed to feel like a wildflower meadow, not a geometry lesson.
Let it dry slowly. Thin petals like Queen Anne’s lace can be fragile, so handle the dish carefully when moving it to dry.
Seal with two thin coats of Mod Podge, letting each coat dry fully before adding the next.
Budget tip: Wildflowers are free. Literally walk outside and start picking. Press them in a heavy book for one to two weeks before using.
This dish makes the best gift because it feels personal and gathered with intention.
3. The Lavender Sprig Dish
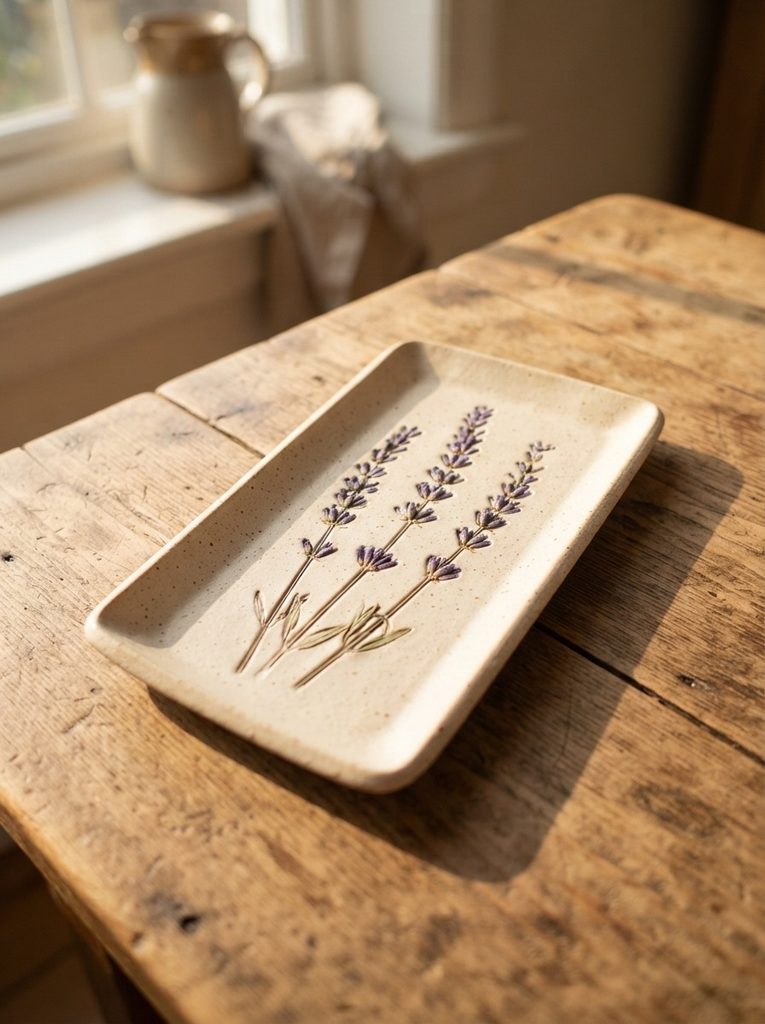
Lavender is the perfect pressed flower for clay dishes. The stems are straight, the tiny buds hold their shape well, and the purple color stays beautiful after drying.
Cut three to five lavender sprigs to roughly the same length. Press them between parchment paper inside a heavy book for one to two weeks. They’ll come out flat, dry, and ready to use.
Roll your clay into a rectangle. You don’t need a cookie cutter—just use a knife or a straight edge to trim the sides.
Lay your lavender sprigs parallel across the surface, evenly spaced. Press each one in firmly. The stems and tiny buds leave beautiful, detailed impressions in soft clay.
Try pressing them in gently, then peeling them off. You’ll see a ghost impression left behind. You can either leave the stems pressed into the dish or remove them for a more subtle textured look.
Both approaches are beautiful and completely different in feel.
Seal with a matte Mod Podge for a more natural finish. Gloss sealer works too if you want the dish to look more polished.
Budget tip: Dried lavender bundles from dollar stores or craft shops cost around $2 to $3 and provide enough sprigs for six or more dishes.
4. The Pressed Fern Leaf Dish
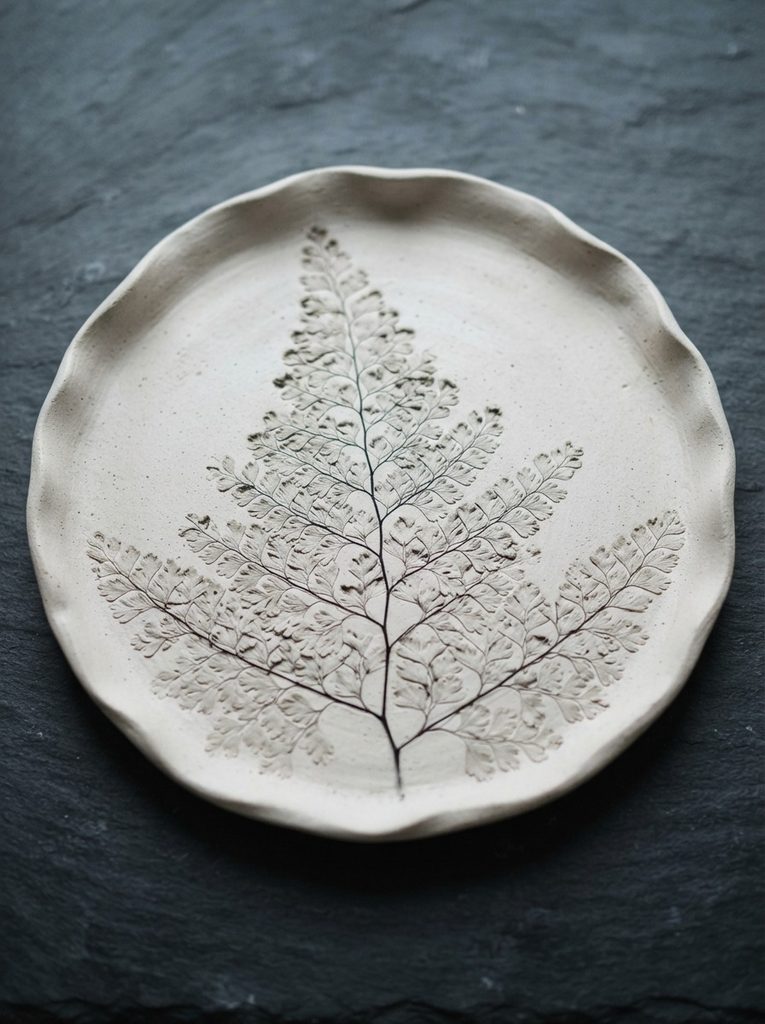
Ferns bring a different energy than flowers. They’re graphic. Bold. Architectural.
A single pressed fern leaf can fill an entire medium-sized dish and look absolutely stunning. The intricate pattern of the leaflets presses into clay with surprising detail.
Pick a healthy fern frond. Press it flat under a stack of books for one to two weeks. Maidenhair ferns, Boston ferns, and even common woodland ferns all work beautifully.
Roll your clay flat and large enough to fit the full fern. Press the fern firmly across the surface, running a smooth rolling pin over the top to capture every tiny detail.
Peel the fern off slowly. What’s left is a gorgeous, lacy impression across the entire dish surface.
Shape the edges, then let it dry completely before sealing.
This dish looks incredibly high-end for almost no cost. If you give it as a gift, people will assume you bought it at a boutique.
Budget tip: Ferns grow wild in most climates. If you don’t have them in your yard, check a park or a wooded area. You only need one good frond.
Paint the inside of the dish in a soft sage green before sealing to make the fern impression really pop.
5. The Dried Rose Petal Scatter Dish
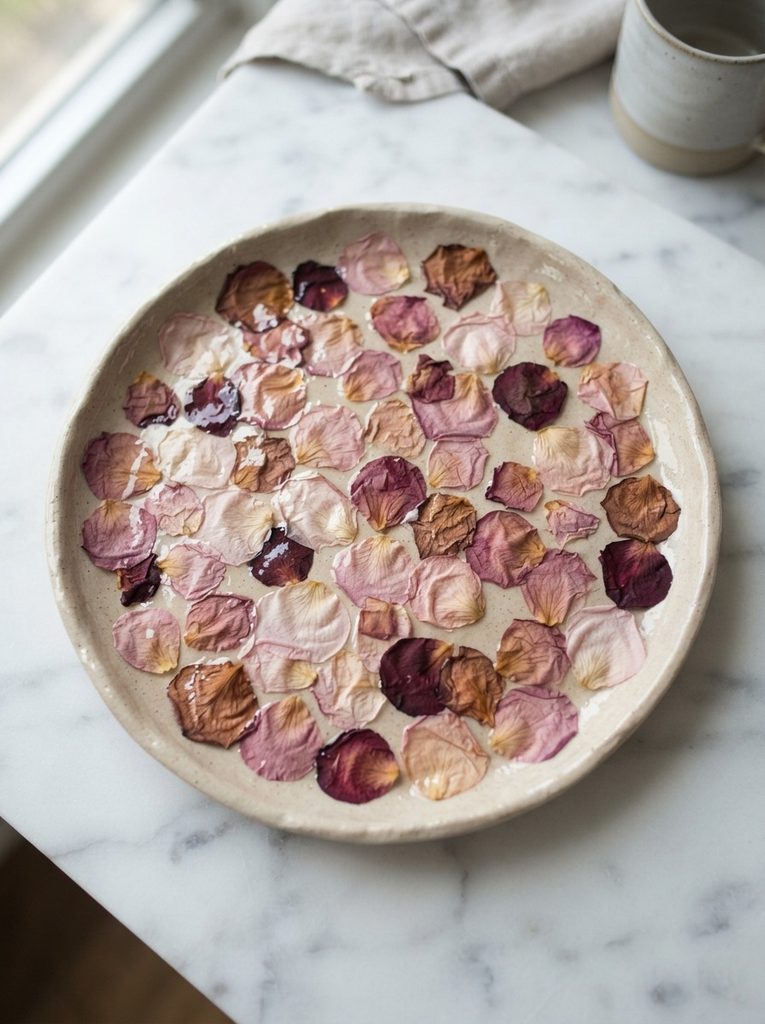
Sometimes you don’t need a whole bloom. Just the petals.
This dish uses individual dried rose petals scattered across the clay surface in a random, organic pattern. It looks like petals falling. It’s simple, quick, and absolutely beautiful.
Pull petals from dried roses and press them individually between book pages for a few days. They flatten quickly and become semi-translucent.
Roll out your clay dish. Then scatter the petals across the surface at different angles, some overlapping, some separate. Press each one in firmly.
Use petals in two or three different colors for visual depth. Blush pink, dusty rose, and deep burgundy look stunning together.
Once dry, seal with a gloss Mod Podge. The gloss finish makes the petals look almost jewel-like under light.
This dish works perfectly as a ring holder by the bathroom sink or a catch-all on a vanity.
Budget tip: You can use petals from grocery store roses that are starting to wilt. Let them dry between book pages for three to five days. Free petals from flowers you already bought.
One dried rose gives you enough petals for two or three dishes.
6. The Whole Garden Dish
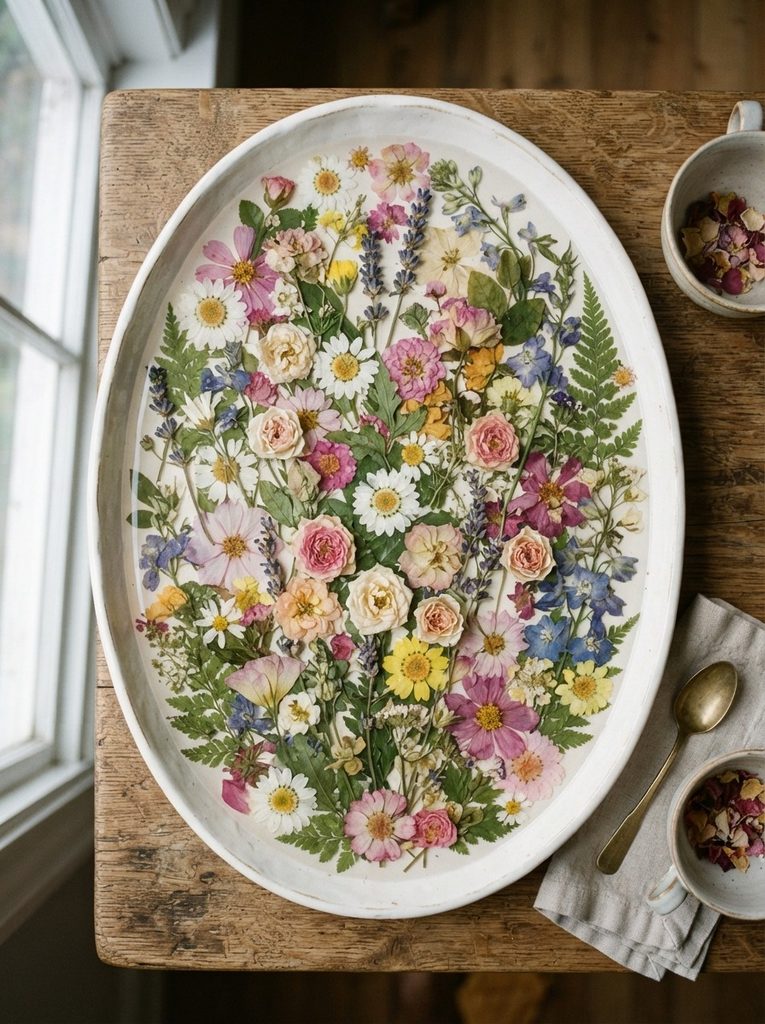
Think of this dish as a tiny pressed flower garden. Every inch covered. Every bloom competing for attention.
This one takes more time and more flowers. But the result is jaw-dropping.
Gather a wide variety: small roses, daisies, lavender, chamomile, clover, and a few small leaves or fern fronds. Press everything flat for one to two weeks.
Roll out a larger oval or round clay dish with raised edges. Start placing your blooms from the center outward, overlapping them slightly as you go. Press each one carefully.
Think about scale. Use small blooms to fill gaps between larger ones. Leaves and ferns work as a background layer.
Cover every inch of the dish surface with pressed material. The goal is that lush, garden-packed look.
Let it dry very slowly. Large dishes with heavy flora can warp if dried too fast. Place it on a flat, parchment-lined surface and leave it for 48 hours.
Seal with two or three thin coats of gloss Mod Podge.
Budget tip: This is a great project for using up a whole collection of pressed flowers you’ve built up over time. Use the mismatched blooms and odd sizes that wouldn’t work in a more minimal dish.
7. The Monochrome White Dish
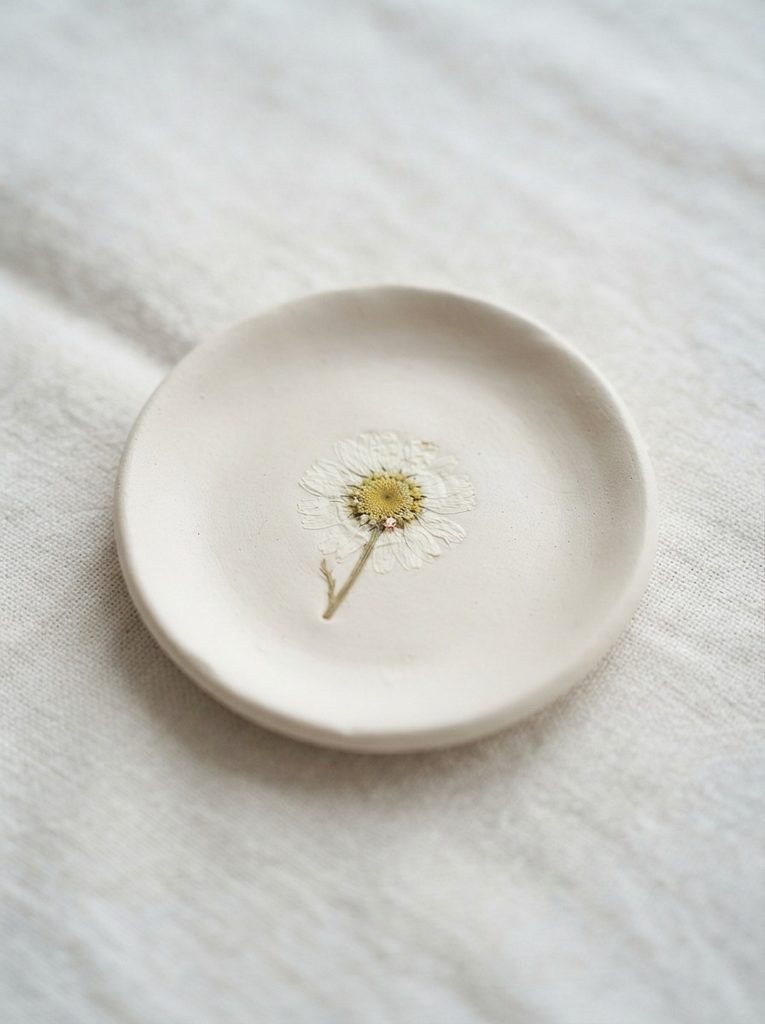
White flowers on white clay. It sounds like it would disappear. But it doesn’t. It looks quiet, elegant, and completely intentional.
Choose white blooms only: chamomile, white clover, baby’s breath, or small white daisies. Press them flat until completely dry.
Roll your clay into a small, clean round dish. Press your white blooms into the surface carefully.
The magic here is texture, not color. The petals leave detailed impressions in the clay even when the tones match. Under light, the raised and recessed areas create a soft shadow play that looks deliberate and beautiful.
Finish with a matte sealer to keep the tonal effect intact. Gloss would add distraction. Matte keeps it whisper-quiet.
This dish suits a minimalist home aesthetic perfectly. It looks right on a white bathroom shelf, a linen-toned nightstand, or a simple ceramic tray.
Budget tip: Baby’s breath is one of the cheapest flowers available at grocery stores and florists. A small bunch costs about $2 to $3 and gives you hundreds of tiny blooms for dozens of monochrome dishes.
This is the dish that looks the hardest to make and is actually one of the easiest.
Conclusion
Pressed flower clay dishes sit at the intersection of gardening, craft, and quiet creativity. They don’t require special skills, expensive tools, or a dedicated studio. They require a handful of dried blooms, a block of clay, and a little time. The result is something genuinely beautiful—something handmade in a way that shows in the best possible sense. Whether you make a simple single-bloom trinket dish or a full collection of matching garden dishes, the process is just as satisfying as the finished product. Start with whatever flowers you have available right now. Press them between book pages tonight. And in a week or two, you’ll have everything you need to make something worth keeping—or worth giving.