Skip to content

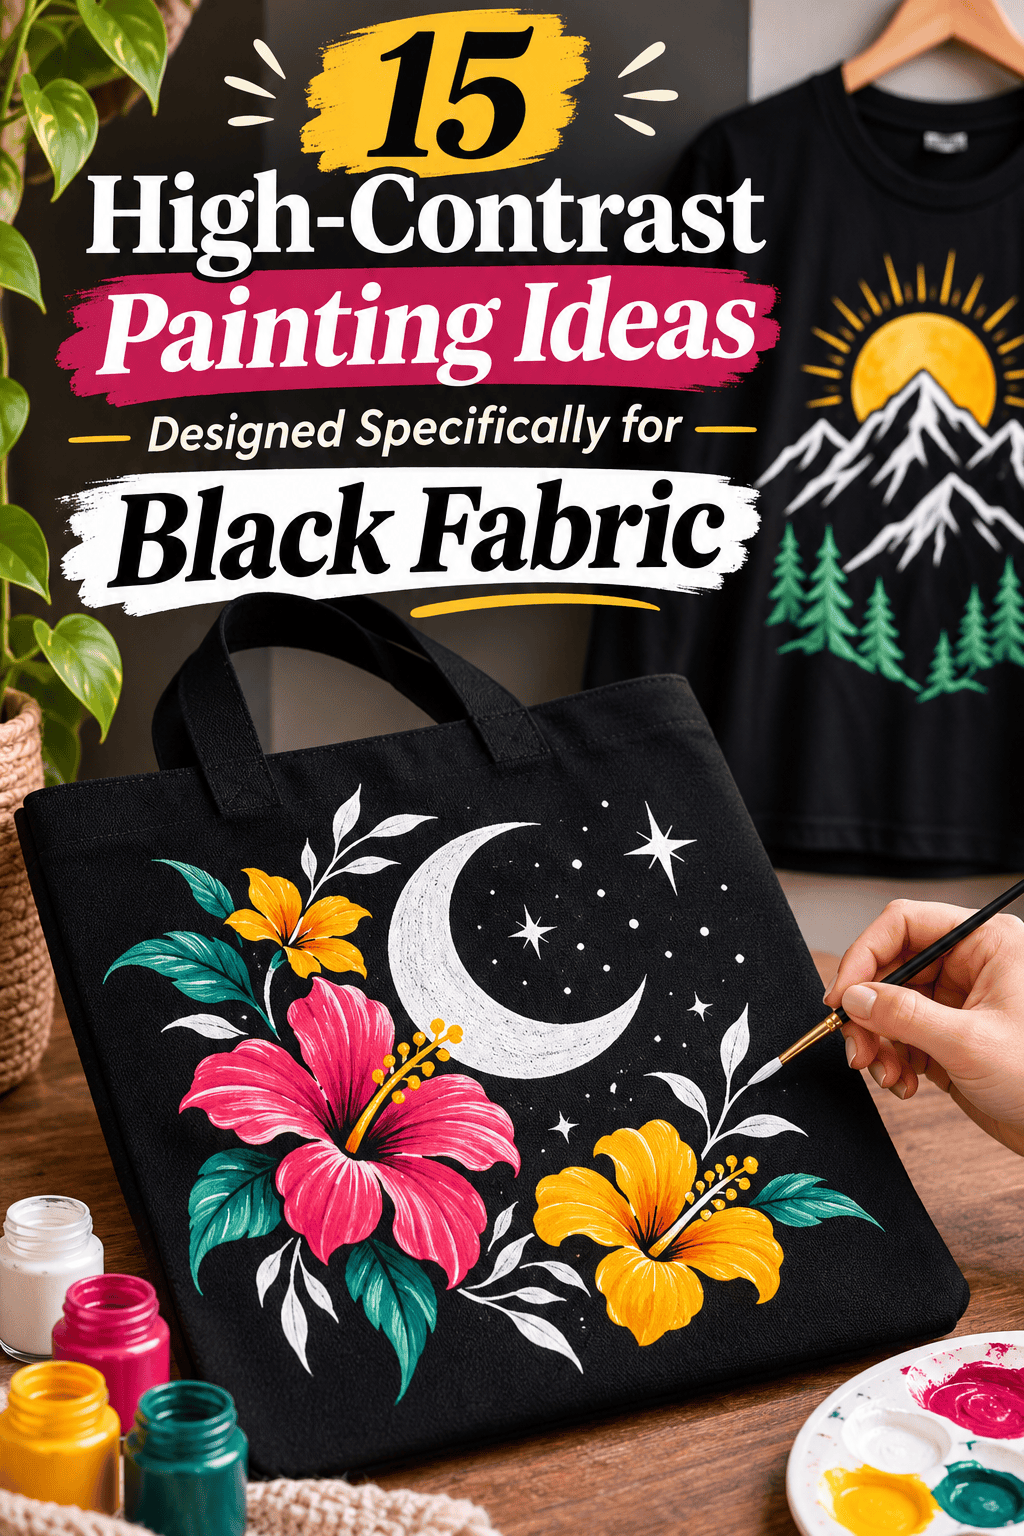

Black fabric makes color pop, but only if the paint is right. Regular acrylic can look chalky, dull, or patchy on a dark surface. The fix is simple: use opaque paint, build a base layer, and pick shapes that read clearly from a distance. If you are searching for fabric painting ideas for black clothing, this list gives you 20 designs to try. Each one uses cheap paint, a few brushes, and items from your kitchen drawer. Each one suits a jacket, tote, tee, or denim. Pick one design, grab a white fabric paint, and start on a piece you already own.
1. White Line Botanical Sprigs
White on black is the strongest contrast you can get. Thin sprigs look clean and need no drawing skill.
Wash and dry the fabric first. Skip fabric softener. Slide a piece of cardboard inside so paint does not bleed through.
Use opaque white fabric paint and a small round brush. Paint a thin curved stem. Add small leaves in pairs along each side. Press, lift, and pull the brush for a leaf shape.

Keep lines light. Thick paint cracks as it dries.
Paint three to five sprigs at different heights. Space them out so the black shows between them.
Save money by buying one white fabric paint and mixing it with other colors later. White is the base for almost every shade.
Let the paint dry for 24 hours. Heat-set it with an iron on the back, using a pressing cloth, as the label says.
2. Gold Constellation Dots
Constellations are dots and lines. Gold on black looks like a night sky.
Pick a metallic gold fabric paint. Metallic shades read well on dark cloth. Use a pencil dipped in paint or the back end of a brush to make perfect dots.
Sketch a few star patterns on paper first. Try the Big Dipper or a simple zigzag. Copy the dots onto the fabric with a white chalk pencil. Chalk brushes off later.

Dot each star. Vary the sizes. A few large dots and many small ones look natural.
Connect some dots with a thin line using a fine brush or a paint pen. Leave a few unconnected.
Save money by using a toothpick instead of a brush. It makes tiny, neat dots.
Let each layer dry before adding a second coat. Gold needs two thin coats to look solid.
Heat-set as the paint label says.
3. Neon Geometric Shapes
Neon shines on black. Simple shapes keep it bold and easy.
Buy neon or fluorescent fabric paint in pink, yellow, and green. Check that the label says opaque. Test a small patch on an old black scrap first.
Lay painter’s tape on the fabric to make clean edges. Press it down firmly. Cut triangles, stripes, and squares from the tape. Paint inside the shapes with a sponge or a flat brush.

Brush white first as an underlayer. Let it dry, then paint the neon on top. The neon looks brighter on white.
Peel the tape slowly while the paint is slightly damp.
Save money by cutting shapes from cardboard as stencils. Hold them down and dab paint around the edges.
Use only three colors. More colors can look messy.
Wait 24 hours before wearing. Heat-set the design when it is fully dry.
4. Pastel Floral Burst
Pastels look washed out on black unless you layer them. A white base fixes that.
Paint a white circle where each flower will sit. Let it dry for an hour. This is your base coat.
Mix white with a bit of pink, lavender, or yellow to make soft pastel shades. Use more white than color. Paint petals over the white circle with a flat brush. Press the brush down and lift to form a round petal.

Paint five petals around a center. Add a dot of yellow or gold in the middle.
Fill the gaps with green leaves. Use a small round brush and press for a teardrop shape.
Save money by buying three primary colors and white. You can mix every pastel from them.
Cluster flowers in one corner for a bold look. Leave the rest plain.
Layer a second coat when the first dries. Heat-set when finished.
5. Bold Skeleton Hand Design
Bones are lines and ovals. White paint on black makes them look carved.
Trace your own hand on paper. Draw simple bones over the outline. Use thin ovals for finger bones and a wide oval for the palm. Cut out the shape.
Place the paper pattern on the sleeve or the chest. Trace the bones with a white chalk pencil. Lift the paper.

Paint the bones with white fabric paint and a small brush. Keep each bone a clean oval. Leave tiny gaps between them for joints.
Add a few gray shadow lines by mixing white with a drop of black. Press the lines along one side of each bone.
Save money by using a white paint pen from a craft store. It is easy to control.
Let it dry flat for a full day.
Place the design along the cuff so it looks like a hand on your arm.
6. Watercolor-Style Ombre Wash
A wash looks soft, like watercolor, but needs a trick on black fabric. You paint a white base first.
Brush a wide band of white fabric paint across the area. Keep it slightly damp. While it is wet, dab teal, pink, and cream into the white with a sponge. The colors melt together.
Use a damp sponge to blend the edges. Move in small circles. Do not drag.

Let the wash dry for several hours. Add a second layer in the same colors for a richer look.
Keep the wash to a band or a corner. A full panel can feel heavy.
Save money by using a kitchen sponge cut into small pieces. Replace it for each color.
Add tiny gold specks with a toothbrush flick for a galaxy touch.
Heat-set when dry. Wash inside out in cold water.
7. Mandala Circle Pattern
A mandala looks fancy but follows a simple pattern. You build it ring by ring.
Press a round object like a cup or a lid onto the fabric. Trace around it with a chalk pencil. Make smaller circles inside using bowls or coins.
Dot the center with white paint. Make a ring of small dots around it using a pencil eraser. Add petals around the next ring. Press a small round brush and pull it for a teardrop shape.

Add gold dots between the petals. Use the end of a brush.
Keep each ring the same. Repeating shapes make the design look neat.
Save money by using a bottle cap and a pencil eraser as stamps. They give perfect circles and dots.
Paint two or three layers of white to make the pattern bright.
Place the mandala on the back of a jacket or the center of a tote. Heat-set after 24 hours.
8. Cherry Blossom Branch
Cherry blossoms are dots of color on a thin line. Pink and white look soft against black.
Start with a brown or white branch. Use a thin brush and a steady hand. Paint a curve from one corner. Add small twigs.
Paint blossoms with white fabric paint first. Dab five small dots in a circle. Let them dry for an hour.

Go over the white with pink paint. Add a tiny deep pink dot in the center. Scatter a few loose petals near the branch.
Keep the branch thin and uneven. A natural curve looks better than a straight line.
Save money by using a cotton swab for the blossoms. Dip it in paint and dab.
Place the branch along a pocket, a collar, or a cuff. A small design reads well.
Layer a second coat on the petals. Heat-set when fully dry.
9. Abstract Brush Stroke Art
Abstract art hides mistakes. A few bold strokes make a statement.
Pick three colors that look good together, such as cream, terracotta, and mustard. Use a flat brush about one inch wide.
Paint a single curve with one color. Use a smooth pull. Let it overlap with a second curve in another color. Keep the strokes loose.

Add a third stroke or a thin line to finish the shape. Stop when the design looks balanced.
Paint on one side of the garment rather than the whole thing. Empty space makes the art stand out.
Save money by buying craft acrylics mixed with fabric medium. The medium keeps the paint soft and flexible.
Dab a second coat on the lightest color. Light colors need more coverage on black.
Let it dry for a full day. Heat-set the paint when finished.
10. Sun and Moon Pair
Sun and moon shapes look sharp in gold and white. They are round shapes and short lines.
Trace a coin or a bottle cap for the sun. Trace a larger circle for the moon. Mark the shapes with chalk.
Paint the sun with gold metallic paint. Fill it in with a flat brush. Add short triangle rays around the edge with a fine brush.

For the moon, paint a full circle in white. Let it dry. Paint over one side with black fabric paint to cut it into a crescent. Or sketch a crescent shape from the start.
Add tiny dots or stars around both shapes.
Save money by using a single bottle of gold and a single bottle of white. Both are base colors you will reuse.
Place the pair on the back of a shirt, between the shoulder blades.
Add a second coat of gold for a solid look. Heat-set when dry.
11. Tiger Stripe Pattern
Tiger stripes use curved lines with sharp points. Orange on black looks bold and bright.
Paint a base of orange in a few wide, curved shapes. Keep them uneven. Let the orange dry for an hour.
Paint white lines between and beside the orange shapes. Use a small flat brush and press, then pull to a point.

Keep each stripe thick at one end and thin at the other. This gives the pattern movement.
Space stripes about an inch apart. Leave black gaps. The black becomes part of the pattern.
Save money by using one orange and one white. Mix the orange with a drop of yellow for a brighter tone.
Paint on a pocket, a sleeve, or a tote bag panel. A small area is easier.
Add a second coat on the orange for strong color. Heat-set after 24 hours.
12. Retro Rainbow Stripes
Rainbow stripes pop on black. They look playful and a little retro.
Draw a curved arc across the chest with a chalk pencil. Use a plate as a guide. Add four more arcs below, each smaller.
Paint a white base along each arc. Let it dry for an hour. Paint over it with red, orange, yellow, green, and blue in order. Use a flat brush and keep the lines even.

Leave a thin black gap between the stripes. The gap makes the colors clean.
Keep the stripes about half an inch wide. Narrower stripes look neat.
Save money by buying three colors plus white and mixing the rest. Red and yellow make orange. Yellow and blue make green.
Add a few white dots near the end for stars.
Paint the second coat when the first dries. Heat-set to finish.
13. Koi Fish Swirl
Koi are curves with fins. White and orange look striking on black.
Sketch two teardrop bodies with chalk. Curve them around each other like a yin-yang. Add a small tail and two fins to each.
Paint each body in white first. Fill the body and the tail. Let it dry for an hour. Add orange patches over the white. Use a small flat brush.

Paint thin white lines around the fish for water. Use gentle curves.
Add a tiny black eye and a small orange dot above it.
Save money by tracing a printed picture of a koi onto the fabric with chalk paper. Chalk paper costs only a few dollars.
Keep the fish bold. Details can be lost in fabric paint.
Place the design on the back or the sleeve. Let it dry for a day and heat-set.
14. Moth and Wildflower Border
A border keeps the design simple. You paint one narrow strip around a hem or a cuff.
Mark a straight line along the hem with a chalk pencil and a ruler. This is your guide.
Paint small wildflowers along the line. Use white for the base. Make a stem with a thin brush. Add three tiny petals at the top. Space the flowers unevenly for a natural look.

Add a moth in the center. Paint two wings in cream with a small body in between. Dot small spots on each wing with a toothpick.
Add tiny gold dots near the flowers.
Save money by using one white paint with a few tints. White, cream, and gold make a calm palette.
Paint the border on jeans, skirts, or sleeves. It looks sharp on any hem.
Heat-set the finished design as the paint label says.
15. Splatter Galaxy Pattern
A galaxy is the easiest design on this list. You flick paint and watch it land.
Lay the garment flat on a drop cloth or an old sheet. Slide cardboard inside. Tape off a section if you want a clean shape.
Thin white fabric paint with a drop of water in a small cup. Dip an old toothbrush and run your thumb across the bristles. Flick the paint toward the fabric.
Add blue and pink in the same way. Concentrate the splatter in a spiral to give it direction. Let each color dry before adding the next.
Finish with gold dots using a pencil end. Add a few larger white dots for bright stars.
Save money by using an old toothbrush and a paper cup. No special tools needed.
Work outside or on a covered table. Splatter travels.
Let it dry for 24 hours. Heat-set as the label says.
Conclusion
Black fabric gives you a great canvas if you use opaque paint and bold shapes. White lines, metallic dots, neon blocks, and layered pastels all stand out and need no special skills. Start with a small design like sprigs or constellations on a tote or a pocket, then try a larger piece once you feel confident. Always paint a white base under light colors, test on a scrap, and heat-set the finished work. Choose one idea, grab a bottle of white fabric paint, and start painting this weekend.