Skip to content

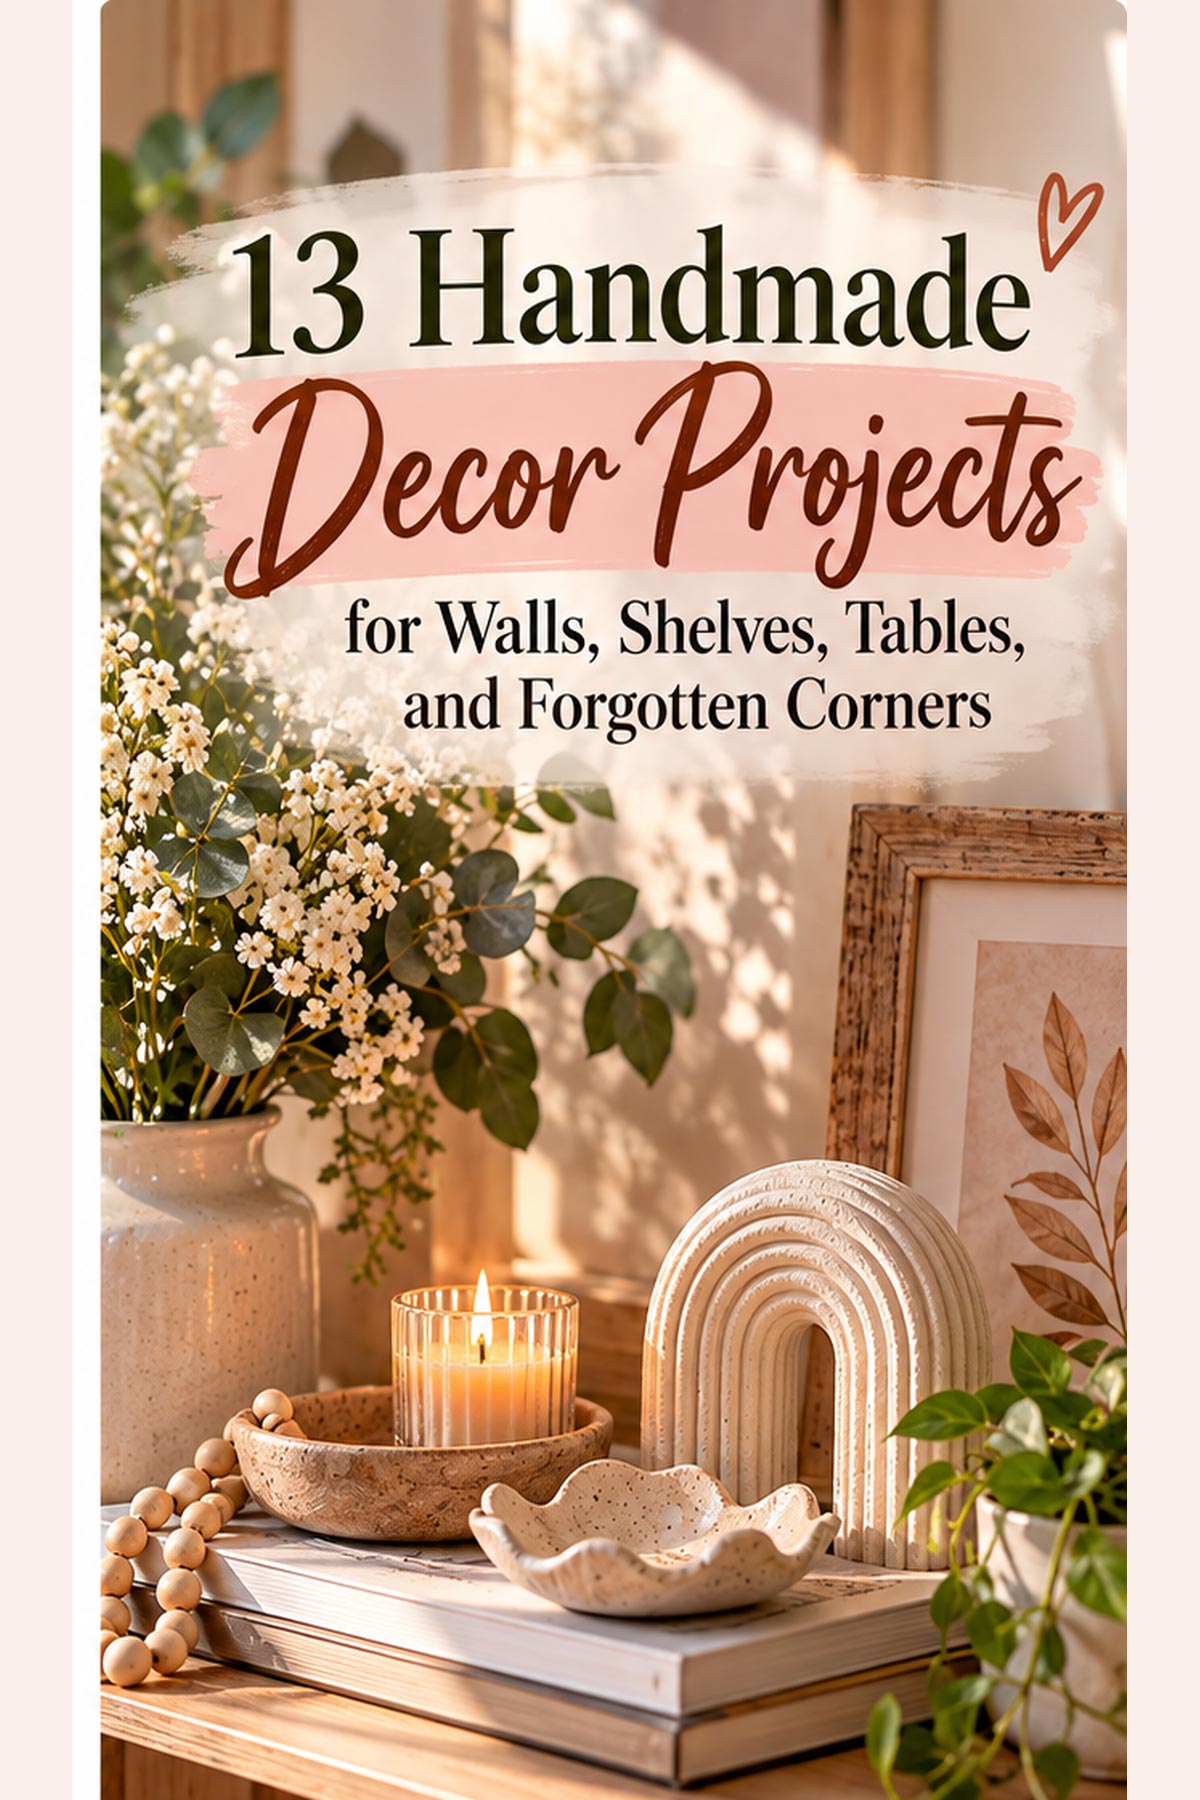

There is a particular quality to a home decorated with things made by hand — a warmth and specificity that mass-produced objects simply cannot replicate. Handmade decor is not about perfection. It is about presence. A wall hanging made on a Tuesday evening, a clay bowl shaped over a weekend, a shelf display assembled from gathered and painted objects — these things carry the evidence of time and intention. They make a home feel genuinely inhabited rather than assembled from a catalogue. This guide covers 13 handmade decor projects for every surface in your home — walls, shelves, tables, and those forgotten corners that have been empty for too long.
1. Knotted Macramé Wall Hanging
A macramé wall hanging brings texture, warmth, and visual depth to an empty wall — and learning the two or three knots required takes about 20 minutes.
Mount a wooden dowel or thick branch on the wall. Cut lengths of 3mm natural cotton macramé rope — each piece should be four times your intended finished length. Fold each piece in half and attach to the dowel using a lark’s head knot — fold in half, push the loop over the dowel, and pull both tails through.

Work rows of square knots down the hanging. Take four strands, cross the left over the two center strands and under the right. Then feed the right under the center strands and through the left loop. Repeat in reverse. Together these form one square knot.
Alternate the groupings between rows for a diagonal diamond pattern.
Trim the bottom fringe or comb it out with a stiff brush for a fluffy finish.
Budget Tip
A 100-meter spool of 3mm cotton macramé rope is inexpensive and makes a generous wall hanging. Natural branches from garden pruning cost nothing as dowels. A complete macramé wall hanging costs under ten dollars in materials and makes a dramatic impact on an empty wall.
2. Pinch Pot Clay Vase
A handmade clay vase is one of the most rewarding small projects for a shelf or tabletop — and a pinch pot requires no tools, no wheel, and no previous experience.
Take a ball of air-dry clay roughly the size of a tennis ball. Push both thumbs into the center. Pinch and rotate the clay between your thumb and fingers, gradually building the walls upward and outward.

Work slowly and keep the wall thickness even — about 6–8mm throughout. Thinner walls are more elegant but prone to cracking during drying.
Pinch the opening slightly narrower than the widest body point to suggest a vase silhouette rather than a bowl. This narrowing of the neck also makes the vase functional for holding stems.
Let the thumb and finger impressions remain on the exterior. These marks are the character of a pinch pot — they show how it was made.
Dry slowly over 24–48 hours. Seal with matte varnish for a refined finish.
Budget Tip
Air-dry clay in a large block costs under five dollars and makes multiple vases. No kiln required. For functional use with water and real flowers, line the interior with a small glass jar or a plastic test tube inserted into the opening.
3. Pressed Flower Gallery Wall
A pressed flower gallery wall looks considered, botanical, and genuinely beautiful — and the materials cost almost nothing if you collect flowers from your garden.
Press flowers between sheets of absorbent paper inside a heavy book for two to three weeks. The flowers need to be completely flat and dry before mounting.

Mount each dried botanical on a piece of cream card cut to fit your chosen frame. Place the flower on the card and add the smallest possible dot of PVA glue on the stem and any heavy parts to hold it in place. Let dry flat before framing.
Choose frames in a single consistent finish — all natural wood, all white, or all black. Consistent frames create a gallery effect. Mixed frame styles create a cluttered look.
Lay out the arrangement on the floor before hanging anything. Take a photograph from above and use it as your hanging reference.
Budget Tip
Identical frames from a discount home store cost less per unit than mixed frames from a framing shop. Buying the same frame in multiple quantities often gives a lower per-unit price. The pressed flowers themselves are free. This project’s total cost is almost entirely the frames.
4. Dip-Dyed Fabric Wall Hanging
A dip-dyed fabric hanging is one of the fastest wall decor projects on this list — the dyeing takes 20 minutes and the result is a large-scale piece that fills a wall beautifully.
Buy a piece of plain natural linen or cotton fabric cut to your desired dimensions. Natural fibers take dye much more effectively than synthetic ones.

Mix fabric dye in a bowl of warm water according to package instructions. Dip the lower third of the fabric into the dye bath. Hold it there for five minutes. Lift slightly so only the bottom fifth is submerged and hold for another five minutes.
The gradient forms naturally as different sections absorb different amounts of dye. The longer a section is submerged, the more saturated its color.
Rinse thoroughly in cold water until the water runs clear. Dry flat or hang to dry.
Mount on a wooden dowel or thin brass rod using a hem stitched across the top or fabric loops.
Budget Tip
Cold water fabric dye in single-color sachets is very inexpensive per packet. One packet of dye in a rust, navy, or sage green creates a large hanging from a modest piece of fabric. Natural linen remnants from fabric stores often sell cheaply.
5. Cast Concrete Tray
A concrete tray made from a cardboard mold creates a functional, industrial-modern table accessory that looks like something from a design boutique.
Mix quick-setting concrete powder with water according to package instructions until it reaches a thick pourable consistency. Use a rectangular cardboard box — a shoebox or similar — as your mold. Line the interior with cling film for easy release.

Pour concrete into the mold to a depth of about 2cm. Tap the mold on the table surface to release air bubbles.
For a tray shape, press a smaller box into the wet concrete — weighted down with a heavy object — to displace the center and create the tray walls. The space between the outer and inner boxes forms the tray body.
Let cure for at least 24 hours. Remove the cardboard carefully. Sand any rough edges with coarse then fine sandpaper.
Seal with a concrete sealant for water resistance.
Budget Tip
Small bags of quick-set concrete are sold very cheaply at hardware stores. Cardboard boxes cost nothing. The material cost for a concrete tray is under three dollars. The industrial minimal aesthetic of raw concrete suits modern and Scandinavian interiors particularly well and looks far more expensive than it is.
6. Yarn Tassel Garland
A yarn tassel garland draped across a shelf, mantelpiece, or doorway adds softness and color to any horizontal surface — and each tassel takes under five minutes to make.
Wrap yarn around a piece of card about 15cm tall, 20–30 times. Slide the wrapped bundle off the card. Tie a separate piece of yarn tightly around the bundle about 2cm from one end — this forms the tassel neck. Cut the opposite end of the bundle to create the tassel fringe.
Fold the tied neck section over so it becomes the tassel head. Wrap another piece of yarn several times around the neck to secure the head shape. Trim the fringe ends evenly.
Make 8–12 tassels in coordinating colors. Thread onto a length of jute twine through the head loop of each tassel.
Space tassels evenly along the twine and hang across your chosen surface.
Budget Tip
Leftover yarn from other projects makes perfect tassel yarn — each tassel uses only a small amount. A coordinating palette from two or three yarn colors creates a more cohesive garland than a random mix. Jute twine is inexpensive and one roll makes many garlands.
7. Paper Mâché Decorative Bowl
A paper mâché bowl is made over an existing bowl as a mold — it costs almost nothing, takes a weekend to complete, and produces a genuinely attractive home accessory.
Tear newspaper or brown paper bag into small strips. Mix a paste of PVA glue diluted 50/50 with water.
Grease the outside of a rounded bowl with petroleum jelly — this prevents the paper mâché from bonding to the mold. Layer paper strips over the outside of the mold, each strip overlapping the previous by half.

Build five to six layers, allowing each layer to dry partially before adding the next. More layers produce a stronger, heavier bowl.
Once fully dry, gently flex the mold bowl to release the paper mâché shape. Trim the rim cleanly with scissors.
Sand lightly. Paint the exterior in your chosen color. A gold rim painted with a fine brush around the upper edge adds a decorative finishing detail.
Budget Tip
Newspaper is free. PVA glue is inexpensive. The mold bowl is something you already own. The entire project costs under two dollars in materials. Paper mâché bowls are strong enough for dry decorative use but not waterproof — keep them away from moisture.
8. Reclaimed Wood Floating Shelf
A single floating shelf of reclaimed or untreated timber transforms an empty wall section into a display space with character — the raw wood itself contributes texture and warmth that a painted shelf cannot achieve.
Find reclaimed timber at salvage yards, timber merchants selling end cuts, or construction site offcuts. A plank about 30–40cm long and 10–15cm deep suits a small display shelf.

Sand the plank with 120-grit then 240-grit sandpaper to smooth splinters while preserving the natural wood character.
Apply one coat of natural beeswax or wood oil rather than paint or varnish. The wax seals the wood while allowing the grain and natural color to remain visible.
Mount using standard floating shelf brackets screwed into wall studs. Use a level to get the horizontal alignment precise before drilling.
Budget Tip
Reclaimed timber offcuts are often free or very cheap from building sites and timber merchants. The display on the shelf matters as much as the shelf itself — a shelf with three or four carefully chosen objects always looks more considered than one covered with many objects. Edit ruthlessly and leave deliberate space.
9. Fabric-Covered Ribbon Pinboard
A fabric-covered pinboard is a functional wall piece that doubles as a display surface — and covering a basic corkboard in fabric takes about 30 minutes.
Buy a standard corkboard or cut a piece of fiberboard to your desired size. Cut a piece of fabric about 10cm larger than the board on all sides.

Place the fabric face-down on a flat surface. Center the board on top. Pull the fabric edges to the back of the board and staple or glue securely, working from the center of each edge outward to keep the fabric smooth on the front.
Apply ribbons across the front surface in a diagonal grid pattern — stretch each ribbon from one edge to another and staple or glue at the back. The ribbon intersections create pockets where items can be tucked without pins.
Add brass pins for hanging items that need more secure fixing.
Budget Tip
Fabric remnants from a fabric store or cut from old clothing work perfectly for pinboard covering. Choose a fabric with enough body to pull smoothly — linen and canvas both suit this project well. The ribbons can be cut from any coordinating fabric strip.
10. Natural Materials Table Centerpiece Tray
A tray filled with natural materials creates a table centerpiece that is far more organic and interesting than a standard flower arrangement — and it requires no water, no maintenance, and lasts indefinitely.
Start with a wide shallow tray — a wooden serving tray, a low clay dish, or a rectangular wooden box all work. The tray acts as a containing frame that visually unifies the collection of objects inside it.

Layer the base of the tray with dried moss — preserved moss is sold at craft stores in both green and natural brown tones. This organic base layer creates the ground plane for everything else.
Add objects at different heights within the tray. Low smooth stones for horizontal interest. Small pillar candles for vertical interest. A glass bud vase as the tallest element. Seed pods and dried flower heads for texture.
Group objects in odd numbers — threes and fives look more natural than even groupings.
Budget Tip
Dried moss, stones, and seed pods collected from your garden or outdoor walks are entirely free. Preserved moss from a craft store is inexpensive for the quantity needed. Two or three candles and a small bud vase are the only items that carry any significant cost.
11. Floor-Standing Corner Arrangement
A forgotten corner of a room is often just missing one tall floor-standing element — something with enough height and visual presence to make the corner feel intentional rather than ignored.
A large wicker basket or ceramic floor vase holding a collection of tall dried botanicals — pampas grass, dried pampas, tall dried grasses, eucalyptus branches — fills a corner with sculptural height and organic warmth.

The arrangement works best when it is genuinely tall — at least 150–180cm from floor to tip for a standard 2.4m ceiling room. Shorter arrangements in corners look like plants that need more water. Genuinely tall arrangements look like deliberate design decisions.
Mix textures within the arrangement. Fluffy pampas plumes for softness. Straight dried grass stems for linearity. Leafy eucalyptus branches for organic variety.
Pack the basket densely — sparse floor arrangements look half-finished.
Budget Tip
A large wicker basket from a home store or charity shop is inexpensive. Dried pampas grass is available at affordable prices in supermarkets and home goods stores in autumn. Eucalyptus branches dry beautifully from fresh — hang upside down for two weeks then arrange as dried stems.
12. String Art Geometric Wall Panel
String art turns a wooden board and a handful of nails into a graphic wall panel — the overlapping threads create complex visual patterns from a simple nail arrangement that looks impossible to have made by hand.
Cut or buy a wooden board in your desired size. Stain or paint the board in a deep color — navy, black, or dark walnut — to maximize contrast with the string.
Draw your design lightly in pencil on the board. Simple shapes work best — a star, a diamond, a sun, a geometric letter. Hammer small panel pins at regular intervals along all the outline edges of your drawn shape.
Thread a spool of fine metallic craft string — copper, gold, or silver — around the nails. Tie the string to one nail and begin wrapping nail to nail in whatever sequence produces the pattern you want.
The more thread layers you add, the denser and more complex the pattern becomes.
Budget Tip
A small bag of panel pins, a spool of metallic thread, and a stained piece of scrap wood represent the entire material cost of a string art panel — under five dollars total. String art panels suit narrow wall spaces between windows or beside doorways where a framed picture would be too wide.
13. Hand-Poured Botanical Candles
Hand-poured candles with pressed botanicals embedded in the exterior wax surface are genuinely beautiful as home decor objects — and they function as both decoration and fragrance in any room.
Melt soy wax flakes in a pouring jug set over hot water. Add candle fragrance oil once melted — about 10% fragrance by weight of wax.

Pour into clean glass jars, cylindrical tins, or paper candle molds with pre-wicked centers. Fill to about 1cm below the rim. Let the first pour set until the surface is just firm but still slightly tacky — about one hour.
Warm the exterior of the jar or mold slightly with a heat gun or hair dryer to soften the outer wax surface. Press dried botanical specimens — rose petals, lavender sprigs, chamomile flowers — against the softened exterior surface.
Once cool and fully set, trim the wick to 5mm.
Budget Tip
Soy wax flakes are inexpensive in bulk bags. Jars salvaged from the kitchen — old jam jars and sauce jars — make perfect candle containers at no cost. Pre-tabbed candle wicks in bulk packs cost very little per unit. Dried botanicals from the garden are free. A set of three matching candles in different heights costs under three dollars in materials.
Conclusion
The most memorable homes are not the most expensive — they are the most personal. Every handmade piece in this guide adds something to a space that a shop-bought equivalent cannot replicate: the specific evidence of someone’s time, attention, and creative decision-making. A pinch pot vase made on a Sunday afternoon, a garland strung across a shelf, a single floating shelf of oiled reclaimed wood — these things accumulate into a home that genuinely reflects the person living in it. Start with the project that suits the specific surface you are looking at right now — the empty wall, the bare shelf, the forgotten corner that has needed something for months. Make one piece. Put it in its place. Step back and see what a single handmade object does to a room that was missing it.