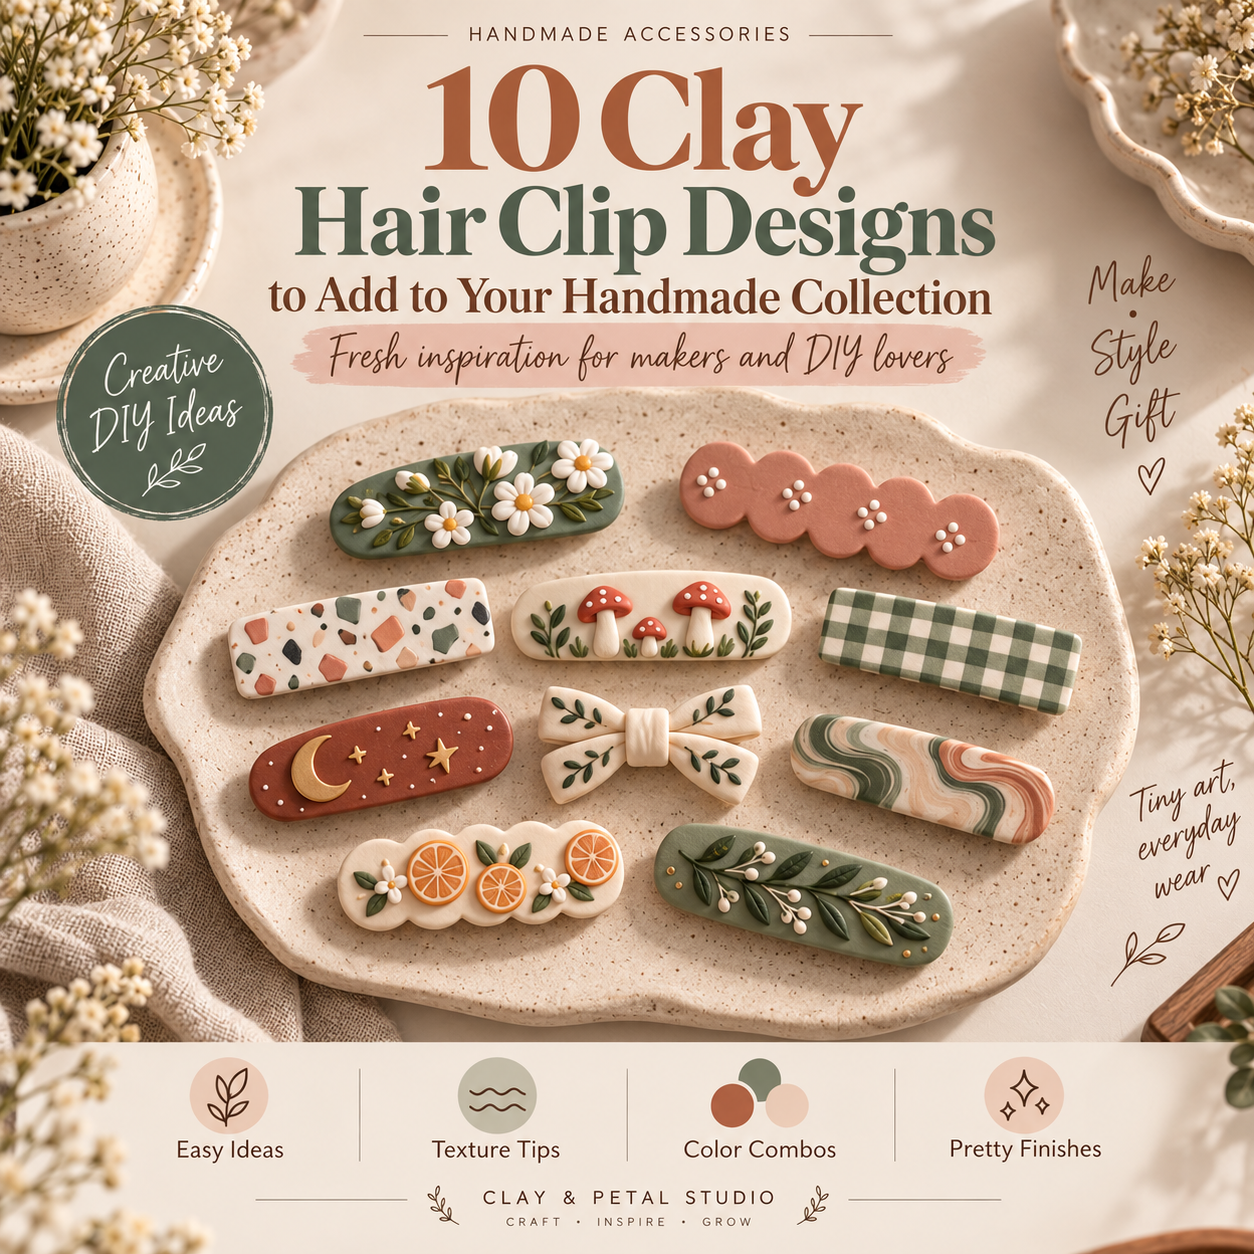
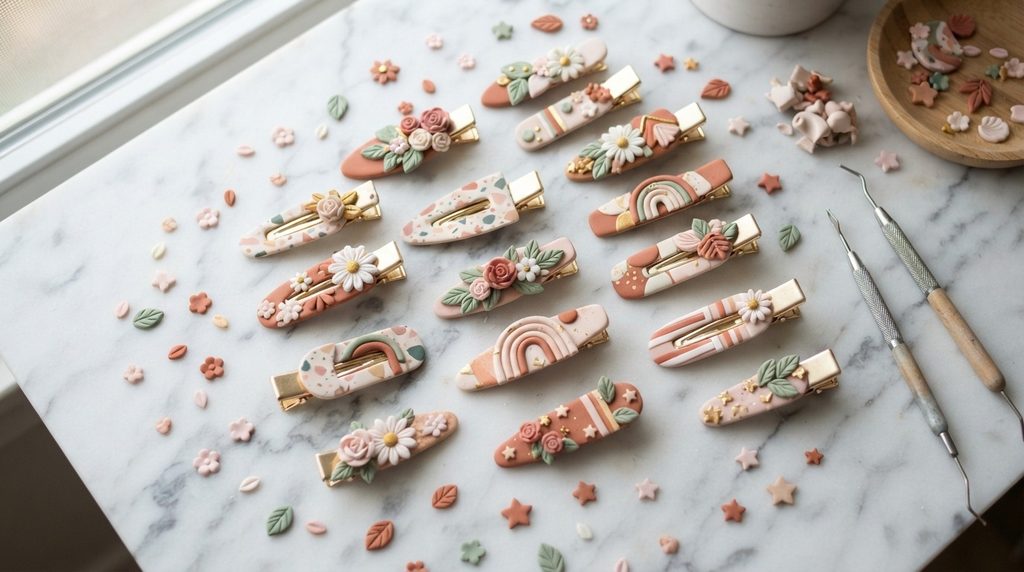
Clay hair clips are having a major moment — and for good reason. They’re affordable, endlessly customizable, and genuinely fun to make. Whether you’re brand new to polymer clay or you’ve been sculpting for years, hair clips are one of the best projects to add to your handmade collection. They sell well at markets, make thoughtful gifts, and let you wear your own art every day. This guide walks you through 25 fresh clip designs, from beginner-friendly shapes to more detailed styles worth the extra time. Each idea comes with practical tips to keep costs low and results looking polished.
1. Classic Daisy Barrette

Daisies are timeless. They’re also one of the easiest clay flowers to sculpt, making them perfect if you’re just starting out.
To make one, roll small white clay logs and flatten them into petal shapes. Arrange them in a circle around a small yellow ball. Press the center gently with a ball stylus to add texture.
Keep it simple. You don’t need perfect symmetry. Real handmade charm comes from slight imperfections.
Bake according to your clay brand’s instructions — usually around 275°F for 15–20 minutes. Once cooled, glue the daisy onto a metal barrette blank with strong jewelry adhesive.
Budget tip: A small block of white and yellow clay costs under $3. You can make 8–10 clips from a single block. Barrette blanks can be bought in bulk packs from craft stores or online for very little per piece.
These clips look stunning in a cluster of three on a half-up hairstyle. Try making them in different sizes for variety. Once you’ve nailed the basic daisy, you can experiment with tinted petals in blush pink or lavender.
2. Abstract Swirl Claw Clip

Marbled clay looks expensive. It’s actually one of the easiest techniques you’ll ever try.
Take two or three clay colors — try dusty rose, cream, and terracotta. Roll each into a log. Twist the logs together loosely. Fold and roll again. Don’t over-mix. The moment you see a swirly, marble-like pattern, stop.
Press this marbled clay over a claw clip base. You can use a store-bought plastic claw clip as your base or purchase metal claw clip blanks. Smooth the clay over the top with your fingers.
Shape it cleanly around the clip, trimming any excess with a craft knife. Bake carefully — the clip base needs to be heat-safe, so check before baking. Some plastic clips can handle low oven heat briefly, but metal bases are safer.
Budget tip: Use clay scraps from other projects for this one. Mixed leftover clay often creates beautiful, unexpected marble combinations you couldn’t plan on purpose.
Once baked and cooled, seal with a matte or glossy clay varnish. This protects the surface and gives it a finished, professional look. Swirl claw clips are popular sellers at handmade markets.
3. Mushroom Cottagecore Clip

Cottagecore is still going strong, and mushroom clips are fan favorites.
Start with the stem. Roll a small white or cream cylinder, slightly wider at the base. Then make the cap — a smooth red dome. Press it onto the stem. Add tiny white dots using a ball of white clay or white acrylic paint after baking.
The cap doesn’t need to be perfectly round. A slightly organic, lopsided shape actually looks more realistic and charming.
You can add small sculpted details like gills underneath the cap using a needle tool. This takes only a few extra minutes but adds so much character.
Once baked, use white acrylic paint to dot the spots if you didn’t add them with clay. Seal everything with matte varnish to protect the paint.
Budget tip: A single block of red, white, and brown clay is all you need. These clips are small, so one set of colors makes many pieces.
Sell these at autumn markets or include them in gift sets. They pair beautifully with leaf-shaped clips for a full forest-themed collection. Customers respond well to themed groupings.
4. Rainbow Arch Statement Clip

Bold, colorful, and completely eye-catching. Rainbow arch clips are a statement piece that photograph beautifully for social media.
Roll thin logs of each rainbow color. Line them up side by side and gently press them together. Roll lightly to fuse the colors without blending them into each other. Then curve the joined log into an arch shape.
Work slowly when curving. The clay can crack if you rush the bend. Warm it in your hands first to make it more pliable.
Add two tiny white cloud shapes at each end of the arch using small balls of white clay, flattened and shaped gently with your fingers.
Bake flat on a ceramic tile. Once cooled, attach to a clip blank with epoxy adhesive.
Budget tip: This design uses only small amounts of many colors. It’s a perfect use for clay sample packs, which are often sold cheaply in multi-color sets.
These clips are especially popular for kids’ collections, pride-themed gift sets, or summer market displays. They’re also quick to photograph against simple backgrounds for a clean, vibrant product photo.
5. Dried Flower Resin Hybrid Clip

This design combines polymer clay with resin for a beautiful botanical look.
Make a clay base for your barrette. Press a shallow circular indent in the center using a round object. Bake the clay base first, then let it cool completely.
Mix a small amount of UV or two-part resin. Place a tiny dried flower or leaf into the indent. Pour the resin carefully over the flower. Cure with a UV lamp or let it set overnight.
Use dried flowers only. Fresh flowers trapped in resin will rot and discolor over time.
Once the resin cures, sand any rough edges lightly with fine grit sandpaper. Polish with a soft cloth for a glass-like finish.
Budget tip: Dried flowers from your garden or bought in small bundles are very affordable. You only need tiny pieces per clip. UV resin kits are a one-time investment that lasts through many projects.
These clips feel high-end and often sell at a higher price point. They photograph well for online shops and make beautiful bridesmaid or birthday gifts. Pair them with a simple ribbon for gift packaging.
6. Scallop Shell Texture Clip
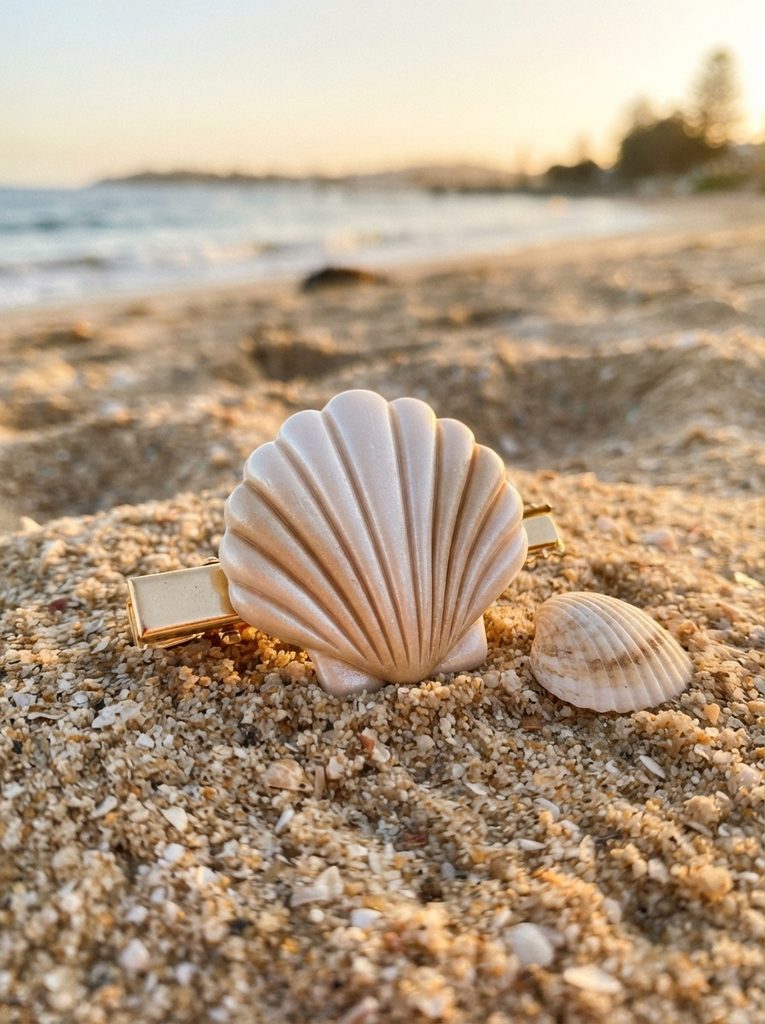
Shell clips look elegant and work for beach-themed collections or everyday wear.
Flatten a piece of pearl-white or warm sand-colored clay into an oval. Use a silicone shell mold if you have one — they’re inexpensive and reusable. Or create ridges manually using a needle tool, drawing lines from the base to the tip of the oval.
Press firmly but not too deep. You want visible texture, not cuts through the clay.
Gently curve the base of the oval upward slightly to mimic a real shell’s curve. This small detail makes a big difference.
Bake flat on a tile. Once cooled, add a light dusting of pearl mica powder with a soft brush for a luminous finish. Seal with gloss varnish.
Budget tip: Silicone molds are sold in variety packs for a few dollars. They’re endlessly reusable and speed up production significantly. Pearl mica powder is cheap and a tiny jar lasts for hundreds of pieces.
These clips pair naturally with ocean-themed accessories. Sell them in seaside-inspired bundles with starfish or wave designs. They’re popular as summer wedding accessories and look stunning against beachy, wavy hair.
7. Tiny Bow Stack Clip

Bow clips never go out of style. A set of three in coordinating colors is a crowd-pleaser.
Roll a flat rectangle of clay. Pinch both short ends toward the center. Press a tiny rolled ball of clay over the pinch point to form the knot. Gently adjust the loops of the bow so they’re even and full.
The pinch at the center is everything. Take your time pressing both sides in evenly before you add the knot.
Make two or three bows in slightly different sizes. Use the same color family — blush, mauve, and dusty rose look great together.
Bake on a flat tile. Once cooled, attach each bow to a small clip blank. Alligator clips work well for tiny bow designs.
Budget tip: Bows are small and use minimal clay. You can easily make 15–20 bows from one standard block. Sell them as sets of three in a small organza bag for a gift-ready presentation.
Bow clips are especially strong sellers around Valentine’s Day, Mother’s Day, and back-to-school season. They appeal to all ages — from toddlers to adults — making them a reliable staple in any handmade hair accessory line.
8. Cactus and Succulent Clip
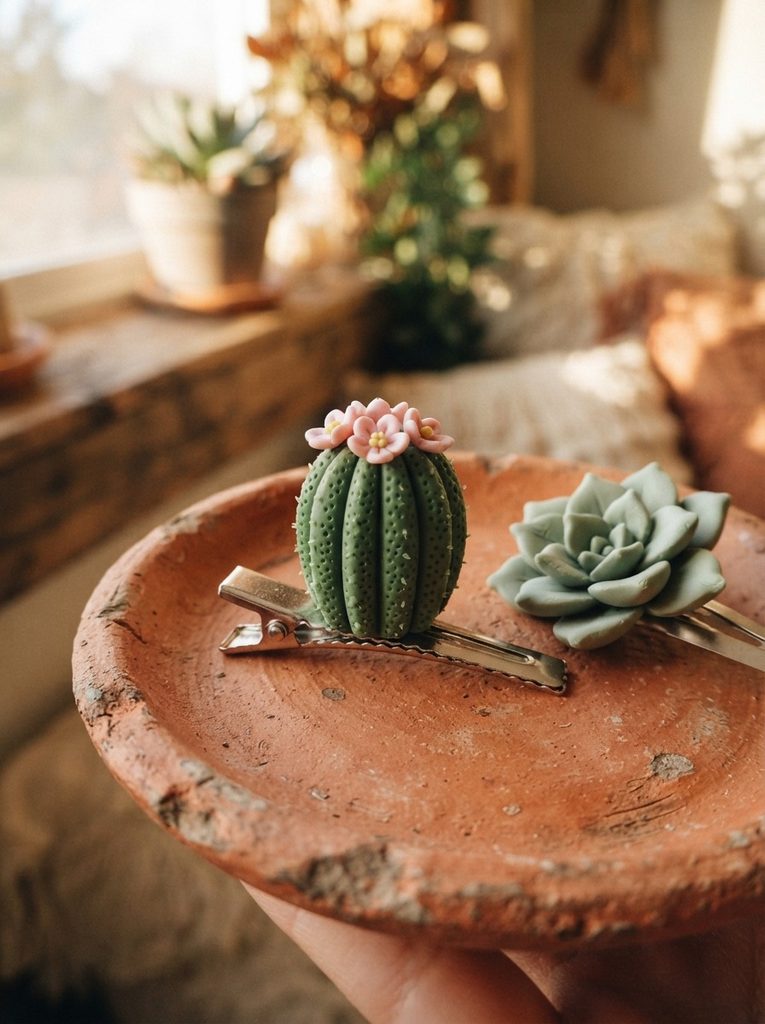
Cactus and succulent designs have a loyal following. They’re quirky, cute, and surprisingly quick to make.
For a simple cactus, roll a green cylinder and add two smaller arm shapes pressed into the sides. Use a needle tool to add tiny dot patterns all over the surface. This mimics spines without any sharp elements.
Add a tiny pink or yellow clay flower at the top. Roll a very small ball and flatten it, pressing tiny petal marks with a toothpick.
Keep the arms proportional. Arms that are too large look clunky. Aim for arms about one-third the height of the main body.
For succulents, stack progressively smaller flat petal shapes in a rosette formation. Use varying shades of green — olive, sage, and mint — for a realistic layered look.
Bake and cool fully before gluing to clip blanks.
Budget tip: Green clay comes in many starter packs. Mix leftover yellows and blues to create a full range of greens without buying separate blocks.
These clips appeal to plant lovers and make great gifts for friends who are always killing their houseplants but still want that plant aesthetic on their head.
9. Galaxy Swirl Clip

Galaxy clips are dramatic and beautiful. The dark, glittery swirl aesthetic is especially popular with teens and young adults.
Mix deep navy, purple, black, and a small amount of white clay together without fully blending. Add fine gold or silver glitter into the clay before mixing. Fold the glitter in as you twist the colors together.
Don’t add too much glitter. A little goes a long way, and too much weakens the clay structure.
Press the swirled clay flat, about 3–4mm thick. Cut into your desired clip shape — oval, rectangle, or irregular blob shapes all work.
Bake flat. Once cooled, brush a very thin layer of gloss varnish over the surface. This makes the glitter pop and gives the clip a starry, wet-look finish.
Budget tip: Fine glitter is inexpensive. Buy a small mixed metallic glitter set and use tiny amounts per project. Galaxy clips often command higher prices despite low material costs.
Photograph these against black velvet or a dark background to make the colors and glitter really stand out in product shots. They make excellent holiday gift items and limited-edition collection pieces.
10. Lemon Slice Clip
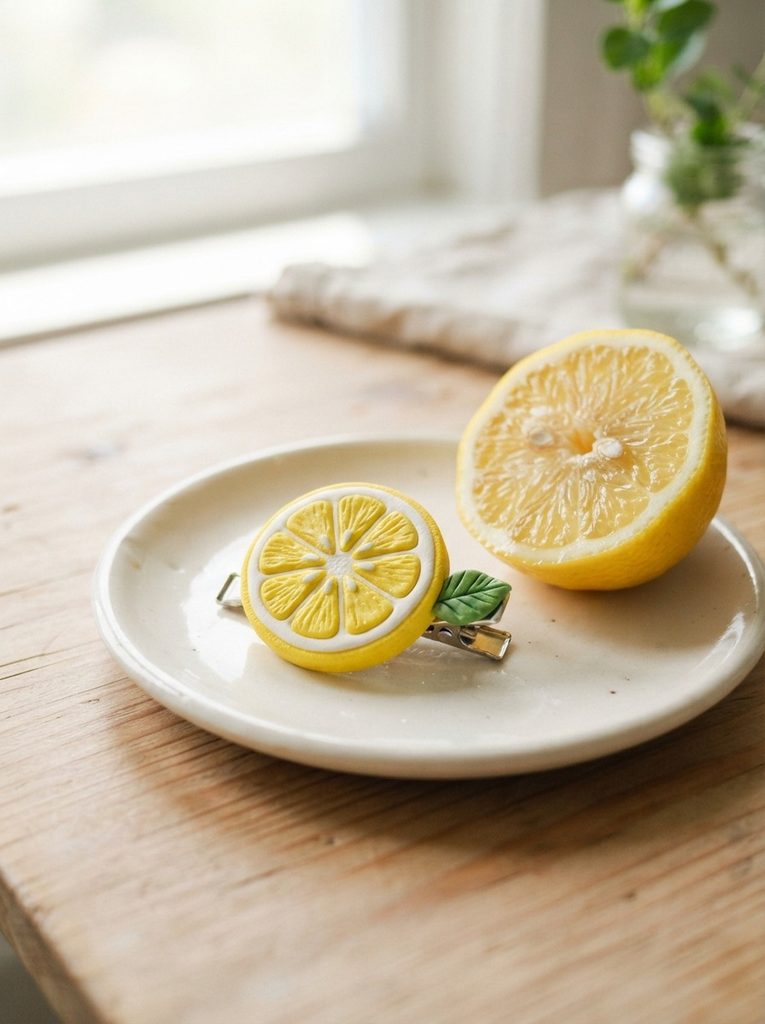
Lemon clips are joyful, summery, and photograph beautifully against almost any background.
Roll a flat circle of bright yellow clay. Cut it in half for a classic slice look, or leave it round. Use a toothpick or needle tool to draw segment lines from center to edge. Press a thin ring of white clay around the edge to create the pith.
Add a tiny green clay leaf to the side. Pinch the leaf to a slight point and press a central vein line down the middle using a needle tool.
The segment lines don’t need to be perfectly even. A slightly hand-drawn quality makes them feel more artisan and less printed.
Bake flat. Once cooled, coat with gloss varnish for a fresh, juicy look. The gloss finish really sells the lemon aesthetic.
Budget tip: Yellow and white clay are common in starter packs. Lemon clips are quick to make — you can produce a dozen in one sitting. Pair with strawberry or watermelon slice clips for a full fruit collection.
Fruit clips are consistently popular in spring and summer. They also work well as year-round novelty items and appeal strongly to children and teens.
Conclusion
Clay hair clips are one of the most rewarding projects in handmade crafting. They’re small enough to finish in a single afternoon, affordable enough to experiment freely, and appealing enough to sell, gift, or wear with real pride. The 25 designs in this list cover a wide range — from simple daisies for complete beginners to layered floral wreath claw clips for those ready to push their skills further. Start with two or three designs that excite you most. Build a small collection. Then expand into more styles as your confidence and technique grow. Every clip you make teaches you something new about working with clay — and every batch gets faster and better. Pick up a starter clay kit, grab some barrette blanks, and start sculpting. Your handmade collection is waiting to grow.