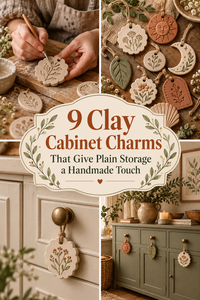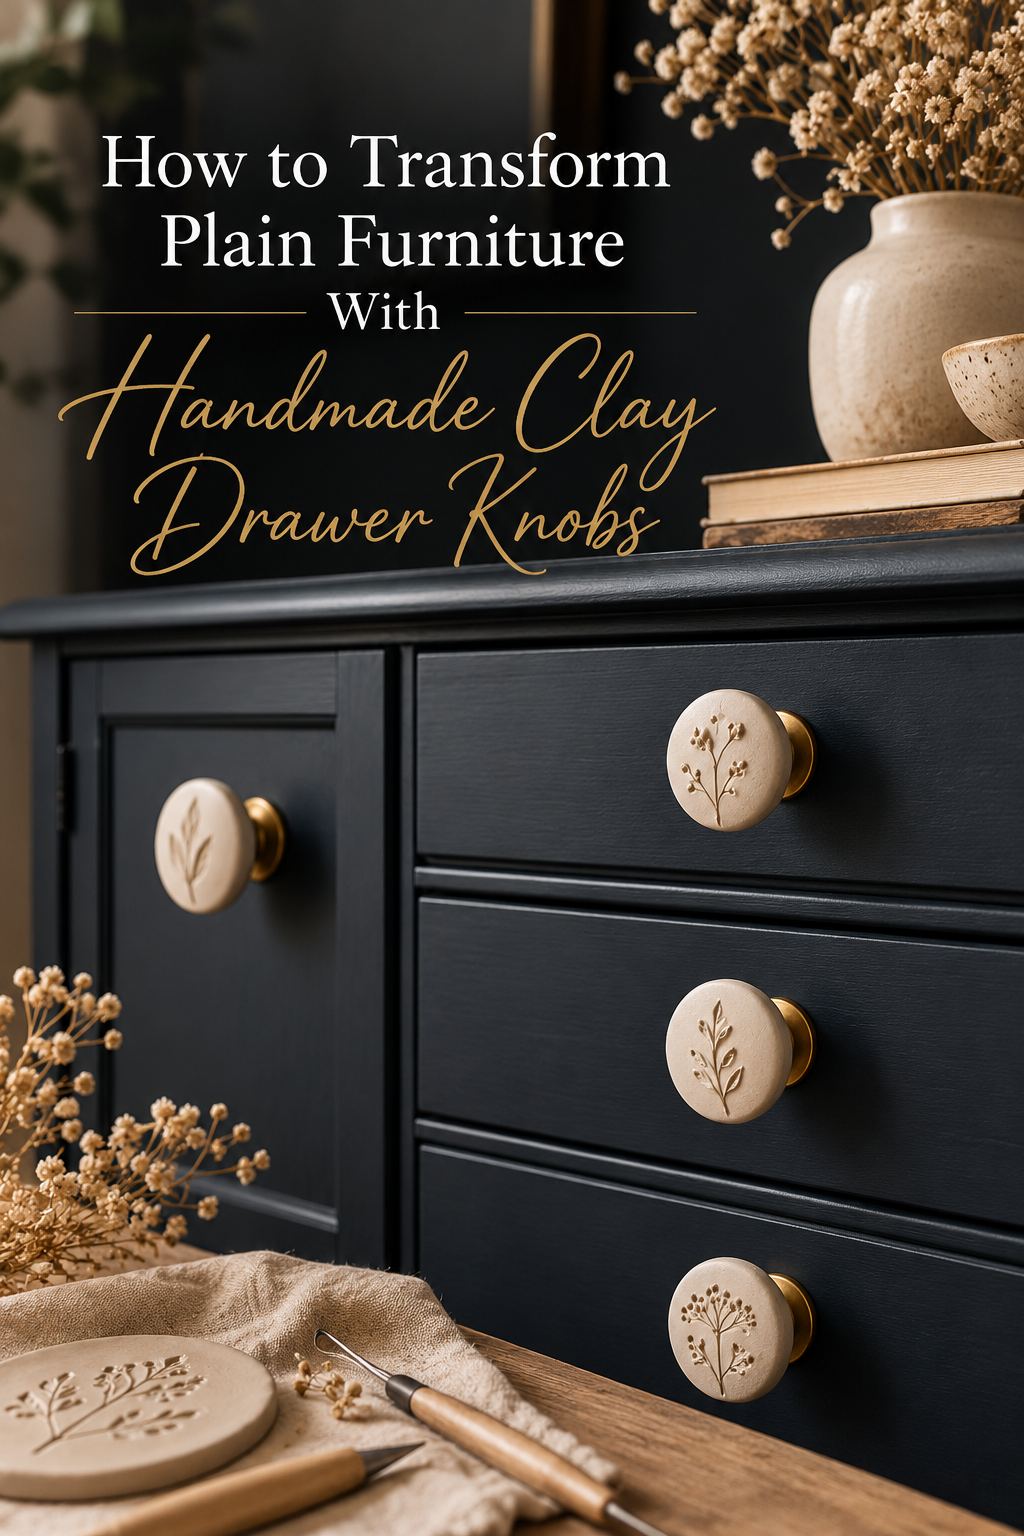
Here is a truth about furniture that nobody talks about enough: the hardware is everything. You can have the most unremarkable, basic dresser from a flat-pack furniture store — the kind every apartment in the world seems to own — and swap out the knobs for something handmade and beautiful, and suddenly that dresser looks curated. Intentional. Like a piece you hunted down at a vintage market.
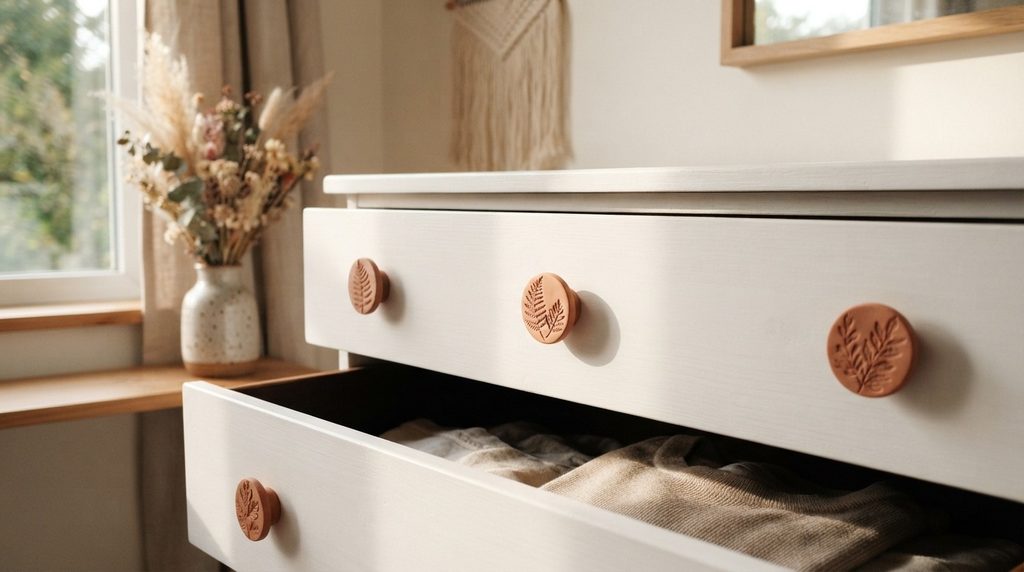
That transformation costs almost nothing when the knobs are handmade from clay. No specialist tools, no kiln, no experience required — just air-dry clay, an afternoon, and the very satisfying knowledge that your furniture now looks like nothing else in the world. Because it isn’t.
What You’ll Need
The supply list is short. The impact is not.
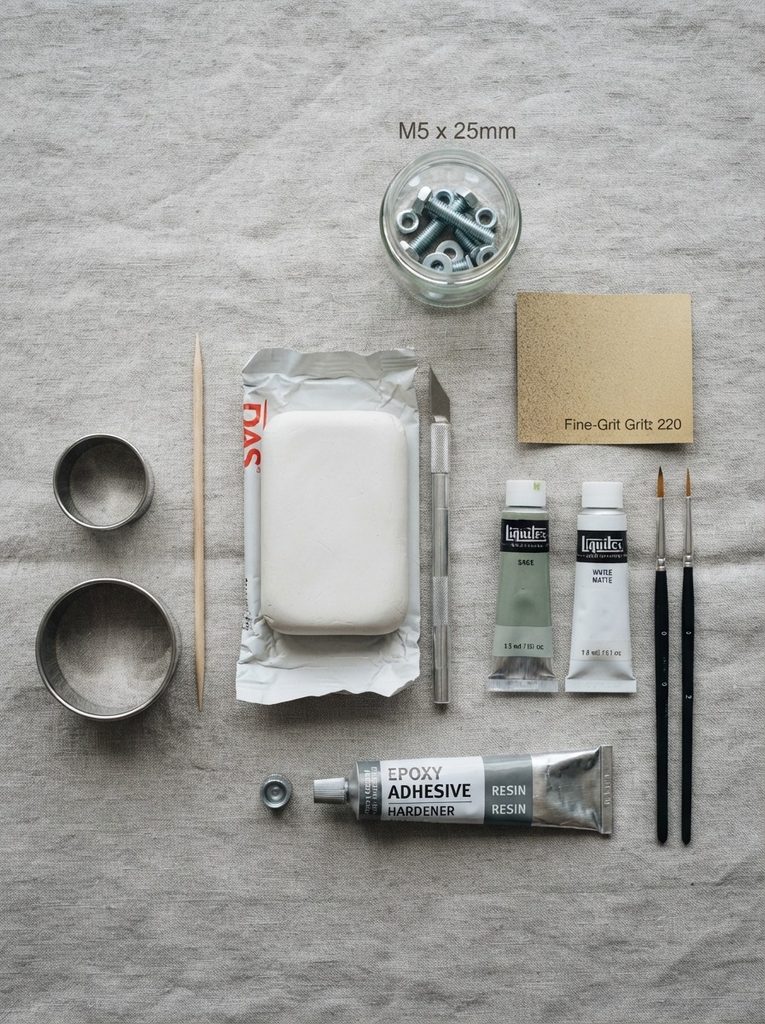
- Air-dry clay — a standard 500g block makes 8–12 knobs depending on size
- A rolling pin or smooth glass bottle
- Round cookie cutters or a jar lid for sizing guides
- A bolt and nut set — M4 or M6 size works for most standard furniture (check your existing knob holes first)
- A toothpick or skewer for texture work
- Fine-grit sandpaper (220 grit)
- Strong two-part epoxy or super glue
- Acrylic paint in your chosen palette
- Matte or satin sealant spray
- Small paintbrushes — a flat brush for base coats, a fine liner for details
- Optional: stamps, lace, dried botanicals for pressing texture
Choosing Your Knob Style
Before your hands touch the clay, decide on a shape. A matching set of knobs needs consistency — slight size variation is charming, completely different shapes is chaotic.
The most versatile and beginner-friendly styles:
- Classic dome — a smooth rounded mound, like a gentle hill. Timeless, fits every furniture style, easiest to make consistently.
- Flat disc — a thick, circular coin shape with optional texture pressed across the face. Modern and graphic.
- Organic oval — slightly irregular, naturally shaped, intentionally imperfect. Beautiful on vintage or rattan-style furniture.
- Faceted geometric — flatten the sides of a dome to create four to six flat faces. Looks architectural and deliberately designed.
- Botanical disc — a flat round with a real leaf or flower pressed into the face before drying. The most-photographed style for a reason.
Pick one. Make a test knob before committing to the full set, and hold it against your actual furniture to check scale before proceeding.
Shaping the Knobs
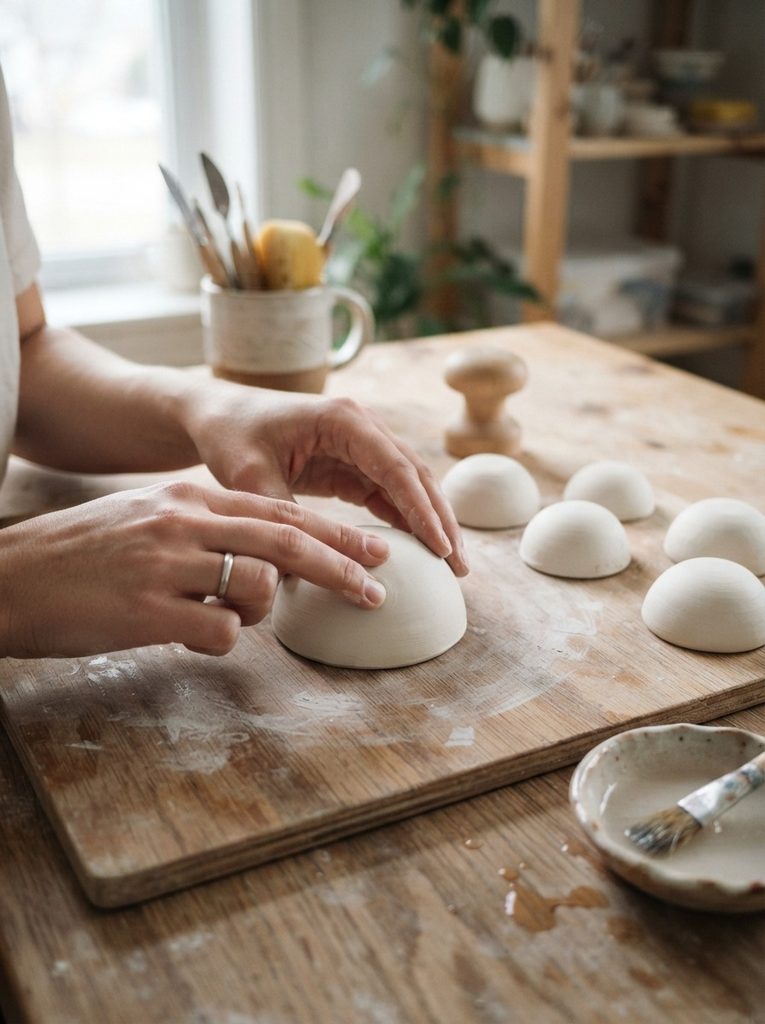
Here is where consistency becomes your main goal — knobs that vary wildly in size look accidental rather than artisan.
- Condition your clay thoroughly — two full minutes of kneading until it’s smooth, warm, and completely crack-free when bent.
- Weigh your portions if you have a kitchen scale. Identical weights make identical knobs. Aim for 15–20g per knob for a standard dresser scale.
- Roll each portion into a smooth ball between your palms. Take your time — every fingerprint and seam in the ball will show in the finished knob.
- Shape your chosen form:
- For domes: press the ball onto your work surface and flatten the base slightly, creating a flat bottom and rounded top
- For discs: press the ball firmly and evenly with your palm until about 1.5cm thick, then tidy the edges
- For faceted knobs: start with a dome and use a flat ruler or tile to press each face deliberately
- Add texture now while the clay is at its most receptive — press a leaf, run a toothpick in parallel lines, or press a stamp firmly and evenly into the face
- Embed the bolt — this is critical. Press your bolt head-first into the flat base of each knob, pushing until only the threaded shaft protrudes from the bottom. The bolt head should sit completely buried inside the clay. Smooth the clay firmly around it.
Leave every knob to dry on a flat, non-stick surface for 48–72 hours. Knobs are thicker than most clay projects — patience here is genuinely important.
Sanding and Refining
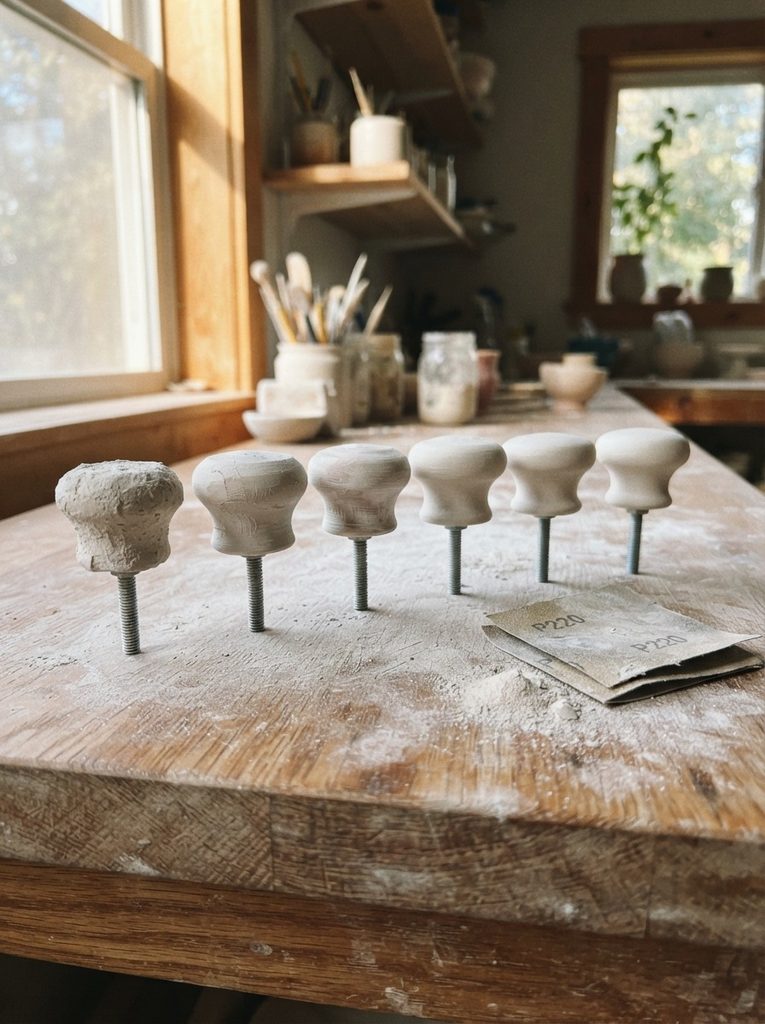
Once completely dry, this is the step that elevates your knobs from handmade to hand-crafted.
Work through these in order:
- Sand the base of each knob completely flat — place sandpaper on a table and move the knob in circular motions rather than the other way around
- Sand the sides smooth, removing any fingerprints or clay ridges
- Check that the bolt is still firmly set — if any feel loose, a small drop of super glue around the base of the bolt fixes this before painting
- Wipe all dust away with a barely damp cloth
Painting for Maximum Impact
This is where your furniture transformation actually happens — in your colour choice.
Match your palette to your furniture and room:
- Matte black on a natural wood dresser — graphic, bold, and unexpectedly elegant
- Warm terracotta on a white or cream painted piece — earthy and organic, immediately cozy
- Sage green on a mid-century modern sideboard — fresh, botanical, and very considered
- Chalky off-white on a dark wood piece — quiet and refined, almost Shaker-style
- Dusty pink with a gold bolt detail — the bolt face painted gold after the base coat dries — playful and luxurious at once
Two thin, even coats of acrylic paint, fully dried between each. A foam brush gives a smoother finish than a bristle brush on round surfaces. Seal with two coats of satin sealant — satin rather than matte holds up better to the daily friction of hands pulling drawers open.
Installing Your Knobs
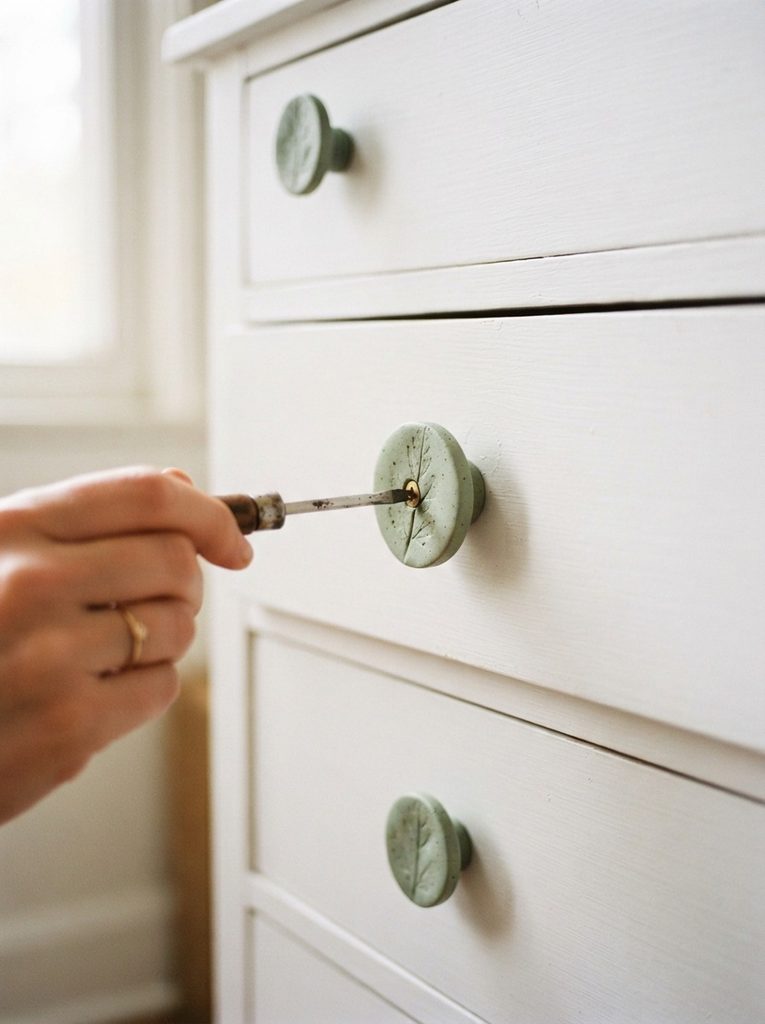
Remove your old hardware and check the hole diameter against your bolt shaft — M4 fits most standard furniture holes. If yours are slightly large, a small rubber washer on the inside face of the drawer tightens everything up perfectly.
Push the bolt through from inside the drawer, thread the nut onto the shaft from outside, and hand-tighten until snug. Don’t overtighten — clay is strong when sealed but doesn’t need to be cranked down.
Step back and look at that dresser.
There it is.
Save this project before your next furniture refresh — and remember that this works on every piece of furniture in your home. Kitchen cabinets, a bathroom vanity, a bedside table, an old wardrobe that needs new life. One block of clay and an afternoon is all that stands between ordinary furniture and something that looks entirely, deliberately, beautifully yours.