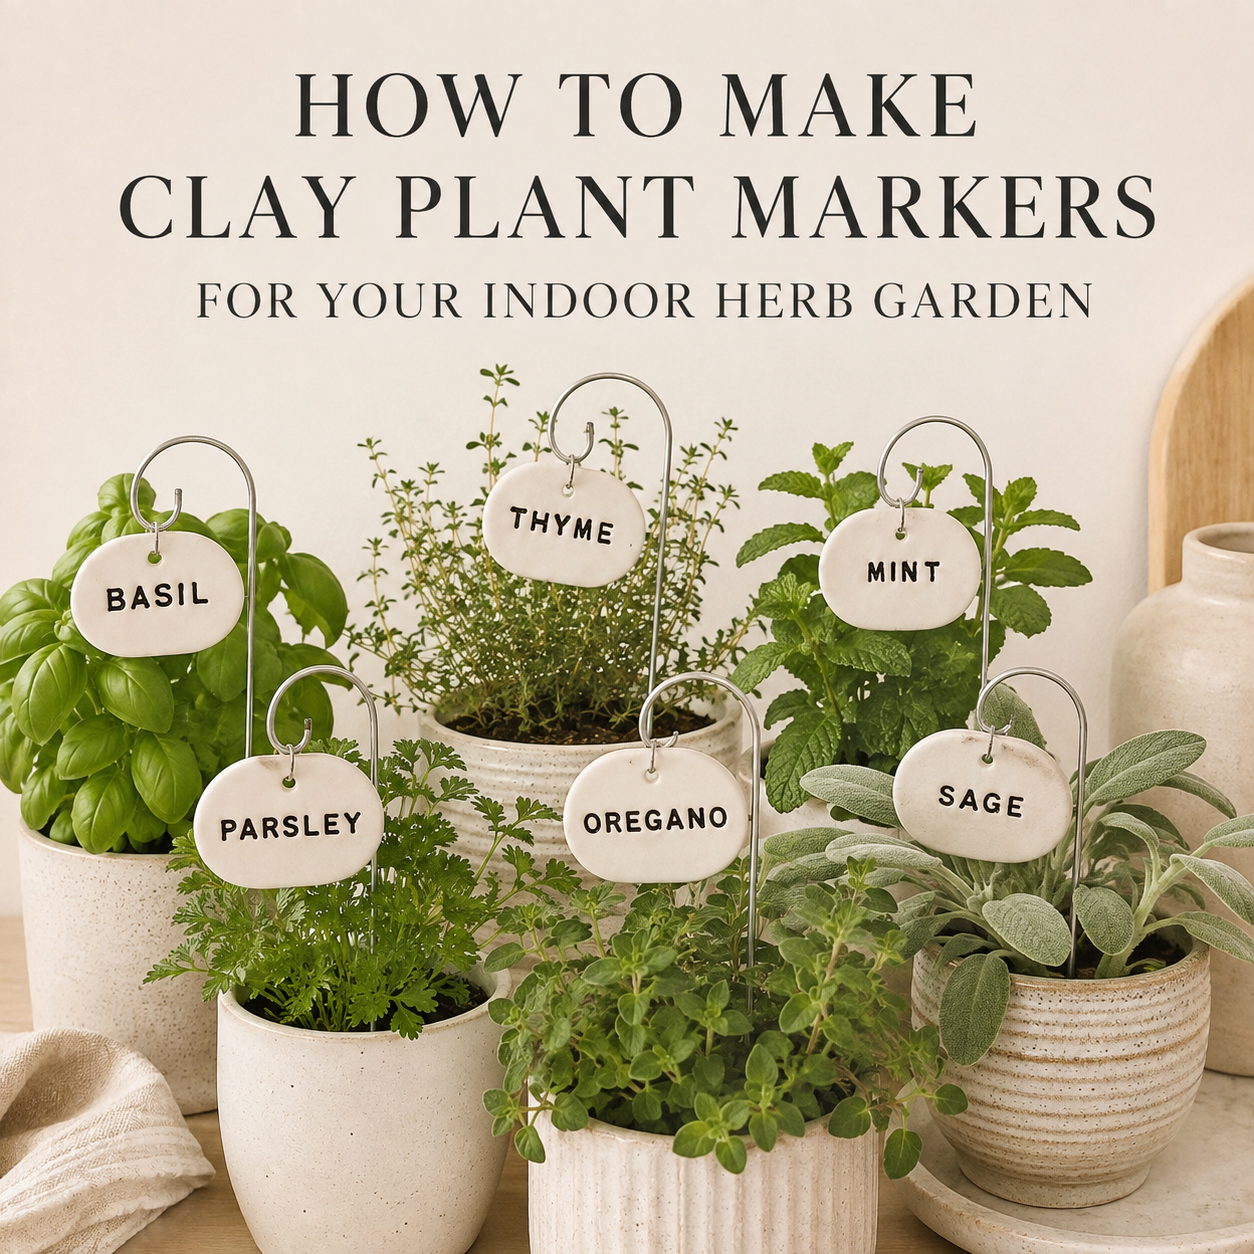
There’s a certain kind of joy that comes from a well-organized herb garden — pots lined up on a windowsill, everything green and alive and actually labeled so you’re not sniffing every stem trying to figure out if that’s basil or oregano again. And when those labels are tiny, handmade clay markers? That joy gets a serious upgrade.

Clay plant markers are one of those projects that feel more impressive than they actually are to make. They’re quick, they’re functional, they’re genuinely beautiful — and they make your herb garden look like it belongs in a lifestyle magazine spread. Let’s make them.
What You’ll Need
The supply list is short and very affordable. Most of this you may already have at home.
- Air-dry clay — one standard block makes 8–12 markers easily
- A rolling pin or smooth glass bottle
- A knife, small cookie cutters, or cardboard templates
- Alphabet stamps or letter stamps (from any craft store)
- A toothpick or skewer for detail work and freehand lettering
- Wooden craft sticks, kebab skewers, or thick floral wire for the stakes
- Fine-grit sandpaper (220 grit)
- Acrylic paint — white, terracotta, sage green, or raw umber all work beautifully
- Matte sealant spray (outdoor-rated if your herbs ever move outside)
- A soft brush for painting

Choosing Your Marker Shape
Before you roll a single piece of clay, decide on a shape. Consistency across your set makes the final display look intentional and polished rather than scattered.
Here are the most popular options — all beginner-friendly:
- Classic rectangle — clean, simple, easy to stamp letters onto. The most legible option.
- Rounded tag shape — a rectangle with a softly curved top. Feels a little more handmade and charming.
- Leaf shape — beautiful for a botanical garden aesthetic, though slightly trickier to stamp cleanly.
- Flag or pennant — a small rectangular top with a pointed stake built right into the bottom. No separate stick needed.
Pick one shape and make the whole set match. You can always mix shapes for a second set once you’ve got the technique down.
Rolling, Cutting, and Shaping
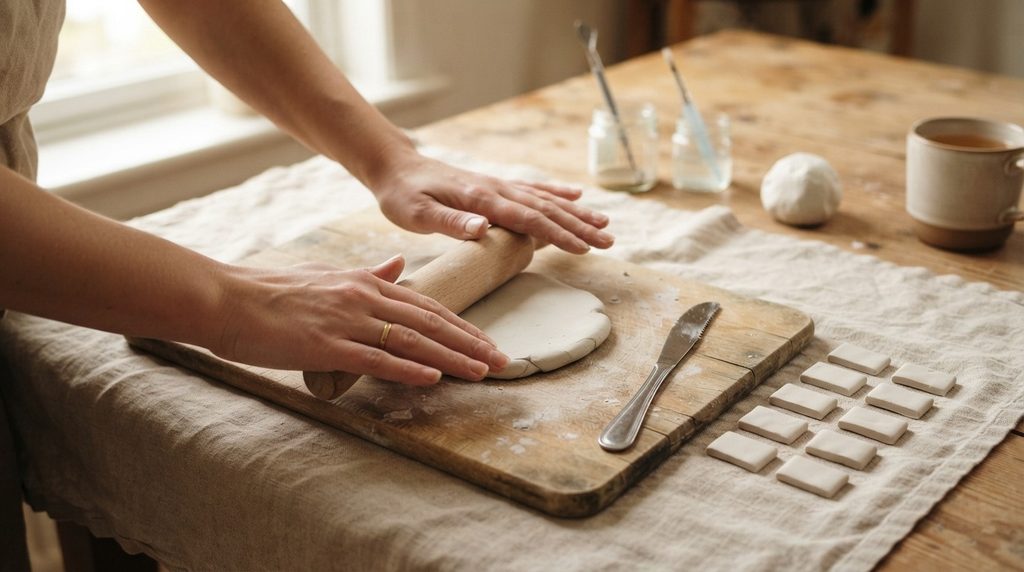
Here’s where the clay time begins — and it moves faster than you’d expect.
- Knead your clay for one to two minutes until it’s smooth, warm, and crack-free when bent.
- Roll it out evenly to about 5mm thickness. Too thin and your markers will be fragile; too thick and they’ll look chunky and take forever to dry.
- Cut your shapes using a knife and ruler for clean rectangles, or a cardboard template for organic shapes. Aim for markers about 4–5cm wide and 6–7cm tall before adding the stake.
- Attach the stake — press a wooden skewer or craft stick firmly into the bottom center of each marker, embedding at least 2cm into the clay. Smooth the clay around it with a damp finger to seal the join completely.
- Smooth all edges by running a damp fingertip around the perimeter. This takes ten seconds per marker and makes an enormous difference in the final look.
Set each marker flat to rest for five minutes before stamping — slightly firmed-up clay holds impressions more crisply than clay that’s freshly worked.
Stamping and Writing the Herb Names
This is the step everyone is slightly nervous about, and the step that ends up being the most fun.
If you’re using alphabet stamps:
- Press firmly and evenly — rock the stamp slightly if needed to get a full impression
- Work from the center of the word outward so the lettering stays balanced
- Practice on a scrap piece of clay first to get your pressure right
If you’re writing freehand with a toothpick:
- Lightly sketch the letters first by barely grazing the surface
- Then go back and deepen the lines with confident, even strokes
- Simple block letters are far easier than cursive and look just as good
If you want a botanical touch:
- Press a small real herb leaf beside the text — a rosemary sprig, a basil leaf — for a nature-print impression that identifies the plant visually as well as by name

Once stamped, leave markers to dry completely flat for 24–48 hours. If the stake causes the marker to tilt, prop it gently against a folded piece of cardboard to keep it upright and level while drying.
Painting and Sealing
Lightly sand any rough spots once fully dry — pay special attention to edges and around the stake join.
Then paint. Keep your colour palette cohesive so the whole set feels unified:
- Raw terracotta — warm, earthy, and classic for herb gardens
- Matte white with a raw umber wash — paint white, let dry, then brush diluted brown over the stamped letters so they pop with contrast
- Sage green with cream lettering — fresh, botanical, and very on-trend
- Unpainted and natural — seal the raw clay as-is for a clean, minimalist look
Two thin coats of paint, fully dried between each. Then seal generously with matte sealant — at least two coats if your herb garden lives near a window where it gets watered regularly.
Into the Pots They Go

Press each marker into the soil near the front of its pot at a slight backward angle — it reads better and catches the light more beautifully than straight vertical.
Step back and look at your windowsill. It looks like something out of a slow-living blog. Because it kind of is now.
Save this project for a slow weekend morning — the whole thing from setup to cleanup takes about two hours, and you end up with a herb garden that’s as beautiful as it is functional. Make a second set as a gift for someone who loves to cook. They will absolutely love you for it.