 Skip to content

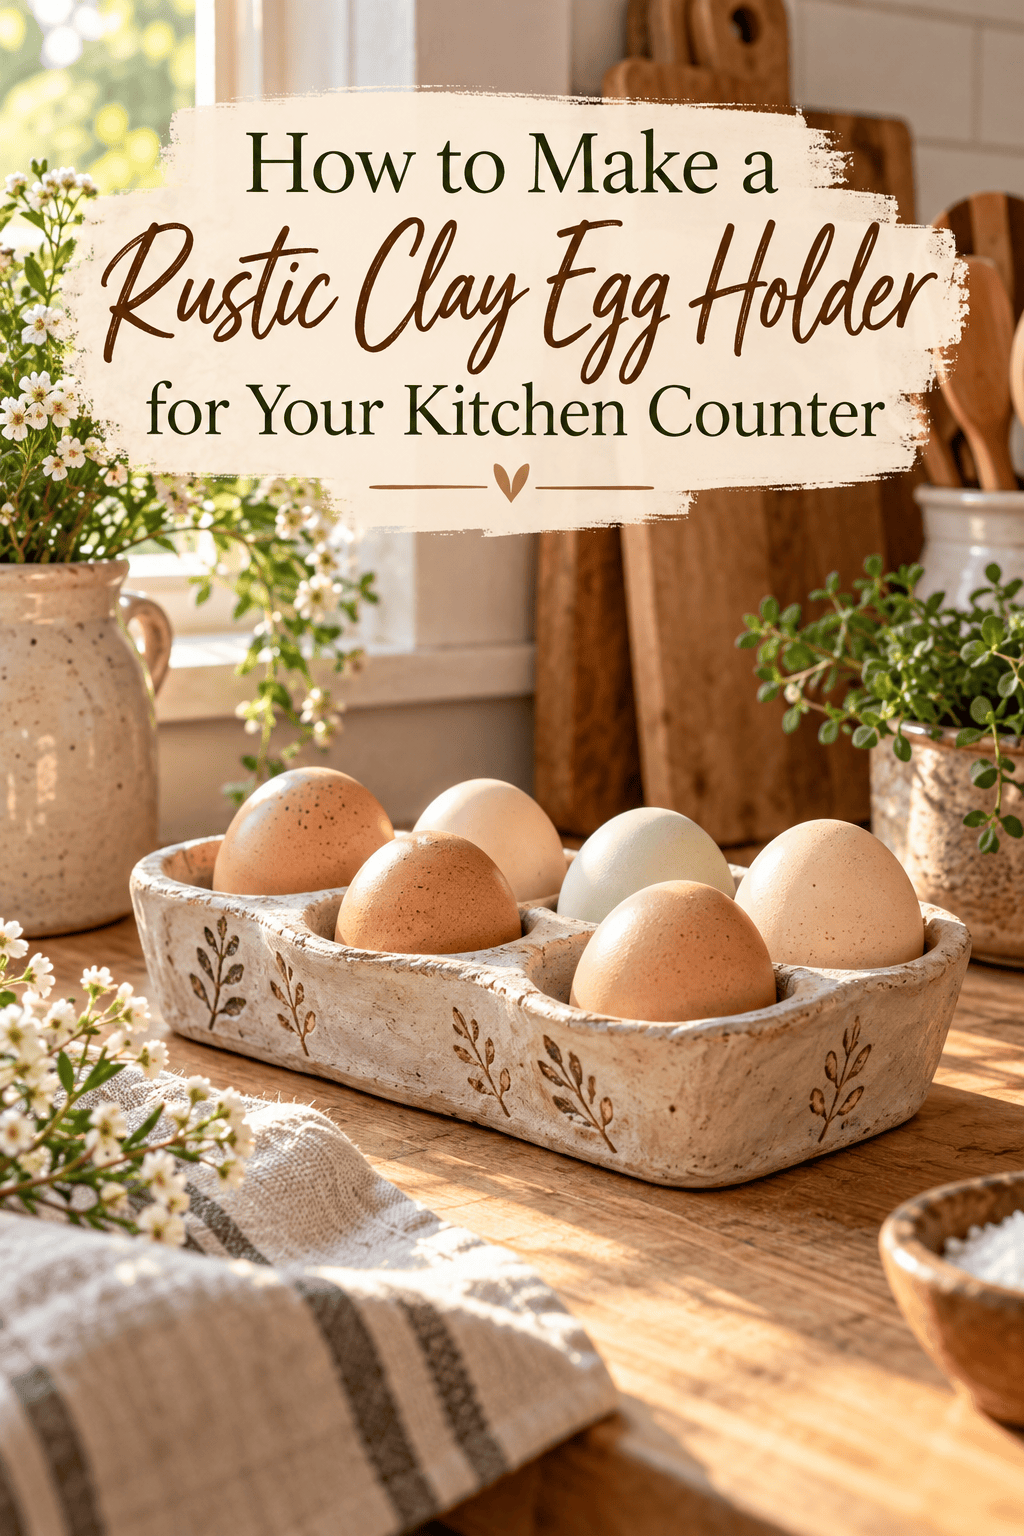
Eggs are one of the most beautiful objects in a kitchen — the shape, the subtle colour variations, the way a bowl of them just looks like someone knows what they’re doing in there. And yet most of us store them in a cardboard carton shoved in the back of the fridge, which is both a visual waste and, if you’re using good fresh eggs, entirely unnecessary. A handmade clay egg holder on your counter changes both of those things at once.

It’s functional, beautiful, and the kind of kitchen object that makes people pause mid-conversation when they visit your home. It also takes a single afternoon to make and costs almost nothing. Let’s get into it.
What You’ll Need
Simple supplies, satisfying results.
- Air-dry clay — a 500g block handles a six-egg holder comfortably; go to 750g for eight or ten
- A rolling pin or smooth glass bottle
- A sharp craft knife or clay blade
- A real egg as your mold for shaping the indentations — this is the best tool you own for this project
- Sandpaper — medium grit (120) for shaping, fine grit (220) for finishing
- Acrylic paint in your chosen finish
- Food-safe sealant — since eggs sit directly on this surface, use a food-safe polyurethane varnish or food-safe epoxy rather than standard craft sealant
- A foam brush for smooth sealant application
- Optional: a toothpick, stamps, or natural materials for surface texture
- Optional: small rubber feet to elevate the holder slightly and protect your counter

Planning Your Egg Holder Layout
Before rolling a single piece of clay, decide on your configuration. This determines your dimensions and how you’ll build the piece.
Popular layouts:
- 2 x 3 grid — six eggs, the most classic and balanced shape. Fits most kitchen counters without dominating them.
- 1 x 6 row — a long, linear holder that sits beautifully along a backsplash or beside the stove. Very architectural.
- 2 x 4 grid — eight eggs, ideal for households that go through eggs quickly or keep backyard chickens.
- Organic cluster — indentations arranged in a loose, non-grid pattern for a more artisan, sculptural look.
Sketch your chosen layout on paper first and note the approximate dimensions. Allow roughly 6–7cm of space per egg in each direction — enough that the eggs sit comfortably without touching each other.
One proportioning rule: your finished holder should be thick enough to support the egg indentations without cracking — aim for at least 2cm of clay beneath the deepest point of each hollow.
Building the Base

The base is where the entire project is won or lost — take your time here.
- Condition your clay fully — two solid minutes of kneading until smooth, warm, and completely crack-free when flexed.
- Roll your slab thick — 3–4cm thickness throughout. This is considerably thicker than most clay projects, and intentionally so. The egg indentations will compress the clay downward, and you need depth beneath them for structural integrity.
- Cut your base shape — rectangle, oval, or organic free-form depending on your aesthetic preference. Smooth all edges with a damp fingertip immediately after cutting.
- Create your egg indentations — this is the most satisfying step. Take a real egg, hold it at the slightly wider end, and press the narrower end into the clay surface firmly but gradually. Push down roughly 1.5–2cm — deep enough that the egg sits cradled and stable, not so deep that the clay base beneath it becomes dangerously thin. Twist gently as you remove the egg so it releases cleanly.
- Work your grid systematically — complete all indentations in one session while the clay is at the same moisture level. Indentations pressed into clay at different stages of drying will look noticeably inconsistent.
- Smooth the inner surface of each hollow with a damp fingertip, eliminating any cracking around the edges of the impression.
Adding Texture and Rustic Character

The beauty of a rustic egg holder is that perfection is not the goal — character is.
Work the exterior surfaces while the clay is still soft:
- Toothpick crosshatch etched around the sides for a woven basket texture — thematically perfect for an egg holder
- Thumb press border — press your thumb in a repeating pattern along the outer rim for a hand-stamped, organic feel
- Twig or fork drag — draw the tines of a fork across the sides in irregular lines for a rough, barn-wood inspired texture
- Leave completely natural — fingerprints, slight surface irregularities, and organic edges are all valid aesthetic choices for a rustic piece
Once textured, set your holder somewhere completely flat and level to dry. A piece this thick needs four to six full days to dry completely through to the center — far longer than thinner clay projects. Press firmly on the thickest section between the egg hollows; if it feels even slightly cool or soft, it’s still drying.
Sanding, Painting, and Food-Safe Sealing
Once bone dry, sand in two stages:
- 120 grit first — flatten the base completely, smooth any rough side edges, refine the rim
- 220 grit to finish — the entire exterior until consistent and tactile
Pay particular attention to the interior of each egg hollow — fold your sandpaper and work it gently around the curved inner surface until smooth.
Paint options for a rustic kitchen aesthetic:
- Raw terracotta — the most natural, farmhouse-authentic finish. Looks like it came from a Provençal market.
- Warm cream or off-white — clean and versatile, works in every kitchen style from cottage to contemporary
- Matte dark brown with a dry-brushed cream highlight — brush the base coat dark, let it dry, then drag a barely loaded cream brush lightly across the raised surfaces. Looks genuinely aged and beautiful.
- Unpainted and natural — seal the raw clay as-is for a completely organic look. Understated and quietly stunning.
Then seal — and seal properly, because this piece will contact food:
Apply food-safe polyurethane varnish in four to six coats, allowing full curing time between each coat. Pay particular attention to the interior of every egg hollow — this is where eggs make direct contact with the surface.

On Your Counter, Finally
Carry it to your kitchen counter. Load it with eggs — the best ones you can find, because they deserve to be seen. Set it somewhere it gets morning light if you can.
Save this project for a long weekend and consider making a second one as a gift for anyone in your life who keeps backyard chickens, shops at farmers markets, or simply deserves a kitchen counter that looks as good as their cooking. That’s most of the best people you know.



