 Skip to content

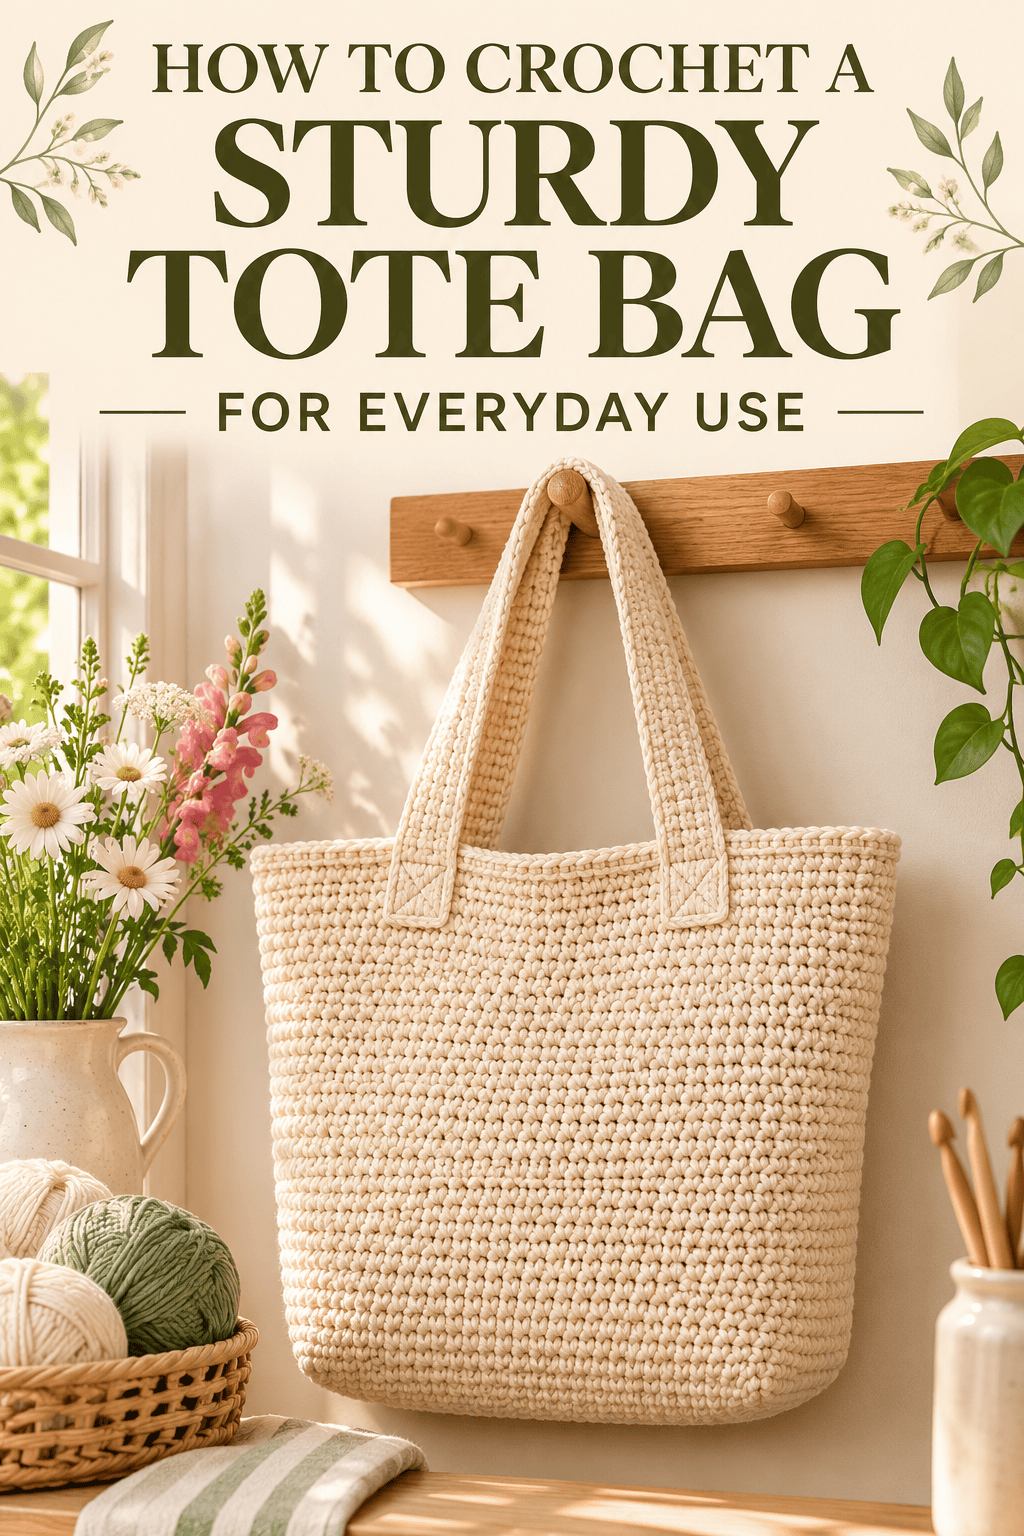
Groceries, laptop, library books, a surprise farmers market haul: your tote bag has a big job. Store-bought ones fray, sag, and stretch out. A handmade crochet tote doesn’t have to.
With the right yarn and a few simple stitches, you can make a bag that’s strong, stylish, and entirely yours. Even beginners can finish one in a weekend. Let’s hook up.

What You’ll Need
- Worsted or aran weight cotton yarn (about 250 to 350 g)
- 4.5 to 5 mm crochet hook (go down a size for a firmer fabric)
- Stitch markers
- Yarn needle and scissors
- Optional: fabric lining, sewing needle, and a magnetic snap closure
Tip: Choose 100% cotton. It doesn’t stretch like acrylic, so your bag keeps its shape under heavy loads.

Pick the Right Stitch for Strength
Stitch choice makes or breaks a tote.
- Single crochet: dense, firm, and great for beginners
- Moss (linen) stitch: woven look with beautiful drape and strength
- Waistcoat stitch: tight, knit-like fabric with minimal gaps
- Half double crochet: faster, but use a smaller hook to keep it tight
Avoid lacy or open stitches for everyday bags. Holes let small items slip out and stretch over time.
Step 1: Make the Base
A flat, firm base keeps your bag standing up.
- Chain 31 (or your desired width).
- Single crochet in the second chain from the hook and across.
- Work three stitches in the last chain, then continue along the other side of the chain.
- Work three stitches in the final chain and join with a slip stitch.
- Repeat rounds in single crochet until the base measures about 4 by 10 inches.
Place a stitch marker at the start of each round so you don’t lose your place.
Step 2: Build Up the Walls
Now the bag starts to rise.
- Work in the back loops only for one round to create a crisp fold at the base
- Switch to your chosen stitch and continue in continuous rounds
- Keep stitch tension even so the walls stay straight
- Work until the bag is about 12 to 14 inches tall
Pro tip: Stitch slightly tighter than usual. A dense fabric holds heavy items with less stretching.

Step 3: Add Color Stripes (Optional)
Stripes are an easy way to add personality.
- Change colors every 4 to 6 rows
- Carry yarn up the inside of the bag, or cut and weave in ends
- Use two or three shades in the same family for a polished look
- Try a bold accent stripe near the top for a modern finish
Step 4: Reinforce the Top Edge
A strong rim keeps the bag from drooping.
- Work two or three rounds of single crochet around the opening.
- Add one round of slip stitches for a sturdy edge.
- Mark where each handle will attach, about 3 to 4 inches from each side seam.
Step 5: Crochet Sturdy Handles
Handles carry the weight, so don’t skimp.
- Chain 50 to 60 stitches, depending on how long you like them
- Single crochet back along the chain
- Work 4 to 5 more rows to create a wide, flat strap
- Fold the strap in half and whip stitch the edges for a thick, rounded handle
- Make two handles of equal length
Tip: Sew each handle on in a square, then add an “X” through the middle. This extra reinforcement spreads the weight.
Step 6: Attach the Handles
- Position the handle ends inside the bag, lined up with your markers.
- Sew each end securely with yarn, going through the handle and the bag several times.
- Weave in all loose ends.

Add a Lining for Extra Strength
A lining stops keys and small items from poking through and helps the bag hold its shape.
- Cut cotton fabric slightly smaller than your bag’s inner dimensions
- Sew into a bag shape, leaving the top edge open
- Fold the top edge under and hand stitch it inside the rim
- Add an inner pocket for your phone and keys
- Attach a magnetic snap at the top center for secure closure
Care and Maintenance
- Hand wash in cool water with mild soap
- Reshape and lay flat to dry
- Avoid wringing, which can stretch the fibers
- Spot clean small stains right away
- Don’t overload beyond 10 to 12 pounds

Style Your Tote
- Add a leather tag or a handmade pom-pom charm
- Pair with linen or denim for a casual look
- Use a bright color for a fun summer accessory
- Make a mini version for kids or a larger one for beach days
Final Thoughts
A crochet tote is practical, pretty, and surprisingly satisfying to make. Choose strong cotton, keep your stitches tight, and reinforce those handles. Before long, you’ll have a bag that carries your everyday life and gets better with age.
Loved this project? Save this post to your Crochet board and start your tote this weekend!



