 Skip to content

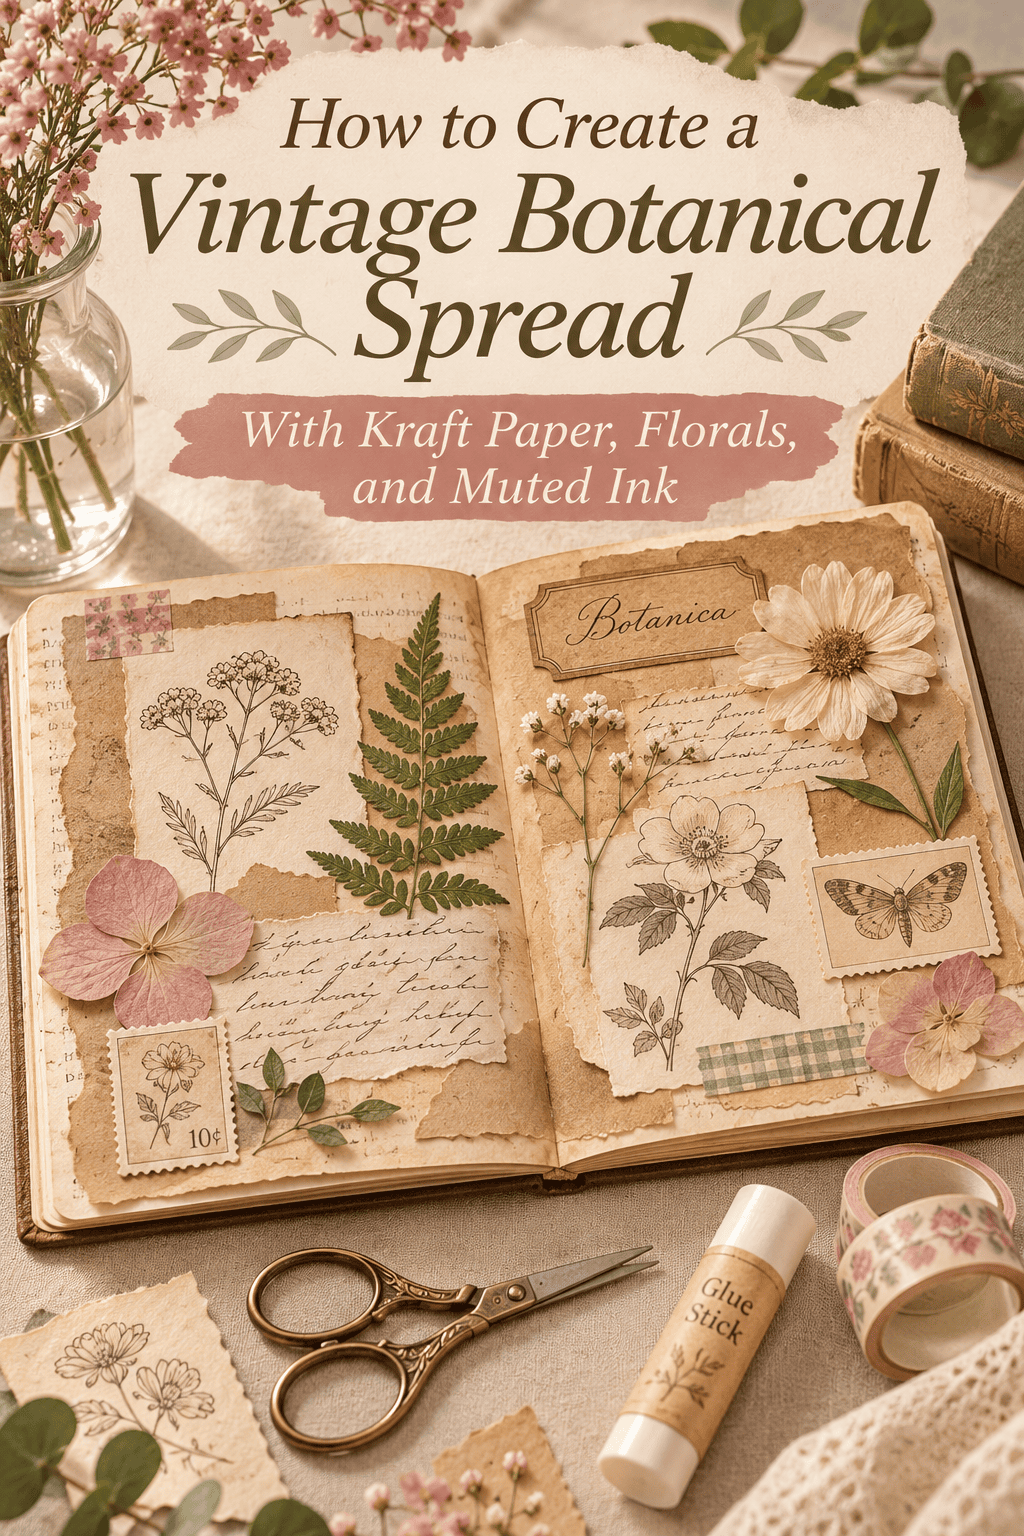
Picture an old naturalist’s journal: warm kraft pages, pressed blooms, and delicate ink sketches that look like they’ve been tucked away for a hundred years. Now picture making that yourself in one cozy afternoon.
A vintage botanical spread is part journal page, part art piece, and entirely calming to create. Here’s how to build one that feels timeless.

What You’ll Need
- A kraft paper journal, sketchbook, or sheets of kraft paper
- Pressed flowers and leaves (or fresh ones to press)
- Muted ink in sepia, olive, or faded navy
- A fine-tip pen or dip pen
- Matte glue, acid-free glue stick, or archival tape
- Tracing paper or vellum
- Cream or tea-stained paper scraps
- Scissors, tweezers, and a ruler
- Optional: twine, vintage stamps, and old book pages
Tip: Choose acid-free materials so your spread won’t yellow or damage the flowers over time.
Press Your Florals First
Flowers need time, so start early.
- Choose flat, delicate blooms like pansies, cosmos, ferns, and small daisies.
- Place them between sheets of parchment inside a heavy book.
- Add more weight on top and leave for 1 to 2 weeks.
- Store them in a flat box until you’re ready to use them.
No time? Microwave pressing with a flower press can finish in minutes.

Create the Vintage Base
Aged paper gives the whole spread its character.
- Brush strong black tea over cream paper scraps and let them dry
- Tear the edges gently instead of cutting them
- Layer a lighter panel on top of the kraft page for contrast
- Crumple and flatten paper for a soft, worn feel
- Add a thin line of ink around the edges as a border
Keep the palette muted: tan, cream, sage, and soft brown.
Plan Your Layout
A little planning goes a long way.
- Place your largest element, such as a big fern or flower, first.
- Add smaller blooms and leaves around it.
- Leave open space for ink drawings and notes.
- Balance the left and right pages without making them identical.
Move everything around before gluing. It’s easy to change your mind at this stage.
Add Muted Ink Illustrations
This is where the vintage feeling comes alive.
- Sketch leaves, stems, and seed pods in pencil first
- Trace over the lines lightly with sepia or olive ink
- Add tiny cross-hatching for shading
- Label drawings with botanical-style names in neat script
- Use tracing paper for delicate overlays on top of flowers
Pro tip: Let the ink dry fully before erasing pencil lines to avoid smudges.

Attach the Florals Gently
Pressed flowers are fragile, so work slowly.
- Lift each flower with tweezers
- Dab a tiny amount of glue on the back, not the page
- Press gently with a clean fingertip or a soft cloth
- Cover delicate petals with a sheet of vellum for protection
- Let everything dry flat under a light book
Layer In Extra Details
Little touches create that collected, antique feel.
- Tuck a pocket made from kraft paper to hold small cards
- Add a vintage stamp or an old book page corner
- Tie a twine bow or a small dried herb sprig
- Attach tiny tags with handwritten plant notes (or leave them blank for a clean look)
- Add washi tape in neutral tones to hold paper edges

Style and Photograph Your Spread
Show it off beautifully.
- Shoot in soft natural light near a window
- Use a wooden table or linen cloth as a backdrop
- Add props like dried flowers, a teacup, or a vintage pen
- Take photos from above for a clean, flat view
- Capture close-ups of textures and ink details
Ways to Use Your Botanical Spread
- Journal pages or scrapbook layouts
- Handmade greeting cards or gift tags
- Framed wall art for a cottage-style room
- A thoughtful gift for a gardener or plant lover
- Decor for a bookshelf, mantle, or craft room

Care Tips
- Keep spreads out of direct sunlight to prevent fading
- Store flat in a folder with tissue between pages
- Use UV-protective glass if framing
- Avoid humid rooms to protect the paper
Final Thoughts
A vintage botanical spread is slow, gentle, and beautiful. With kraft paper, pressed florals, and a bit of muted ink, you can make something that feels like a treasured find from another era. Take your time, trust your eye, and enjoy every layer.
Loved this project? Save this post to your Paper Crafts board and start your botanical spread this weekend!



