 Skip to content

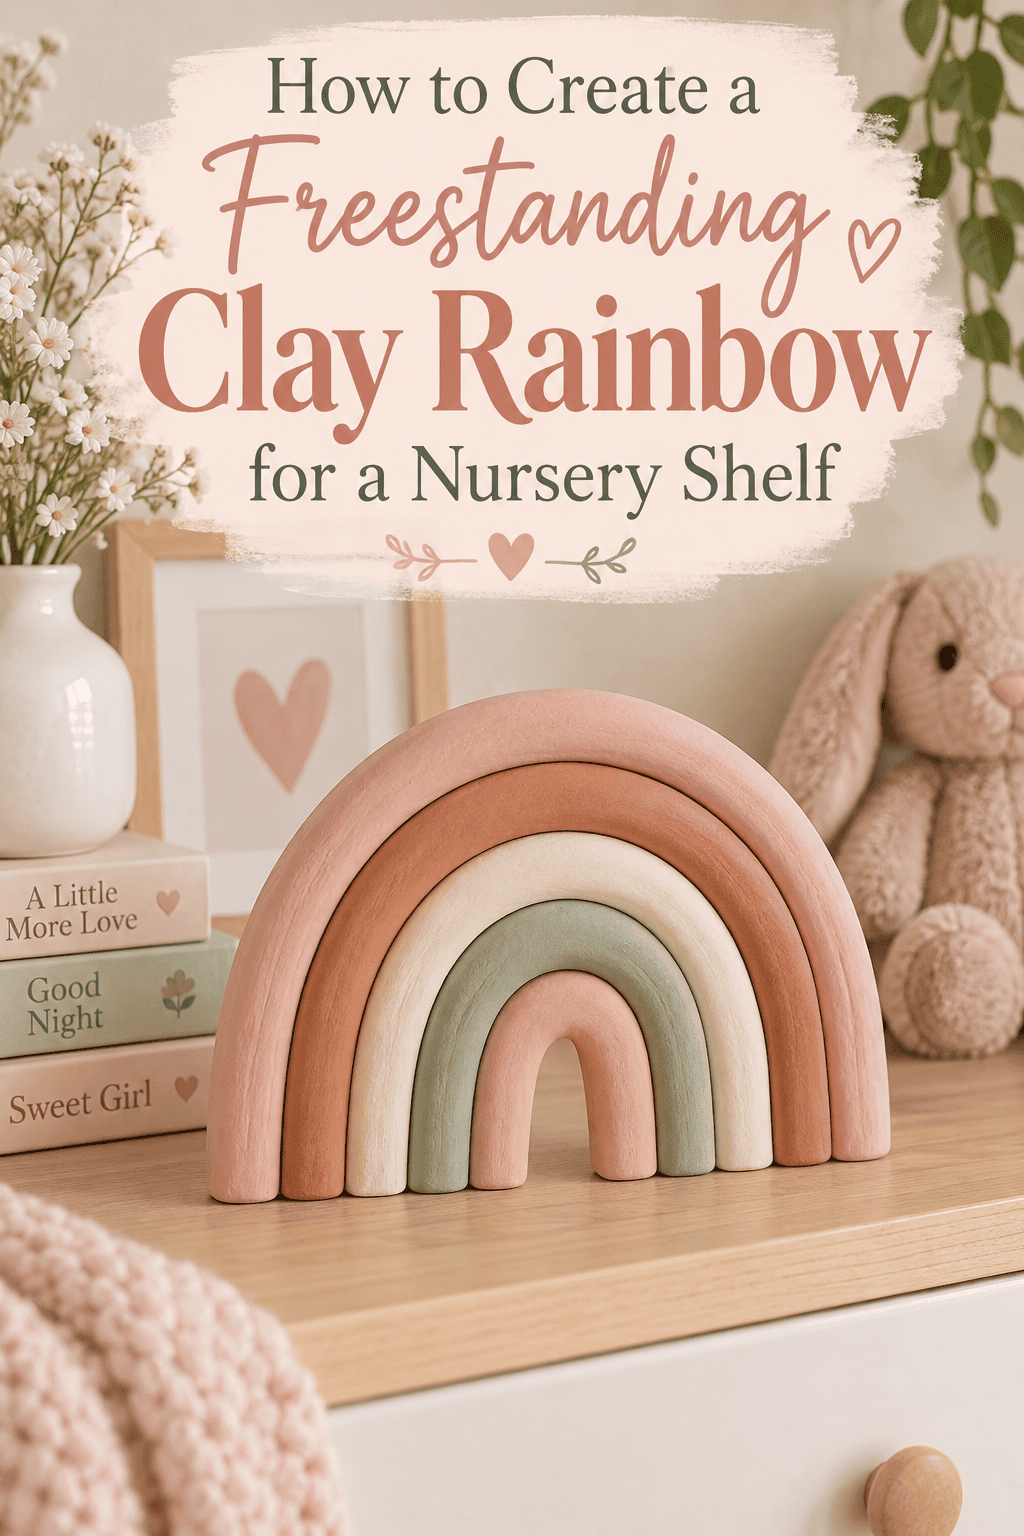
There is no object that communicates warmth, wonder, and childhood quite as efficiently as a rainbow. It’s universal, it’s joyful, and when it’s a small handmade clay arch sitting on a nursery shelf between a stack of board books and a tiny stuffed bear — it becomes the kind of detail that makes a room feel genuinely loved rather than just decorated.

The best nursery rainbows aren’t the primary-colour cartoon versions — they’re the muted, dusty, grown-up palette ones that look beautiful to adult eyes and magical to small ones. And making one from clay means you control every colour, every proportion, and every detail. This is one of those projects where the making feels as good as the having.
What You’ll Need
Everything here is beginner-friendly and budget-conscious. A finished rainbow costs a fraction of what comparable nursery décor sells for online.
- Air-dry clay — a 500g block is plenty for a standard nursery rainbow
- A rolling pin or smooth glass bottle
- Cardboard for making arch templates
- A sharp craft knife or clay blade
- Sandpaper — medium grit (120) and fine grit (220)
- Acrylic paint in your chosen rainbow palette — more on colour selection shortly
- Small paintbrushes — a flat brush for base coats, a soft round brush for blending
- Matte sealant spray
- Strong craft glue or two-part epoxy for final assembly
- A pencil and ruler for template making

Making Your Arch Templates First
This is the step that separates a rainbow that looks designed from one that looks improvised — and it takes ten minutes that pays off enormously.
A freestanding nursery rainbow works best with five arches — enough for a full colour story without becoming too heavy or complex for a beginner build. Each arch is a different size, nesting inside the next.
To make your templates:
- Draw your largest arch first on cardboard — aim for roughly 12–14cm wide at the base and 6–7cm tall at the peak. This is your outer rainbow.
- Reduce each subsequent arch by about 1.5–2cm in width and 1cm in height. Your innermost arch should be roughly 5–6cm wide.
- Keep the arch thickness consistent at about 1.5cm across all five pieces — this is what makes them look like they belong together.
- Cut all five templates cleanly and test them by laying them nested together on a flat surface. They should stack with even spacing between each arch.
Take five minutes to adjust proportions before committing. A template is infinitely easier to fix than a dried clay piece.
Cutting and Shaping the Clay Arches

Now the clay work begins — and it moves satisfyingly quickly once your templates are ready.
- Condition your clay thoroughly — knead for two full minutes until completely smooth, warm, and pliable.
- Roll your slab evenly to about 1.5cm thickness throughout. Consistent thickness is what makes all five arches sit at the same visual weight when assembled.
- Place your template on the slab and cut around it firmly with your craft knife. Keep the blade vertical — angled cuts create uneven edges that show in the finished piece.
- Smooth all edges immediately with a dampened fingertip, running it along every cut edge to soften the sharpness without rounding the arch shape.
- Cut all five arches before setting any of them to dry — working with the same batch of conditioned clay for all pieces keeps the texture and moisture level consistent.
- Create flat feet on the base of each arch by pressing the two base ends gently against your work surface — these flat contact points are what allows the finished rainbow to stand freestanding without wobbling.
Lay every arch flat on parchment paper to dry for 48–72 hours. Arches are particularly prone to warping because of their curved shape — resist any urge to rush or move them early.
Choosing Your Colour Palette

This decision defines the entire personality of your rainbow — so take it seriously.
The classic nursery rainbow palettes that work beautifully in clay:
- Muted Scandi — dusty rose, warm peach, butter yellow, sage green, soft sky blue. The most popular nursery palette for good reason: it’s soothing, sophisticated, and photographs exquisitely.
- Earthy boho — terracotta, burnt orange, mustard yellow, olive green, dusty teal. Warmer and more dramatic, beautiful in a boho or woodland-themed nursery.
- Pastel dream — soft lavender, baby pink, pale yellow, mint green, powder blue. The lightest and most traditional option, dreamy and delicate.
- Monochrome modern — five tones of the same colour from pale to deep. A dusty rose gradient, for example, is quietly stunning and unexpected.
Avoid full-saturation primary colours unless the nursery aesthetic specifically calls for it — they can look jarring against the soft tones most contemporary nurseries use.
Sanding, Painting, and Assembling
Once fully dry, sand each arch methodically:
- 120 grit first — flatten the base feet completely, smooth any rough edges
- 220 grit to finish — the entire surface of each arch until smooth and consistent
Wipe all dust away before painting.
Paint each arch its designated colour — two thin coats each, fully dried between coats. Work from the largest arch outward, keeping your brushstrokes following the curve of the arch for the smoothest finish. A foam brush gives particularly even coverage on the flat face of each piece.
Seal every arch with two coats of matte sealant before assembling.
Assembly:
- Lay your largest arch flat, face down
- Apply a small amount of strong craft glue or epoxy to each base foot
- Press the next arch in, centred, and hold firmly for 60 seconds
- Work inward one arch at a time, allowing each join to set for five minutes before adding the next
- Stand the assembled rainbow upright and check that it sits level — adjust the base feet while the glue is still workable if needed

On the Shelf Where It Belongs
Carry your finished rainbow to the nursery shelf and set it down. Step back. That shelf just became the most beautiful corner of the room — anchored by something handmade, colourful, and completely full of intention.
Save this project before the baby arrives — or gift it to someone whose nursery is still coming together. Wrapped in tissue inside a simple white box, a handmade clay rainbow is the kind of gift that gets kept for years. Maybe decades.



