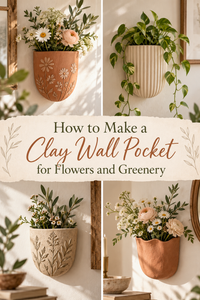
You know that one corner of your home — the one that’s been “temporary” for about two years now? No furniture quite fits, no art feels right, and every time you walk past it you think, I really need to do something with that. Well, this is the something.
A boho clay wall hanging is one of those rare DIY projects that looks genuinely impressive, costs almost nothing, and comes together in a single afternoon. Layers of handmade clay pieces, strung together on driftwood or a dowel, swaying gently with macramé fringe — it’s the kind of thing that makes a corner feel curated rather than forgotten.
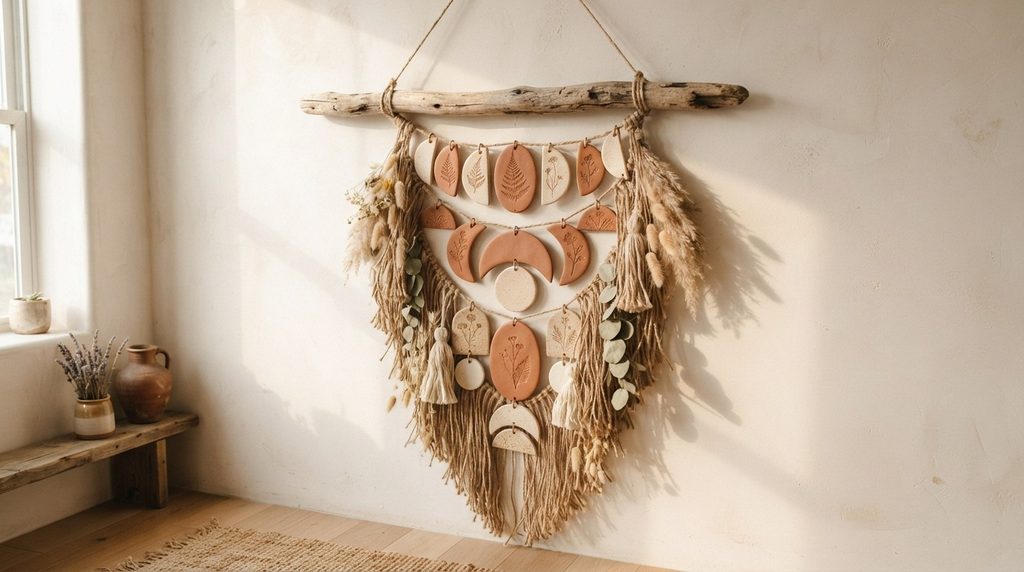
No pottery experience needed. Just clay, a little creativity, and this guide.
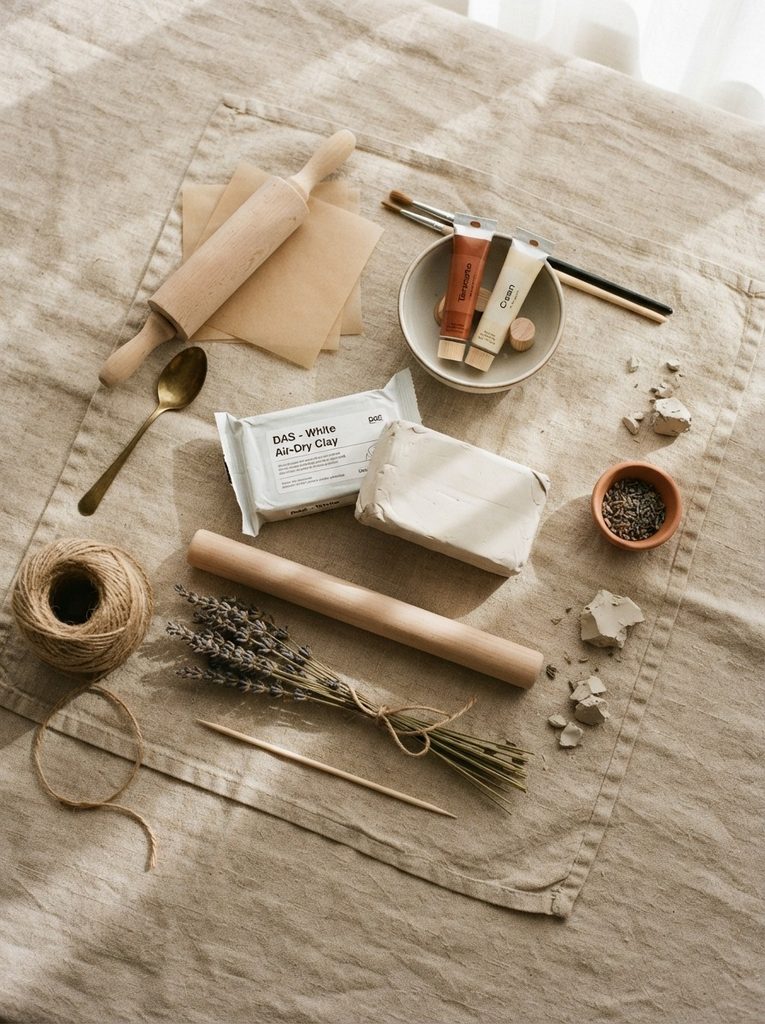
What You’ll Need
Keep your supply list simple — this project is about texture and layering, not precision.
- Air-dry clay — two to three palm-sized blocks depending on how full you want the hanging
- A rolling pin or smooth bottle
- Cookie cutters, a knife, or cardboard templates for shaping
- Toothpick or skewer (for holes and texture)
- A straw (for punching clean hanging holes)
- Fine-grit sandpaper (220 grit)
- Acrylic paint — terracotta, cream, sage, and raw umber work beautifully together
- Matte sealant spray
- Natural twine, jute, or thin macramé cord
- A driftwood branch, wooden dowel, or thick stick — about 30–40cm wide
- Optional: dried flowers, pampas grass, beads, or feathers for layering
Planning Your Layout Before You Touch the Clay
This step saves you from that sinking feeling mid-project when nothing seems to fit together.
Lay your branch or dowel on a flat surface and sketch — even loosely — what shapes you want hanging from it. Think in terms of rows and variation:
- Top row: two or three larger statement pieces — ovals, half-moons, or abstract rounded shapes
- Middle row: medium pieces with texture — leaves, teardrops, geometric tiles
- Bottom row: smaller accent pieces and fringe, creating a tapered, flowing finish
A good rule of thumb: odd numbers look more natural than even. Three large pieces, five medium, seven small feels balanced without being rigid.
Mix your shapes intentionally — pair a smooth crescent with a heavily textured oval right beside it. That contrast is what gives boho work its visual richness.
Making and Texturing Your Clay Pieces
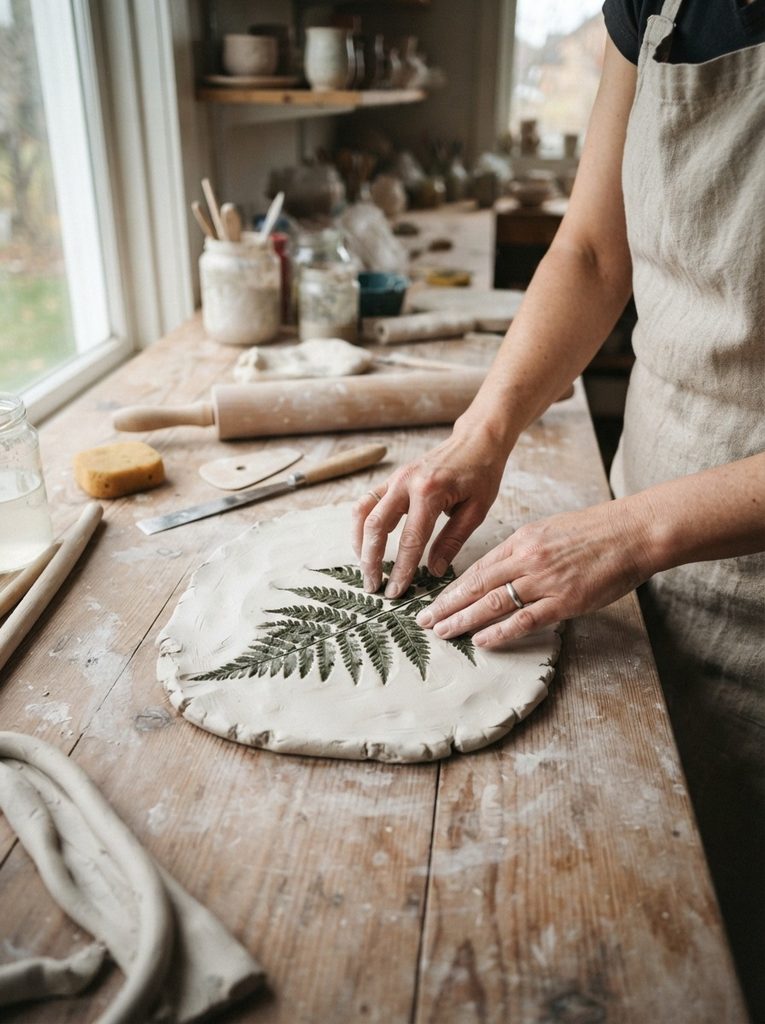
Now the hands-on part — and honestly the most meditative hour you’ll have all week.
- Condition your clay by kneading each piece until smooth and pliable.
- Roll it out to roughly 5–8mm thickness — thick enough to be sturdy once dry, thin enough to hang without weight.
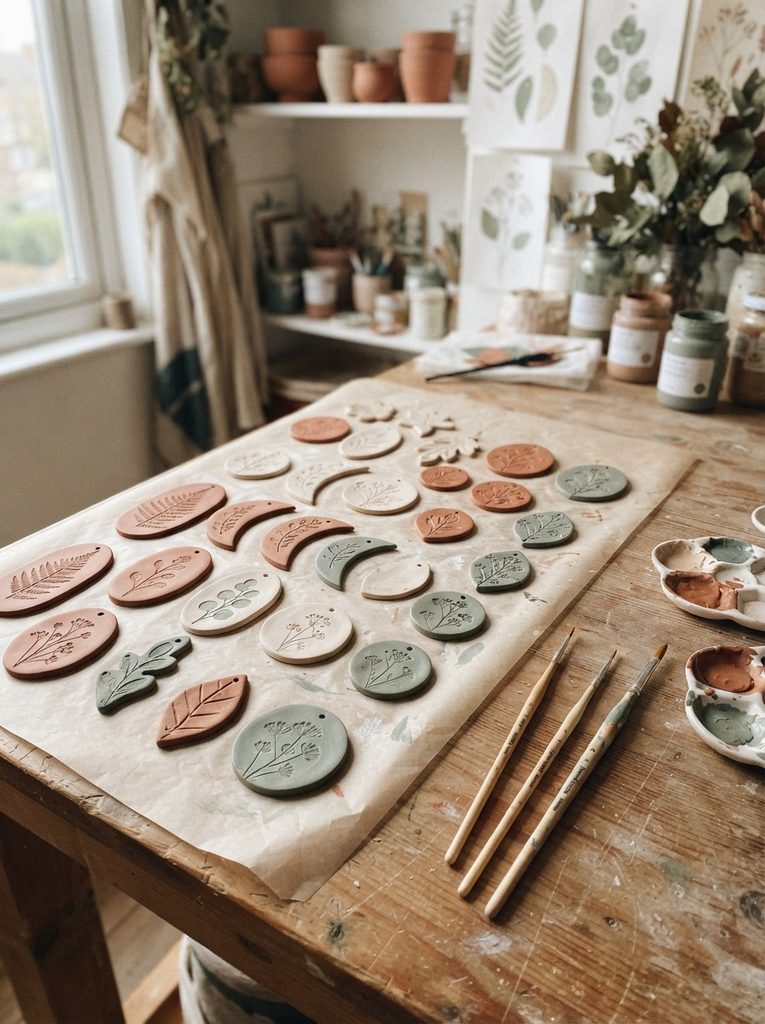
- Cut your shapes using cookie cutters, a knife freehand, or cardboard templates you’ve cut yourself. Imperfect edges are completely fine — they add character.
- Add texture before the clay firms up:
- Press a real leaf face-down and roll over it lightly for a botanical imprint
- Drag a fork or toothpick across the surface for fine line patterns
- Press a piece of lace or burlap into the clay for a fabric-like impression
- Leave some pieces completely smooth for contrast
- Punch hanging holes using a straw — push straight through and twist slightly for a clean circle. Place holes about 1cm from the top edge so the piece hangs without snapping.
Let everything dry flat on parchment paper for 24–48 hours. Flip pieces gently at the halfway point to prevent warping on the underside.
Painting for That Earthy, Layered Look
Once fully dry, sand any rough edges. Then comes the colour — and this is where your hanging really comes alive.
The trick with boho clay is not painting everything the same. Instead:
- Leave some pieces raw and unsealed for that natural clay warmth
- Paint others in flat terracotta — two thin coats, fully dried between each
- Try a cream or white wash on textured pieces so paint settles into the grooves and highlights the detail
- Add raw umber or dark brown dry-brushed lightly over the surface for an aged, sun-baked effect
Seal everything with matte sealant spray once you’re happy. This protects against dust and humidity and gives the finished pieces a cohesive, gallery-quality look.
Assembling the Wall Hanging
Cut your twine or cord into varying lengths — this is what creates that beautiful cascading, layered effect. A good range is 15cm to 45cm, depending on how long you want the finished piece.
Assembly steps:
- Tie your longest cords to the dowel first, spacing them evenly across the width
- Thread clay pieces onto each cord by looping through the punched holes and securing with a simple knot underneath
- Alternate shapes and finishes as you go — terracotta next to cream, smooth next to textured
- Add fringe and botanicals between clay pieces: a bunch of jute threads knotted at the dowel, a stem of dried pampas grass tucked behind a cord, a wooden bead slid onto a strand
- Tie a hanging cord across the top of the dowel and adjust until it hangs level
Step back frequently and adjust. Pull a cord lower, swap two pieces, add a little more fringe on one side. This part is intuitive — trust your eye.
Hang It and Actually Love That Corner
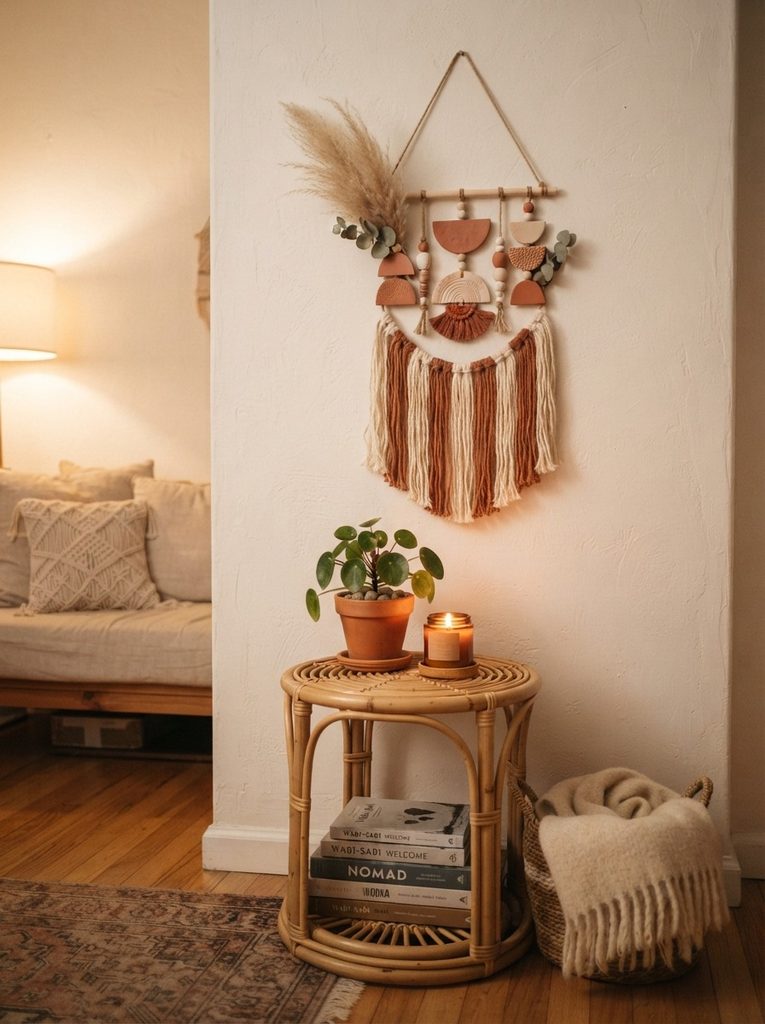
Hang your piece with a single nail or a removable hook, step back, and take in that corner you’ve been ignoring for two years. It finally looks done — and it’s entirely handmade.
Save this project for your next creative weekend and share it with a friend who’s been staring at their own empty wall. Handmade home décor doesn’t get more personal — or more beautiful — than this.