You could fold a napkin into a fan shape and call it a day. Or — and stay with me here — you could slide it through a tiny handmade clay ring that you sculpted, painted, and sealed yourself, and watch your dinner guests pick it up and immediately say, “Wait, did you make this?”
That moment is worth every minute of this project.
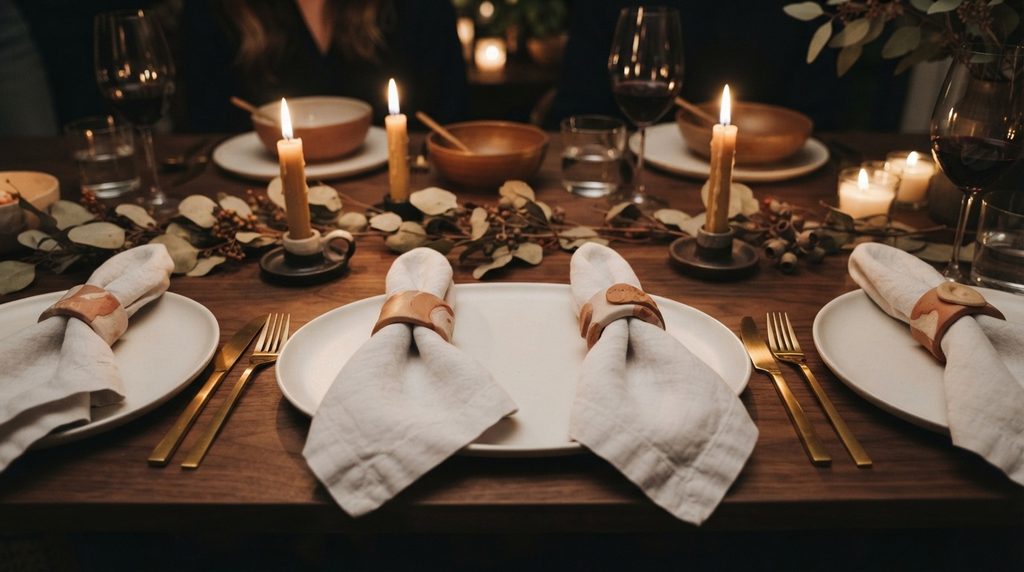
Clay napkin rings sit in that rare sweet spot of being genuinely useful, visually stunning, and surprisingly simple to make. They work for an everyday table, a holiday dinner, a wedding, or a birthday brunch — and once you make one set, you will absolutely want to make three more in different finishes.
Let’s get started.
What You’ll Need
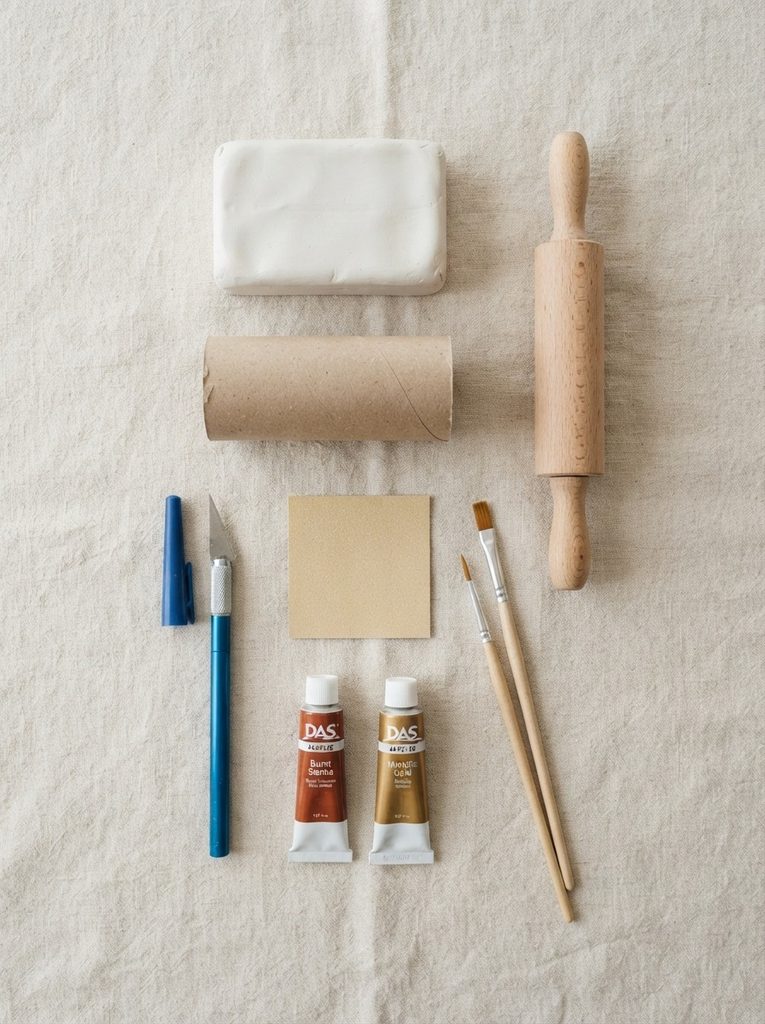
Everything on this list is easy to find at a craft store or online — and the total cost for a set of four to six rings is usually under $20.
- Air-dry clay — one standard 500g block makes six napkin rings comfortably
- A rolling pin or smooth glass bottle
- A cylindrical mold — a toilet paper roll, a thick marker, or a small jar all work perfectly
- A sharp knife or craft blade
- Fine-grit sandpaper (220 grit)
- Acrylic paint in your chosen palette
- Small paintbrushes — a flat brush for base coats, a fine liner for detail work
- Matte or satin sealant spray
- Optional: stamps, lace, dried botanicals, or a toothpick for texture work
Choosing Your Style Before You Start
Napkin rings are small — which means design decisions matter more, not less. Before you roll a single piece of clay, decide on a look for your set. Cohesion is everything here.
Popular styles that work beautifully in clay:
- Smooth and minimal — no texture, no detail, just a clean band in a single matte colour. Timeless and incredibly elegant.
- Botanical press — real leaves or florals pressed into the surface before drying, leaving a delicate nature-print around the ring
- Geometric texture — toothpick-etched lines, crosshatches, or repeating patterns stamped around the band
- Rustic and raw — intentionally organic edges, finger-smoothed but not perfected, sealed in terracotta or raw umber
- Gilded edge — a clean band with a thin stripe of gold paint along the top rim. Looks luxurious, takes two minutes to paint
Pick one direction and make every ring in the set match. You can always experiment with a second set once you’ve nailed the first.
Shaping the Rings
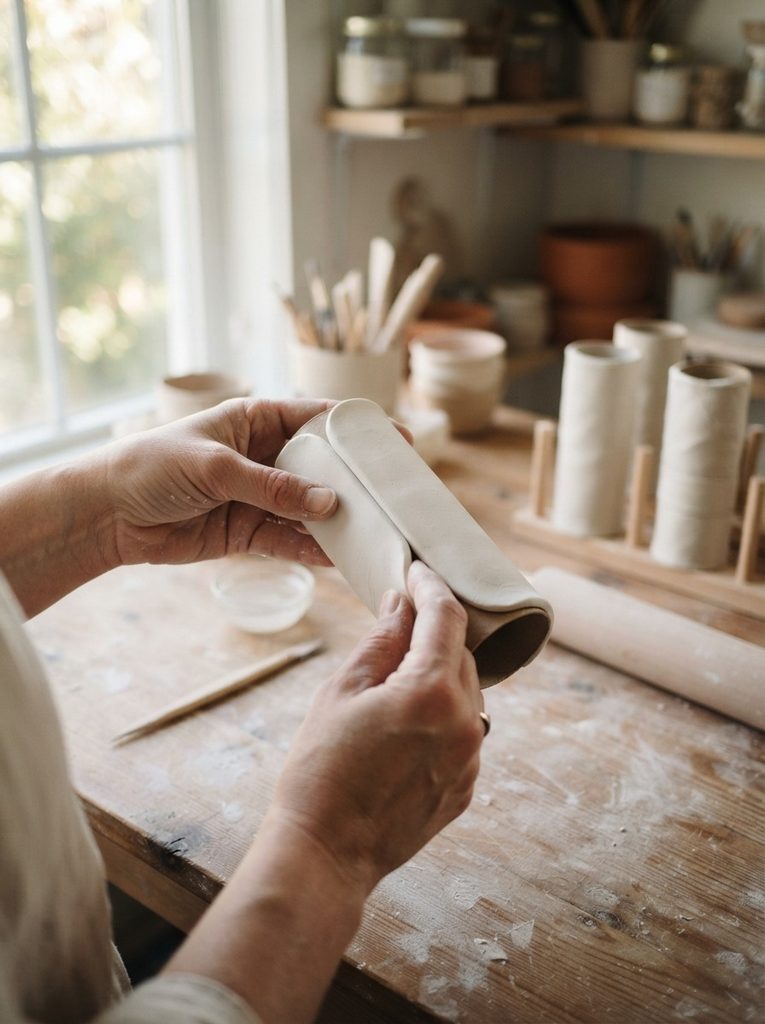
This is the most technique-sensitive part of the whole project — and it’s still very approachable once you understand the method.
- Condition your clay by kneading it for two minutes until smooth, warm, and crack-free.
- Roll it into a slab about 4–5mm thick. Keep the pressure even so your slab is uniform throughout.
- Cut strips approximately 3–4cm wide and long enough to wrap around your mold with a slight overlap — usually 12–14cm depending on your cylinder’s diameter.
- Wrap the strip around your mold — a toilet paper roll lightly dusted with cornstarch (to prevent sticking) is ideal. Press the ends together where they meet and smooth the seam with a dampened finger until it disappears completely.
- Stand the mold upright and let it firm up for two to three hours before sliding it off — you want the ring to hold its shape but the clay shouldn’t be fully dry yet or it may crack when removed.
- Remove the mold carefully with a gentle twisting motion, then set the ring upright to finish drying for a full 24–48 hours.
Critical tip: Don’t rush the removal. If the ring feels even slightly soft, give it another hour on the mold. A collapsed ring is heartbreaking and entirely avoidable.
Adding Texture and Detail
Once you’ve shaped your rings and they’ve firmed up slightly but before full drying, this is your window for surface work.
- Botanical press: Lay a small herb leaf, fern frond, or flower petal against the outer surface and roll over it very gently with your rolling pin. Peel away the leaf to reveal the impression.
- Toothpick etching: Draw fine parallel lines, geometric shapes, or simple repeating motifs directly into the surface. Work confidently — hesitant lines show.
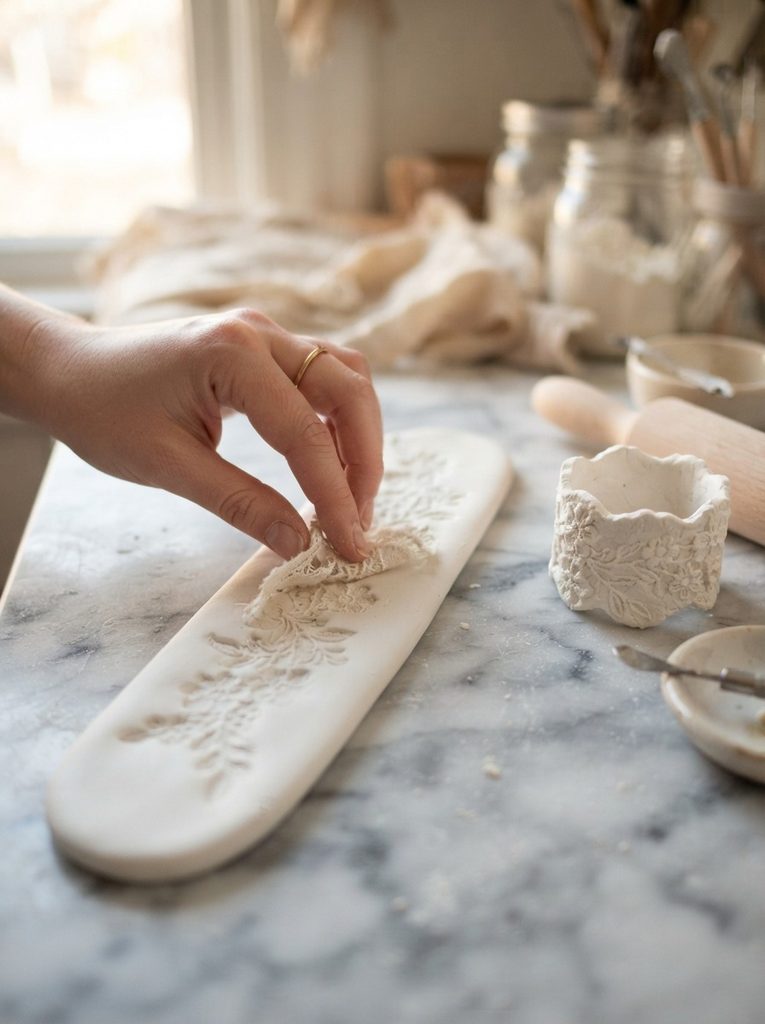
- Lace impression: Wrap a small piece of lace around the clay strip before you form it into a ring. Roll gently, peel the lace away, then wrap the textured strip around your mold.
- Fingertip dimples: Press your fingertip in a repeating pattern around the band for an organic, handmade feel that catches paint beautifully later.
Sanding, Painting, and Finishing
Once completely dry, run fine sandpaper lightly over any rough patches, paying special attention to the seam line and both edges of the ring. This step takes under a minute per ring and the difference is significant.
Now for colour — and this is where your table vision comes to life:
- Warm terracotta — two thin coats, fully dried between each. Works with linen, rattan, wood, and candles beautifully.
- Matte white with raw linen undertones — mix a drop of raw umber into white paint for a warmer, more sophisticated shade than pure white
- Deep matte black — moody and dramatic, stunning against white plates and gold cutlery
- Sage green — fresh, natural, and endlessly versatile for all seasons
- Terracotta base with a thin gold rim — paint the band first, let it dry fully, then use a fine liner brush loaded with gold paint along the top edge only
Seal with two coats of matte or satin sealant spray, letting each coat dry fully. Satin gives a very subtle sheen that photographs beautifully and feels luxurious to the touch.
Setting the Table
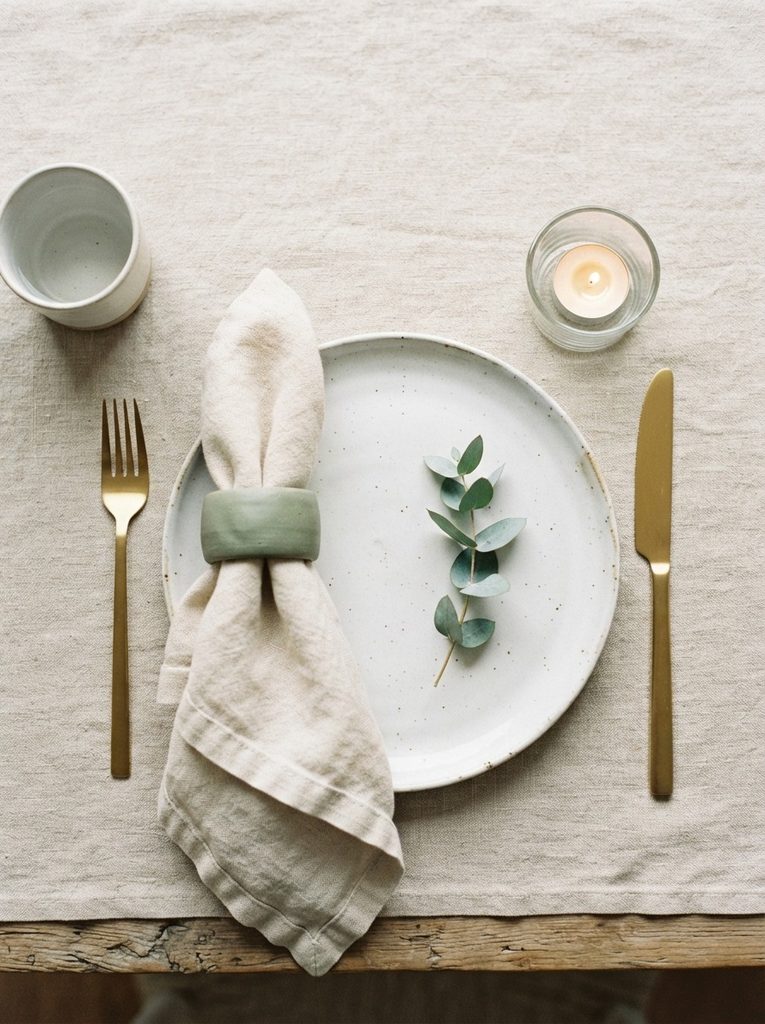
Slide a linen napkin through each ring with a relaxed, slightly loose fold — not origami-tight, just softly gathered. Place it to the left of the plate or right on top, centered. Add a small sprig of eucalyptus, a dried flower, or a sprig of rosemary tucked through the ring alongside the napkin for an extra layer of intention that costs almost nothing.
Step back. Your table looks like it was styled by someone who does this professionally. Because now, you kind of do.
Save this project before your next dinner party — and make a second set in a different finish to gift to someone who loves to entertain. A set of handmade clay napkin rings wrapped in tissue inside a simple box is one of the most thoughtful, beautiful gifts you can give.