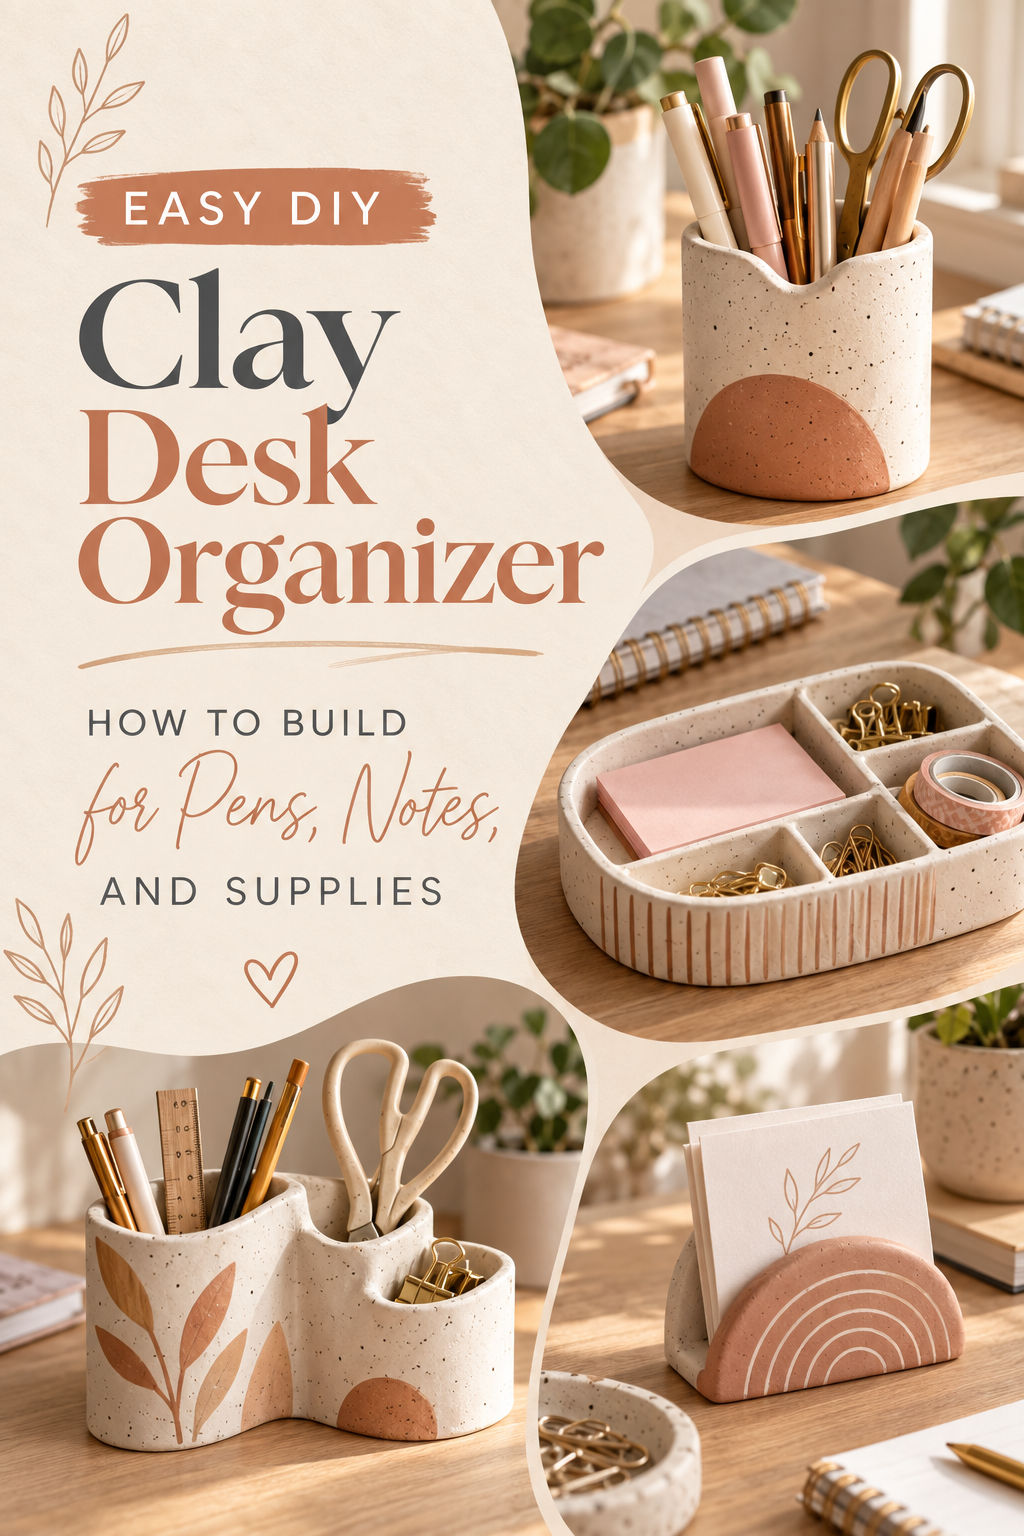
Desk chaos is a specific kind of suffering. You know exactly where everything should be — and yet somehow the pens are in three different locations, the sticky notes have migrated behind the monitor, and there’s a paperclip situation that nobody can fully explain. The solution isn’t another trip to the office supply store. The solution is a handmade clay desk organizer that’s built exactly the way your desk actually works.
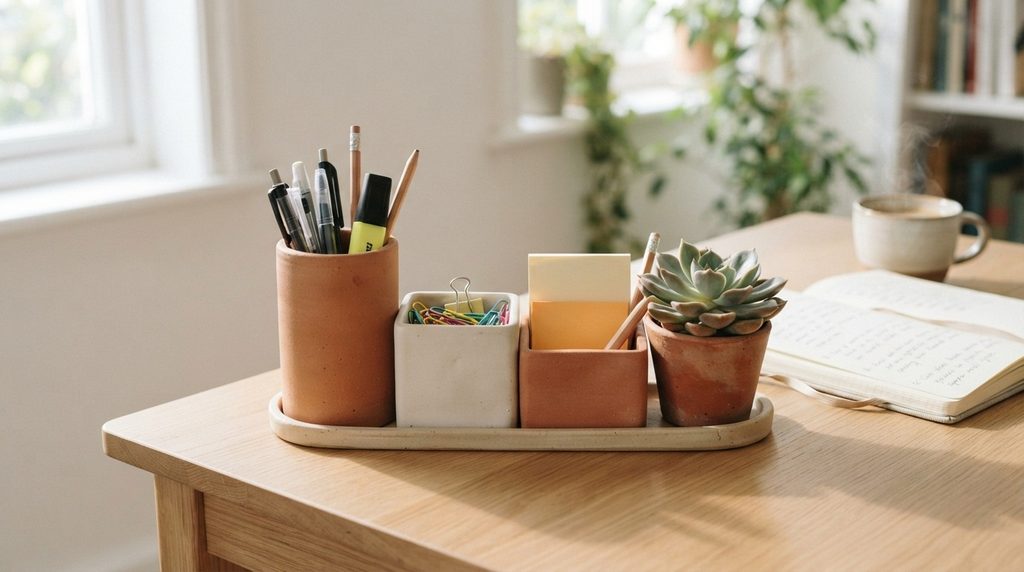
Not a generic tray with compartments sized for someone else’s life. Your organizer — the right number of sections, the right proportions, the right finish to match your space. And built from air-dry clay, which means no kiln, no wheel, and no experience required beyond the willingness to show up and make something.
What You’ll Need
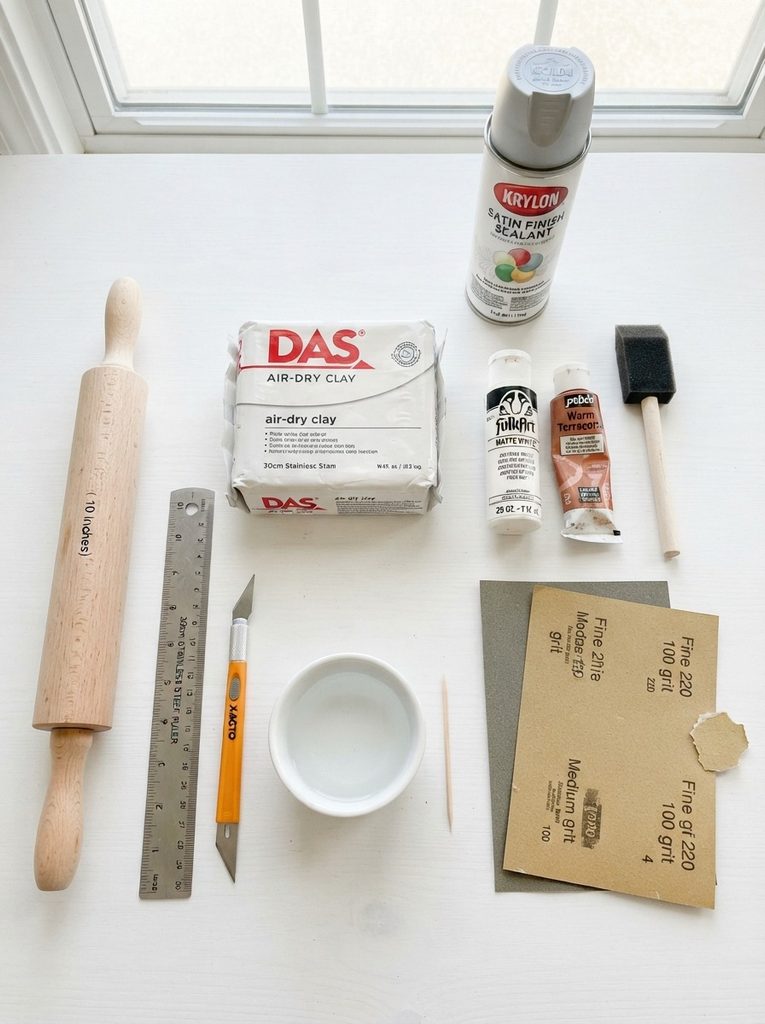
Stock your workspace before you open the clay — once it’s out of the package, the clock starts ticking.
- Air-dry clay — a 1kg block is the minimum for a multi-compartment organizer; go to 1.5kg if you want something substantial
- A rolling pin or smooth glass bottle
- A sharp craft knife or clay blade and ruler
- A set square or right-angle tool for clean corners
- Sandpaper — medium grit (120) for shaping, fine grit (220) for finishing
- Strong craft glue or slip (clay mixed with water to a paste consistency) for joining pieces
- A toothpick or skewer for scoring joins and adding detail
- Acrylic paint in your chosen palette
- Matte or satin sealant spray
- A small sponge or foam brush for smooth paint application
- Optional: stamps, texture tools, or a piece of lace for surface decoration
Planning Your Organizer Layout
This is the step that determines whether your organizer genuinely transforms your desk or just sits on it looking decorative while doing nothing useful.
Before touching the clay, audit your actual desk supplies:
- What needs to stand upright? Pens, scissors, rulers — these need a tall, narrow cylinder or rectangular well
- What needs to lie flat? Sticky note pads, business cards, folded notes — these need a wide, shallow tray
- What’s small and loose? Paper clips, rubber bands, push pins — these need a small, deep cup with no way out
- What do you reach for constantly? That thing lives in the front, most accessible section
Sketch a rough top-down layout. A classic three-section design — one tall pen holder, one medium tray, one small cup — works for most desks and is very manageable to build. Decide on your overall footprint before you make a single slab.
One firm rule: build slightly smaller than you think you need. A compact, well-proportioned organizer looks intentional. An oversized one looks like it wandered in from somewhere else.
Building the Base and Walls

This is the structural core of your organizer — and the technique here determines whether the whole thing holds together or develops stress cracks during drying.
- Roll your slabs consistently — aim for 7–8mm thickness throughout. This is thicker than most clay projects because your organizer needs to bear the weight of its contents and handle daily use without flexing.
- Cut your pieces with a ruler and craft knife. Freehand cutting introduces angles that don’t quite match up — and in a box construction, mismatched angles compound into gaps.
- Score every single join before assembling. Use your toothpick or fork to scratch a crosshatch pattern on both surfaces that will meet. This roughness is what lets the clay bond properly.
- Apply slip to both scored surfaces — the water-clay paste acts as glue between pieces. Press firmly and hold each join for thirty seconds.
- Smooth every interior seam with a damp finger, running it along the join in one continuous stroke. Interior corners that aren’t sealed fully are where cracks originate.
- Build each compartment separately first, then join compartments to each other using the same score-and-slip method.
- Press the whole assembled organizer down onto a flat surface — a tile or cutting board — to ensure a perfectly level base. Do this while everything is still soft.
Drying Without Cracking
Air-dry clay organizers crack most often during drying — and almost always for preventable reasons.
Follow these rules without exception:
- Dry slowly and away from heat. No sunny windowsills, no near a radiator, no trying to speed it up with a hairdryer. Rapid moisture loss from the outside while the inside is still wet creates the pressure differential that causes cracks.
- Cover loosely with plastic wrap for the first 24 hours to slow the drying process and equalize moisture throughout the walls.
- Flip the organizer upside down at the 24-hour mark so the base dries at the same rate as the walls.
- Expect three to five days for a piece this substantial to dry completely through. Test by pressing on the thickest part — if it feels even slightly cool to the touch, it’s still releasing moisture and needs more time.

Sanding, Painting, and Finishing
Once bone dry — and only then — sand methodically through both grits:
- 120 grit first: flatten the base completely, remove any significant bumps or uneven joins, refine your corners
- 220 grit to finish: the whole exterior surface until it feels smooth and consistent under your fingertips
Wipe away all dust, let the surface dry, and paint:
- Matte warm white — the most versatile finish, works on every desk, makes the organizer feel like a designed object rather than a craft project
- Terracotta — earthy, warm, and beautiful next to plants and natural wood
- Sage green with a cream interior — paint the outside one colour and the inside compartments another for a detail that delights every time you reach for a pen
- Matte black — bold and graphic, particularly striking on a light-coloured desk surface
Two to three thin coats, dried fully between each. Seal with satin sealant for a finish that handles the daily friction of use without wearing through.
On Your Desk, Finally Doing Its Job
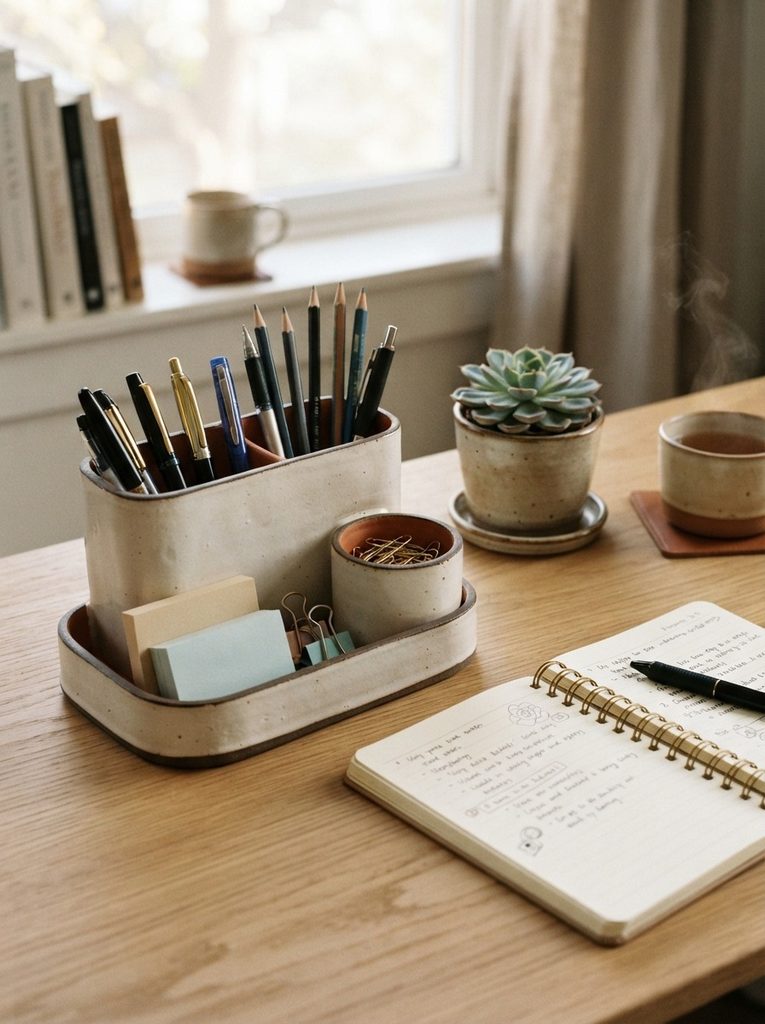
Load it up — pens upright in the tall section, notes flat in the tray, clips contained in the cup — and take a moment to appreciate a desk that finally has a system that actually holds.
Save this project for your next long weekend and share it with anyone in your life who complains about desk chaos (you probably know at least three people). Built right, this organizer will sit on your desk for years — and every time someone asks where you got it, the answer is genuinely the best part.