 Skip to content

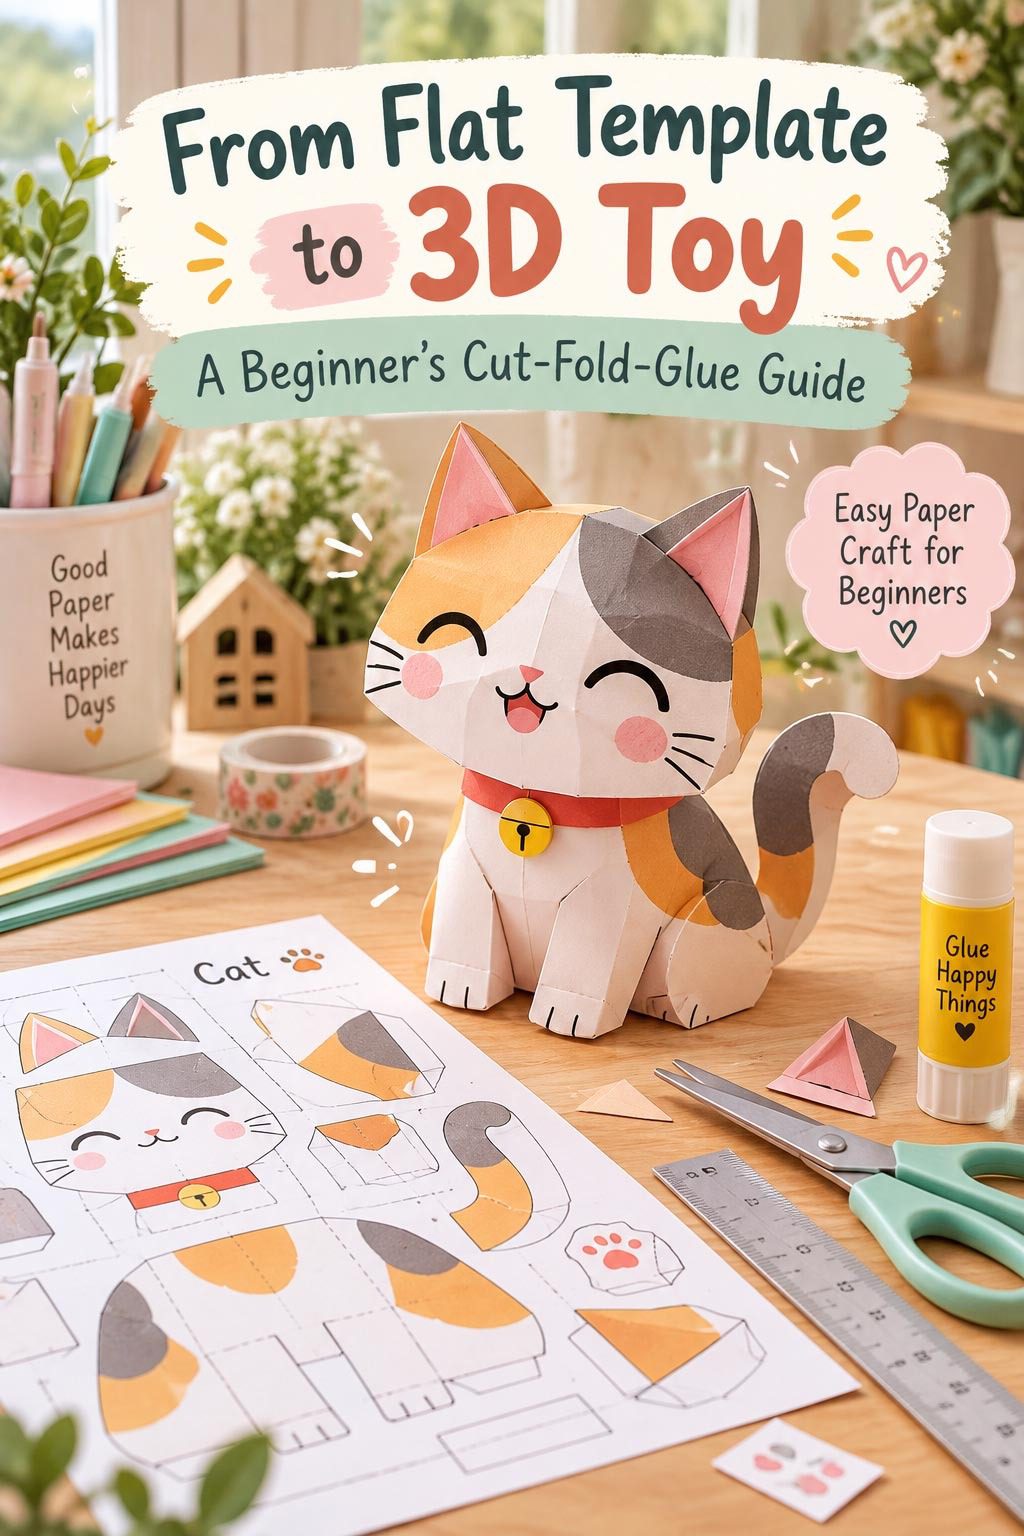
There is something genuinely magical about the moment a flat piece of paper or card becomes a three-dimensional object. One moment you’re looking at a printed template full of tabs and dotted lines that means almost nothing — and then, with a series of folds and a little patience, a fox appears. Or a rocket. Or a tiny house with an opening door. Paper craft toys occupy this wonderful territory where geometry becomes play, and the making is as much the point as the having.

The beginner’s stumbling block with papercraft isn’t skill — it’s not knowing the system. Cut, fold, and glue sounds simple, but there’s an order of operations, a logic to tab placement, and a set of techniques that make the difference between a crisp finished model and a crumpled disappointment. This guide is that system.
What You’ll Need
The tools are simple. The precision they enable is not.
- Cardstock — 200–300gsm is the sweet spot for 3D paper toys. Light enough to fold cleanly, heavy enough to hold its structure. Standard printer paper is too flimsy; anything over 350gsm becomes difficult to fold without cracking.
- A craft knife and cutting mat — far more accurate than scissors for straight lines and tight curves. A self-healing cutting mat protects your surface and gives you a grid for alignment.
- Scissors — for curved cuts and rough trimming where the craft knife is overkill
- A bone folder or empty ballpoint pen — the most underrated tool in papercraft. Used for scoring fold lines before folding, it produces crisp, clean folds that don’t crack or tear.
- PVA glue or a precision glue stick — PVA gives a stronger bond and more working time; a glue stick is faster and less messy for smaller tabs
- A ruler — metal-edged for cutting against, clear plastic for marking
- Tweezers — for holding small tabs in place while glue sets. An absolute lifesaver on fiddly pieces.
- Printed or hand-drawn template — more on creating these shortly

Understanding the Anatomy of a Template
Before cutting anything, spend two minutes reading your template. Every symbol means something specific — and confusing cut lines with fold lines is how projects go wrong before they begin.
Standard template symbols:
- Solid lines — cut lines. Your knife or scissors follow these exactly.
- Dotted or dashed lines — fold lines. Your bone folder scores along these; your fingers fold along them.
- Tabs — the small flaps with slightly angled sides that attach to corresponding surfaces. They’re always labelled — tab A attaches to surface A, and so on.
- Arrows — indicate fold direction. A valley fold goes toward you (the paper folds down); a mountain fold goes away from you (the paper folds up).
The template reading checklist:
- Identify every tab and its corresponding attachment point before cutting
- Note which fold lines are valley folds and which are mountain folds
- Understand the assembly sequence — which pieces attach first, which last
- Check whether any tabs are internal (glued inside the model) versus external (folded and glued on the outside surface)
Five minutes with the template before picking up a knife is genuinely the most valuable five minutes in the whole project.
The Cutting Stage

Cutting precision determines everything that follows. A tab cut 2mm too narrow won’t hold. An edge cut at a slight angle won’t meet its partner flush.
The cutting sequence that works best:
- Cut the outer perimeter first — free the main pieces from the sheet before working on internal details
- Cut internal details and windows second — with the piece already freed from the sheet, it’s easier to manoeuvre
- Cut tabs last and most carefully — tabs are the structural connectors of the whole model. Cut them slightly generous rather than tight; you can always trim, but you can’t add back.
Technique for clean cuts:
- Always cut against a metal ruler for straight lines — never freehand
- Pull the craft knife toward you in one smooth continuous stroke rather than short pushing cuts
- For curves, rotate the paper rather than changing your knife angle — the blade stays on the same path while the paper moves
- Replace your blade more often than you think necessary — a sharp blade requires half the pressure of a dull one and cuts twice as cleanly
The Scoring and Folding Stage

Folding is where your model starts to become three-dimensional — and scoring is what makes folding clean.
The scoring process:
- Place your ruler precisely along the dotted fold line
- Run your bone folder along the line with firm, even pressure — you’re compressing the card fibres, not cutting them
- Score every fold line before folding any of them — working the whole template first keeps it flat and easier to handle
The folding sequence:
- Valley folds first — fold toward you along scored lines, creasing firmly with a fingernail or the flat of your bone folder
- Mountain folds second — fold away from you, flipping the piece over to access the fold from the back if needed
- Test-fold the whole model without glue — this is crucial. Assemble the complete model dry before applying any glue. You’ll discover fit issues, tab problems, and assembly sequence challenges while everything is still adjustable.
Fold quality tips:
- Always fold away from the decorative face of the card — the scoring should be on the inside of the fold
- Use your bone folder to run along each crease after folding for a razor-sharp edge
- For thick cardstock, gently warm the score line with a hairdryer for two seconds before folding — the heat softens the fibres and reduces cracking
The Gluing Stage
The dry assembly run you just did revealed the correct order. Now work in that same sequence with glue.
Gluing principles:
- Apply glue to the tab, not to the surface it attaches to — this gives you more control
- Use the minimum glue that will hold — excess glue squeezes out at the seams and is almost impossible to remove from cardstock cleanly
- Hold each join for 30–45 seconds before moving on — PVA needs contact time to begin bonding
- Use tweezers for small internal tabs where your fingers simply can’t reach to apply pressure
The assembly order rule:
Always close the model from the inside out — attach interior structural tabs before exterior decorative surfaces. The last surface you glue down should always be the one that gives you the least access to everything inside.

Your First Model Is Waiting
The template was just paper. The system was just logic. And now there’s a small three-dimensional thing on your table that didn’t exist an hour ago — made entirely by your hands, from a flat sheet.
Save this guide for your next papercraft session and look up beginner paper toy templates to try — search for geometric animals, low-poly models, or paper toy designers like Shin Tanaka and Cubefold who publish free templates specifically designed for beginners. The system is always the same. The models are infinite.



