 Skip to content

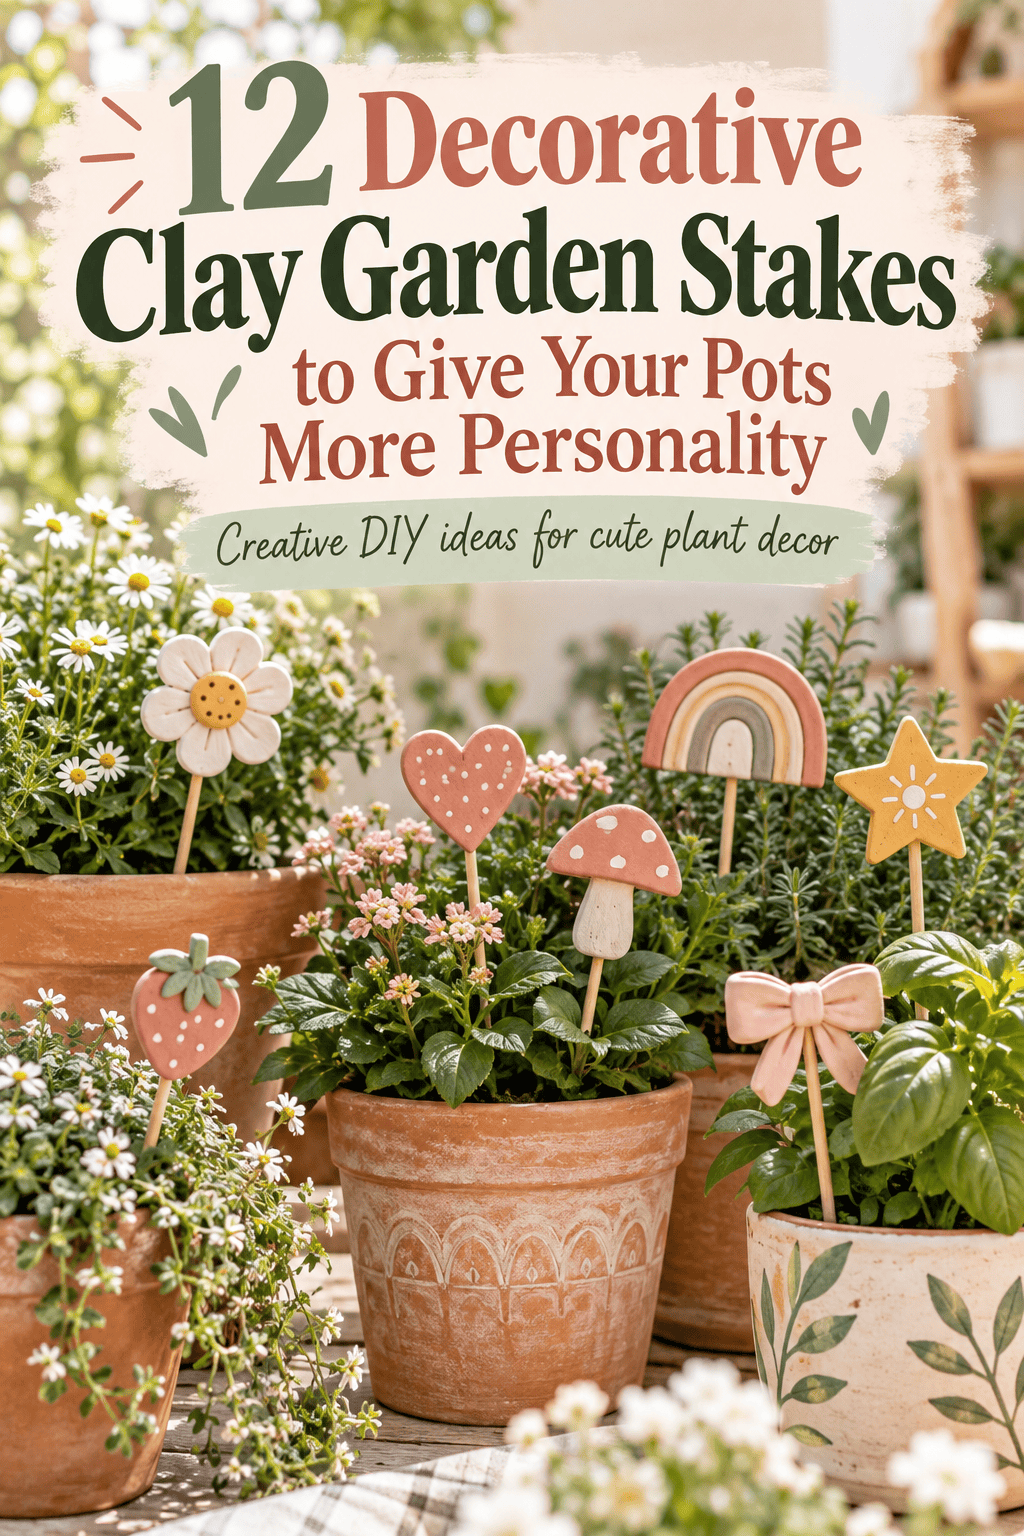

A plain pot of soil is just a pot of soil. But push a handmade clay garden stake into it and suddenly that pot has a story. Clay garden stakes are one of the most practical and enjoyable projects for anyone who loves plants — they are affordable to make, hold up surprisingly well outdoors when properly sealed, and give your pots and garden beds a personal touch that no shop-bought label or decoration can match. Whether you grow herbs on a kitchen windowsill, tend a balcony full of flower pots, or have a full garden border to decorate, a clay stake transforms an ordinary plant display into something that reflects your own creativity. This guide covers 12 decorative clay garden stake designs — each one practical to build, beautiful to display, and made to last through seasons of outdoor use.
1. Sun Face Garden Stake
A sun face stake is warm, cheerful, and suits any outdoor planting from herb pots to flower borders — it looks at home in full sun exactly where it belongs.
Roll a round disc of golden yellow clay about 6–7cm in diameter and 5mm thick. Add eight flat pointed ray shapes pressed evenly around the edge of the disc — four at the compass points and four between them.

Press a simple face into the disc center. Two small almond-shaped eyes pressed with a needle tool, a small round nose ball, and a gently curved smile. Keep the face bold and simple — fine details at this scale get lost when viewed from a distance outdoors.
Press the clay disc firmly onto the flat end of a bamboo skewer or thin metal garden stake rod while still unbaked. Bake with the stake embedded so the join is permanent.
Seal with two or three coats of exterior waterproof varnish. This is the step that determines how long the stake lasts outdoors.
Budget Tip
Bamboo skewers from the kitchen work as stake rods for small pots. For larger outdoor stakes, thin garden canes or copper wire rods from hardware stores cost very little per length. One rod and a small amount of yellow clay produces a stake that looks genuinely designed.
2. Pressed Herb Label Stakes
Herb label stakes are the most practical clay garden stakes you can make — they identify your plants clearly while looking far better than plastic shop labels.
Roll flat clay rectangles about 5cm wide and 3cm tall — large enough to hold a clearly readable plant name. Keep the thickness at about 5mm for outdoor durability.

Press herb names into each label using letter stamps or a needle tool. Press letters deeply and evenly so they remain clearly readable after sealing and through multiple seasons of outdoor weathering.
Common herbs to label: basil, mint, rosemary, thyme, oregano, sage, chives, parsley, and cilantro. Make the full set in one session.
Press the label onto the end of a thin bamboo skewer before baking. Bake. Once cooled, paint the label in a neutral base color and fill the pressed letter grooves with a slightly darker paint for legibility.
Seal with two coats of exterior waterproof varnish.
Budget Tip
A full set of alphabet letter stamps is an inexpensive one-time purchase that covers every herb name and any future plant label you might make. Make the labels slightly larger than you think necessary — small labels become hard to read once plants grow taller and surround the stake.
3. Classic Mushroom Topper Stake
A mushroom garden stake is one of the most universally loved plant pot decorations — whimsical, recognizable, and genuinely charming at any scale.
Build the mushroom stem as a short white or cream clay cylinder. Keep the stem thick rather than thin — a thin stem is fragile and more likely to break when pushed into soil.

Build the cap as a wide dome of red clay. The cap diameter should be at least twice the stem width — this generous overhang is what gives the mushroom its recognizable silhouette.
Add white raised dot spots to the cap by pressing small flat white clay circles onto the surface. Raised spots look far more three-dimensional than painted ones and hold their visual impact outdoors.
Press the assembled mushroom firmly onto the end of a garden stake rod before baking. Bake. Seal with exterior varnish.
Budget Tip
Red and white clay are the most affordable and widely available polymer clay colors. Make a set of three mushroom stakes in different cap colors — red, tan, and cream with brown spots — for a woodland-themed pot display. A cluster of three mushroom stakes in one large pot looks more designed than a single stake alone.
4. Painted Butterfly Wing Stake
A butterfly stake brings movement and color to a static pot — the flat wings catch light differently throughout the day and make the whole display feel more alive.
Cut two pairs of wing shapes from flat clay slabs — two upper wings and two lower wings. Press vein lines across each wing using a needle tool — radiate lines from the center attachment point outward across the wing surface.

Arrange the four wing pieces in a butterfly formation, joining at the center. Press a small clay body between the wings at the center join.
Press the clay wing assembly flat rather than three-dimensional. A flat profile holds up better outdoors and catches light more visibly than a raised wing form.
Press the stake rod through the clay body section before baking so it runs through the butterfly’s center. Bake.
Paint in monarch orange and black, or in blue morpho iridescent blue. Seal with exterior varnish — two coats minimum.
Budget Tip
Butterfly stakes are very flat and use minimal clay per piece. Make four or five in a single session and push them together into one large pot for a butterfly garden effect. They photograph beautifully for social media plant content.
5. Crescent Moon and Star Cluster Stake
A moon and star cluster stake suits indoor plant pots on shelves and windowsills as much as it suits outdoor containers — the celestial aesthetic is popular year-round.
Cut a crescent moon from white or pearl clay — use two circular cutters of different sizes for a clean geometric crescent. Cut a large circle, then use a smaller circle cutter in partial overlap to remove the crescent section.

Make three small five-pointed stars from flat clay in different sizes. Arrange the stars beside and around the crescent moon, pressing them together at the base where they meet the stake rod attachment point.
Dust with gold or silver mica powder across the entire assembly before baking. The metallic shimmer makes celestial shapes look luminous even in indoor lighting conditions.
Press the assembly onto a thin gold wire stake rod. Bake. Seal with matte varnish to preserve the mica effect.
Budget Tip
Gold wire is sold in craft stores in spools for very little and is far more elegant than bamboo skewers for indoor plant stakes. One spool provides enough wire for many stakes. Moon and star stakes suit indoor plant collections displayed on dark shelves where the metallic shimmer is most visible.
6. Rainbow Arch Topper Stake
A rainbow arch stake is bold, colorful, and adds immediate visual impact to any flower pot — it suits children’s garden spaces and bright summer container plantings.
Roll thin logs of each rainbow color — red, orange, yellow, green, blue, purple. Press them side by side in color order. Gently curve the combined strip into an arch shape.

Warm the clay strip between your palms before arching. Cold clay cracks when forced into a curve. A few seconds of warming makes the arch form smoothly without stress fractures.
Add two small flat white cloud shapes at each end of the arch — small balls of white clay flattened and shaped with scalloped edges.
Press the underside center of the arch firmly onto the stake rod before baking. The arch needs to sit squarely above the rod without leaning.
Bake. Seal with exterior gloss varnish for vivid color protection outdoors.
Budget Tip
Rainbow stakes are a perfect use for small amounts of many different clay colors — exactly what comes in affordable multi-color clay sample packs. They are consistently popular at garden markets and family-oriented outdoor events. Make a set of three for a container planting with multiple pots.
7. Honeycomb and Bee Garden Stake
A honeycomb bee stake is a perfect companion for pollinator-friendly plants — sunflowers, lavender, borage, and wildflower pots all suit this design.
Roll a flat disc of golden yellow clay about 6cm in diameter. Press a regular hexagonal grid pattern across the surface using a needle tool and ruler — each hexagonal cell about 1cm across. This pressed grid creates the honeycomb pattern.

Make a tiny bee from clay — a small striped oval body with two white teardrop wings. Press the bee onto the edge of the honeycomb disc at a slight angle as if it has just landed.
Press the disc firmly onto the stake rod through the center of the honeycomb pattern before baking. Bake flat on a tile with the stake rod supported.
Paint the disc in amber and gold tones. Paint the bee in yellow and black. Seal with exterior varnish.
Budget Tip
Golden yellow clay is standard in most starter packs. The honeycomb pressed pattern requires only a needle tool and a small ruler. Bee stakes are particularly popular at wildflower garden events, eco-garden markets, and with buyers who keep pollinator-friendly container gardens on patios and balconies.
8. Mini Cactus Topper Stake
A cactus topper stake pushed into a succulent or cacti pot is a witty, self-referential decoration that plant lovers immediately appreciate.
Roll a green clay cylinder for the main cactus body — slightly wider at the base than the top. Add two small arm shapes pressed into the sides at different heights — one pointing up, one pointing out slightly.

Press tiny dot marks all over the body and arms using a needle tool. Space the dots in diagonal rows rather than random placement — the organized pattern is more realistic and more visually satisfying than scattered random dots.
Add a tiny flat pink clay flower at the very top of the main body.
Press the cactus base firmly onto the stake rod before baking. The cactus body should sit directly above the rod with no visible join between them.
Bake. Seal with matte varnish. A matte finish suits the dry desert plant aesthetic better than gloss.
Budget Tip
Green clay is widely available in every standard clay pack. Cactus stakes suit small terracotta pots, succulent trays, and desert plant collections. Make a set of three different cactus heights for varied visual interest in a single large succulent display tray.
9. Dragonfly Wing Stake
A dragonfly stake suits water garden pots, pond-side plantings, and any garden space with a natural, slightly wild aesthetic.
Make four long narrow teardrop-shaped wings from flat clay. The wings should be thin — about 3mm — to look delicate rather than heavy. Press fine vein lines from the wing base outward across the full wing surface using a needle tool.

Arrange the four wings in two pairs — upper wings slightly larger, lower wings slightly smaller — positioned flat in the classic dragonfly wing formation.
Make a long slender body from a thin clay roll. Press the body across the center of the wing arrangement, connecting all four wings.
Dust with iridescent or blue-green mica powder across the wings before baking. The iridescent quality of the mica mimics the natural wing sheen of a real dragonfly in sunlight.
Press the stake rod through the body before baking.
Budget Tip
Iridescent mica powder is inexpensive and one small jar covers many projects. The flat wing profile uses minimal clay per piece. Dragonfly stakes are popular at nature garden markets and sell particularly well alongside water plant collections and pond accessory displays.
10. Owl Face Garden Stake
An owl face stake adds a character-filled woodland element to tall grass pots, herb planters, and any outdoor display where the stakes will be viewed at eye level.
Roll a round clay disc for the owl face. Add two large circles pressed into the face surface for eyes — press deeply with a large ball stylus or round bottle cap. Add small pupil circles inside each eye impression.

Press a small triangle beak between and below the eyes. Make the beak slightly raised from the face surface rather than flat — a raised beak reads more clearly and casts a small shadow that adds dimension.
Press short curved feather lines radiating outward from the face center using a needle tool. These feather lines fill the space around the eyes and beak and complete the owl facial disc look.
Add two small triangular ear tufts at the top of the disc.
Press onto the stake rod. Bake. Paint in warm brown, cream, and amber tones. Seal with exterior varnish.
Budget Tip
Brown and cream clay mix easily from orange, black, and white. Owl stakes suit woodland-themed container gardens and autumn pot displays particularly well. They look especially effective in pots of ornamental grasses where the grass blades frame the owl face naturally.
11. Monogram Initial Plant Stakes
Personalized initial stakes suit gift plants, named herb pots, and any plant collection where identifying the owner or the plant by a letter is both functional and decorative.
Roll flat clay circles about 5cm in diameter. Press a large single letter clearly into the center of each circle using a letter stamp. Press the stamp deeply and evenly — the letter should take up most of the circle face so it reads clearly when the stake is in a pot.

These work two ways. As a plant identifier — press the first letter of each herb or plant variety into a circle. Or as a personalized gift stake — press the recipient’s initial for a plant gifted to a specific person.
Add a simple decorative border around the circle edge — small pressed dots, a thin clay rope frame, or a ring of pressed petal shapes.
Press onto the stake rod. Bake. Paint the circle a solid base color and fill the letter impression with a contrasting darker color for maximum legibility.
Seal with exterior varnish.
Budget Tip
Alphabet stamp sets are an inexpensive one-time investment used across dozens of clay projects. Initial stakes make excellent additions to gift plant packaging — attach one to a potted herb or succulent as a personalized gift tag that stays with the plant long after the wrapping is gone.
12. Fox Face Animal Stake
A fox face stake suits autumn container plantings, woodland garden displays, and any pot arrangement with a seasonal, nature-inspired theme.
Shape the fox face as a slightly downward-pointing triangle — wider at the top where the ears are, narrowing to a small chin point at the bottom. This face shape immediately reads as a fox at a distance.

Add two small pointed ear triangles at the top corners of the face triangle. Press small inner ear shapes in a slightly lighter clay or pink tone inside each ear.
Press white clay onto the lower face area — the cheeks and around the muzzle. Add a small dark clay nose at the muzzle tip.
Use a needle tool to press fine fur texture lines radiating from the nose outward across the cheeks and forehead. These fine lines add warmth and realism to the face even at small scale.
Add two small dot eyes with white highlight points inside each eye.
Press firmly onto the stake rod. Bake. Seal with exterior varnish.
Budget Tip
Orange and rust clay mix from red and yellow. Fox face stakes suit autumn markets, woodland-themed gift shops, and online plant accessory shops. Make a coordinating set with owl and mushroom stakes for a complete woodland creature pot stake collection that sells well as a grouped set.
Conclusion
A plain pot becomes a plant display the moment a handmade clay stake goes into it. These 12 designs cover everything from practical herb labels and personalized initial markers to decorative sun faces, butterflies, and character animals — meaning there is a stake design that suits every plant, every pot, and every garden style on this list. The materials are affordable, the techniques are beginner-friendly, and the results genuinely improve every plant display they join. Start with the design that suits the plants you already grow. Make two or three at once — they are small enough to bake in a single batch. Seal them well and they will hold up through full outdoor growing seasons. Once you have pushed your first handmade clay stake into a pot and stepped back to look, making more for every pot in your garden becomes the obvious next step. Pick up your clay and start decorating the pots that deserve a little more personality.



