 Skip to content

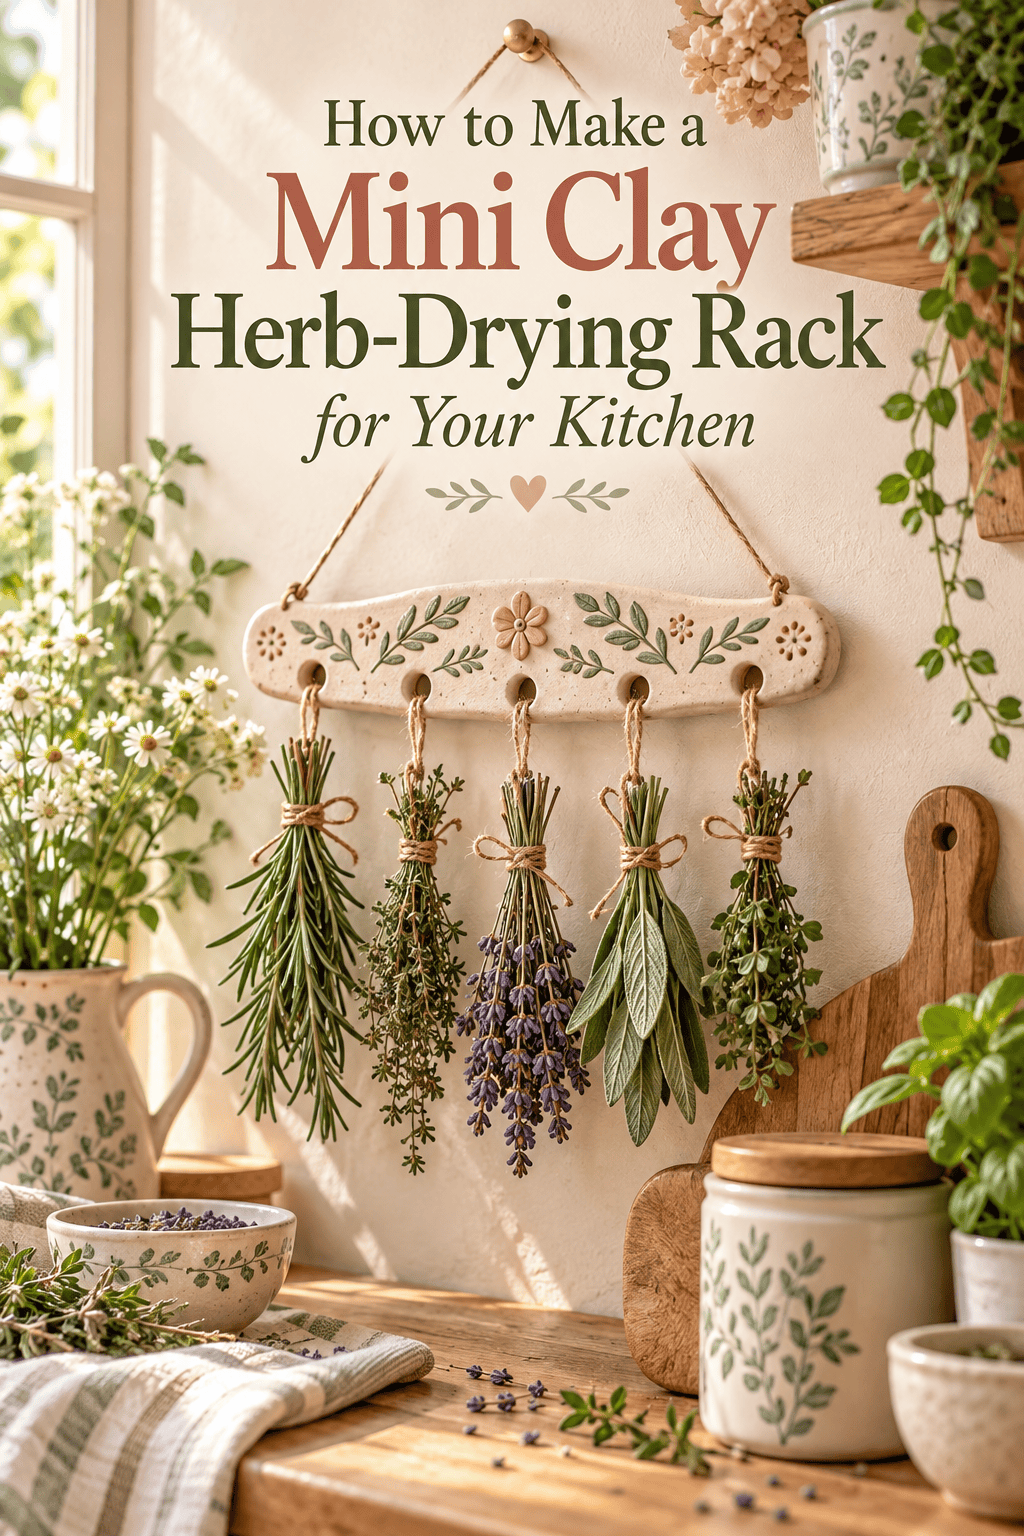
There is a particular kind of kitchen satisfaction that comes from hanging your own herbs to dry — bundles of rosemary and thyme and lavender suspended upside down, slowly concentrating their flavour while making your kitchen smell like somewhere in the south of France. The only thing that makes this scene better is when the rack they’re hanging from is something you made by hand from clay.

A mini clay herb-drying rack is one of those projects that sits perfectly at the intersection of functional and beautiful — genuinely useful in a working kitchen, genuinely lovely to look at every single day. It’s also one of the more approachable structural clay projects you can make, because the design is simple, the construction method is logical, and the result looks far more considered than the effort it takes to produce.
What You’ll Need
The supply list has two distinct parts — the clay components and the hanging hardware.
For the clay:
- Air-dry clay — a 500g block covers a standard three-hook rack comfortably
- A rolling pin or smooth glass bottle
- A sharp craft knife or clay blade
- A toothpick or skewer for texture and detail work
- Sandpaper — medium grit (120) and fine grit (220)
- Acrylic paint in your chosen finish
- Matte or satin sealant spray
For the hanging system:
- Three small S-hooks or J-hooks from a hardware store (the clay hooks look beautiful but aren’t load-bearing — more on this shortly)
- Two small screws or removable adhesive strips for wall mounting
- Thin jute twine or leather cord for hanging herb bundles
- Optional: small brass picture-hanging D-rings to embed in the back of the backing plate

Understanding the Structure Before You Build
This is the step most tutorials skip — and it’s the one that determines whether your herb rack is a functional kitchen tool or a decorative object that can’t actually hold anything.
A clay herb-drying rack has two components that work together:
The backing plate — the flat wall-mounted piece that anchors everything. This is the primary structural element and needs to be substantial: thick, well-dried, and properly mounted.
The hooks — the projecting elements that hold the herb bundles. Here’s the honest truth about air-dry clay hooks: they look beautiful, but clay is brittle under load. The solution is elegant — embed a metal S-hook or J-hook into each clay hook form while the clay is still wet. The metal carries the actual weight of the herbs; the clay carries the visual design. You get the look of handmade clay hooks with the structural reliability of metal hardware. No compromise.
Plan your hook spacing across the backing plate now — three hooks evenly spaced across a 25–30cm plate is the most balanced configuration.
Building the Backing Plate

The backing plate is your foundation — build it properly and everything else follows.
- Condition your clay for two full minutes — smooth, warm, completely pliable.
- Roll your slab to 8–10mm thickness. Backing plates need mass; thin clay flexes and cracks under the stress of wall mounting.
- Cut your backing shape — a long horizontal rectangle approximately 25–30cm wide and 8–10cm tall works beautifully. Round the corners slightly with a damp fingertip for a softer, more artisan feel. An arch-top variation — with a gently curved upper edge — is equally beautiful and only slightly more complex to cut.
- Embed your hanging hardware on the back before the clay dries: press two small D-ring picture hangers firmly into the back surface near the upper edge, one toward each end. Smooth clay up and over the base plate of each ring so they’re fully locked in.
- Mark your hook positions on the front surface — press lightly with a fingertip to mark the three points where hooks will attach, evenly spaced.
- Add surface texture and decoration while the plate is still soft:
- Pressed herb sprigs laid face-down and rolled over lightly for botanical impressions — thematically perfect
- Parallel toothpick lines across the surface for a woodgrain-inspired texture
- A simple etched border frame around the perimeter with a ruler and skewer
Making and Attaching the Clay Hooks

Here’s the hook-building method that gives you beautiful clay forms with genuine load-bearing ability.
- Take a small portion of clay — roughly a golf-ball quarter — and roll it into a thick, smooth cylinder about 2cm long and 1.5cm in diameter.
- Press your S-hook or J-hook into the clay so the upper curve is embedded completely within the clay body and only the lower working curve protrudes below.
- Shape the clay around the hook — smooth it into a gentle teardrop or rounded rectangular form that looks intentional rather than like clay wrapped around hardware.
- Add decorative texture to the hook face if desired — a single pressed herb leaf impression or simple line etching
- Attach the hook to the backing plate while both pieces are still soft: score both contact surfaces aggressively, apply slip (clay mixed with water), press firmly, and smooth the join from all sides. Hold for 60 seconds.
All three hooks attached, let the entire assembled rack dry completely flat on its backing surface for 72–96 hours. This is a structurally complex piece — patience in drying is non-negotiable.
Sanding, Painting, and Finishing
Once fully dry, sand carefully:
- 120 grit — smooth the back completely flat, refine joins between hooks and plate
- 220 grit — entire front surface and hooks until smooth and consistent
Paint options for a kitchen herb rack:
- Warm terracotta — the most natural, farmhouse-authentic choice. Looks genuinely beautiful against white subway tiles or cream walls.
- Matte cream — clean and versatile, works in any kitchen aesthetic from cottage to contemporary
- Sage green — botanical and fresh, thematically perfect for a herb-related kitchen object
- Raw and unsealed — the natural clay colour sealed with matte varnish for a completely organic look
Two thin coats of paint, fully dried between each. Two coats of satin sealant to finish — satin holds up better than matte in a kitchen environment where steam and occasional splashes are realities.

Hung, Loaded, and Actually Useful
Mount your rack with two small screws through the D-rings — use wall anchors if you’re not hitting a stud. Hang your first herb bundles from the metal hooks and let the kitchen fill with that slow, herby, I made this kind of satisfaction.
Save this project for late summer when herbs are growing fastest and drying season begins — or make one any time of year for a kitchen that smells extraordinary and looks like someone who genuinely loves cooking lives there. Make a second as a gift for that person in your life who always has herbs growing on their windowsill. 🌿✨



