 Skip to content

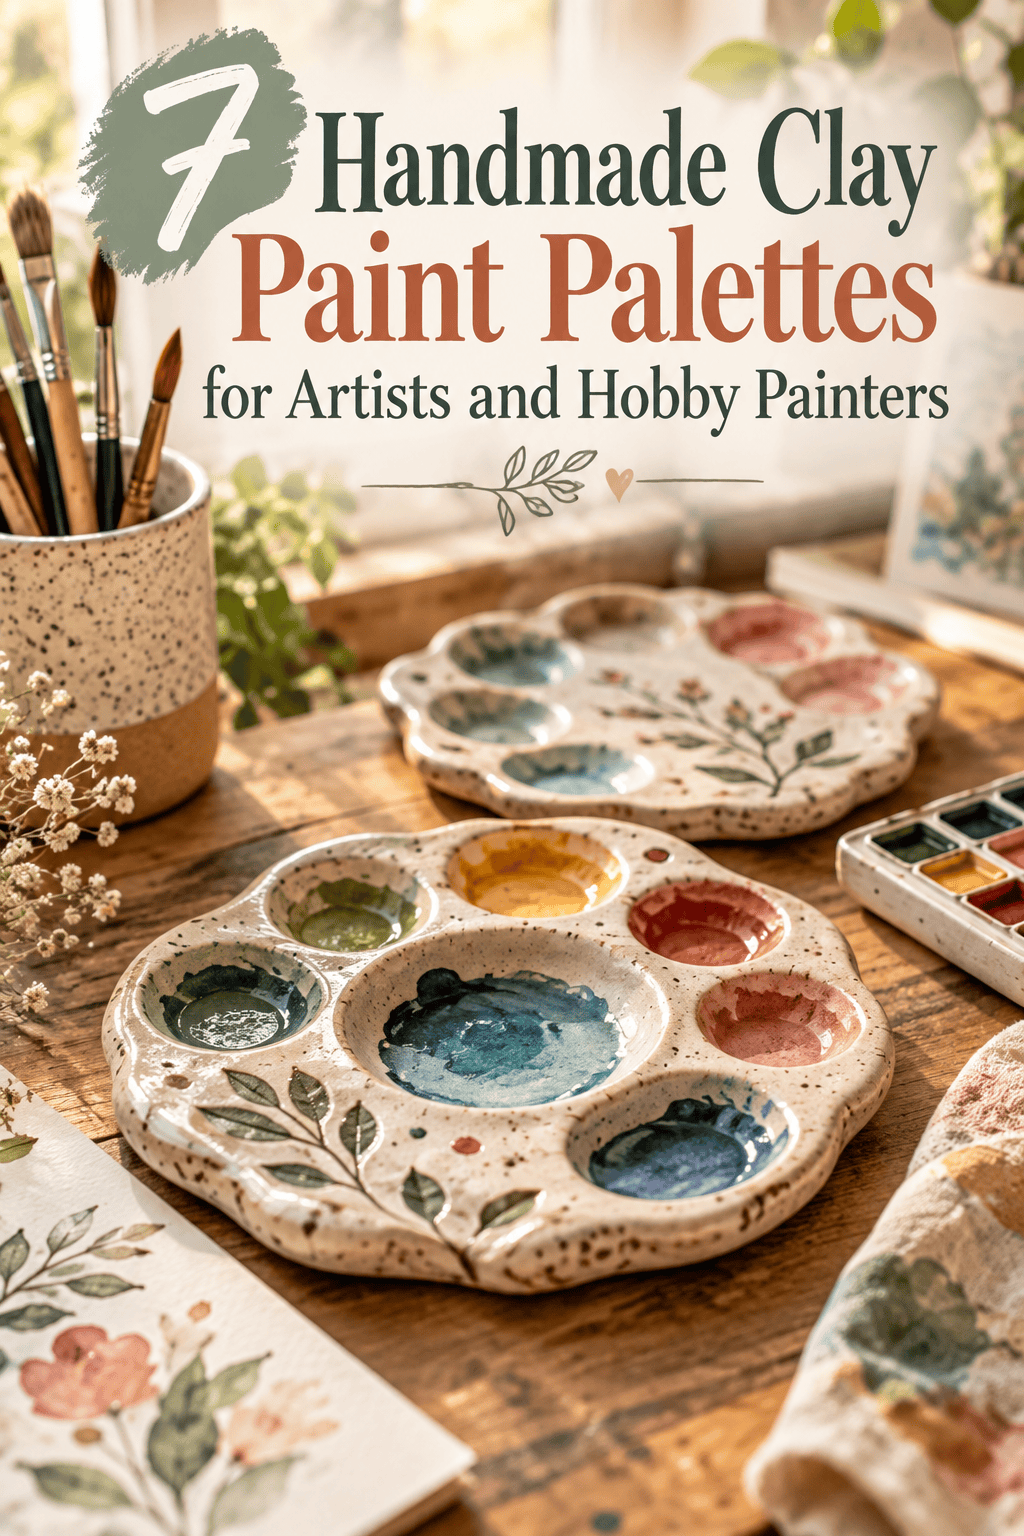

Most artists have used the same plastic or ceramic palette for years without thinking twice about it. But a handmade clay paint palette is something worth thinking about — it sits better in your hand, suits your working style exactly, and brings a personal quality to your studio setup that a mass-produced palette never will. Clay palettes can be shaped to fit your grip, sized for the number of colors you actually use, and decorated to reflect your aesthetic. They work with acrylic, watercolor, gouache, and oil paint when properly sealed. This guide covers 7 handmade clay paint palette designs — each one functional, practical, and genuinely worth making for any artist or hobby painter.
1. Classic Oval Palette With Circular Wells
The oval palette is the most familiar painter’s tool shape — and making one from clay lets you customize the well size, depth, and spacing for exactly how you paint.
Roll a thick clay slab about 1.5cm deep. Cut an oval shape using a template or freehand with a craft knife. Keep the oval large enough to hold at least six wells comfortably with mixing space between them.

Press circular wells into the surface using a rounded tool — the back of a smooth spoon, a large ball stylus, or a rounded dowel end all work perfectly. Press each well about 8–10mm deep and 2–3cm wide.
Space the wells evenly around the outer edge of the oval and leave the center area clear as a mixing zone. This layout mirrors professional palette design and is genuinely practical for active painting sessions.
Smooth the interior of each well carefully with a wet fingertip. A smooth well surface allows paint to be cleaned out easily between sessions.
Bake or air-dry fully. Seal the entire surface — including all well interiors — with at least two coats of waterproof, food-safe resin or hard varnish.
Budget Tip
One block of air-dry clay is enough for a full palette. The sealing step is the most important investment — use a proper waterproof resin rather than basic craft varnish to prevent paint soaking into the clay surface.
2. Thumb-Hole Hand Palette
A thumb-hole palette is designed to be held while painting — the hole lets your thumb support the palette from underneath, keeping both hands free for brush work.
Roll a thick clay slab and cut a kidney or teardrop shape — wider at the top, narrowing toward one end. This asymmetric shape naturally accommodates the hand position used when holding a palette.

Cut the thumb hole before baking. Use a round cutter or craft knife to cut a clean hole near the narrower end of the palette — large enough for your thumb to pass through comfortably, about 4–5cm in diameter.
Press rectangular or oval wells along the curved outer edge of the palette. These sit at the outer edge so colors are accessible without the brush crossing over other colors.
Leave a generous flat mixing area in the center of the palette between the wells and the thumb hole.
Smooth all edges, especially the thumb hole rim — this is what your thumb rests against during painting, so a rough edge will become uncomfortable quickly.
Bake. Sand the thumb hole rim smooth. Seal with waterproof resin.
Budget Tip
Test the thumb hole size against your actual thumb before baking. Too small is uncomfortable. Slightly too large is fine — the palette rests on the thumb rather than gripping it. Air-dry clay works for hand palettes but polymer clay is more durable for a tool used actively during painting sessions.
3. Rectangular Watercolor Pan Palette
Watercolor painters work differently from acrylic or oil painters — they use small dried paint pans rather than squeezed paint. A clay palette designed specifically for watercolor pan storage is a different shape entirely.
Roll a flat clay slab about 1cm thick. Cut a long, narrow rectangle — sized to hold a row of standard half-pan watercolor wells side by side.

Press rectangular wells sized specifically for half-pan watercolors — standard half-pans are 19mm x 13mm. Press each well to this size and about 8mm deep so the pans sit flush with the palette surface.
Space the wells with about 5mm between each one — enough separation to prevent color contamination when loading a wet brush.
Add a flat lid from a matching clay slab if you want a portable, closable palette. Score and slip the hinge edge if using air-dry clay, or use small metal hinge hardware attached after baking.
Bake. Seal the interior well surfaces with waterproof resin. Leave the well interiors unsealed if you prefer the slightly absorbent quality that some watercolorists prefer in their palette wells.
Budget Tip
Half-pan watercolor wells are a standard size — measure twice before pressing the wells into unbaked clay. Getting the size right means actual purchased watercolor pans fit perfectly and the palette becomes a genuinely professional piece of artist equipment.
4. Skin Tone Mixing Palette
A palette specifically designed for mixing and holding skin tones is a practical tool for portrait painters — having dedicated wells for each step of a skin tone range keeps portrait painting sessions organized and efficient.
Cut an oval or elongated palette shape. Press seven wells in an arc across the surface — one for each key skin tone step from deep brown through medium brown, warm tan, golden beige, medium beige, light peach, and pale ivory.

Label each well position by pressing small numbers or color reference marks beside each well using a needle tool before baking. These guide marks help you place the right color in the right well consistently across painting sessions.
Leave a wide central mixing area between the wells for blending and testing skin tone mixtures before applying them to canvas.
Smooth all wells carefully. Skin tone mixing requires subtle color assessment — a pure white or very pale clay surface in the mixing area gives the most accurate color reading.
Bake. Seal with waterproof resin. The mixing area may benefit from two extra coats of sealer since it sees the most paint activity.
Budget Tip
A dedicated skin tone palette makes portrait painting noticeably more organized. It removes the need to re-mix similar tones from scratch each session. One well-sealed clay palette made this way lasts for years of regular painting use.
5. Botanical Leaf-Shaped Palette
A palette shaped like a large stylized leaf is both functional and beautiful enough to display on a studio wall when not in active use.
Cut a large leaf shape from a thick clay slab — a simple oval pointed at each end with a gentle curve along each side works as a stylized leaf at palette scale.

Press a central spine line down the middle of the leaf using a round tool. This divides the palette visually into two sides and mimics the natural structure of a real leaf.
Press oval wells along each side of the spine in the positions of secondary leaf veins. About four wells on each side gives eight wells total — a practical number for most painting sessions.
The central spine area between wells becomes the mixing zone. The natural visual separation of spine and wells makes the palette intuitive to use — colors on the sides, mixing in the center.
Press light vein lines extending from the spine toward the outer leaf edge using a needle tool for surface decoration.
Bake. Seal thoroughly with waterproof resin.
Budget Tip
A leaf shape requires only a rough template cut from paper to guide your craft knife. No special cutters needed. The botanical aesthetic suits studio spaces with a natural, organic design sensibility and photographs beautifully for artist studio social media content.
6. Compact Travel Palette
A small, portable clay palette designed for travel and urban sketching suits painters who work outside the studio — at cafes, in parks, or while traveling.
Build a compact rectangular base — about 10cm x 6cm. This fits comfortably in a small bag pocket alongside a travel brush set and sketchbook.

Press six small wells into the base — smaller than a standard palette, about 1.5cm wide and 6mm deep. Travel palette wells are smaller because you use less paint per session when working on location.
Build a flat clay lid the same size as the base. The lid serves as a mixing surface when the palette is open and a protective cover when closed. Score small alignment notches on the sides of the base and lid so they locate together correctly when closed.
Use a thin rubber band or a small magnetic closure to keep the palette closed in a bag.
Smooth all surfaces carefully. Sand after baking for the flattest possible mixing surface on the lid.
Seal both base and lid with waterproof resin — at least three coats on the interior well surfaces.
Budget Tip
A travel palette is small and uses minimal clay. Make two — one for watercolor and one for gouache. The compact size means even a small block of clay produces multiple travel palettes. Label each palette on the exterior base with paint type using a needle tool before baking.
7. Heavy Oval Oil Painter’s Palette
Oil painters work with larger amounts of paint and need a palette with wide, deep wells and a heavy, stable base that does not move while mixing with a palette knife.
Roll a very thick clay slab — at least 2cm deep. A heavy palette stays stable on a table surface during the firm palette knife mixing that oil painting requires.

Cut a generous oval — larger than a typical acrylic palette. Oil painting sessions involve more paint mixing activity than other media, so usable surface area matters.
Press wide, deep wells around the outer edge — about 4cm wide and 1.5cm deep. Oil paint is thick and squeezed directly from tubes into wells, so deeper wells contain it better than shallow ones.
Leave a very large central mixing area. The center of an oil painter’s palette sees constant activity — mixing colors, testing values, working mediums into paint.
Sand the mixing surface very smooth after baking. Oil paint behaves differently on a rough surface — a smooth, hard, sealed surface is what experienced oil painters prefer.
Seal with two-part epoxy resin rather than basic varnish. Oil paint and painting mediums like linseed oil are more chemically active than acrylics and require a more durable seal.
Budget Tip
Two-part epoxy resin is more expensive than varnish but is genuinely necessary for an oil palette that will see regular use. One resin kit covers many palettes. A properly sealed and cured clay palette used for oil painting is durable enough to last years with regular cleaning.
Conclusion
A handmade clay paint palette is one of those objects that quietly improves every painting session you use it in. It fits your hand rather than a generic mold, holds exactly the colors you need, and reflects the same care and intention you bring to the paintings you make with it. The 7 designs in this guide cover the needs of watercolorists, acrylic painters, portrait artists, oil painters, and painters who work on the go — so there is a design that suits how you actually paint rather than how a manufacturer imagines you might. Start with the palette form that matches your medium and working style. Make one, seal it properly, use it for a few painting sessions, and see whether a handmade tool changes how you feel about sitting down to paint. Once you have made one palette, making more for different paint types or gifting to fellow artists becomes a natural next step. Pick up your clay and make the palette your studio has been missing.



