 Skip to content

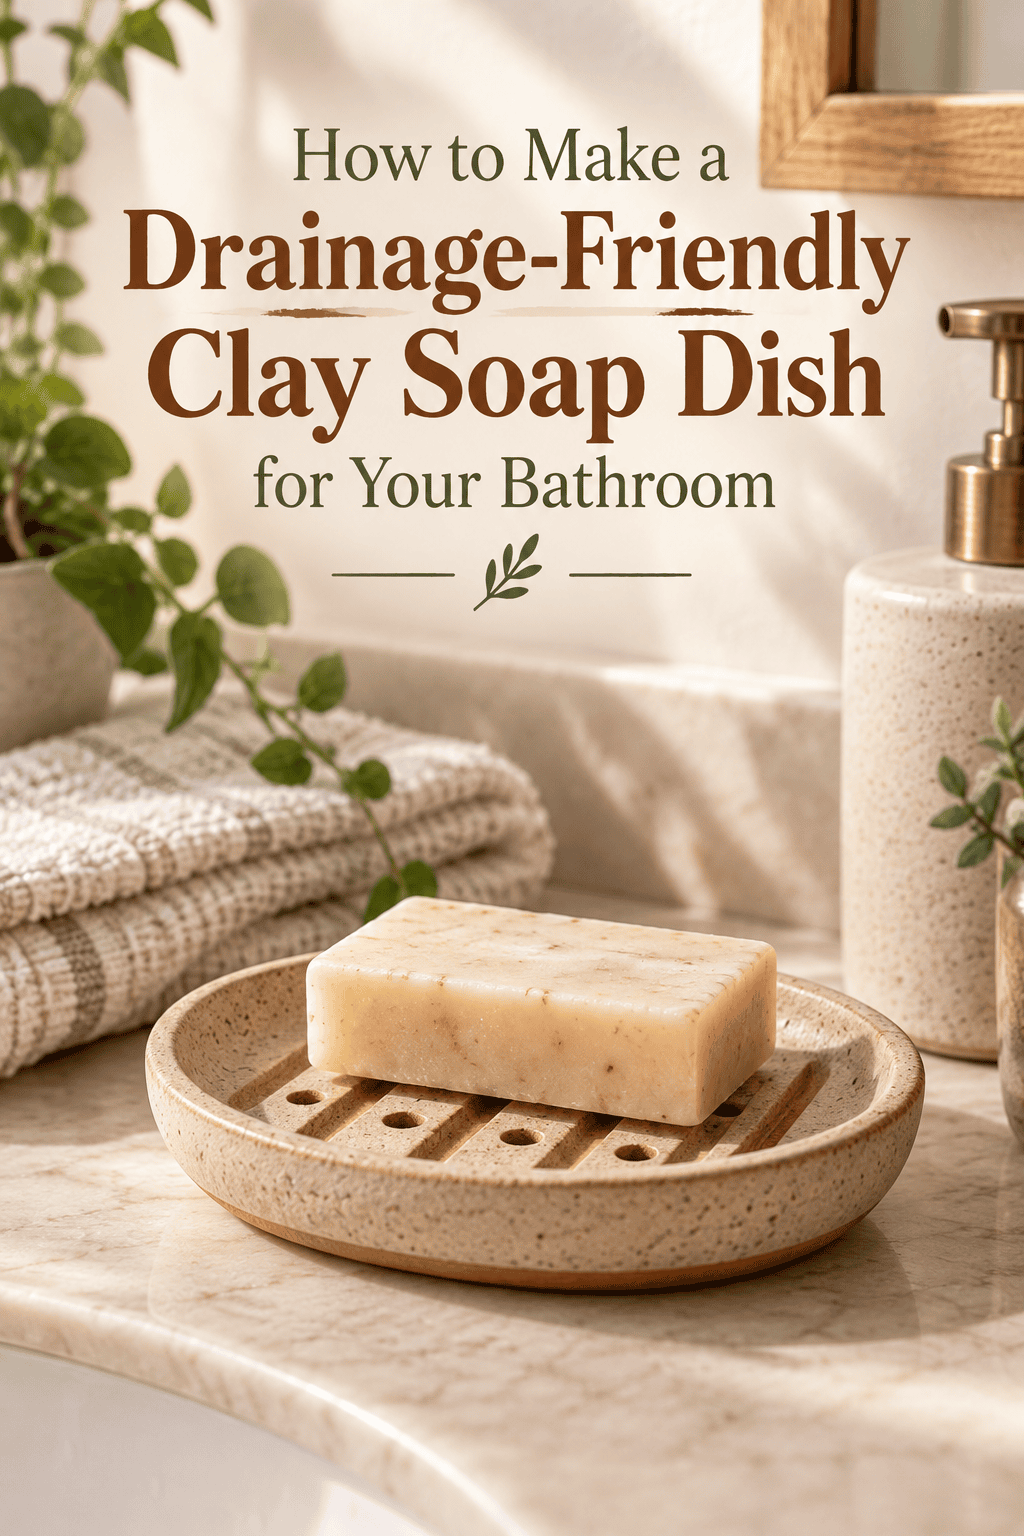
Soggy soap is one of life’s small but genuinely irritating problems. You buy a beautiful bar of artisan soap, set it in a flat dish, and within three days it’s dissolved into a slippery, sludgy mess that bears no resemblance to the lovely thing you paid good money for. The solution isn’t a better soap — it’s a better dish. Specifically, a handmade clay soap dish with actual drainage built right into it.

A well-designed soap dish does two things: it holds the soap, and it lets the water get away. Most store-bought dishes do the first and completely ignore the second. Making your own means you can solve both problems in a single afternoon — and end up with something that looks far more beautiful than anything in the soap dish aisle.
What You’ll Need
Everything here is affordable and easy to find. The whole project costs less than a replacement bar of the soap you’re trying to protect.
- Air-dry clay — a 250–300g block is more than enough for a single dish
- A rolling pin or smooth glass bottle
- A sharp craft knife or clay blade and ruler
- A drinking straw or thick skewer for punching drainage holes
- Sandpaper — medium grit (120) for shaping, fine grit (220) for finishing
- Acrylic paint in your chosen colour
- Waterproof sealant — this is non-negotiable for a soap dish. Use a waterproof polyurethane varnish or outdoor-rated matte sealant, not a standard indoor craft sealant.
- A small foam brush for applying sealant evenly
- Optional: stamps, a toothpick, or natural materials for texture work
- Optional: small rubber feet (from a hardware store) to elevate the dish and improve drainage further

Designing Your Drainage System First
Most people design the pretty parts of a soap dish and tack drainage on as an afterthought. The smarter approach is the opposite — design the drainage first, then build everything else around it.
There are three drainage approaches, each with different aesthetics and effectiveness:
Option 1: Hole grid
A pattern of small circular holes punched straight through the base of the dish using a drinking straw. Simple, clean, and very effective. Water drips straight through. Works best over a countertop where drips don’t matter, or with a second tray beneath.
Option 2: Raised ridge base
Instead of holes, build the base with a series of parallel raised ridges — thin clay coils pressed onto the base surface — so the soap rests on the ridges and water runs in the channels between them. No holes required, no dripping. More elegant and better for sinks where drainage needs to stay contained.
Option 3: Combination
Raised ridges plus a row of holes along the lowest edge of the dish where water naturally pools. Maximum drainage, most effort, best performance.
Pick your method before rolling a single piece of clay — it changes how you build the base entirely.
Shaping the Dish

Once your drainage plan is locked in, the shaping is straightforward.
- Condition your clay thoroughly — two full minutes of kneading until smooth, warm, and completely crack-free.
- Roll your slab evenly to 6–7mm thickness. A soap dish needs to be substantial — thin clay won’t survive the daily moisture exposure.
- Cut your base to size. A classic soap dish is roughly 10–12cm long and 7–8cm wide — long enough for a full bar, narrow enough not to dominate the sink edge. Round the corners slightly with a damp fingertip for a softer look.
- Add your drainage feature now, while the base is still flat and easy to work with:
- For holes: push your drinking straw straight through in a grid or row pattern, removing the clay plug from the straw after each punch
- For ridges: roll thin coils of clay (roughly 4–5mm thick) and press them in parallel lines across the base, smoothing the join at each end
- Build your walls — cut four strips about 1.5–2cm wide and press them upright around the perimeter of the base, mitering the corners or overlapping them and trimming neatly. Score and slip every join.
- Smooth all interior seams with a damp finger. Every unsealed join is a future crack.
- Angle the base very slightly if building a combination drainage system — press one end of the dish very gently so it tilts a fraction of a degree toward the drainage holes. Water runs downhill even when you can barely see the slope.
Texture and Decoration

A soap dish lives on your bathroom counter every single day — it earns the decorative attention.
Work the exterior walls while the clay is still soft:
- Parallel wave lines etched with a toothpick for an organic, water-inspired texture — perfectly thematic for a soap dish
- Crosshatch pattern on the outer walls for a tactile, woven feel
- Botanical press — press a small flat leaf against one outer wall and roll lightly over it for a nature print
- Completely smooth — clean, minimal, and lets the colour carry all the visual work
Dry your dish completely flat for 48–72 hours. Moisture-exposed pieces need to be fully dry before sealing — any residual moisture trapped under sealant will cause problems later. Press the thickest part firmly; if it feels at all cool, it needs more time.
Sanding and Waterproof Sealing
Sand in two stages once bone dry:
- 120 grit first — flatten the base completely (test on a hard surface for zero wobble), smooth any rough wall joins
- 220 grit to finish — the entire exterior and interior until consistent and smooth
Wipe all dust with a barely damp cloth and let dry completely before sealing.
Now — the most important step for a functional soap dish:
Apply waterproof sealant generously and systematically:
- Seal the interior base first — two coats, drying fully between each
- Seal the interior walls — two coats
- Seal the exterior — two coats
- If you have drainage holes, run sealant around the interior edge of each hole with a fine brush
Four to six coats total on all surfaces that will contact water. This sounds excessive until your first unsealed soap dish dissolves from the inside out after two weeks of use.

Into the Bathroom It Goes
Paint before sealing if you want colour — two thin acrylic coats, dried fully, then the waterproof sealant over the top to lock everything in. Matte white is perennially beautiful in a bathroom. Warm terracotta adds warmth to an all-white scheme. Deep sage green is unexpected and quietly luxurious.
Stick small rubber feet to the base corners for airflow beneath the dish — this elevates drainage to a whole new level and protects your countertop from any residual moisture.
Set your soap bar on top, step back, and appreciate the fact that this bar is going to last significantly longer than any soap you’ve owned before.
Save this project for your next bathroom refresh — and make a matching toothbrush holder while you have the clay out. A handmade bathroom set is the kind of detail that makes a whole room feel considered. Your soap deserves better. Now it has it.



