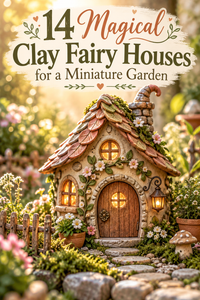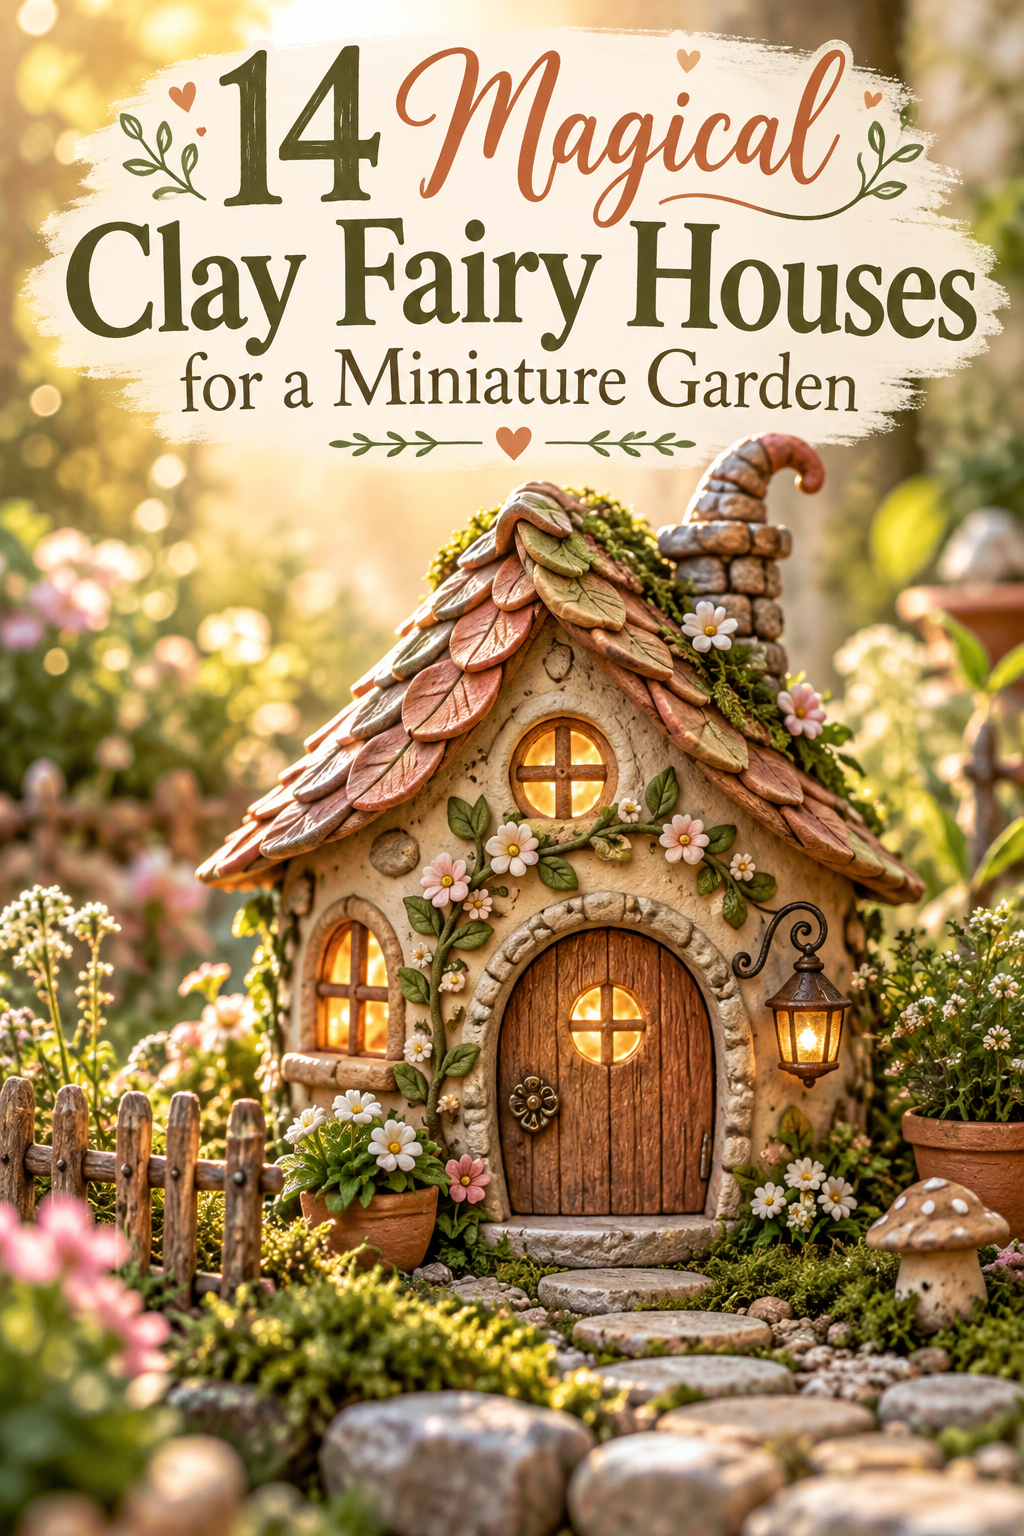
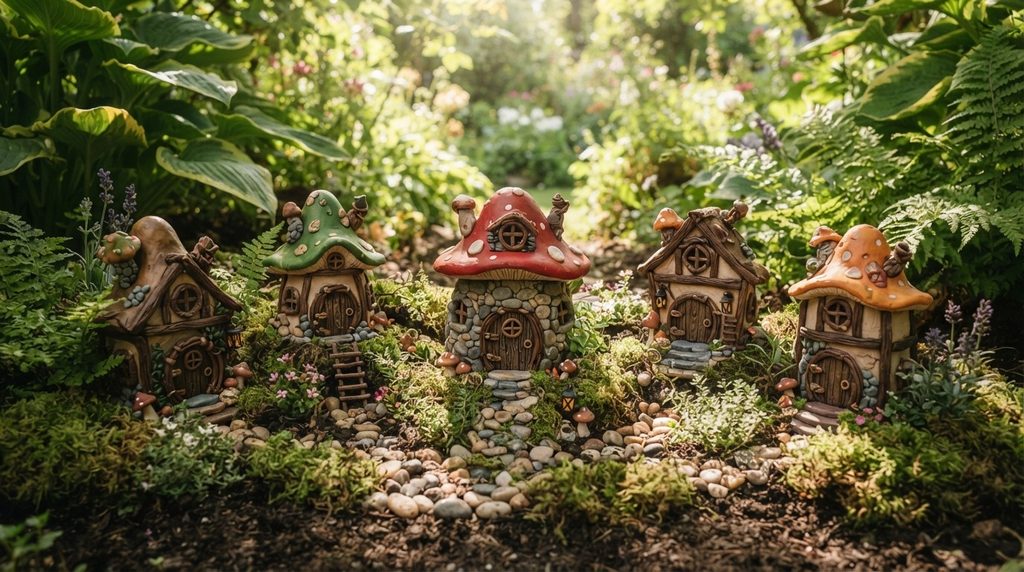
Miniature gardens have a way of pulling people in — there is something deeply satisfying about creating a tiny world at your feet. Clay fairy houses are one of the most rewarding projects you can add to that world. They are small enough to tuck beside a garden pot, detailed enough to look genuinely magical, and affordable enough to make in batches without worrying about the cost. Whether you are building an outdoor fairy garden in a planter, decorating a windowsill display, or making a craft project with children, clay fairy houses bring an unmistakable handmade charm that no store-bought piece can match. This guide covers 14 creative clay fairy house designs — each one practical to build, beautiful to display, and tailored to bring a little magic into any miniature garden.
1. Tree Trunk Fairy Door House
A fairy house built into the base of a real tree trunk is the most classic fairy garden design — and the one that looks most like it belongs in an enchanted forest.
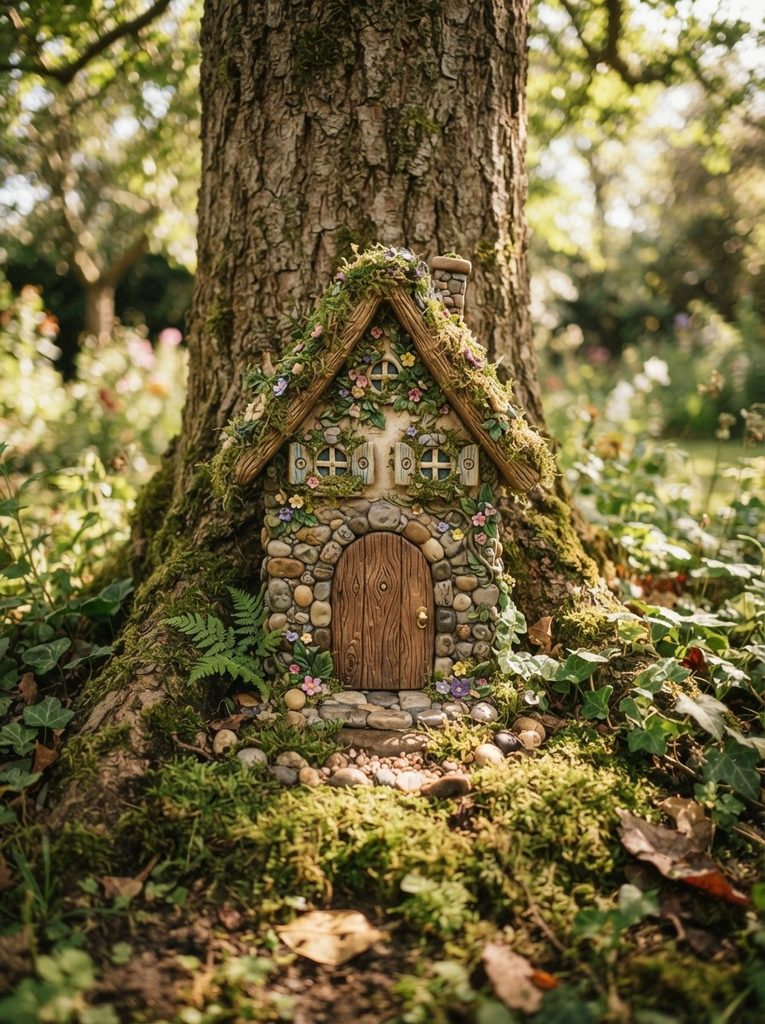
Build the house as a flat facade rather than a full three-dimensional structure. A facade pressed against an actual tree trunk looks more convincing than a freestanding house because the tree becomes part of the design.
Shape a flat arched door from brown clay. Press wood grain lines across the door surface using a needle tool. Add a tiny round clay doorknob.
Make two small round windows with thin clay frames. Add tiny clay shutters on each side — small flat rectangles hinged at the outer edges.
Press the whole facade directly against the tree base while the clay is still unbaked, so it curves slightly to match the tree’s natural surface. This close fit makes the facade look genuinely embedded in the tree.
Add a clay ledge above the door with small pressed flower details.
Bake the facade pieces separately, then attach to the tree with waterproof outdoor adhesive.
Budget Tip
A tree trunk facade uses very little clay since it is flat rather than fully three-dimensional. The tree does most of the visual work. Use outdoor-grade polymer clay or seal thoroughly with exterior varnish for weather resistance.
2. Classic Mushroom Cap Fairy House
The mushroom cap fairy house is the most iconic miniature garden design — instantly recognizable and beloved by children and adults equally.
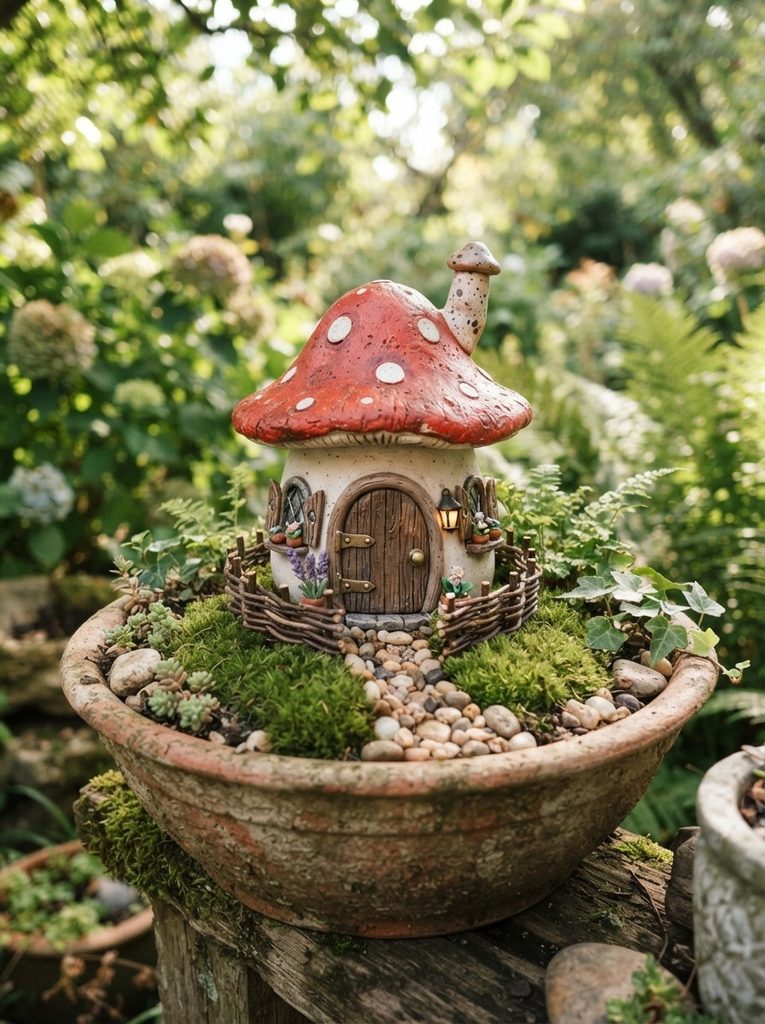
Build a round white or cream clay cylinder for the house body. Keep the walls about 1cm thick for durability outdoors. Press two small round windows into the front face and one small arched door at the base.
Make the mushroom cap roof as a wide dome — considerably wider than the house body so it overhangs generously on all sides. A cap that barely covers the body looks like a hat. A wide overhanging cap looks like a real mushroom.
Add white raised dot spots to the red cap using small white clay balls pressed and slightly flattened onto the cap surface. Raised spots look far more dimensional than painted ones.
Press the cap onto the top of the body cylinder before baking. Smooth the join from underneath so it looks seamless.
Add a small clay chimney from a thin cylinder pressed through the cap.
Bake. Paint the body white and the cap in deep red. Seal with outdoor varnish if placing in a garden.
Budget Tip
Red and white clay are standard and affordable. The mushroom house is one of the fastest fairy house designs to build — the basic form requires only two main shapes. Make several in different cap colors for a fairy mushroom village effect in a large planter.
3. Stone Cottage Fairy House
A stone cottage fairy house looks like it belongs in a real garden — the textured pebble walls and thatched roof blend naturally with outdoor planting.
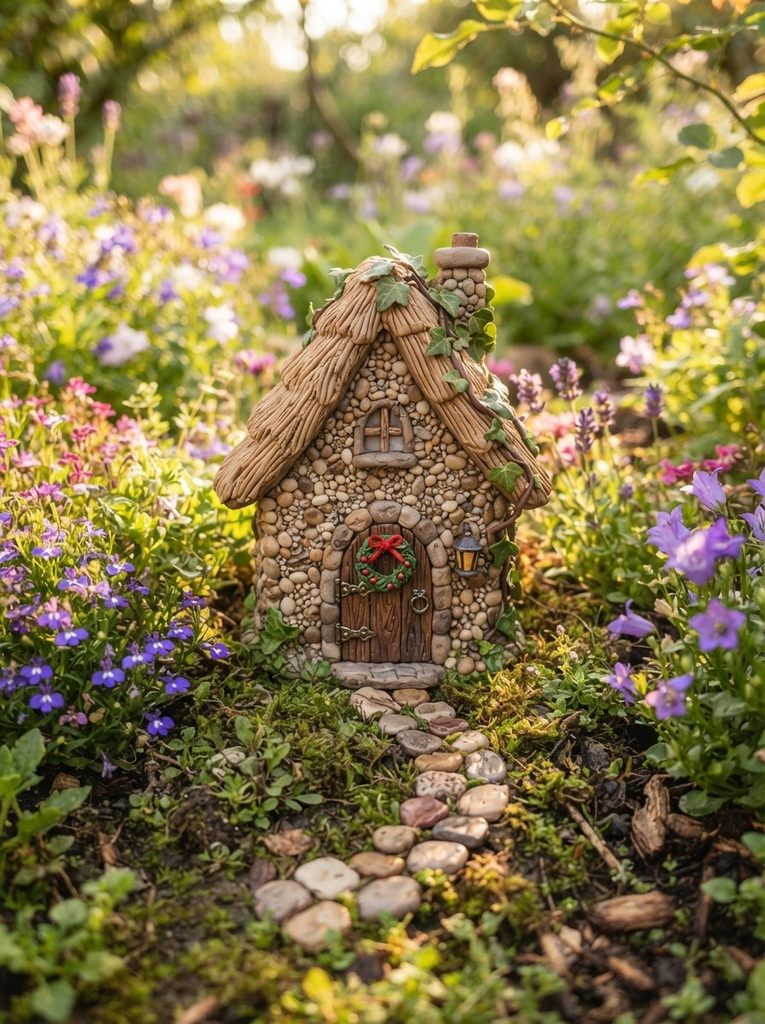
Build four clay walls from thick slabs pressed together into a rectangular form. While the walls are still soft, press the end of a pen cap or small round tool repeatedly across all exterior wall surfaces to create pebble stone texture.
Each pebble impression should overlap slightly with its neighbors to look like a real laid stone wall. Random sizing and spacing looks more authentic than perfectly even impressions.
Build a pointed roof from two flat triangular slabs pressed together at the ridge. Press horizontal lines across the roof surface using a fork or comb to suggest thatch texture.
Add a small arched door. Press wood grain lines across it. Make a tiny clay wreath from a thin coiled rope of green clay pressed into a ring — attach it to the door before baking.
Add small square or round windows with thin clay frames.
Budget Tip
Gray or cream clay suits stone cottage walls naturally. The pebble texture technique requires only a pen cap — no specialty tools needed. Stone cottage fairy houses suit traditional garden styles and look especially good nestled beside established garden borders with mature planting around them.
4. Hollow Log Fairy House
Using a real hollow log section as the main structure of a fairy house creates something that looks genuinely found in nature rather than placed there.
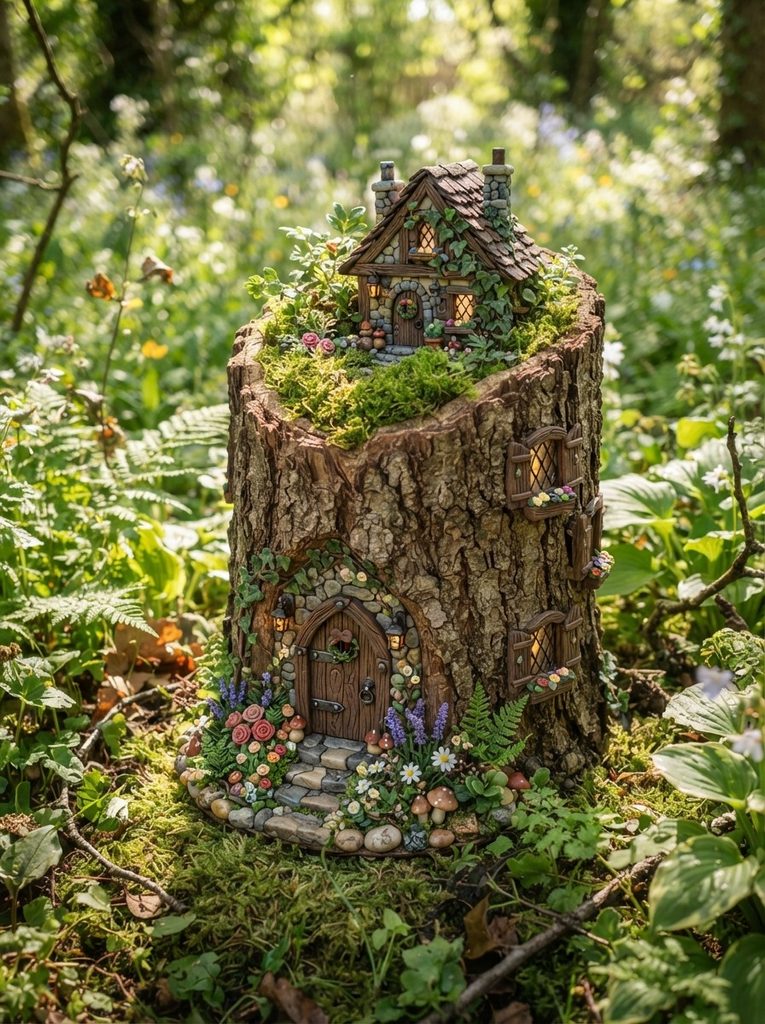
Find a short section of hollow log — about 15–20cm long. The hollow interior becomes the fairy house itself.
Press a small clay door surround around the open end of the log — an arched frame with wood grain detail. Add a tiny door fitted inside the arch.
Press small clay windows along the side of the log, fitting them flush against the bark texture.
Build a small clay flower garden around the base of the log — tiny sculpted flowers, leaves, and stepping stones pressed into soft clay that wraps around the log’s base.
Add real moss to the top of the log after all clay elements are baked.
Seal all clay elements with exterior varnish. The log itself needs no treatment — its natural weathering adds to the effect.
Budget Tip
Hollow log sections are free from garden pruning or fallen branches. The natural material does most of the structural work — clay only adds the fairy house details. This design uses minimal clay while producing one of the most naturalistic and convincing fairy house results possible.
5. Wizard Tower Fairy House
A wizard tower design brings a fantasy aesthetic to a fairy garden — it suits both outdoor garden displays and indoor shelf arrangements.
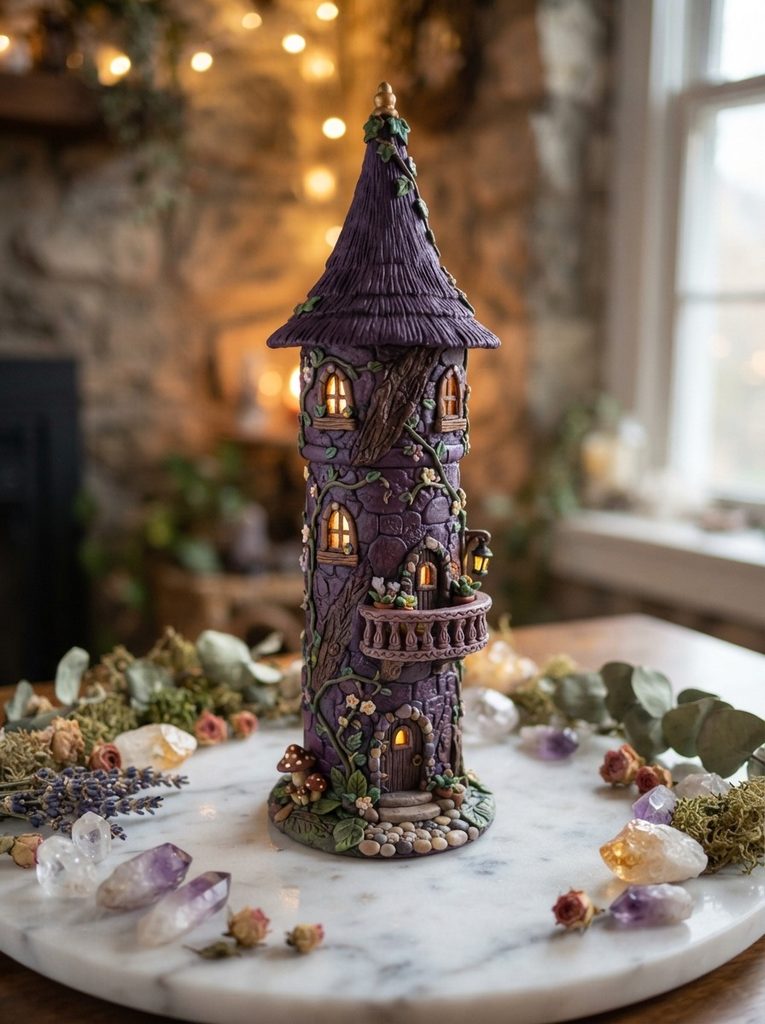
Build a tall, slightly tapered cylinder — wider at the base, narrowing gradually toward the top. The taper gives the tower a hand-built, organic quality that suits the fairy house aesthetic better than a perfectly straight cylinder.
Add a conical roof from a flat clay triangle rolled into a cone shape. Press the cone firmly onto the top of the tower before baking.
Add windows at different heights around the tower — vary the size and shape. A round window near the top, an arched window in the middle, and a rectangular door at the base creates a natural, storied quality.
Press thin climbing vine lines up the tower walls using a needle tool. Add tiny flat leaf shapes pressed along the vine lines.
Build a small clay balcony partway up — a flat ledge with a thin rolled clay railing around it.
Bake carefully. The tall thin form can lean during baking — support with crumpled foil.
Budget Tip
Deep purple, navy, or forest green clay suits the wizard tower aesthetic well. Paint with metallic accents after baking — silver window frames and gold door details transform a simple tower into something that looks genuinely magical.
6. Acorn Cap Fairy House
An acorn fairy house is perfectly suited to autumn garden displays and woodland-themed miniature gardens.
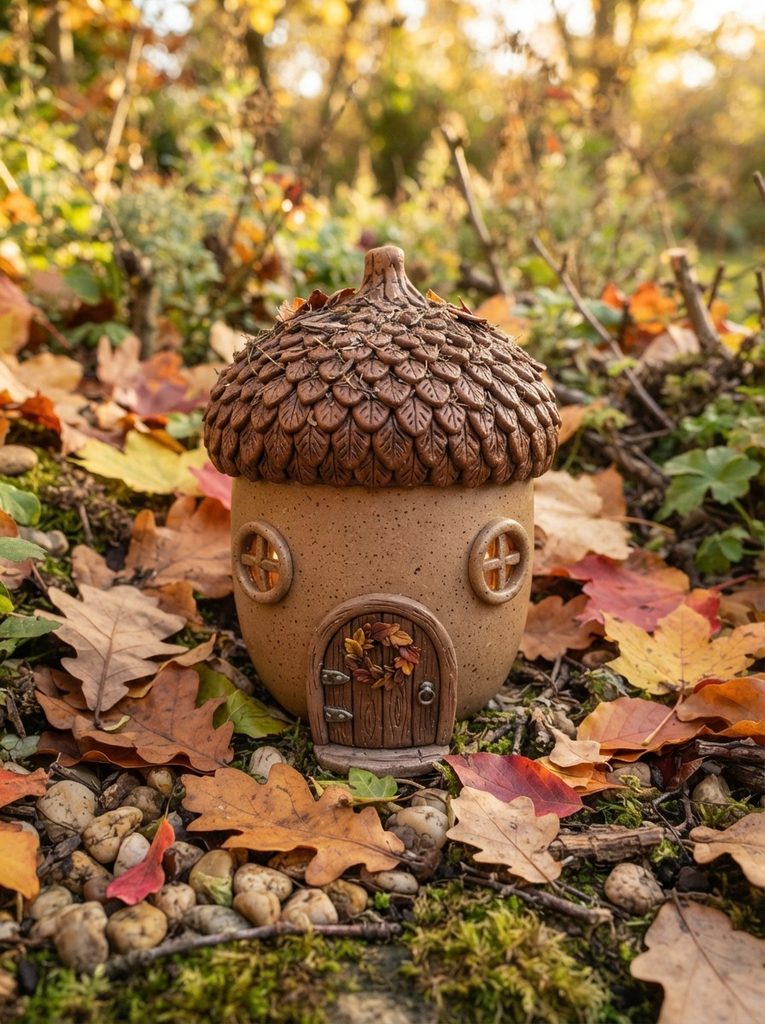
Build a round, smooth body from brown or tan clay — slightly narrowed at the top where the cap will sit. This shape naturally suggests an acorn without needing to be perfectly spherical.
Make the cap as a wide, shallow dome. Press a crosshatch texture across the entire cap surface using a needle tool — small diagonal lines in two directions create the characteristic acorn cap scale pattern.
Add a tiny round door at the base of the body. Press wood grain lines across the door surface. Add a small round clay door handle.
Make two small round windows on either side of the door with thin circular clay frames.
Press a small clay loop at the very top of the cap — in nature this is the acorn’s stem attachment point. In the fairy house it makes a charming decorative detail.
Bake. Paint the body in warm tan and the cap in darker brown. Dry-brush a lighter tan across the cap texture to highlight the crosshatch pattern.
Budget Tip
Brown and tan clay mix easily from orange and black. The acorn house suits a forest floor display — surround with real dried leaves, small pebbles, and acorns from your garden for a fully naturalistic arrangement.
7. Terrarium Toadstool House
A toadstool fairy house designed for a terrarium suits indoor plant lovers who want to bring the fairy garden aesthetic inside.
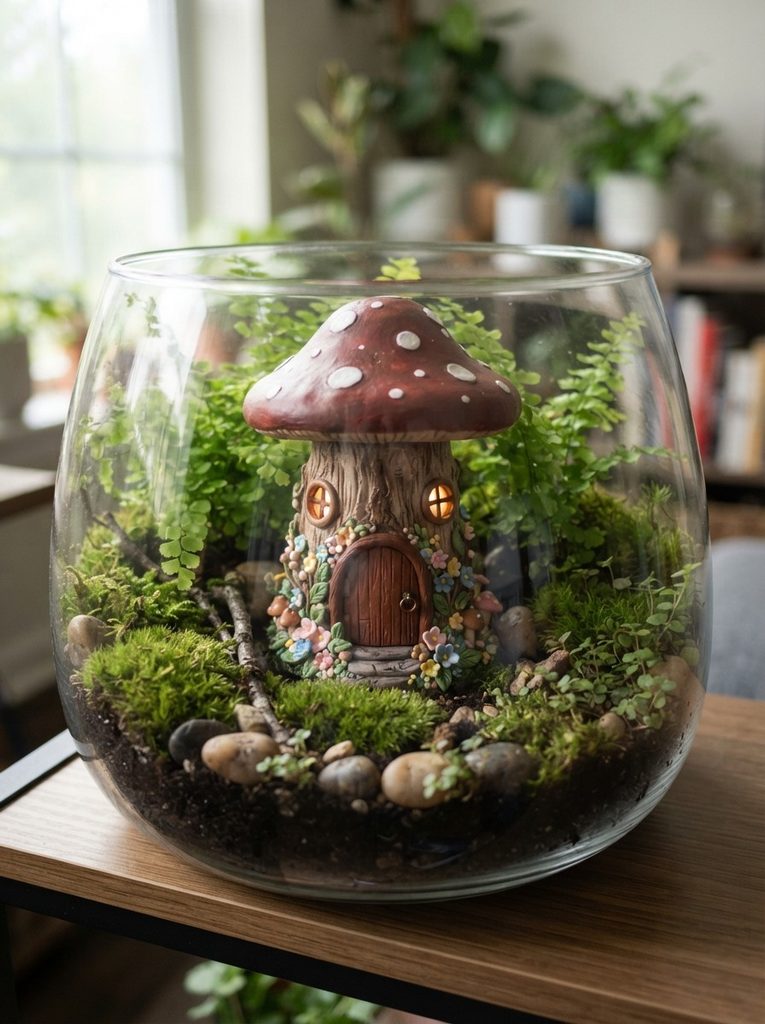
Build the stem body as a wide, slightly irregular cylinder. Press fine vertical line texture up the stem surface using a needle tool — this mimics the fibrous texture of a real mushroom stem.
Make a wide, deeply curved cap that extends well beyond the stem diameter on all sides. The exaggerated wide cap gives the toadstool its dramatic silhouette.
Design this house specifically for the terrarium scale. Measure the terrarium opening before building to ensure the finished house fits through the top.
Add a small arched door at the stem base. Make tiny round windows on each side. Press small clay flower decorations around the base of the stem.
Seal thoroughly with waterproof varnish — terrarium environments are humid, and clay without sealing will absorb moisture over time.
Place in a terrarium with live moss, small ferns, and pebbles for a complete miniature ecosystem.
Budget Tip
Terrarium toadstool houses use moderate amounts of clay for the wide cap. Air-dry clay is not suitable for humid terrarium environments — use polymer clay sealed with waterproof varnish for any indoor plant display.
8. Coastal Lighthouse Fairy House
A lighthouse fairy house brings a nautical theme to miniature gardens — it works beautifully beside water features, pond edges, and coastal-inspired garden displays.
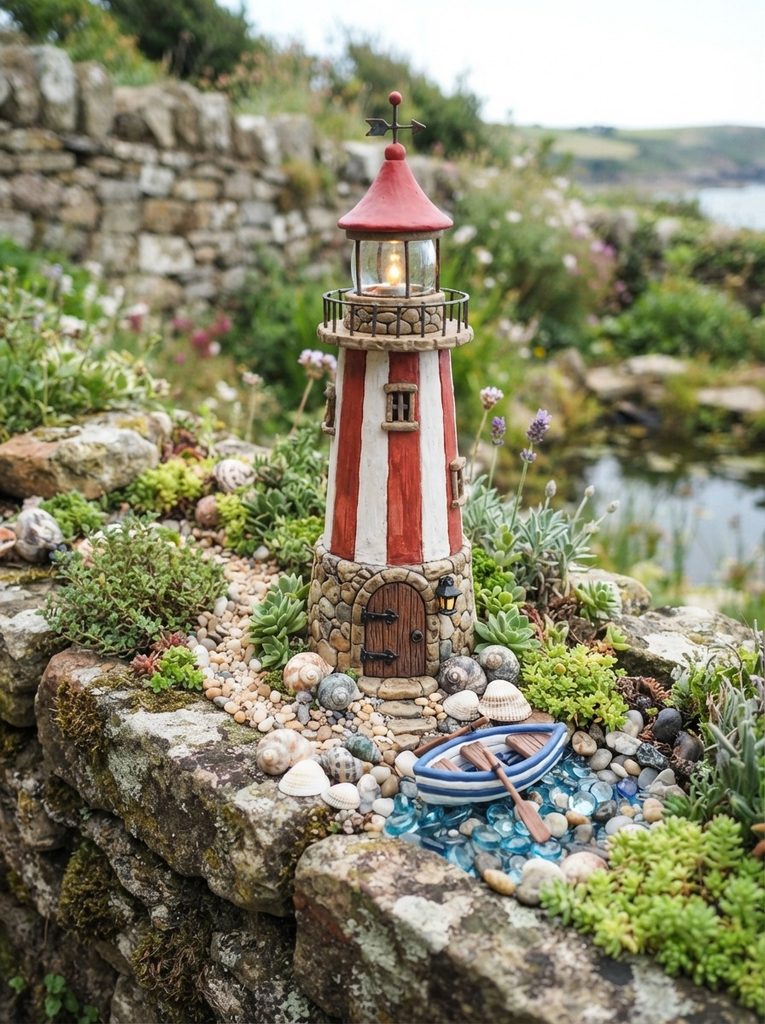
Build a tapered cylinder — wider at the base, narrowing toward the top. This gentle taper gives the lighthouse its recognizable silhouette.
Press horizontal stripe lines around the tower using a needle tool. Paint alternating stripes in red and white after baking.
Build a wider circular ring near the top of the tower — this is the light gallery where the lighthouse beam would shine from. Make it slightly wider than the tower body, with a flat top.
Add a small arched door at the base. Make a tiny round porthole window above the door and one on each side of the tower.
Press a small clay spiral staircase on the exterior — a thin coiled strip of clay pressed against the tower wall suggests internal stairs seen from outside.
Bake on a flat base. Seal with exterior waterproof varnish.
Budget Tip
White clay forms the main structure — one of the most affordable clay colors. Red stripe paint is applied after baking rather than using red clay, which keeps material costs low. A coastal lighthouse fairy house pairs well with small seashells, pebbles, and sand placed around the base.
9. Overturned Pot Fairy House
The overturned pot fairy house plays on the idea of a fairy taking up residence in an abandoned garden pot — charming, witty, and surprisingly realistic.
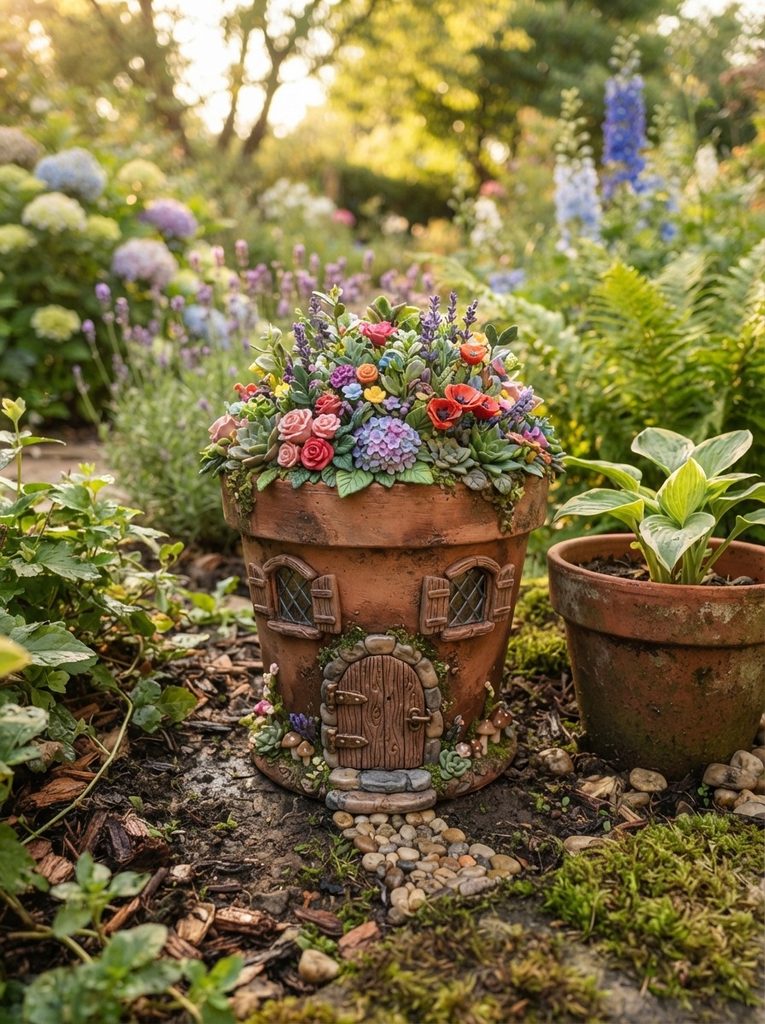
Shape a large dome from terracotta-colored clay that mimics the form of an overturned pot. Add a flat circular clay base that sits as if the pot is resting upside down on the ground.
Press a small arched door into the front of the dome. Add two small round windows on either side.
Build up a small flower garden on top of the dome — the flat base of the overturned pot becomes the fairy’s rooftop garden. Press tiny clay flowers, leaves, and small stones onto the flat top surface.
Add a clay drainage hole ring at the very top center — a realistic pot detail that also makes a charming decorative feature on the fairy house.
Press texture around the dome base suggesting soil and roots.
Bake. Paint in warm terracotta tones. Seal with exterior varnish.
Budget Tip
Terracotta-colored clay can be mixed from orange, red, and white. The overturned pot fairy house looks most convincing placed beside real terracotta garden pots of similar scale — the visual reference makes the concept immediately clear and delightful to anyone who sees it.
10. Beehive Fairy House
A beehive fairy house is a natural fit for cottage gardens, herb gardens, and any garden that celebrates pollinators and flowers.
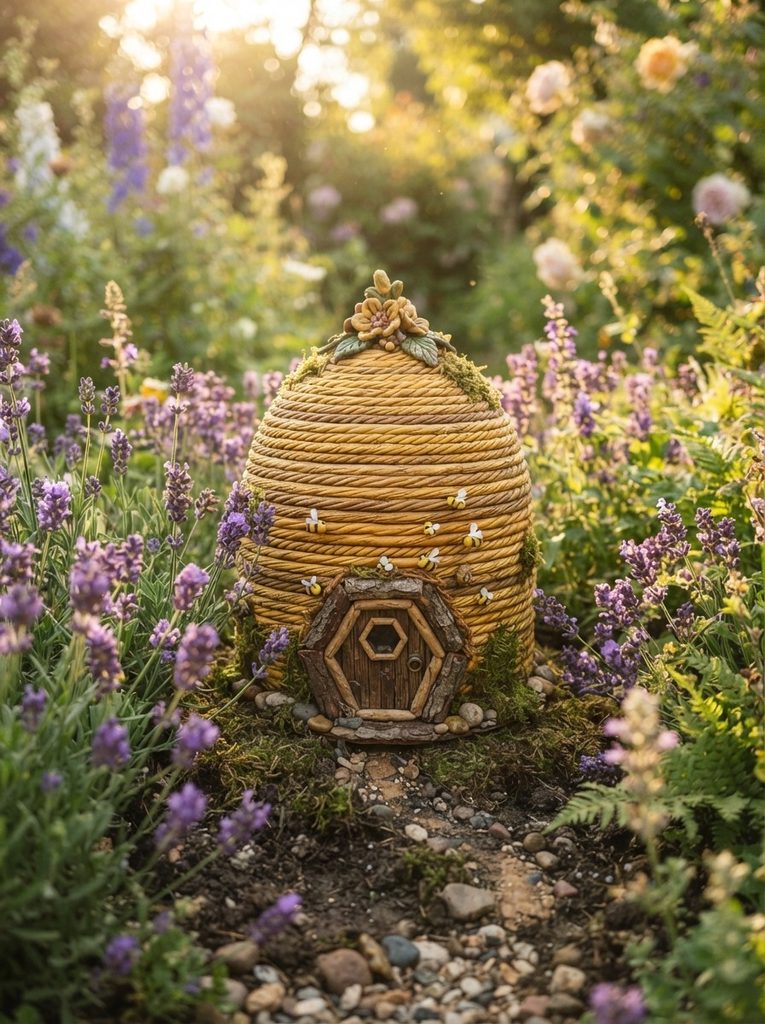
Build a dome shape that narrows to a rounded point at the top — the classic beehive skep silhouette. This form is instantly recognizable and suits the fairy garden context perfectly.
The defining technique is the coil texture. Press horizontal coil lines all the way around the dome from base to top using a needle tool or the back edge of a craft knife. Space the lines evenly — about 5mm apart. These lines suggest the woven straw structure of a traditional beehive skep.
Cut a small hexagonal door at the base. A hexagon shape rather than the standard arch references the natural honeycomb structure of real beehives.
Make three or four tiny clay bees — small striped ovals with white wing shapes — and press them near the entrance in flight positions.
Bake. Paint in warm golden straw tones. Seal with outdoor varnish.
Budget Tip
Warm golden yellow clay or cream clay suits the beehive form. The coil texture technique requires only a needle tool and patience — no specialty equipment. Surround with real lavender plants in the garden for a beautifully cohesive pollinator-themed miniature display.
11. Windmill Fairy House
A windmill fairy house adds a dynamic, architectural element to a miniature garden — the four blades create a strong visual focal point that draws the eye.
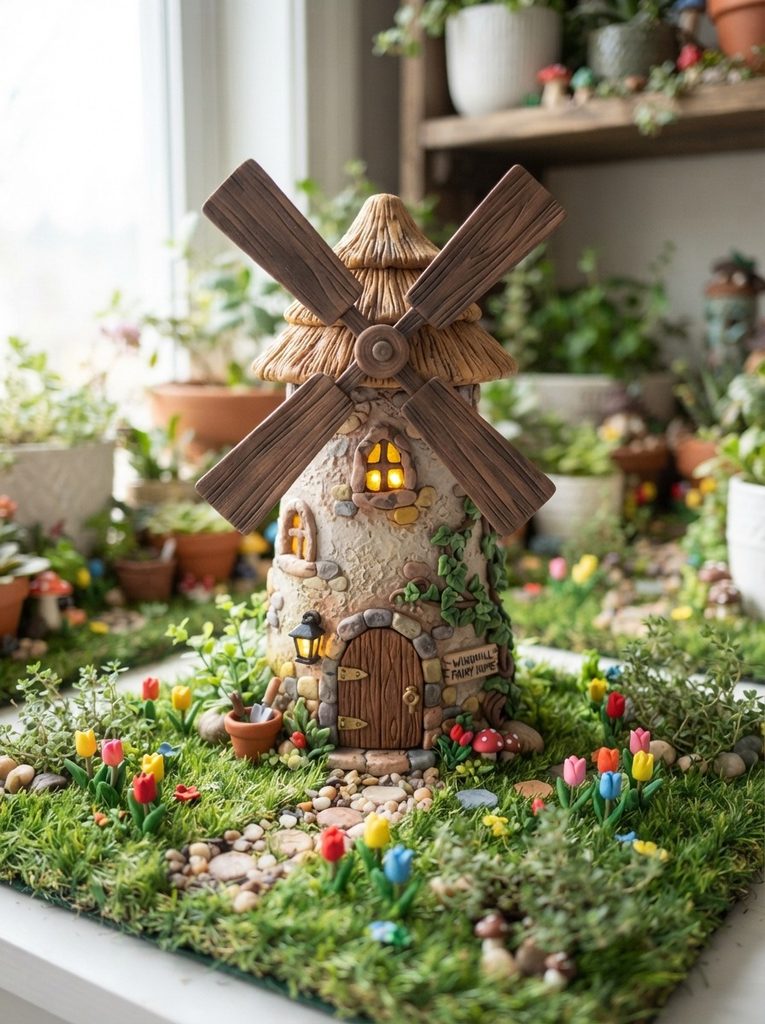
Build a round tower body as the main structure. Add a conical clay roof pressed firmly onto the top.
Make four flat rectangular clay blades. Each blade should be slightly longer than the tower is wide. Press diagonal line texture across each blade surface.
Attach the four blades to a small central clay hub pressed onto the front face of the tower. Arrange the blades in an X formation — two pointing roughly horizontally, two pointing roughly diagonally.
Add a small arched door at the base of the tower. Press two small round windows on the front face.
Build a small clay balcony railing around the tower just below where the blades attach — this detail is standard on real windmills and makes the clay version immediately recognizable.
Bake. Paint the tower white and the roof and blades in deep red or blue.
Budget Tip
Windmill blades are flat clay strips — they use minimal material. The central hub is a small clay disc. The striking visual of four blades makes this one of the most eye-catching fairy house designs in a garden display despite being straightforward to build.
12. Ice Crystal Igloo Fairy House
An igloo fairy house suits winter-themed miniature garden displays, Christmas arrangements, and indoor fairy garden scenes with a cool, magical aesthetic.
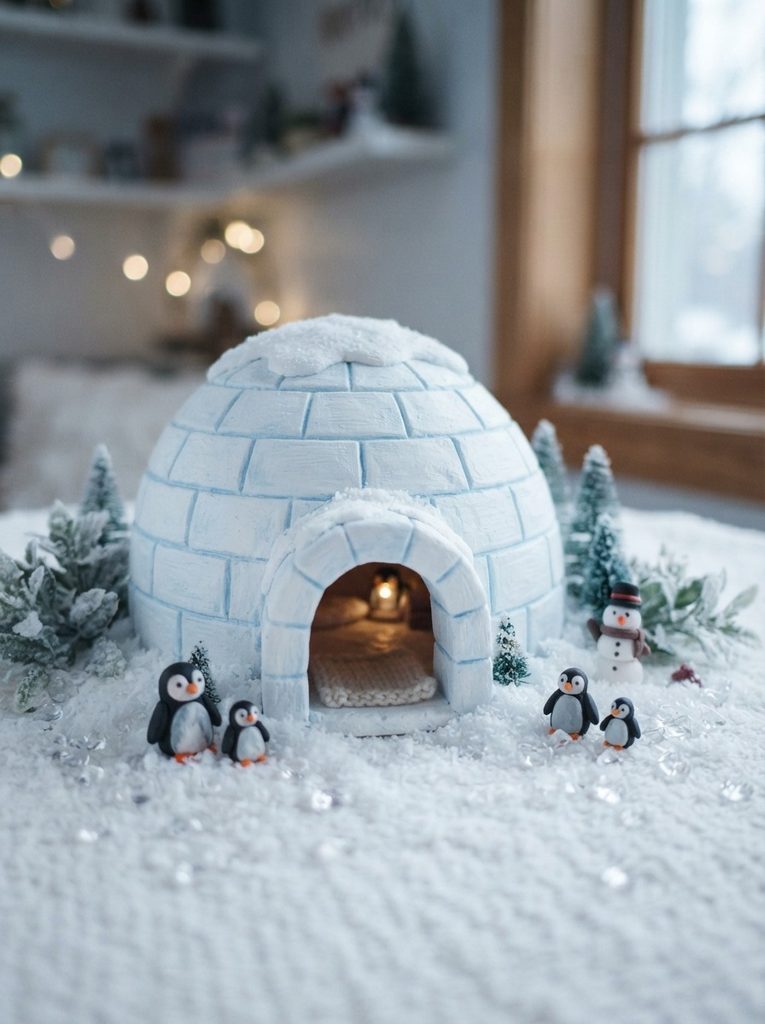
Build a dome from white clay. Keep the walls smooth and even — the igloo silhouette depends on a clean, uninterrupted curved surface.
Press faint horizontal and vertical block lines across the dome surface using a needle tool. Space the lines to suggest large ice blocks rather than small bricks. Fewer, larger block divisions look more like ice than many small ones.
Build a small low tunnel entrance extending forward from the base of the dome — the characteristic igloo entryway. The tunnel should be just large enough for a small arched opening.
Add crystal-look decorations around the base from translucent clay pieces or clear acrylic crystal beads pressed into a clay base.
Bake. Paint in pure white with very diluted blue paint washed across the block lines to suggest icy shadows in the crevices.
Budget Tip
White clay is the most widely available and affordable clay color. The entire igloo uses only white and a small amount of blue paint. This house works beautifully as part of a winter indoor fairy display with small LED tealights, white pebbles, and clear crystal decorations.
13. Pumpkin Fairy House
A pumpkin fairy house suits Halloween displays, autumn gardens, and any miniature scene with a seasonal, festive character.

Build a round body with vertical rib lines pressed from top to bottom all the way around — these ribs are the defining feature of a pumpkin form. Press the ribs deeply enough to create visible ridges on the rounded body.
The ribs should narrow at the top and base just as a real pumpkin’s ribs do — slightly pinching inward at each end of the vegetable form.
Add a triangular eye and a jagged-toothed smile carved into the front face with a craft knife — the classic jack-o-lantern expression.
Build a green clay stem extending upward from the top. Curl the stem slightly for a natural, organic look.
Add a small arched door at the base — the fairy’s entrance sits just beneath the pumpkin’s grin.
Decorate the base with small clay bats, moons, and stars for a Halloween-themed display.
Bake. Paint in vivid orange with darker orange dry-brushed into the rib lines for depth.
Budget Tip
Orange clay is standard in most packs. The pumpkin form is relatively quick to build once the rib technique is understood. This design is a strong seasonal seller at autumn craft markets and suits children’s fairy garden projects particularly well.
14. Fairy Library House
A fairy library house is a charming indoor miniature garden piece for book lovers — the idea of a tiny fairy library tucked into a shelf display is irresistible to readers.
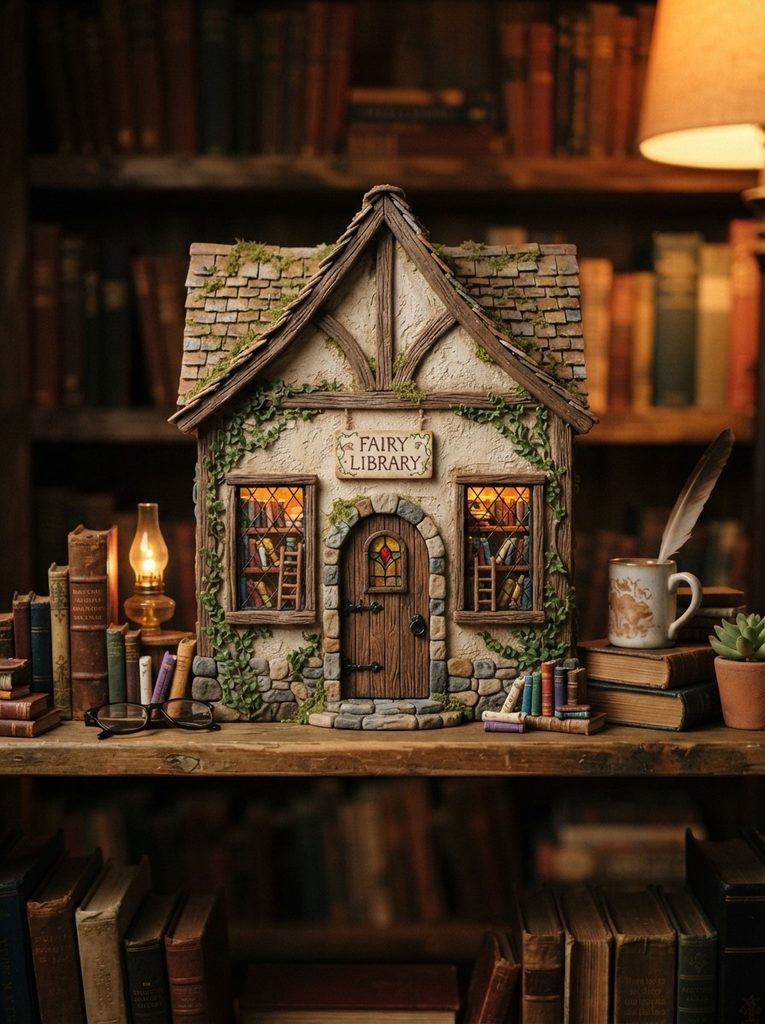
Build a flat-fronted rectangular structure — more like a small building facade than a rounded fairy house. This flatter, more architectural form suits the library concept.
Add a stepped gable roofline rather than a curved or conical roof. The angular gable gives the building a serious, institutional quality that reads clearly as a library even at miniature scale.
Make the windows wide and rectangular — library windows are typically larger than cottage windows to let in reading light. Press tiny clay book shapes visible on shelves behind the window openings.
Add a small arched door at the center of the facade. Make a tiny clay sign above the door — a flat rectangular clay strip — and press letter-like markings along it with a needle tool.
Build shallow steps leading up to the door from three graduated clay rectangles.
Bake. Paint in warm brick red or cream stone tones.
Budget Tip
The fairy library is flat-fronted and relatively simple in three-dimensional form — it uses less clay than fully rounded fairy houses. The visual complexity comes from surface details — windows, books, steps, and the sign — rather than sculptural form. This design suits indoor shelf displays far more than outdoor garden settings.
Conclusion
Clay fairy houses bring something genuinely special to any miniature garden — a handmade quality that makes a small outdoor space or indoor display feel like it was built with care and imagination rather than pulled from a shelf. The 14 designs in this guide cover a wide range of styles, themes, and difficulty levels — from the beginner-friendly mushroom cap house to the detailed fairy library and wizard tower. Start with the design that fits your garden style and skill level, make it your own with color choices and small personal details, and place it somewhere you will see it every day. Each fairy house you make gets faster and better as you develop the techniques. A single fairy house starts a garden. A collection builds a world. Pick up your clay, find a corner of your garden or a shelf in your home, and start building something magical today.