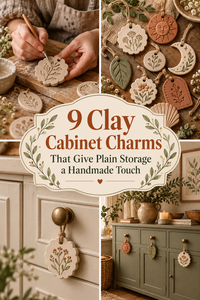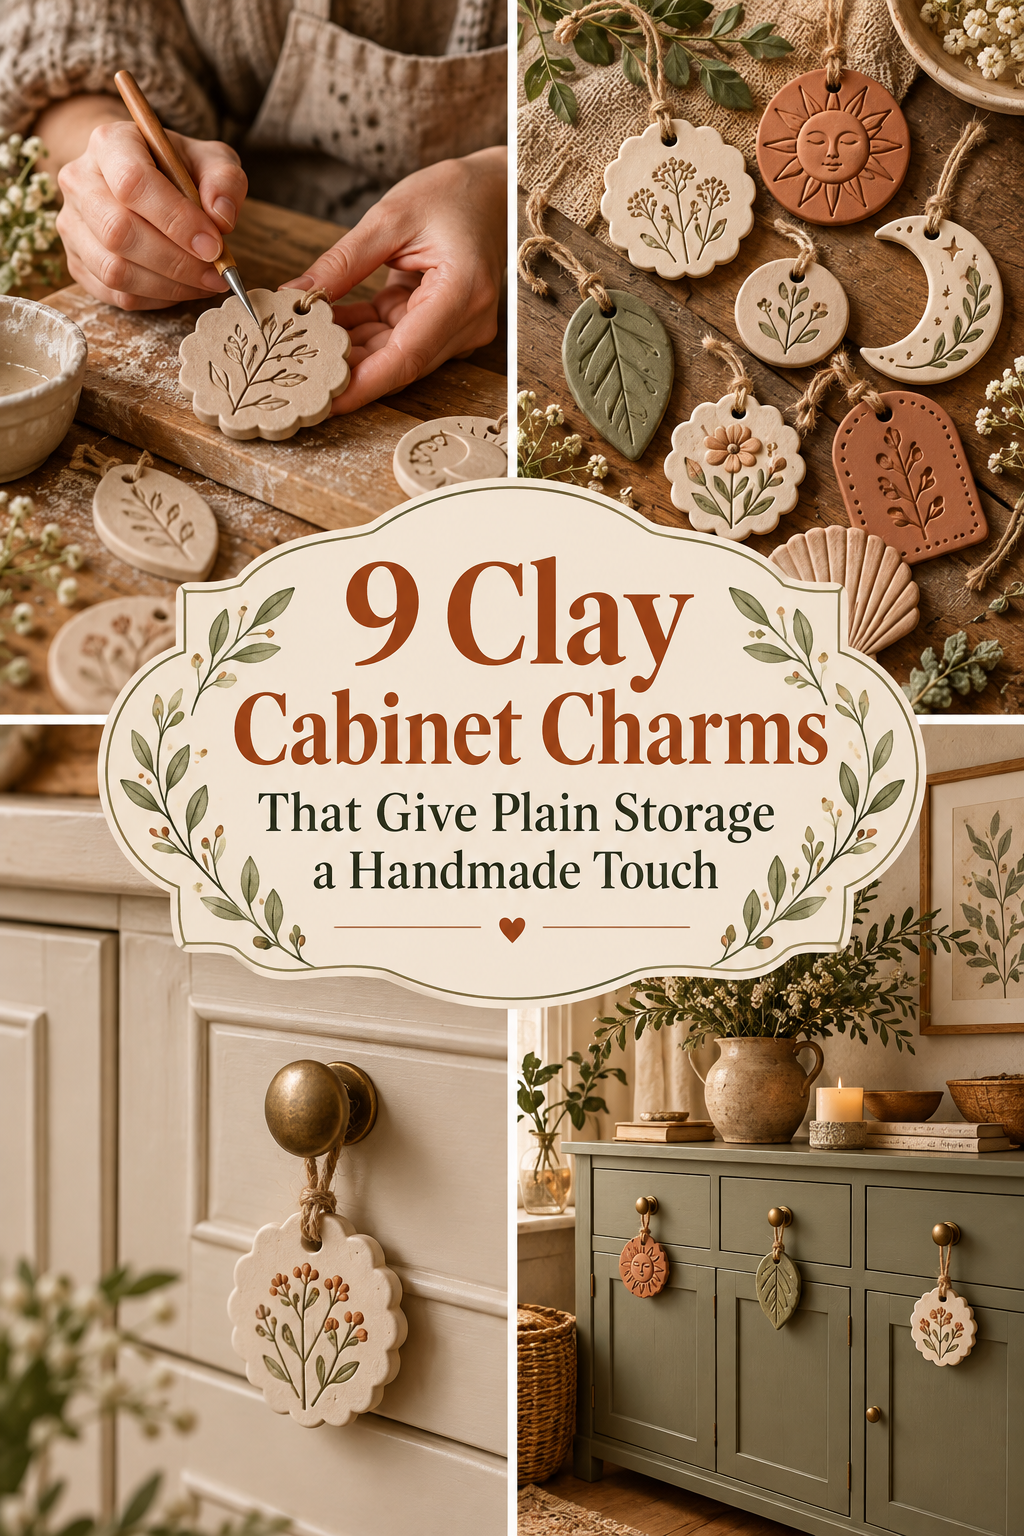
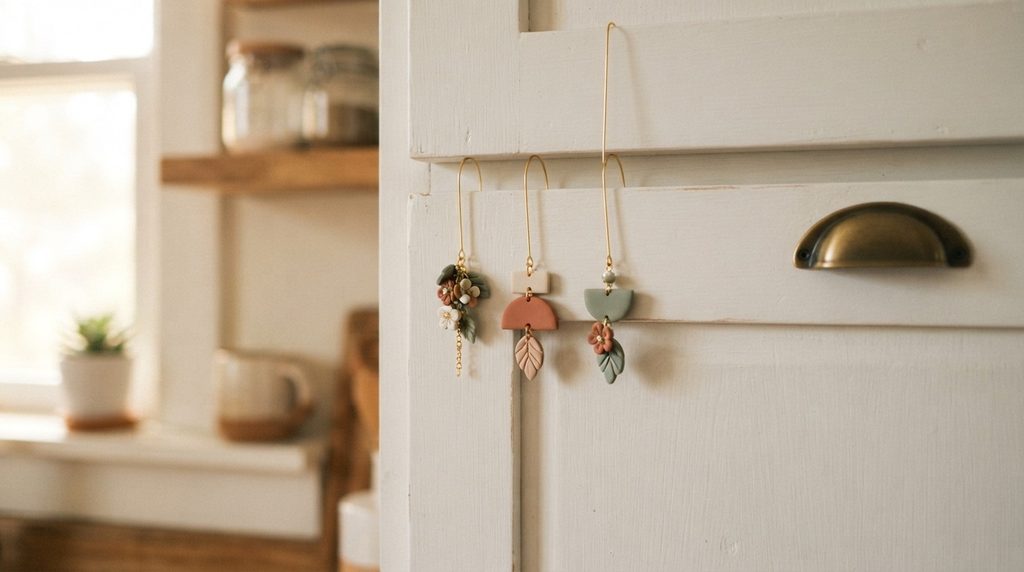
Plain cabinet doors and drawer fronts are easy to overlook — but they make up a large portion of what you actually see every day in your kitchen, bathroom, and bedroom. Adding a handmade clay charm to a cabinet handle or knob is one of the simplest ways to bring personality into a space without repainting, renovating, or spending much money at all. Clay cabinet charms hang from existing hardware, sit beside handles, or replace plain knobs entirely. They are small, affordable, and completely customizable to suit any home style — from cottagecore kitchens to modern minimalist bathrooms. This guide covers 9 creative clay cabinet charm designs that are practical to make and genuinely beautiful to live with every day.
1. Simple Five-Petal Flower Charm
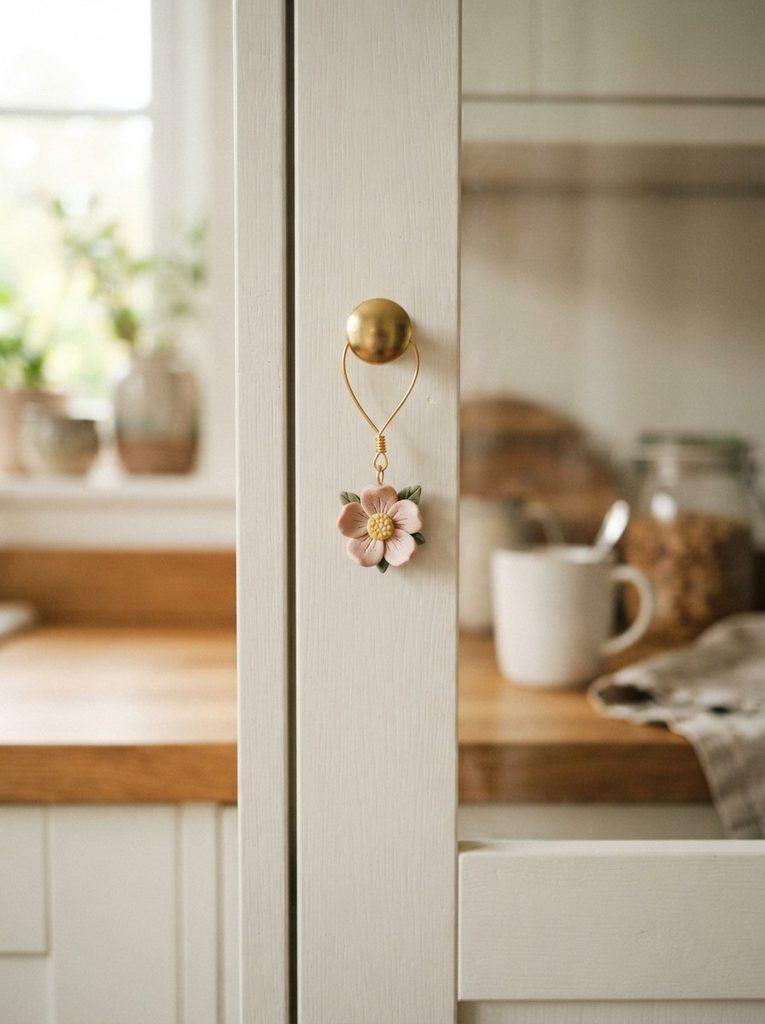
A small clay flower hanging from a cabinet knob is the most approachable charm design you can make — and one of the most effective at transforming a plain door.
Roll a small ball of blush pink or white clay. Flatten it into a disc. Use a needle tool or the flat end of a pen cap to press five evenly spaced petal indentations around the edge of the disc, creating a flower shape.
Press a small yellow clay ball into the center and flatten it slightly. Add texture to the center with a ball stylus — pressing small dimples across the surface mimics a real flower’s seed center.
Press a small wire loop into the top of the flower before baking. This loop is what connects the charm to the cabinet hardware once finished. Use thin gold or silver craft wire bent into a small teardrop loop.
Bake according to your clay instructions. Once cooled, seal with a matte or satin varnish.
Hang from an existing cabinet knob using a small jump ring.
Budget Tip
Blush and white clay are standard in most starter packs. A pack of gold jump rings and a spool of thin craft wire cost very little and are reusable across many charm projects. One packet of clay makes dozens of flower charms.
2. Layered Leaf Cluster Charm
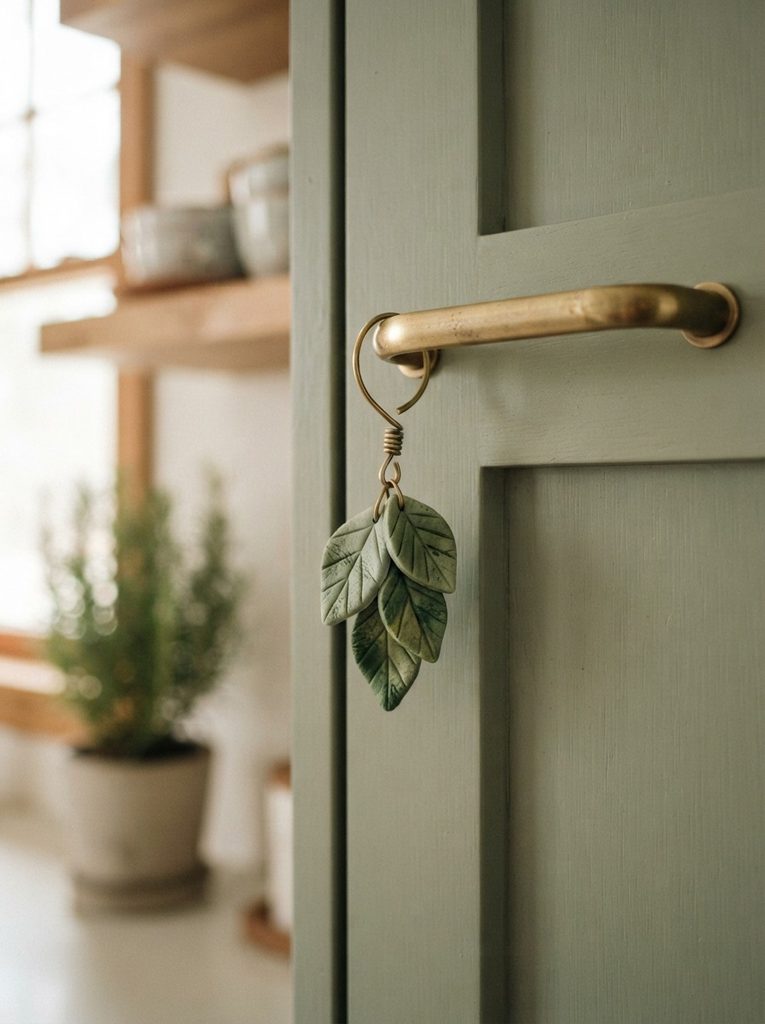
A leaf cluster charm suits any home style that leans into natural, botanical, or earthy aesthetics.
Make three small leaf shapes from sage green or olive clay. Press each leaf against a real small leaf from your garden to transfer the natural vein texture directly onto the clay surface.
Layer the three leaves in a loose cluster — one pointing upward, one to each side. Press them together at the base while still unbaked so they fuse into a single piece during baking.
Vary the green shades across the three leaves for a natural, realistic look. Use olive green for the bottom leaf, sage for the middle, and a slightly lighter green for the top leaf. The tonal variation adds depth to a very simple design.
Press a wire loop into the base of the cluster before baking. Bake flat on a ceramic tile.
Once cooled, brush a very light coat of green mica powder across the leaf surfaces to add a subtle natural sheen.
Hang from a cabinet handle or knob using a jump ring.
Budget Tip
Leaf textures from garden plants are completely free. Different plant leaves — herbs, succulents, ferns — all create different vein patterns. One design technique produces infinite variety depending on which leaf you use. This makes leaf cluster charms extremely efficient to make in varied batches.
3. Cottagecore Mushroom Charm
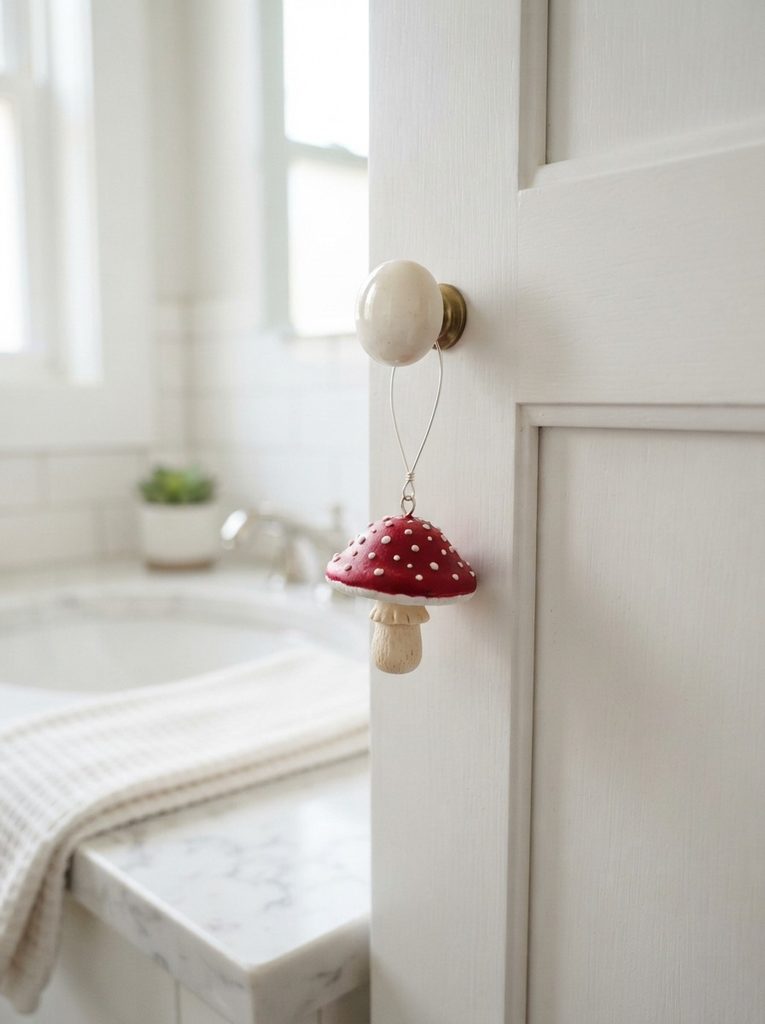
Mushroom charms have a loyal following in the cottagecore and botanical interior design communities — and they look wonderful on bathroom and kitchen cabinets.
Roll a short white clay cylinder for the stem. Make it slightly wider at the base than the top.
Shape a red clay dome for the cap. Press the dome gently over the top of the stem so the cap overhangs the stem slightly on all sides — this natural overhang is what makes it look like a real mushroom.
Add tiny white raised dots to the cap by pressing small white clay balls onto the surface and flattening them very slightly. These raised spots look more dimensional than painted dots.
The cap-to-stem proportion is everything. A cap that is too small looks like an acorn. The cap should be at least twice the width of the stem at its widest point.
Press a wire loop into the top of the cap before baking.
Bake. Seal with satin varnish.
Budget Tip
Red and white clay are among the most common colors in any starter pack. Mushroom charms are small and use minimal material — each one uses barely a tablespoon of combined clay. Make a set of three in different cap colors — red, tan, and cream — for a varied woodland-themed cabinet display.
4. Pearl Crescent Moon Charm
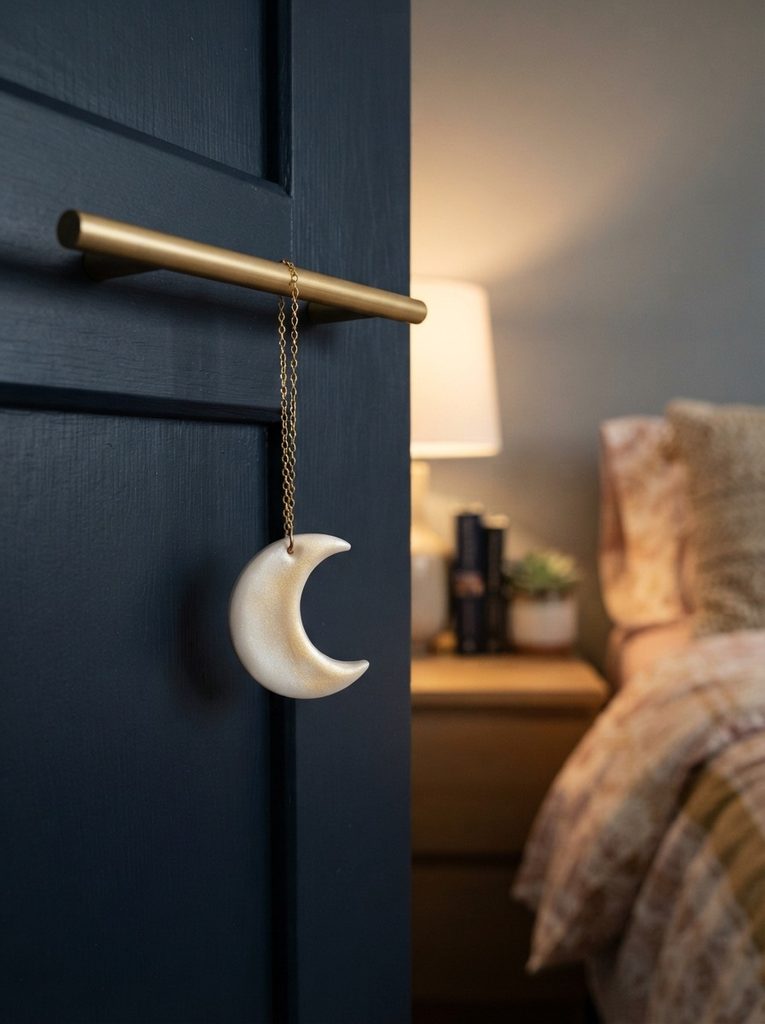
A pearl crescent moon charm is clean, minimal, and works in almost any interior style — from a child’s bedroom cabinet to an adult’s bathroom vanity.
Roll a circle of pearl white clay. Use a slightly smaller circle cutter to cut a partial overlap, removing a crescent section. The remaining piece is a clean, geometric crescent moon shape.
Smooth all edges carefully with a fingertip. The quality of a crescent moon charm lies entirely in its smooth, even finish. Any rough edges or fingerprint marks are immediately visible on a simple geometric form.
Dust the entire surface with gold or pearl mica powder before baking. Apply with a soft flat brush, dusting lightly across the surface.
Press a wire loop into one pointed tip of the crescent before baking. Bake flat on a tile.
Once cooled, seal with a matte varnish to preserve the mica shimmer without making the surface look shiny or plasticky.
Hang from cabinet hardware using a fine gold chain or thin jump ring.
Budget Tip
Pearl white clay is standard and inexpensive. Pearl or gold mica powder costs very little and one small jar covers many dozens of charms. Crescent moon charms photograph beautifully for online listings and sell well at handmade markets due to their broad aesthetic appeal.
5. Honey Bee Charm
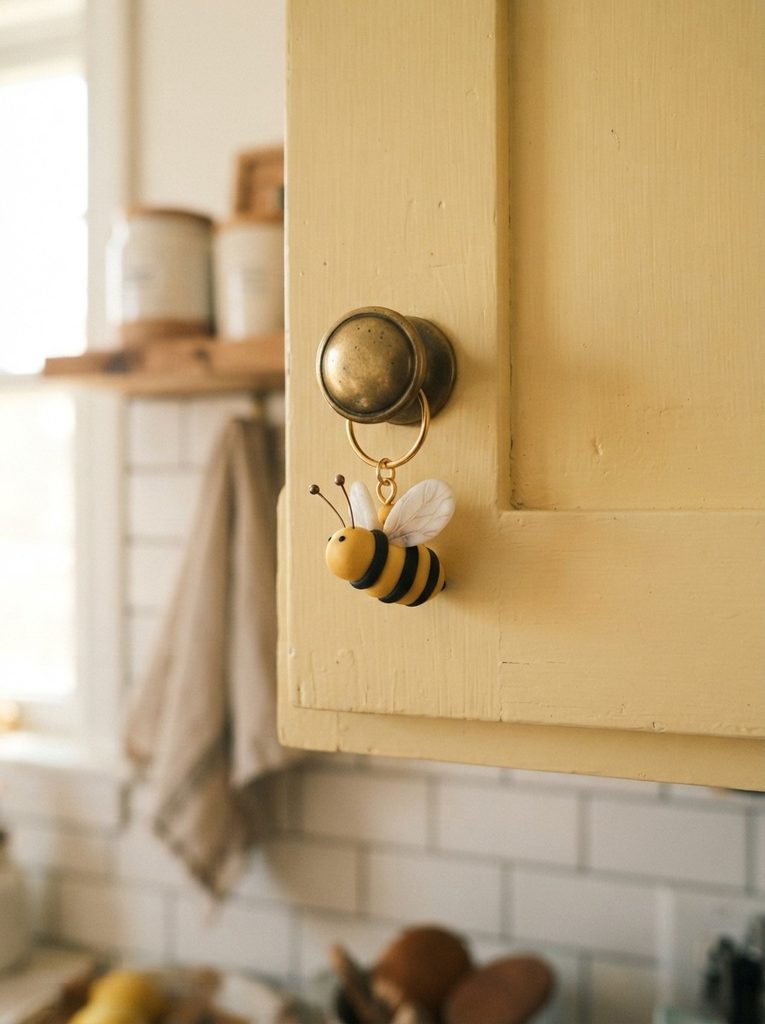
A honey bee charm is cheerful, nature-inspired, and suits kitchen cabinets especially well — where the connection between bees, flowers, and food feels natural and fitting.
Shape a small oval from yellow clay for the bee body. Press thin strips of black clay across the body at even intervals to create the characteristic stripe pattern. Smooth the edges of each stripe slightly so they look integrated rather than stuck on.
Make two small teardrop-shaped wings from white or translucent clay. Keep them thin — under 2mm — so they look delicate. Press fine vein lines across each wing with a needle tool.
Attach the wings to the back of the body so they spread outward from each side of the upper oval. Press firmly before baking so they fuse completely.
Roll two very thin black clay antennae and press them into the head end of the oval. Add small ball tips to each antenna.
Press a wire loop into the top of the body. Bake. Seal with gloss varnish for a polished finish.
Budget Tip
Yellow and black clay are standard across all starter packs. Honey bee charms are quick to make once you have the stripe technique down. They pair naturally with flower charms — make a set of bees and flowers together for a matching cabinet collection that works across multiple doors.
6. Mini Cactus Charm
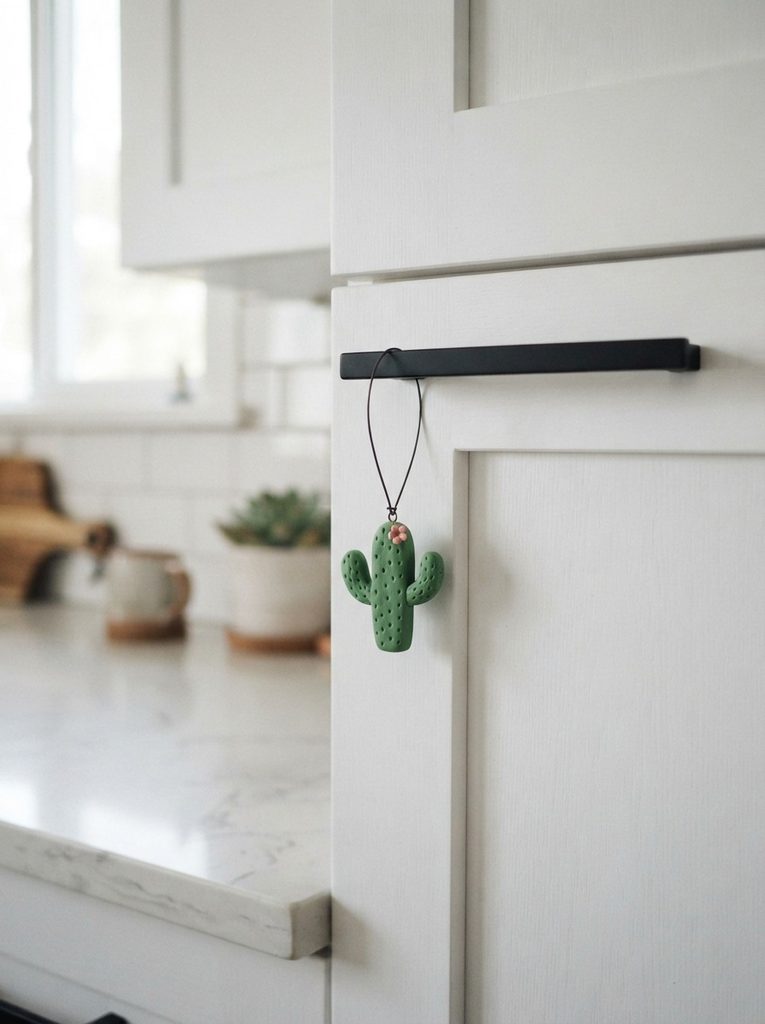
A cactus charm suits modern, desert-inspired, and plant-lover home aesthetics — and it looks particularly good on kitchen and office cabinet hardware.
Roll a green clay cylinder for the main cactus body. Keep it slightly tapered — a little wider at the base than the top gives it a natural plant-like form.
Add two smaller arm shapes pressed into the sides of the main body. One arm can point upward, one slightly outward — cacti are rarely symmetrical.
Use a needle tool to press tiny dot marks all over the body and arms. Space the dots in slight diagonal rows to suggest the natural spine arrangement of a real cactus. This small detail makes the charm look carefully observed rather than generic.
Add a tiny pink or yellow clay flower at the very top of the main body — a flat five-petal shape pressed on before baking.
Press a wire loop into the top of the cactus. Bake. Seal with a matte varnish.
Budget Tip
Green clay is widely available in every standard starter pack. Mix yellow and blue to create a natural medium green if needed. Cactus charms are quick to make in batches and appeal strongly to plant lovers — one of the most active buyer communities in the handmade goods market.
7. Terrazzo Pattern Charm
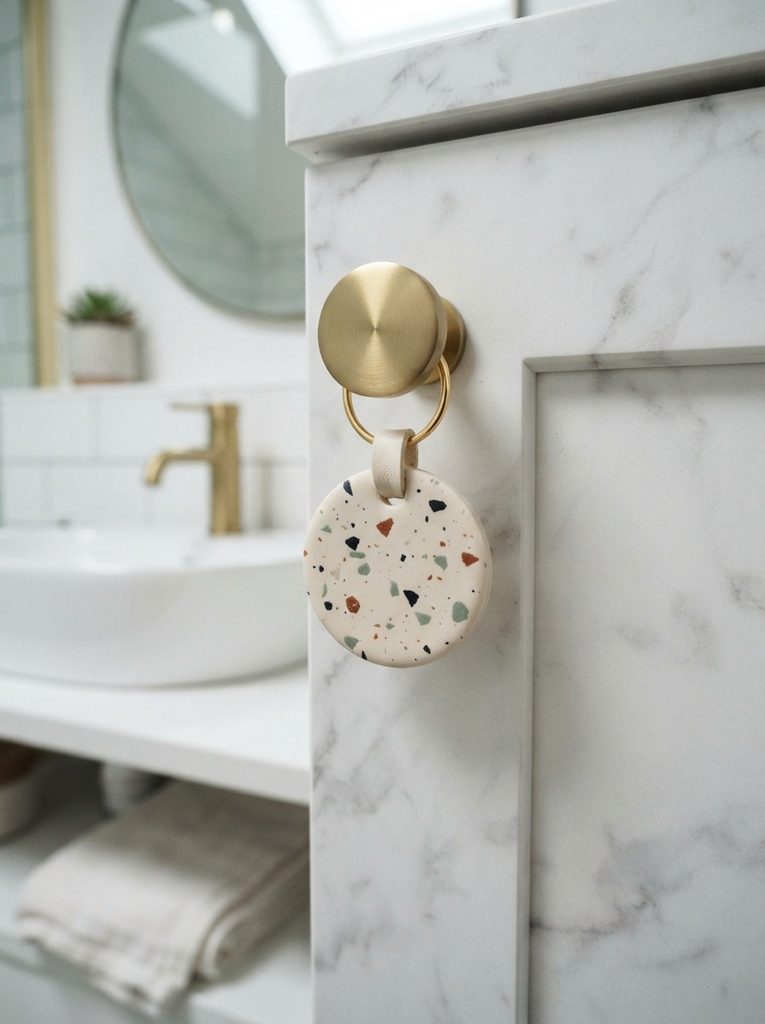
Terrazzo-pattern charms look design-forward and modern — they suit contemporary kitchens, bathrooms, and any interior with clean lines and neutral tones.
Start with a white or cream clay base. Roll it into a small disc about 5mm thick.
Roll very thin logs of contrasting clay colors — black, rust, sage green, and dusty pink. Cut these logs into tiny random fragments using a craft knife. These fragments are your terrazzo flecks.
Press the fragments randomly across the cream disc surface, spacing them unevenly. Roll lightly with a smooth roller or flat tool to press the flecks flush with the disc surface.
The randomness is the whole point. Avoid making any pattern or even spacing — real terrazzo is deliberately irregular and the handmade version should match that quality.
Cut the disc into a clean circle using a round cutter. Press a wire loop into the top. Bake flat.
Sand lightly after baking with fine sandpaper for a smooth, polished surface. Seal with matte varnish.
Budget Tip
Terrazzo charms are a perfect use for clay scrap fragments from other projects. Any combination of contrasting colors works — there is no wrong combination with terrazzo. The technique turns leftover clay that would otherwise be wasted into a finished, saleable product.
8. Monogram Initial Letter Charm
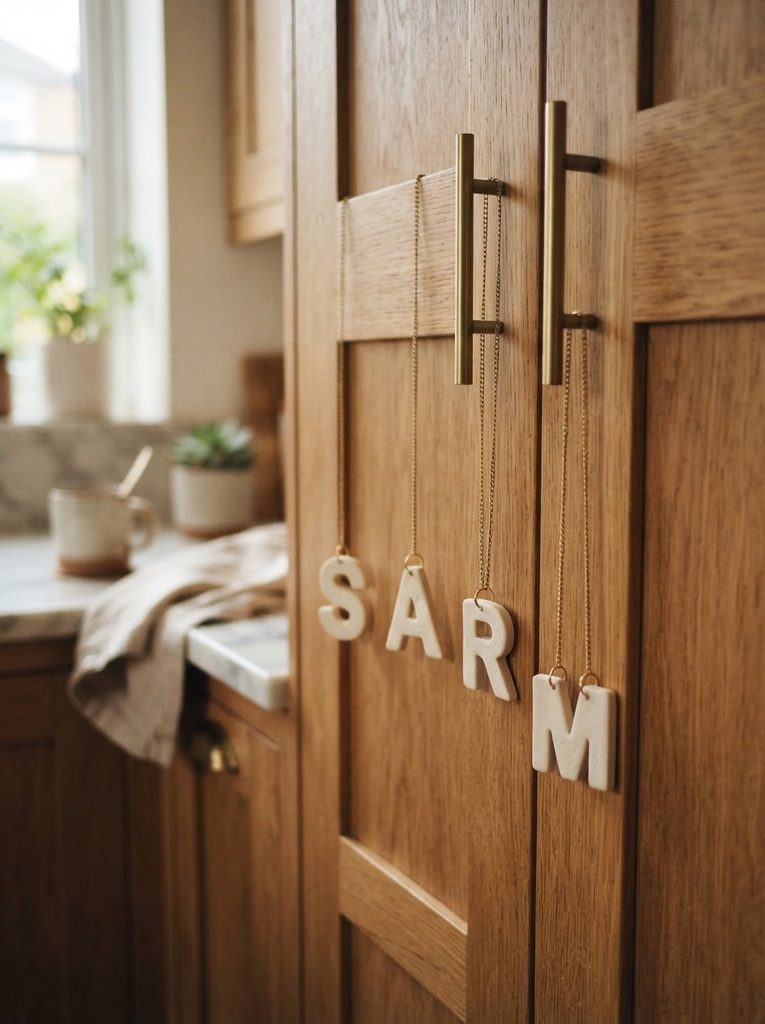
A personalized initial letter charm turns a plain cabinet into something that belongs specifically to the person who lives there.
Roll a flat slab of cream, white, or gold clay. Press a letter stamp firmly into the surface to create a deep, clean letter impression.
Cut around the letter impression in a small rectangle or oval — just large enough to frame the letter with a small border on all sides.
The letter impression needs to be deep enough to remain clear after sealing. Press the stamp firmly and check the impression before baking. A shallow impression can be lost under a coat of varnish.
Smooth all edges. Press a wire loop into the top center of the charm.
Bake. Once cooled, brush a slightly darker paint wash over the surface — diluted brown or gray acrylic — and immediately wipe it back with a dry cloth. The darker tone settles into the letter impression, making it stand out clearly against the lighter background.
Seal with matte varnish.
Budget Tip
Letter stamp sets are inexpensive one-time purchases that are reusable across many projects. A single set of alphabet stamps covers every initial and personalization project you will ever make. These charms are among the highest-converting products in handmade shops because buyers immediately understand the personal value of their own initial on their own cabinet.
9. Sun Face Charm
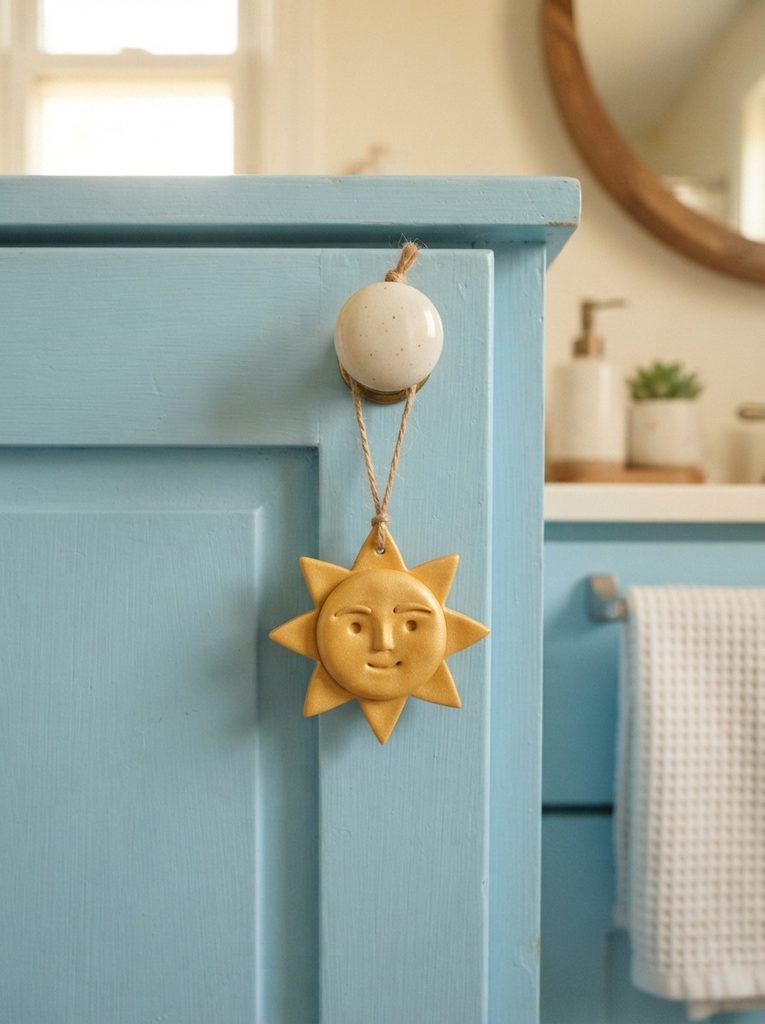
A sun face charm is warm, expressive, and works in bedrooms, bathrooms, and any space that benefits from a little cheerfulness on the furniture.
Roll a round disc of golden yellow clay. Add eight flat pointed ray shapes pressed around the edge of the disc — four at the compass points and four between them. Press each ray firmly so it integrates with the disc edge rather than looking glued on.
Add a simple face to the disc center. Two small almond-shaped eyes pressed with a needle tool. A small curved smile. Keep the face minimal and slightly abstract — a sun face at this small scale reads best with simple, bold features rather than detailed ones.
Press a wire loop into the top ray before baking. Dust the entire surface with gold mica powder using a soft brush for a warm metallic finish.
Bake. Seal with matte varnish to preserve the mica effect without adding plastic shine.
Hang from cabinet hardware using a jump ring or fine chain.
Budget Tip
Golden yellow clay is available in virtually every standard polymer clay pack. Gold mica powder is inexpensive and transforms a simple yellow disc into something that looks genuinely metallic. Sun face charms appeal to buyers who love celestial aesthetics, boho interiors, and warmth-themed home décor — a consistently large and active market.
Conclusion
Plain cabinet hardware does not have to stay plain. A small handmade clay charm costs almost nothing to make, takes under an hour from shaping to baking, and changes the entire character of a piece of furniture. The 9 designs in this guide cover a wide range of styles — botanical, modern, celestial, personalized, and playful — so there is a design that suits almost any home and any taste. Start with the design that fits your space and skill level best. Make one charm, hang it, and see how much difference that single small handmade detail makes on a door or drawer you pass every single day. Once you see the impact, making more becomes an easy decision. Pick up a small clay pack, pull out your craft wire, and start making your cabinets look like they were designed for exactly the person who lives with them.