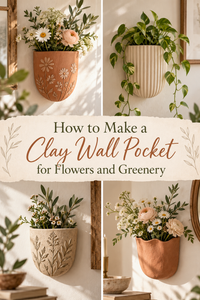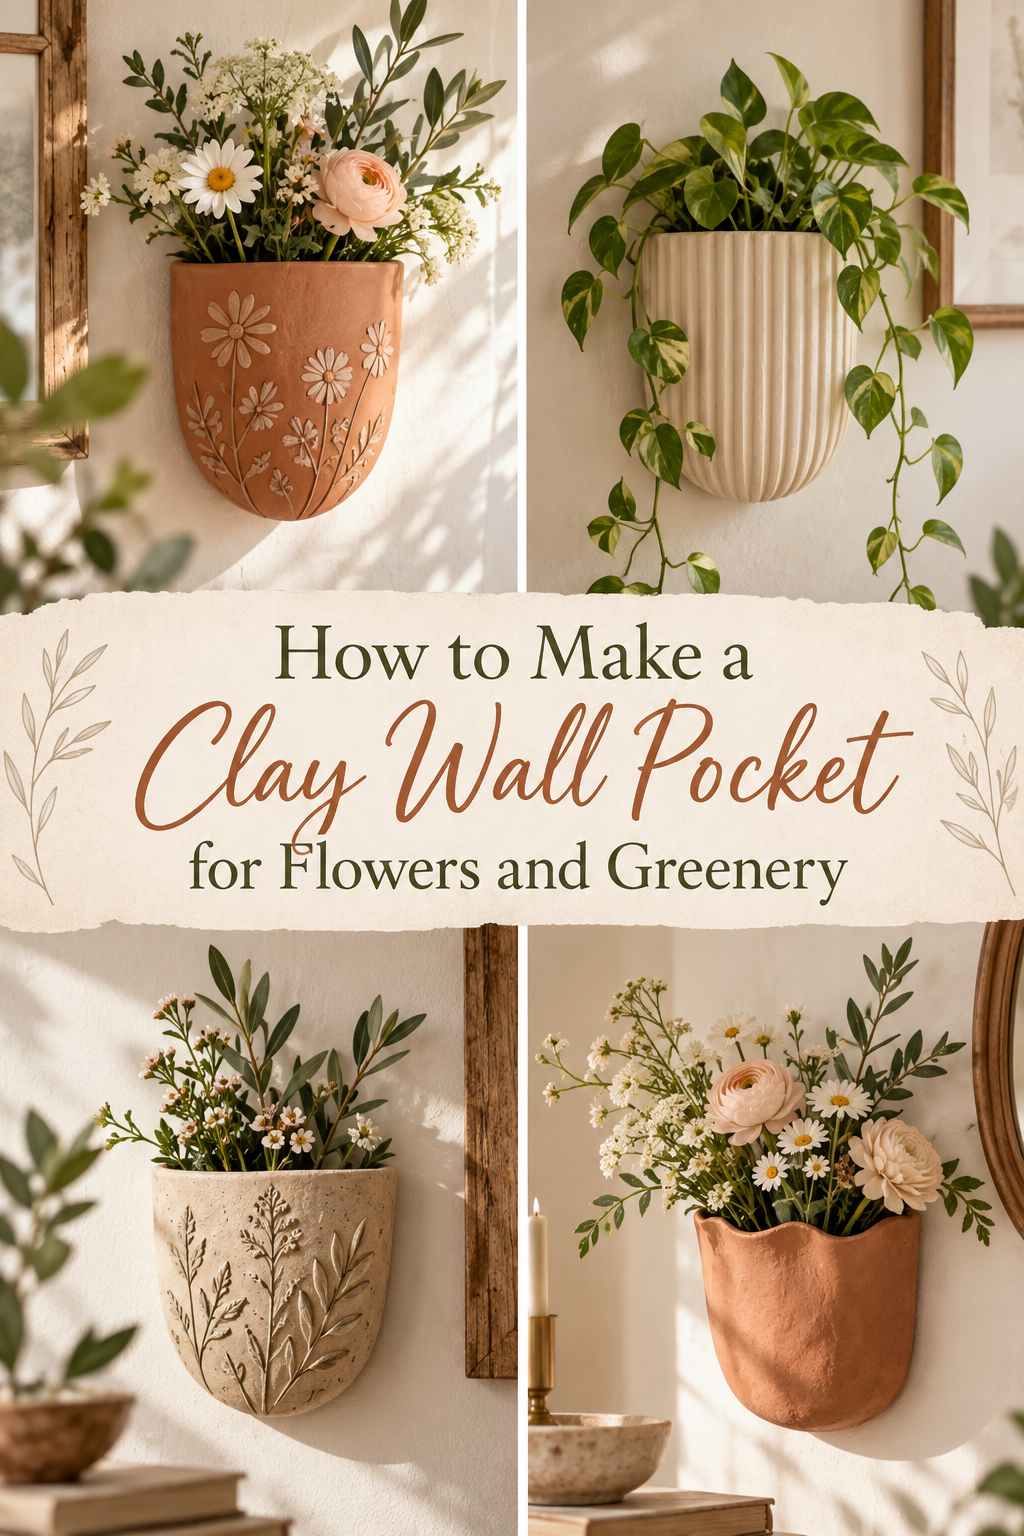
Flat walls are a missed opportunity. While everyone else is hunting for the perfect framed print or trying to make gallery walls work for the fourteenth time, you could have something entirely different — a small handmade clay pocket mounted directly on your wall, holding a single stem of eucalyptus, a sprig of dried lavender, or a tiny fresh flower that you swap out whenever the mood strikes.
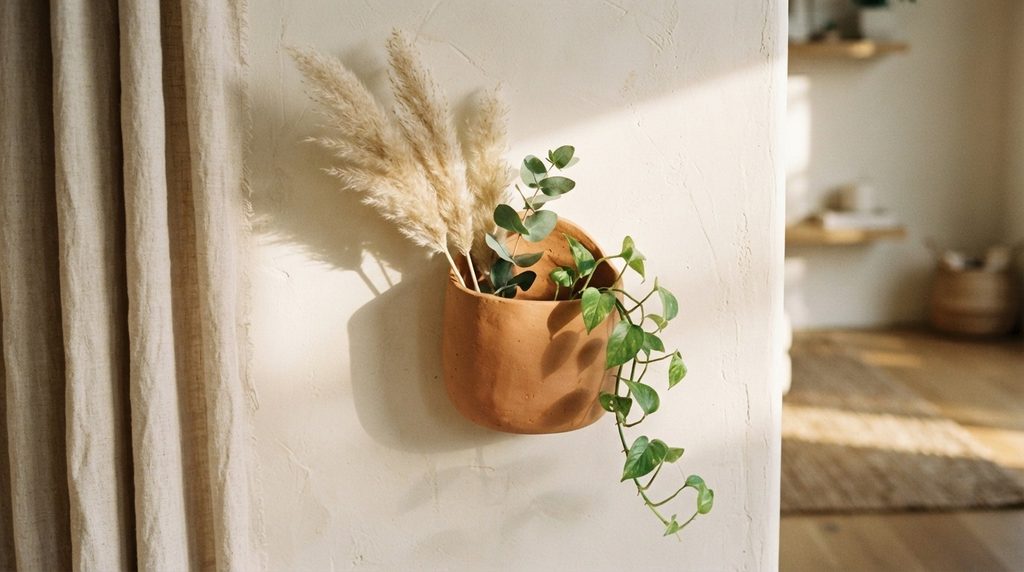
It’s the kind of wall feature that looks like it belongs in an artisan ceramics shop — but costs almost nothing and takes a single afternoon to make. A clay wall pocket is functional wall art in the most literal sense: beautiful to look at, genuinely useful, and completely, irreplaceably handmade.
Let’s build one.
What You’ll Need
Everything here is craft-store accessible and budget-friendly. A completed wall pocket costs a fraction of what you’d pay for a comparable piece online.
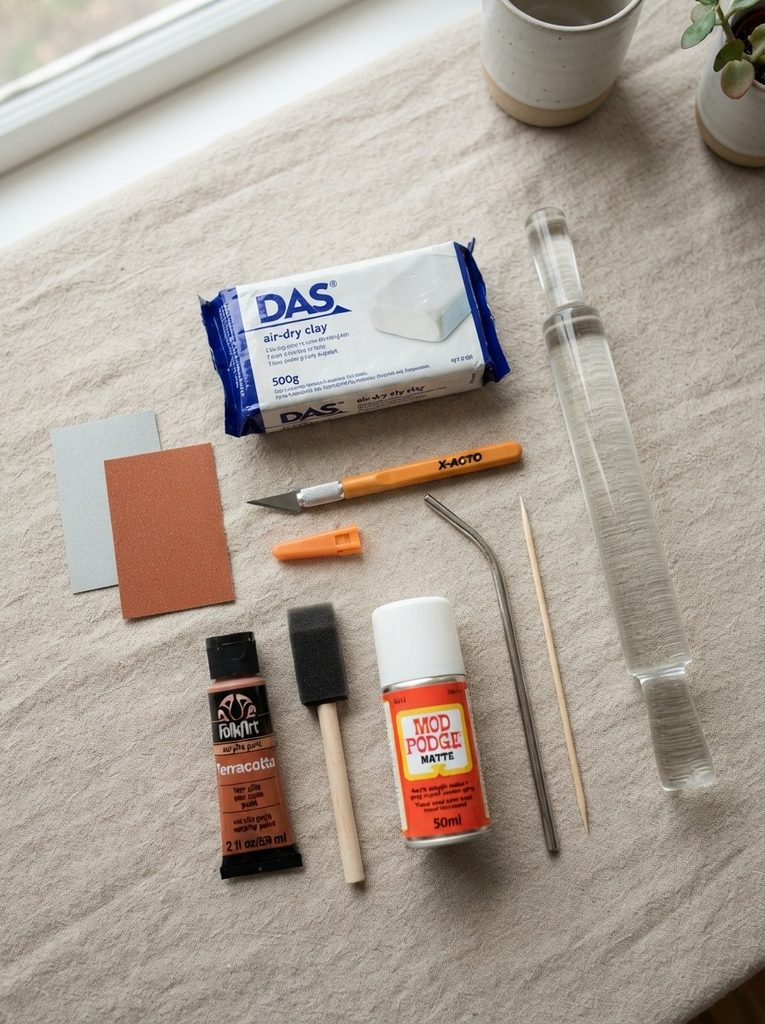
- Air-dry clay — a 500g block is enough for one generous pocket; go to 1kg if you want a larger or more sculptural piece
- A rolling pin or smooth glass bottle
- A sharp craft knife or clay blade
- Sandpaper — medium grit (120) for shaping, fine grit (220) for finishing
- Strong craft glue or epoxy (for the final wall mount if not using a hanging hole)
- A toothpick or skewer for texture work and scoring
- A drinking straw for punching a clean hanging hole
- Acrylic paint in your chosen finish
- Matte sealant spray — two coats minimum, especially if your pocket will hold water tubes for fresh flowers
- A small plastic water vial or test tube (optional, for fresh stems without soaking the clay)
Choosing Your Wall Pocket Shape
The shape you choose determines everything — the building method, the flowers it can hold, and the visual impression it makes on your wall. Spend five minutes here before touching the clay.
The most beautiful and buildable options:
- The classic cone or horn — a tapered tube that widens at the top. Holds stems upright naturally. Timeless and architectural.
- The half-moon pocket — a flat backing with a curved front wall that creates a shallow pouch. Elegant and very wall-friendly since it sits close to the surface.
- The organic vessel — a freeform, slightly irregular open-top pocket that looks deliberately imperfect. Beautiful for dried botanicals and pampas grass.
- The flat envelope — two slabs joined at the sides and bottom, open at the top like a letter envelope. Minimal, modern, and surprisingly striking.
- The arched wall vase — a tall, slender pocket with an arched top, like a tiny Gothic window. Dramatic and graphic against a plain wall.
Consider your wall space, your décor style, and what you plan to put in it. A single dramatic dried stem needs a different pocket than a loose bunch of wildflowers.
Building the Pocket
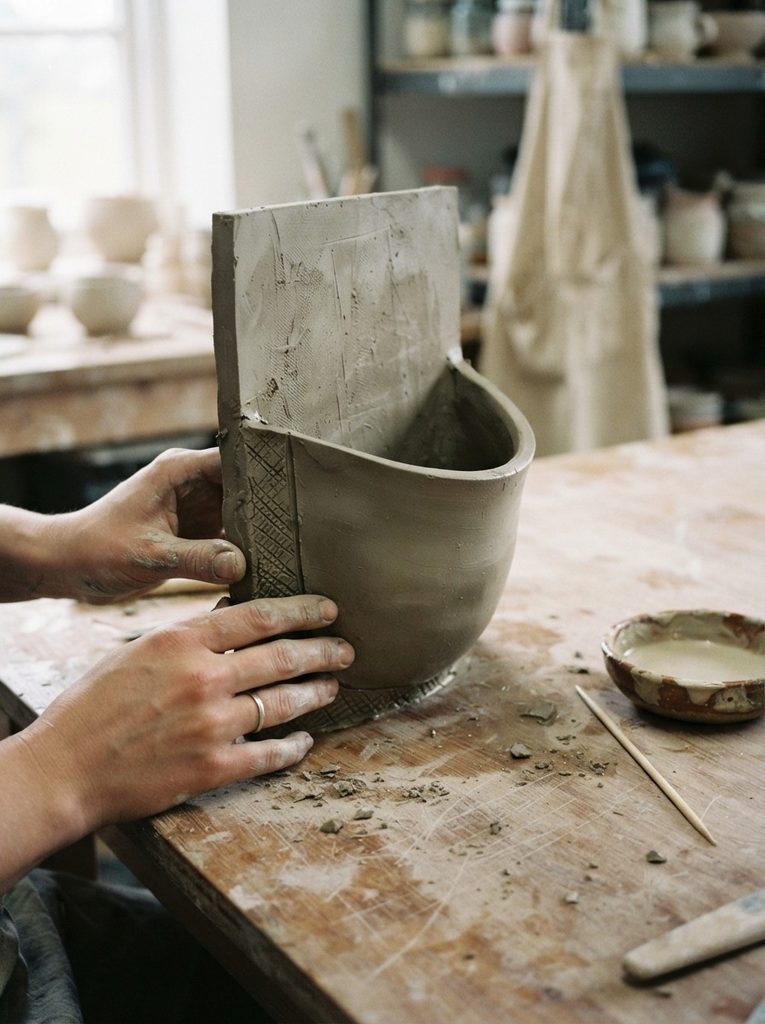
Here’s the construction method that works for most pocket shapes — adaptable depending on your chosen form.
- Condition your clay — knead for two full minutes until completely smooth and pliable with no surface cracks.
- Roll two slabs: one for your backing plate (the flat piece that sits against the wall) and one for your front pocket wall. Both should be 6–8mm thick — substantial enough to be structurally sound when mounted.
- Cut your backing plate first — this is your foundation. An oval, rectangle, or arch shape, roughly 15–20cm tall depending on your ambition.
- Shape your front wall — cut a piece that will form the pocket when attached to the lower half of the backing plate. For a simple half-moon pocket, this is a curved strip about 8–10cm tall.
- Score and slip every join aggressively — scratch crosshatch marks on both surfaces with your skewer, apply slip (clay mixed with water to a paste), press firmly together, and smooth the interior seam with a damp finger until it disappears.
- Reinforce interior corners by pressing a thin coil of clay into each join angle and smoothing it flat. This is the step that prevents cracking at stress points during drying.
- Punch your hanging hole using a drinking straw near the top of the backing plate — two holes side by side works better than one for weight distribution when mounted.
Texturing and Decorating the Surface
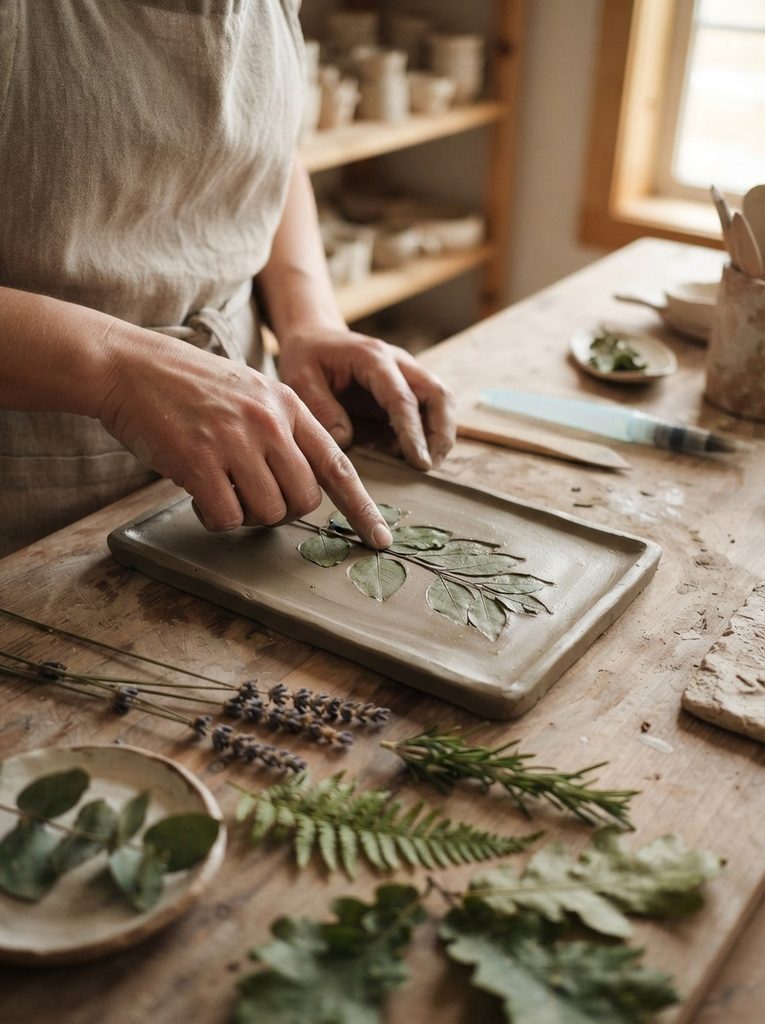
This is where your wall pocket earns its place as wall art rather than just a wall holder.
Work the surface while the clay is still soft — you have a window of about 30–40 minutes after shaping before it firms too much for clean impressions.
Texture options:
- Botanical press — lay real leaves, herb sprigs, or flower heads face-down against the backing plate and roll lightly over them. Peel away to reveal a nature-print impression that frames your greenery perfectly.
- Toothpick line work — draw radiating lines, geometric patterns, or simple flowing curves across the face of the pocket
- Lace or fabric press — drape a small piece of lace against the wet clay and roll over it gently for an all-over textile impression
- Smooth and architectural — sometimes leaving the surface completely untouched is the most considered choice, especially for a modern interior
Once you’re satisfied, leave the pocket to dry completely flat on its back for 24 hours, then prop it upright for the remaining drying time — usually another 24–48 hours for a piece this substantial.
Sanding, Painting, and Sealing
Sand in two stages once bone dry:
- 120 grit first — smooth any rough joins, flatten the back of the backing plate so it sits flush against your wall, refine the rim of the pocket opening
- 220 grit to finish — the entire exterior until it feels considered and smooth
Wipe all dust away with a damp cloth and allow to dry before painting.
Finish options that work beautifully for wall pockets:
- Raw terracotta — warm, earthy, and looks incredible against white or warm grey walls
- Matte white — clean and gallery-like, lets the botanical texture do all the visual work
- Deep sage green — unexpected and lush, particularly stunning when holding dried white flowers
- Warm sand or dune tone — mix raw umber into white for a sophisticated neutral that works with everything
Apply two thin coats, dried fully between each. Then — and this matters particularly for this project — apply two full coats of matte sealant. If you ever plan to use a small water vial for fresh flowers inside the pocket, add a third coat to the interior for extra moisture protection.
On the Wall Where It Belongs
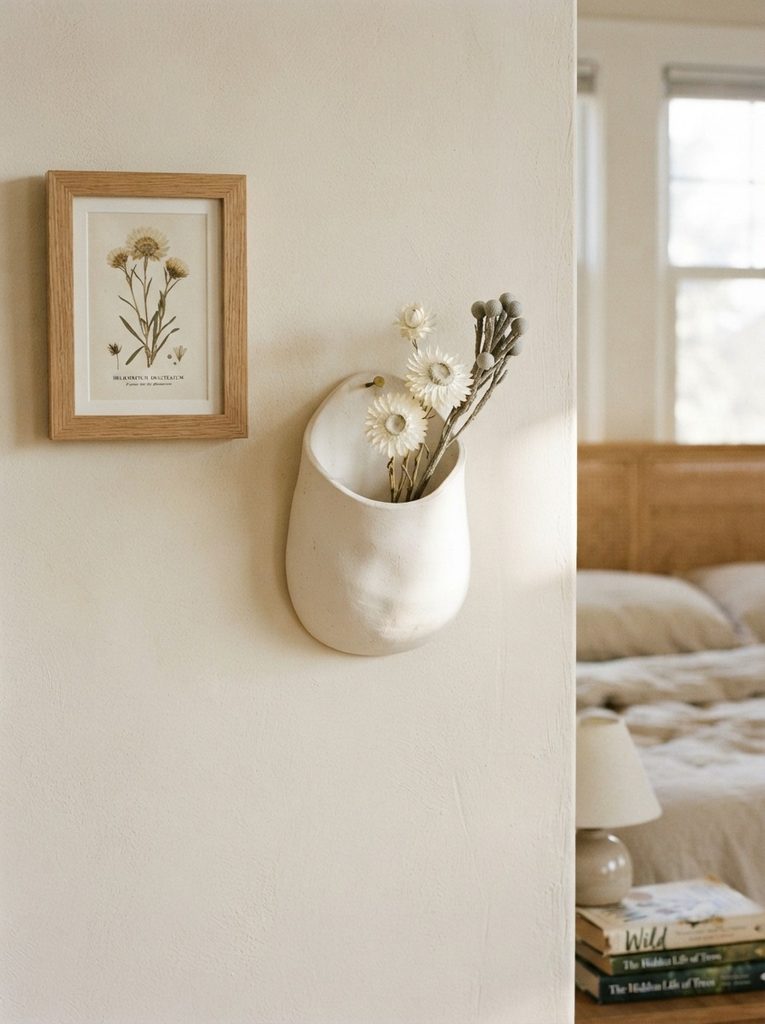
Thread a piece of jute cord or thin leather through the hanging holes, tie a knot at each end, and hang from a single nail. Or mount with a removable adhesive strip for rental-friendly installation.
Slide your stems in. Step back. That wall just became the most interesting surface in your home.
Save this project for your next slow creative afternoon — and make two while you’re at it. One for yourself, one wrapped in tissue paper as a gift for someone whose home deserves a little more beauty on its walls. Because every wall does.