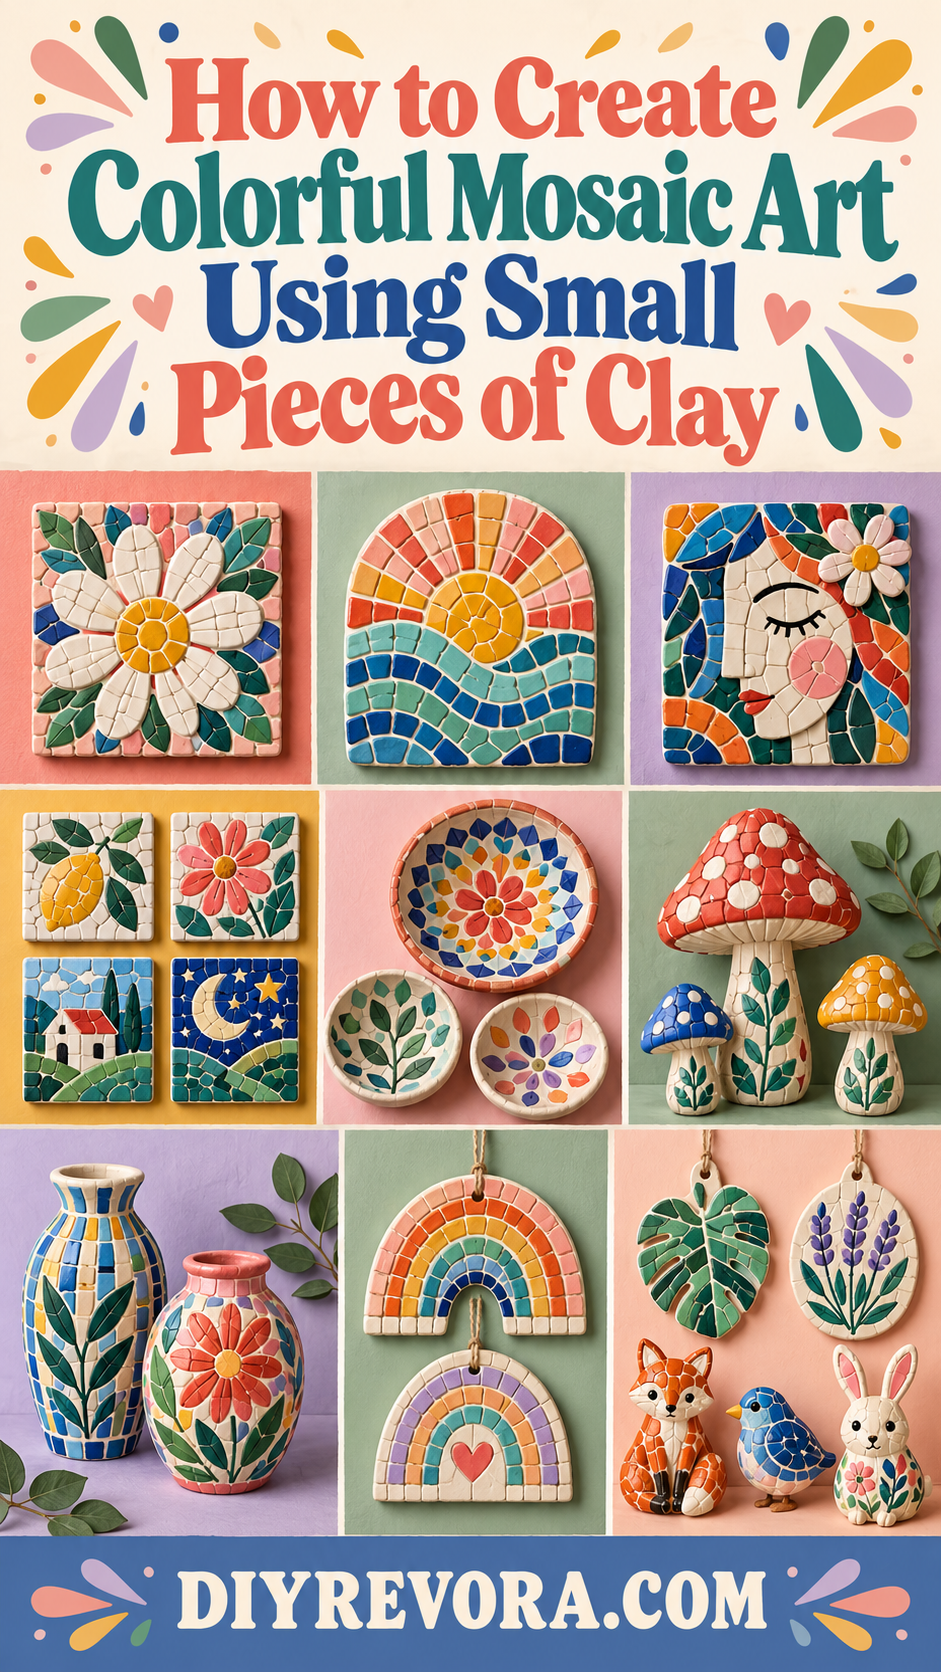
There’s something almost hypnotic about mosaic art — all those tiny individual pieces that mean nothing alone, coming together to create something rich, complex, and completely alive with colour. It’s the kind of wall art that makes people stop mid-conversation to look closer. And when those pieces are handmade from clay, painted in your own chosen palette, and arranged by your own hand? It becomes something genuinely irreplaceable.

The best part about clay mosaic art is that it removes the most intimidating part of traditional mosaic work — cutting glass or ceramic tiles. Your pieces are handmade, which means they’re exactly the size and shape you want them, and no two are identical. That irregularity isn’t a flaw. It’s the entire point.
What You’ll Need
This project has a slightly longer supply list than a single clay piece — but everything is affordable and most of it you may already have.
- Air-dry clay — two to three blocks in white, or coloured polymer clay if you prefer to skip painting
- Acrylic paints in your chosen mosaic palette
- A rolling pin or smooth bottle
- A sharp craft knife or clay blade
- A sturdy backing board — thick cardboard, a wooden panel, or an MDF board cut to size
- Strong craft glue or mosaic adhesive
- Grout — unsanded tile grout from a hardware store, or DIY grout made from white craft glue mixed with fine sand and white paint
- A palette knife or old credit card for spreading grout
- Matte sealant spray
- Sandpaper, fine grit (220)
- A pencil for sketching your design on the backing board

Choosing Your Design and Colour Palette
This decision shapes everything that follows — so give it ten minutes before you touch the clay.
For your design, think in bold and simple:
- A large abstract sun or moon — radiating shapes tile beautifully
- A single oversized botanical — a monstera leaf, a cactus, a simple flower
- A geometric pattern — diamonds, chevrons, concentric circles
- A landscape horizon — layers of sky, hills, and earth in graduating colour
- A completely abstract layout — organic shapes and curves with no fixed image
The golden rule of mosaic design for beginners: the simpler the outline, the more powerful the finished piece. Intricate small details get lost between grout lines. Big, bold shapes sing.
For your colour palette, choose three to five colours maximum:
- Mediterranean — cobalt blue, white, terracotta, and sandy cream
- Desert sunset — burnt orange, dusty pink, warm gold, and raw umber
- Botanical — sage green, forest green, cream, and terracotta
- Monochrome — three to four tones of the same colour from light to deep
Sketch your design lightly in pencil on your backing board before making a single clay piece. This is your map — refer to it constantly.
Making and Painting Your Clay Tiles
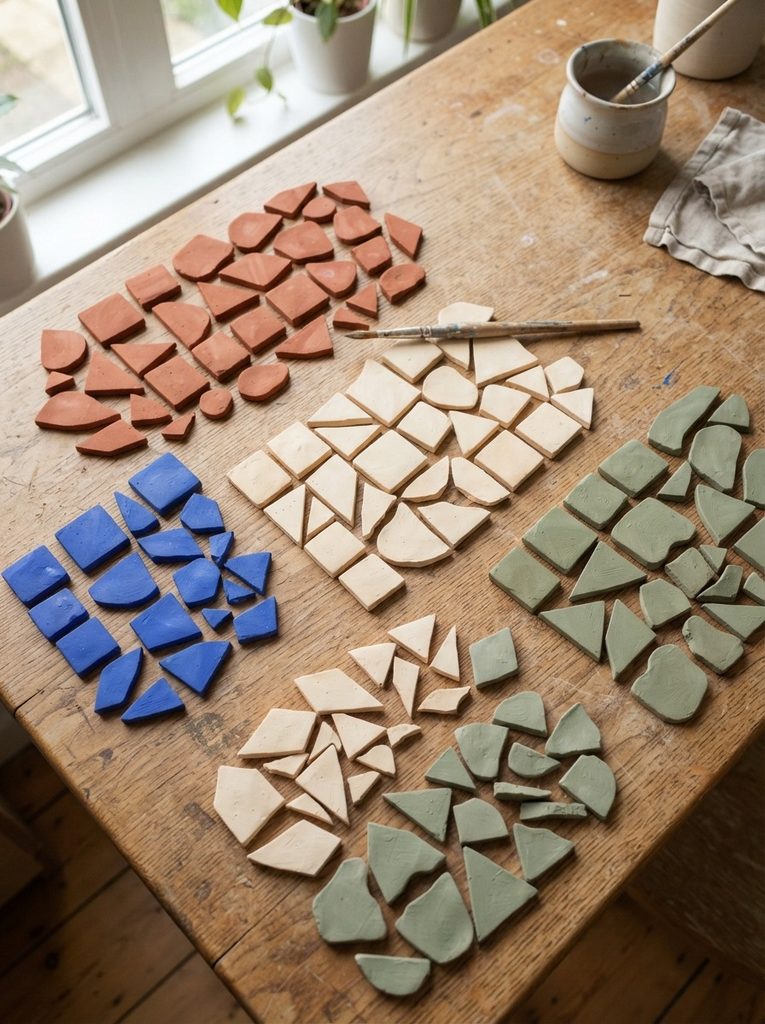
This is the most time-consuming part of the project — and also the most meditative.
- Roll your clay into an even slab about 5–7mm thick. Uniform thickness means your finished mosaic will sit level.
- Cut your tiles in your chosen shapes:
- Squares and rectangles for geometric designs — use a ruler and craft knife for clean lines
- Organic irregular shards for abstract work — cut freehand with slightly curved, imperfect lines
- Custom shapes for botanical designs — cut leaf shapes, petal forms, and curved wedges to match your sketch
- Make more than you think you need. Seriously. Double your estimate. Having excess tiles means you can be selective during arrangement — and you will want to be.
- Let everything dry completely — 24 to 48 hours flat on parchment paper.
- Sand any sharp edges lightly once dry. You’ll be handling these pieces a lot during arrangement.
- Paint your tiles in batches by colour. Two thin coats per tile, fully dried between each. A flat brush moves faster than a round one for small flat surfaces.
Seal every painted tile with one coat of matte sealant before gluing. This prevents paint from being absorbed into the grout during the finishing stage — a step most tutorials skip and then regret.
Arranging Your Mosaic
This is the stage that separates good mosaics from great ones — and it’s all about taking your time before committing to glue.
The dry-lay rule: arrange your entire mosaic on the backing board without glue first. Move pieces, swap colours, adjust spacing. Do this until you’re genuinely happy with what you see. Only then glue.
Tips for a professional-looking arrangement:
- Keep grout gaps consistent — roughly 3–5mm between each tile gives the most authentic mosaic look
- Alternate your tile orientations — don’t let all your rectangles run in the same direction
- Place your most visually striking colours at the focal point of your design, fading to quieter tones at the edges
- Step back from the board every few minutes — small adjustments that look major up close often disappear at distance, and vice versa

Once you’re satisfied, glue section by section — working from the center outward. Press each tile firmly and let the full piece dry overnight before grouting.
Grouting for the Finished Look
Grout is what transforms a collection of tiles into an actual mosaic — and it’s simpler than it sounds.
- Mix your grout to a thick peanut butter consistency
- Spread it over the entire surface with a palette knife or old credit card, working it into every gap
- Let it sit for 15–20 minutes until slightly firm but not hard
- Wipe the surface with a barely damp sponge in circular motions, removing grout from the tile faces while leaving it in the gaps
- Repeat wiping gently until tile surfaces are clean
- Let cure fully for 24 hours before handling
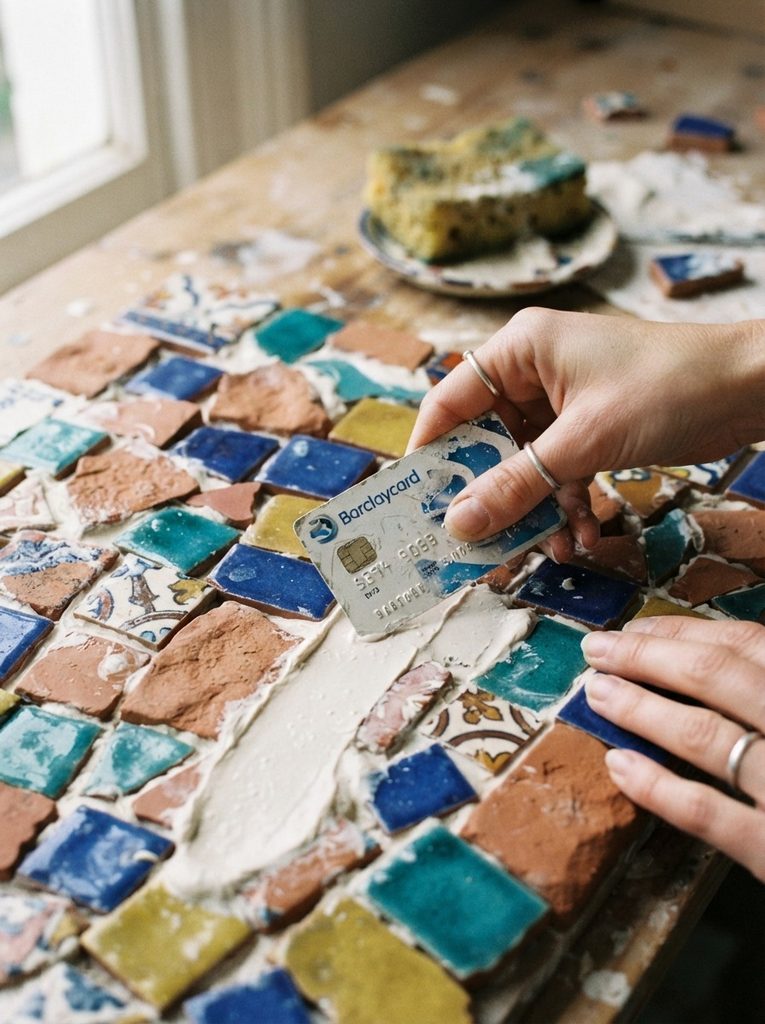
Finish with a final matte sealant spray over the entire piece once the grout has cured. This unifies the surface, deepens the colours, and protects everything.
Hang It and Own That Wall
Your mosaic is one of a kind in the most literal sense — every tile handmade, every colour chosen by you, every arrangement decision made in your hands. No algorithm recommended it. No factory produced it. It exists because you made it.
Save this project for a long creative weekend — it’s a two to three day process done right, and every hour of it is worth it. Share it with someone who’s been staring at a blank wall wondering what to put there. The answer was clay all along.