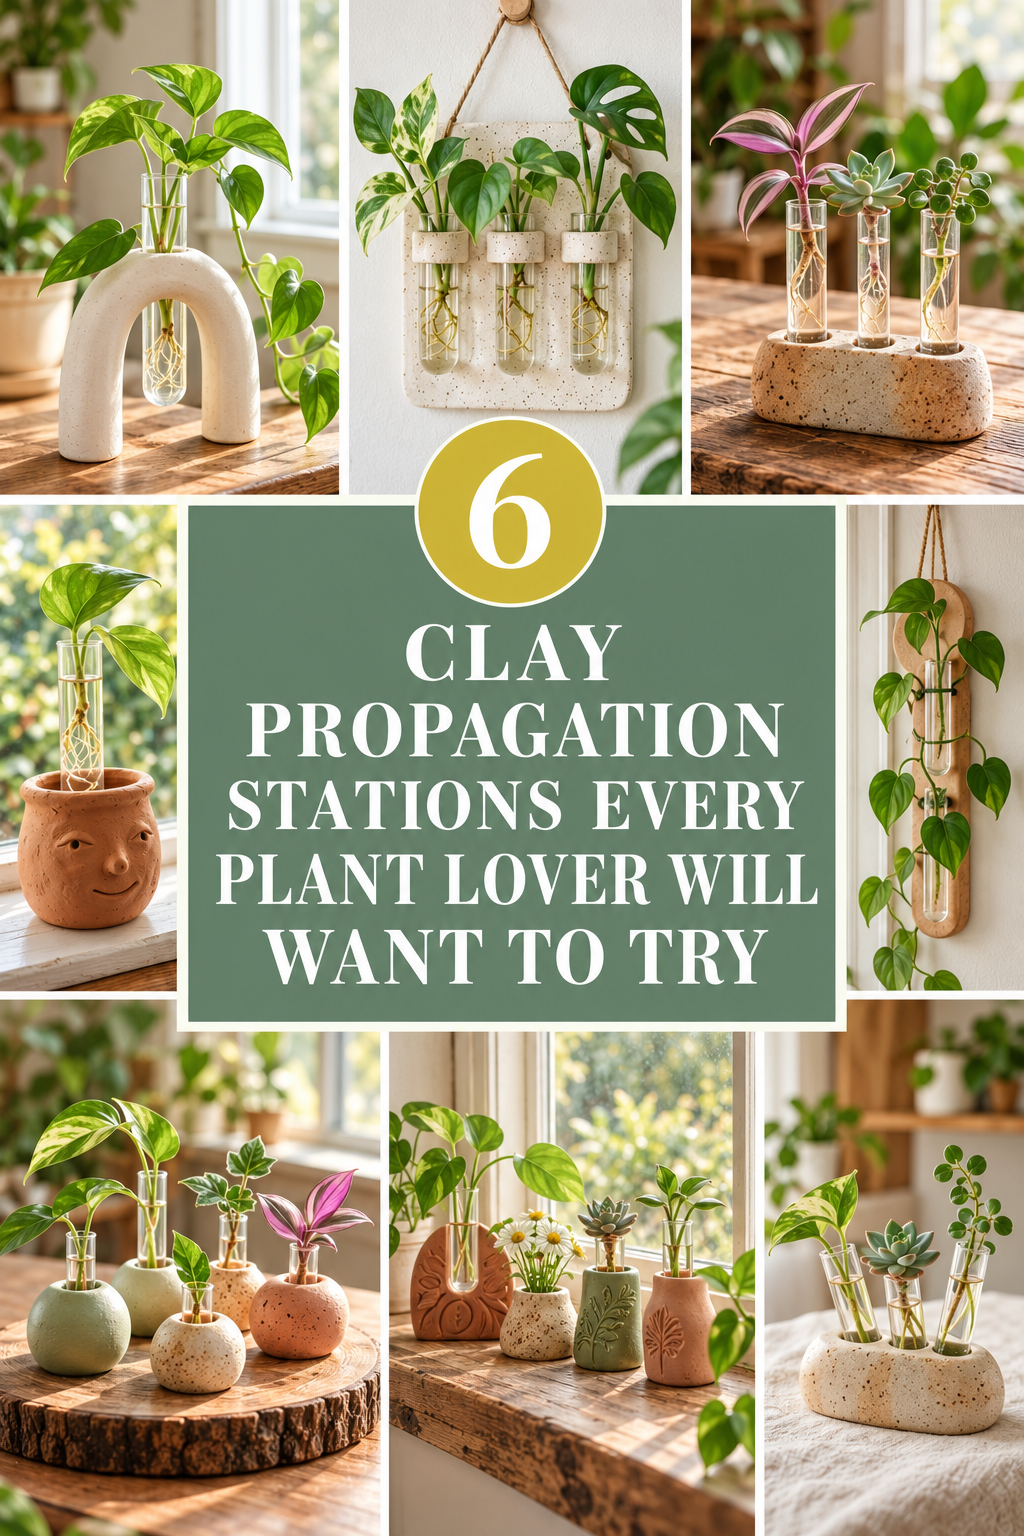

If you love growing plants from cuttings, a propagation station is one of the most satisfying things to own — and even more satisfying to make yourself. Clay propagation stations combine the joy of crafting with the joy of plant care. They hold your cuttings in water while roots develop, and they look beautiful doing it. Whether you use air-dry clay, polymer clay, or self-hardening clay, you can build something functional and genuinely lovely for almost no money. This guide covers 25 creative designs you can try at home, each one practical enough for real plant cuttings and handsome enough to display on any shelf or windowsill.
1. Single Stem Arch Station
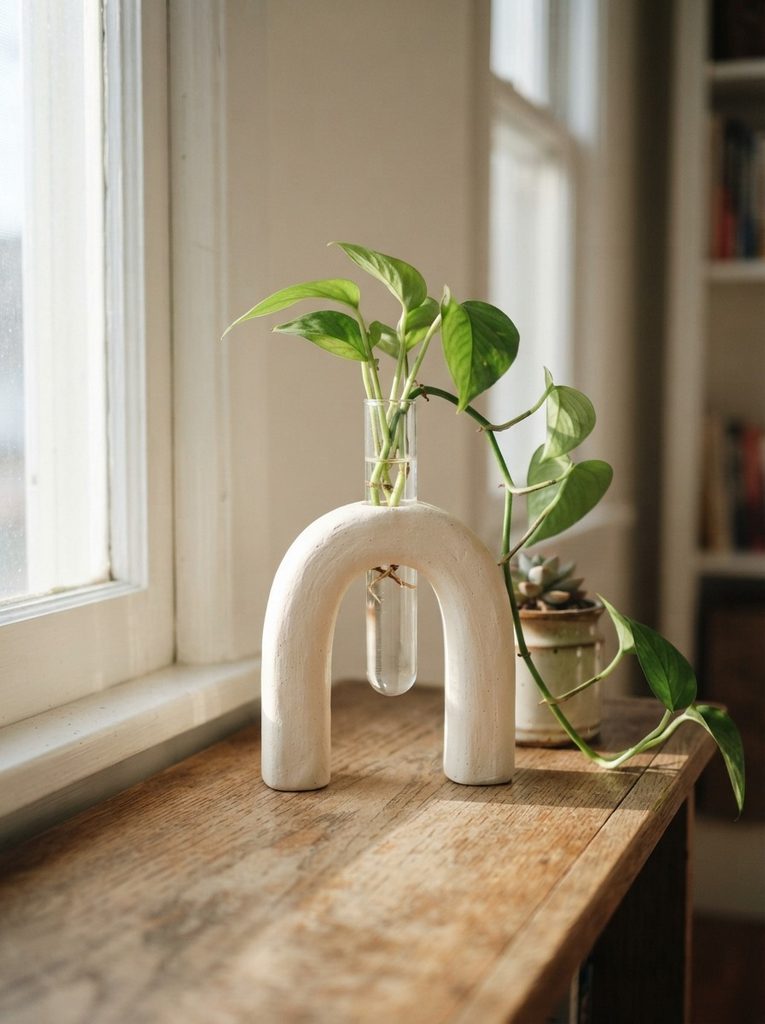
This is the cleanest, most minimal propagation station design — and one of the easiest to make.
Roll a thick slab of air-dry clay. Cut two vertical side pieces and one curved arch piece. Press them together firmly.
The hole for the test tube is the most important measurement. Press a test tube gently into the top of the arch before the clay dries to create a perfect-fitting hole. Remove the tube and let the clay dry completely around the shaped hole.
Once dry, sand lightly with 400-grit sandpaper for a smooth finish. Seal with a water-resistant varnish — this protects the clay from water drips, which are inevitable with propagation stations.
Insert a glass test tube into the hole. Add your cutting and water.
Budget tip: Air-dry clay is very affordable — often under $5 for a large block. Glass test tubes are sold in packs of 10 or more at very low cost. One arch station takes only a small amount of clay.
This design looks stunning on a minimalist shelf. It suits any plant style — pothos, tradescantia, begonia — and takes up almost no space.
2. Cluster Bud Vase Propagation Base
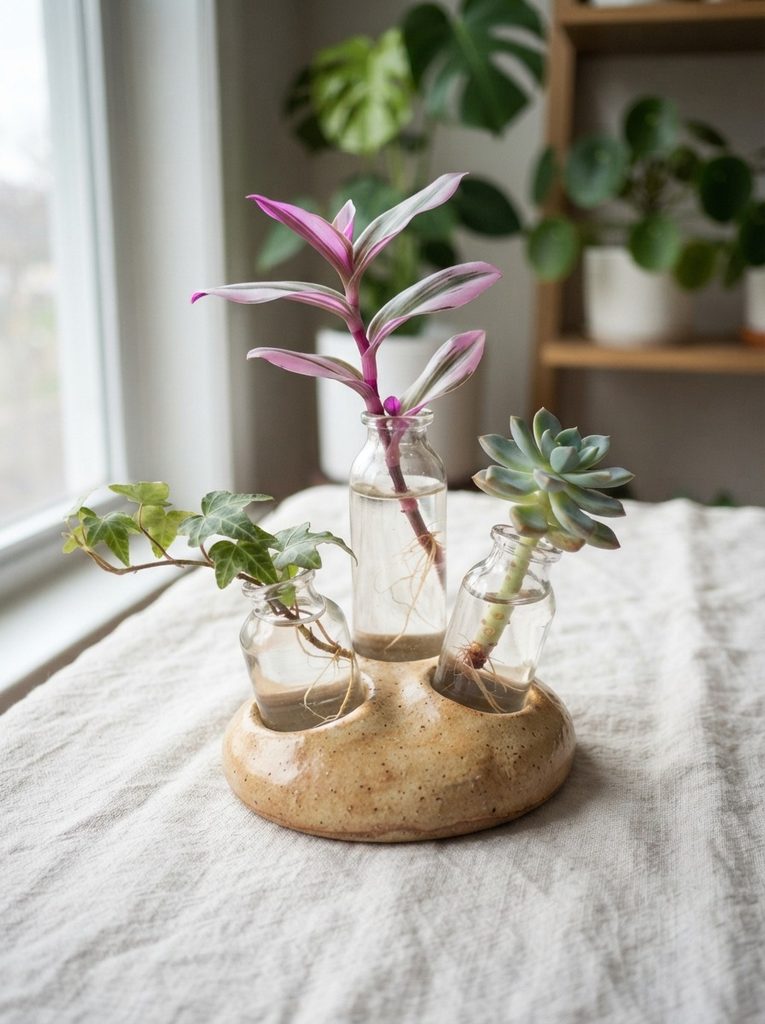
A cluster base holds multiple cuttings at once — great for when you have several plants rooting at the same time.
Build an oval clay base about 2–3cm thick. Press three small bud vases or test tubes into the clay at different heights and angles while the clay is still wet. Remove them carefully and let the clay dry with the shaped holes intact.
Angle the vases slightly outward. This looks more organic than perfectly vertical tubes and makes it easier to see each cutting’s roots developing.
Once dry and sealed, fill the vases with water and cuttings. The clay base keeps everything stable so nothing tips over.
Budget tip: Small bud vases can be found at dollar stores. You can also use glass bottles saved from juice or sauce — any small-necked glass bottle works. The clay base doesn’t need to be large or thick, just stable enough to support the vases.
Cluster bases are practical for active propagators who always have multiple cuttings going at once. They also make thoughtful gifts — fill the vases with cuttings from your own plants and wrap with a simple ribbon.
3. Face Planter Propagation Pot
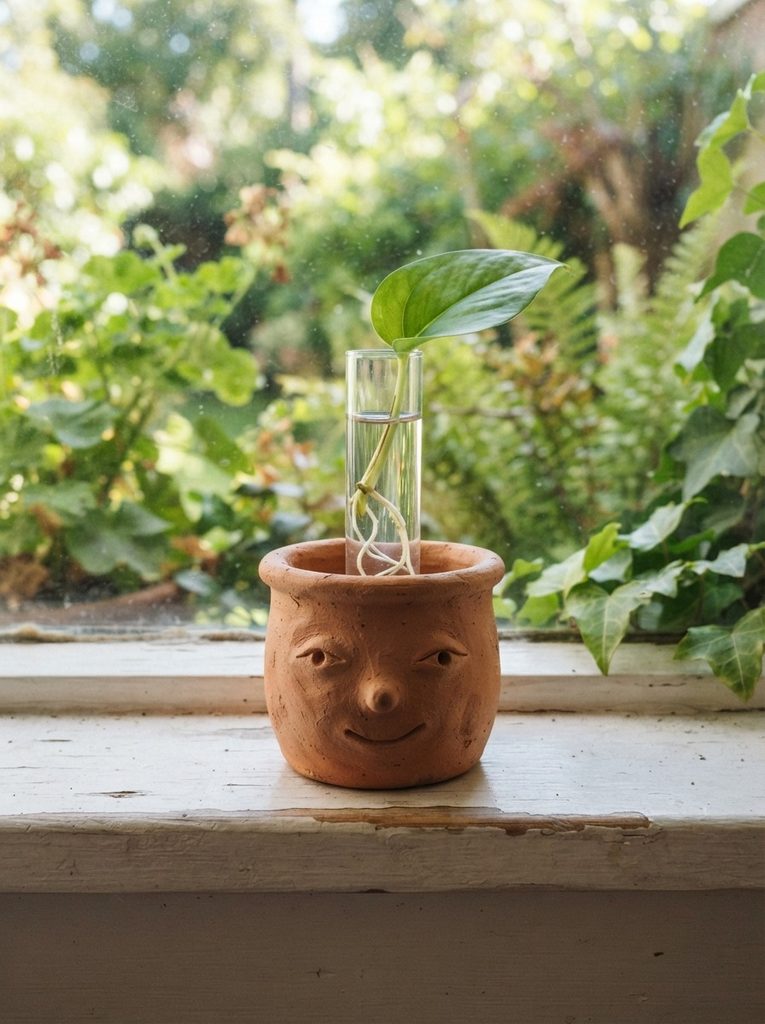
Face pots are beloved in the plant community — and turning one into a propagation station is a natural match.
Build a small hollow cylinder from clay as your pot body. Sculpt simple facial features onto the front. Almond-shaped flat clay pieces for eyes, a small ball for the nose, and a curved strip for a smile.
Keep the face simple. Bold, graphic features read better at a small scale than overly detailed ones.
Press a hole through the top of the cylinder — sized to hold a test tube snugly. If the hole is too wide, wrap the test tube with a small piece of clay before inserting.
Let dry completely. Seal inside the hole and the exterior with waterproof varnish. The test tube sits in the hole with the cutting and water inside.
Budget tip: This design uses very little clay. Eyes, nose, and a mouth require only tiny clay amounts. You can make a set of six face stations from a single block of air-dry clay.
These stations are incredibly popular online. They photograph beautifully and make excellent gifts for plant-loving friends. Each one feels like a small personality.
4. Hanging Wall Propagation Station
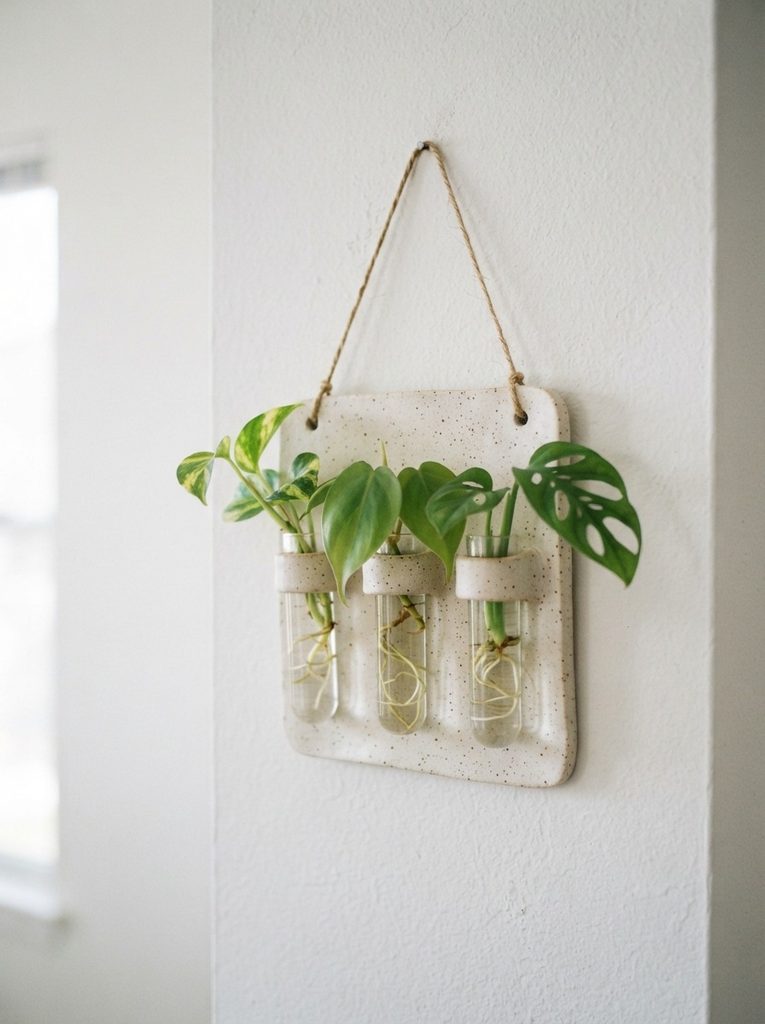
A wall-mounted station turns your cuttings into living wall art. It’s functional and looks designed.
Make three small clay cradles — each one a small curved piece shaped to hold a test tube horizontally or at a slight upward angle. Press a connecting clay strip along the back of all three cradles. This becomes the backing.
Press a loop of wire or cord through the top of the backing before drying. This is your hanging mechanism. Make sure it’s embedded firmly in the clay.
Horizontal tubes look beautiful on walls but require a rubber stopper at the tube opening. Without a stopper, water drains out. Vertical or angled tubes are more practical for beginners.
Let dry fully. Seal with waterproof varnish. Hang on a small nail or hook.
Budget tip: Wire embedded in clay is free if you have any gauge of craft or floral wire on hand. Test tubes with rubber stoppers are sold in craft and science supply stores for very little per unit.
Wall stations work brilliantly in small apartments where shelf space is limited. They’re a strong seller at craft markets when displayed with cuttings already rooting inside.
5. Log Slice Propagation Station
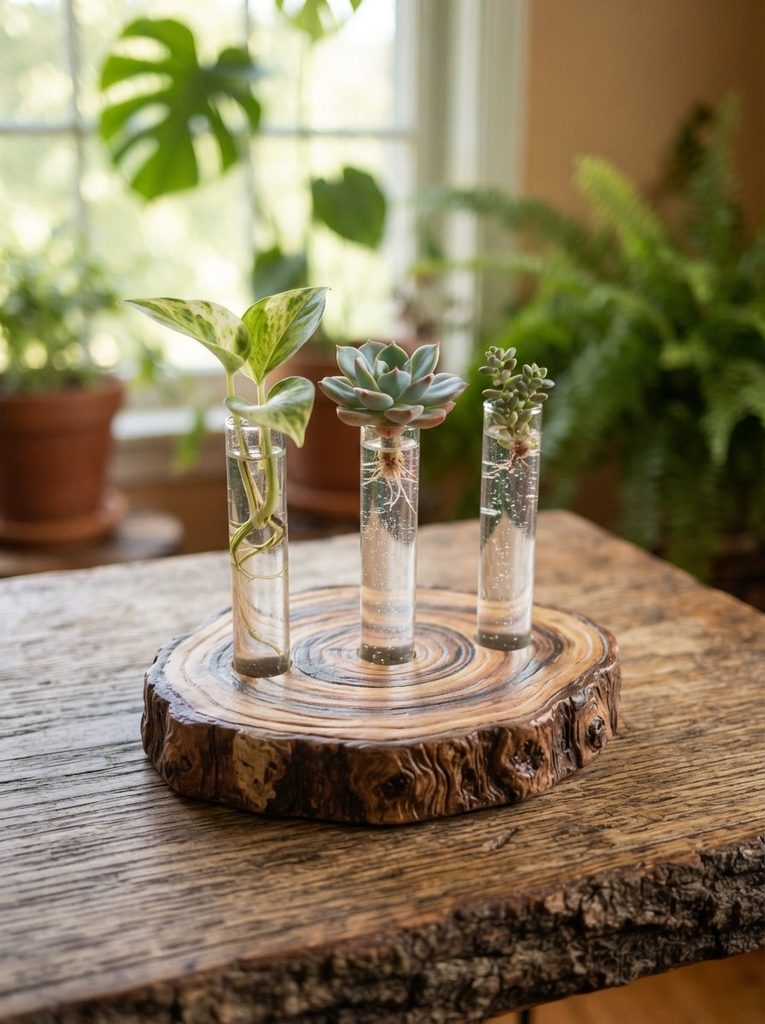
This design mimics the look of a real wood log slice — a natural, earthy aesthetic that suits any plant lover’s shelf.
Flatten a thick oval of clay. Use a needle tool to press concentric ring lines from the center outward, mimicking wood grain rings. Press deeper lines for the ring markings and lighter lines for wood grain texture.
Add brown and tan tones to the clay before shaping — or paint the texture after baking with diluted acrylic in brown, tan, and warm gray.
Press test tubes into the clay before it dries to create snug holder holes. Space them evenly across the oval.
Sand the underside of the station flat so it sits level on a shelf without rocking.
Once dry and sealed, the log slice looks remarkably realistic. Most people do a double-take.
Budget tip: This technique is very forgiving. The more irregular and rough the surface, the more realistic it looks. There’s no need to be precise — natural wood is full of imperfections.
Log slice stations suit woodland-themed interiors, boho home décor, and anyone who loves a natural, organic aesthetic. They’re a beautiful conversation piece in any plant corner.
6. Ombre Dip-Dyed Clay Station
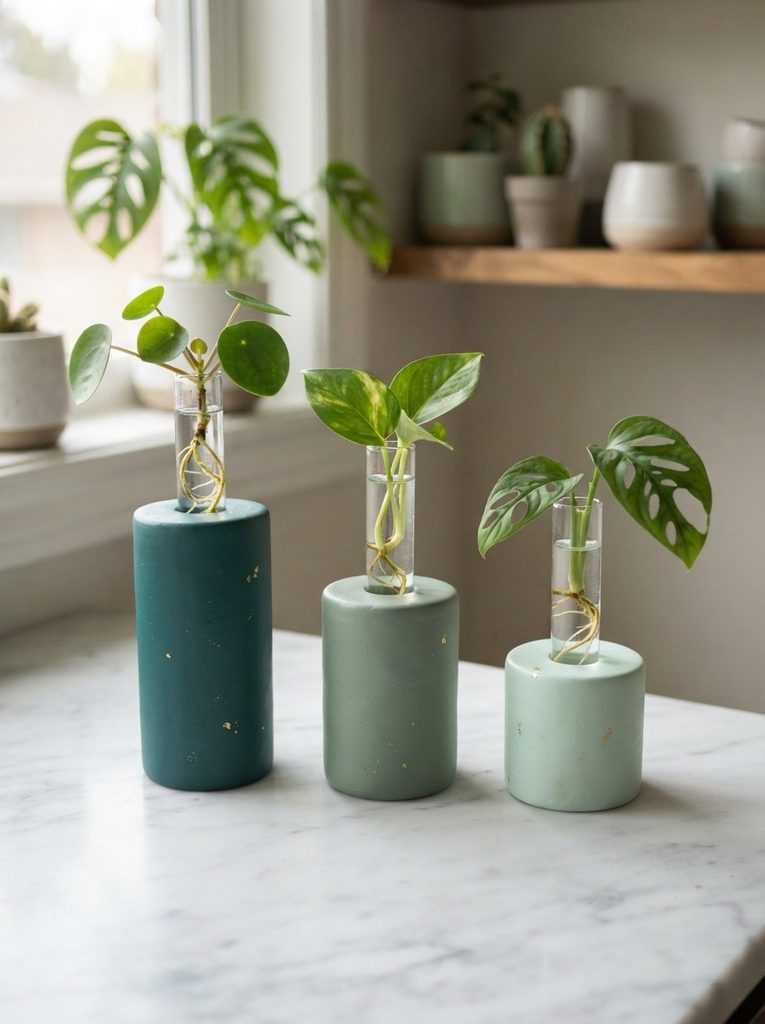
An ombre color story across a set of propagation stations looks polished and cohesive — and it’s easy to achieve.
Make three identical station bases in different sizes. Mix your clay colors in a gradient — dark to light, or warm to cool. Deep teal, medium sage, and pale mint is a beautiful combination. Terracotta, blush, and cream works equally well.
The trick is making all three bases the same shape so the only variation is size and color. This creates a deliberate, designed aesthetic rather than a mismatched set.
Use the same test tube pressing technique for each base hole so all three hold tubes at the same angle.
Let dry, sand smooth, and seal with matte varnish. The matte finish makes the color gradient look sophisticated rather than plasticky.
Budget tip: Mix your colors before you work rather than buying three separate blocks. Start with the lightest color, set some aside, add more pigment for the medium shade, set some aside, and add more for the darkest. Three shades from one or two blocks.
Sell these as a trio. They photograph beautifully together and have a strong gift appeal.
Conclusion
Clay propagation stations sit right at the intersection of two things plant lovers already enjoy — creating and growing. Making your own station means you get exactly the size, color, and aesthetic you want, for a fraction of what a shop-bought version costs. The 25 designs in this guide range from beginner-friendly pinch pots and simple arch stations to show-stopping moon phase panels and botanical slab pieces. Start with one or two that match your current clay skills and your home’s aesthetic. As your collection grows, so will your technique. Every station you make holds a cutting, and every cutting grows into a plant. There’s something deeply satisfying about having handmade objects supporting living things on your windowsill. Pick up a block of clay, grab a pack of test tubes, and make your first propagation station today. Your plant shelf will never look the same.