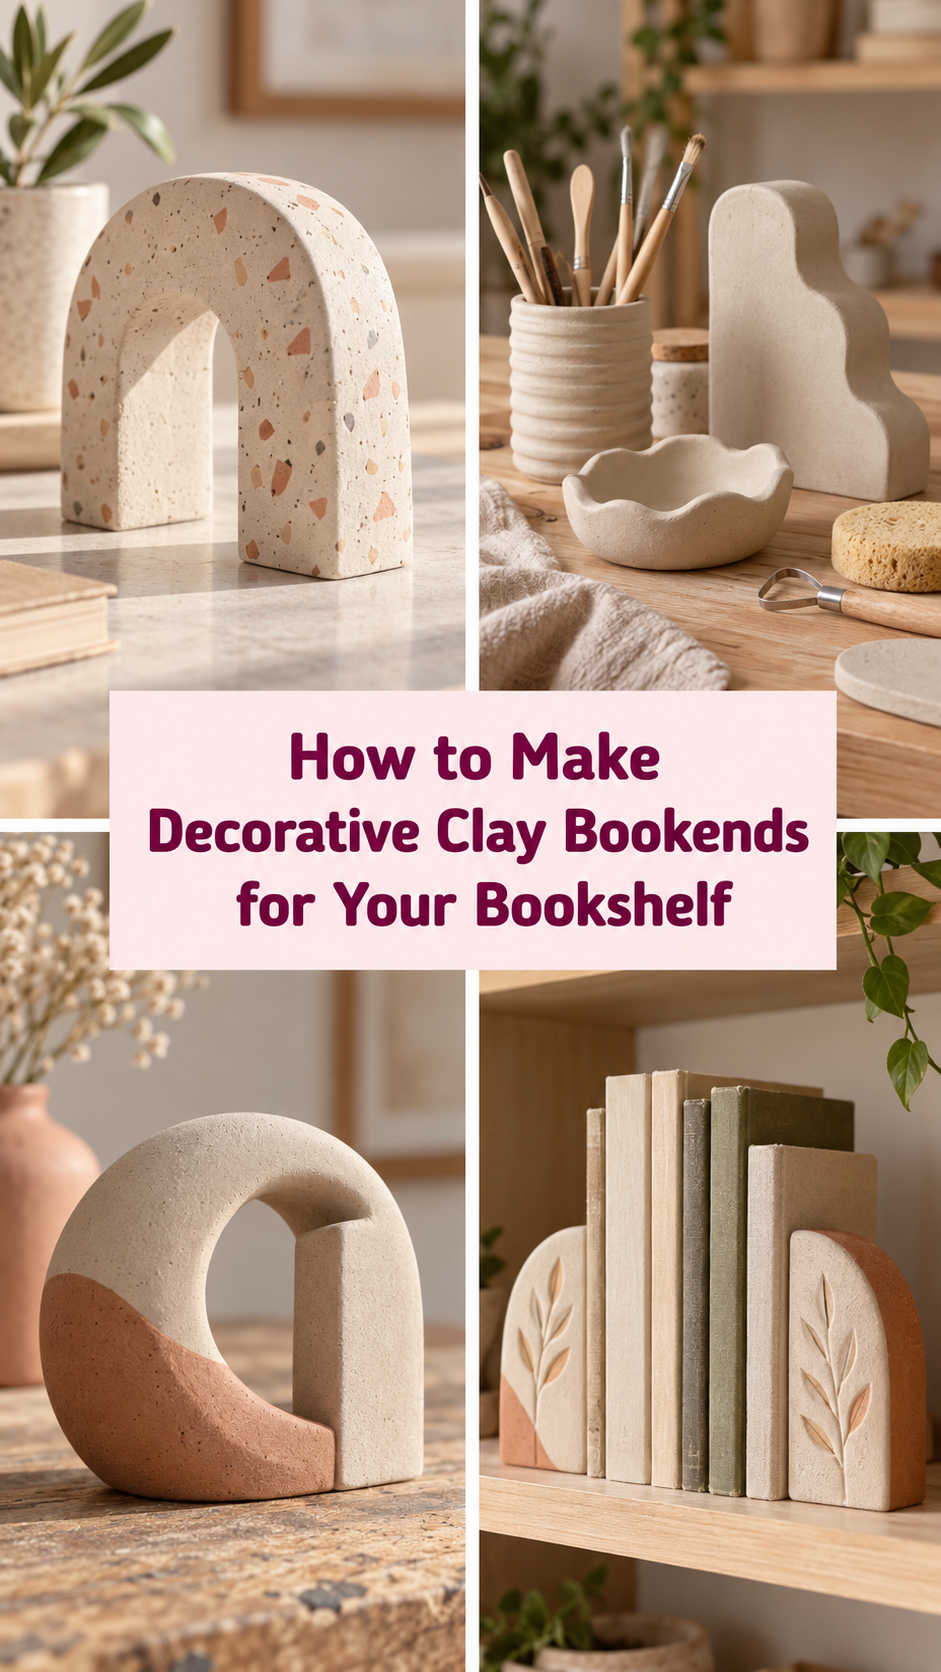
Books deserve better than a leaning tower situation held up by a random candle and a spare charging brick. They deserve bookends — and not just any bookends, but a pair of handmade clay ones that look like you spent serious money on them at a boutique home décor store, when really you made them on your kitchen table on a Sunday afternoon.
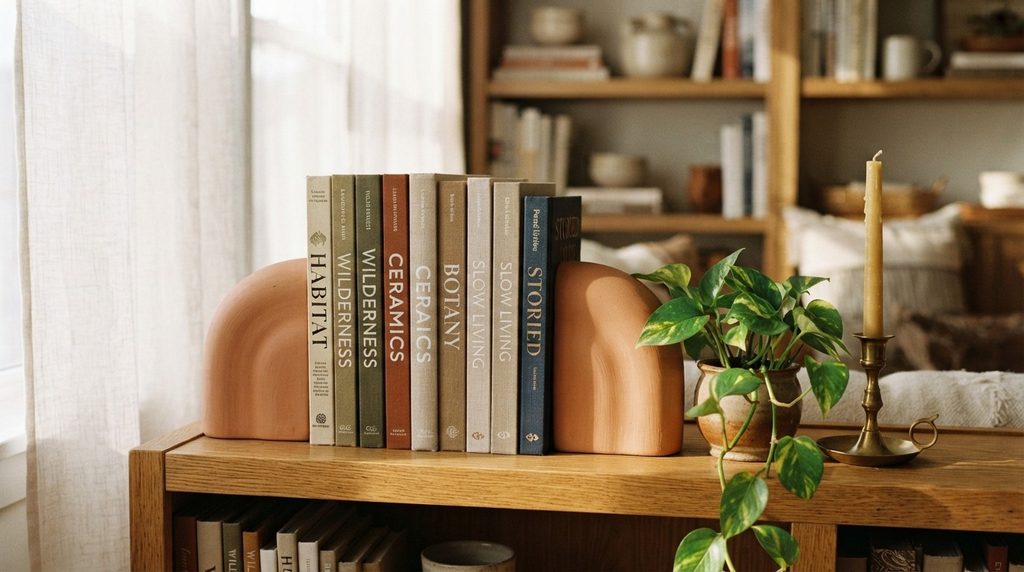
That’s the magic of this project. Bookends look architectural and impressive — like they require skill and equipment most people don’t have. In reality, all you need is air-dry clay, a little patience, and a method that actually works. This guide has all three.
What You’ll Need
Before you start, gather everything. Clay dries faster than you expect once it’s out of the packaging, so having your tools ready matters.
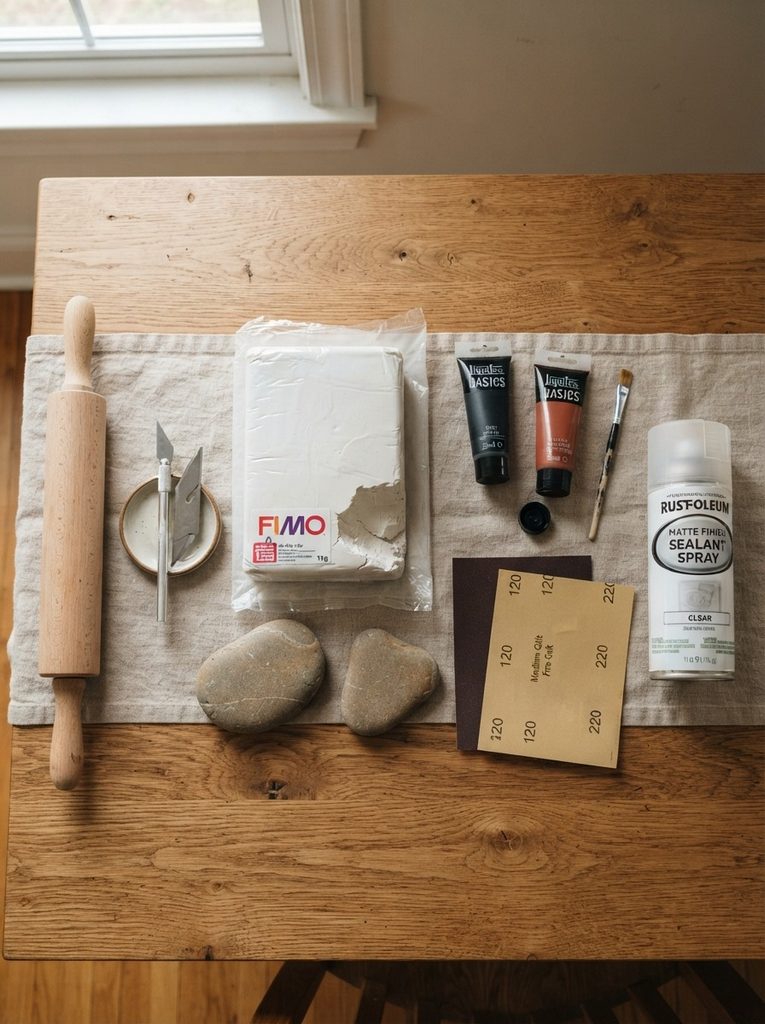
- Air-dry clay — a 500g to 1kg block depending on how substantial you want your bookends
- A rolling pin or smooth bottle for slabs
- A sharp craft knife or clay blade
- Sandpaper — medium grit (120) for shaping, fine grit (220) for finishing
- Strong craft glue or epoxy (for assembling pieces if needed)
- Heavy bases — think flat river stones, thick cork sheets, or cut pieces of wood to embed beneath each bookend for weight
- Acrylic paint in your chosen palette
- Matte or satin sealant spray
- Optional: stamps, texture tools, dried botanicals for pressing
Planning Your Bookend Shape
This is the step most tutorials skip — and it’s the one that makes the biggest difference between bookends that look homemade and bookends that look designed.
Spend five minutes sketching your shape before touching the clay. The most successful beginner-friendly bookend forms are:
- The solid arch — a thick, rounded arch shape that sits flush against the books. Modern, sculptural, endlessly elegant.
- The geometric block — a chunky rectangular or trapezoidal form with optional carved line detailing. Minimal and architectural.
- The stacked dome — two or three graduated spheres or half-spheres stacked and fused together. Organic and satisfying.
- The mountain silhouette — a jagged, organic peak shape inspired by minimalist landscape art. Pairs beautifully with nature-themed shelves.
- The monogram letter — a bold single letter, built thick enough to stand without support. Personal and striking.
Whatever shape you choose, both bookends must be mirror images of each other — not identical. One faces left, one faces right. Sketch both before you begin.
Building the Structure
Here’s the method that gives you sturdy, professional-looking bookends without them cracking or collapsing during drying.
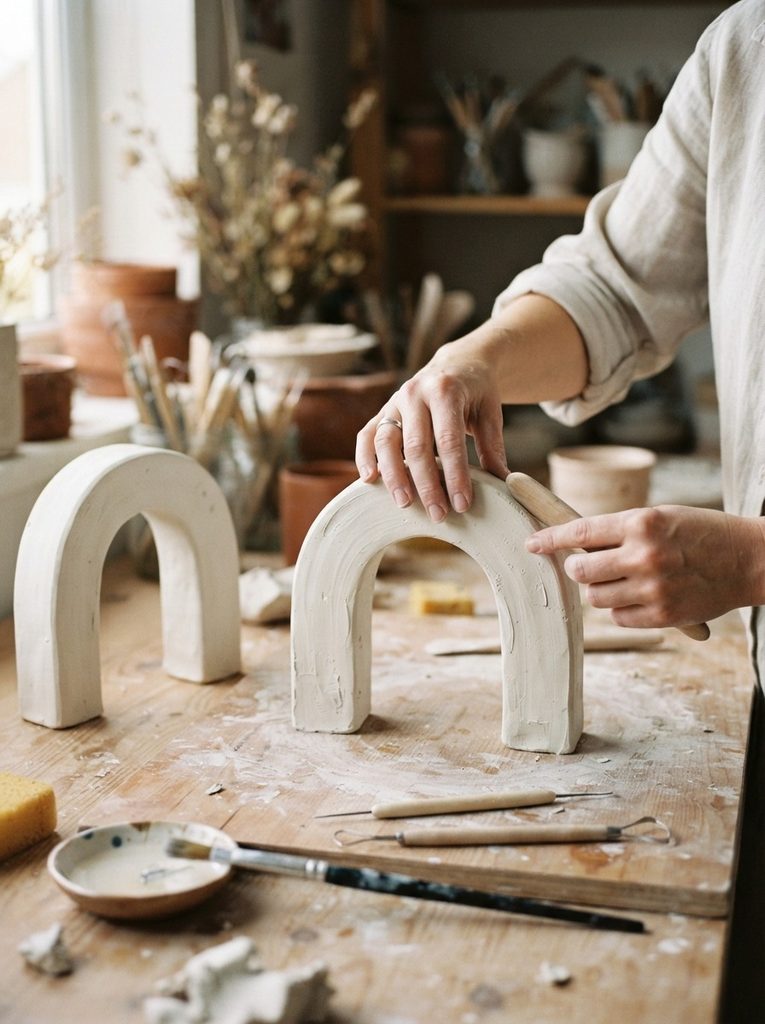
- Build in sections, not all at once. Roll thick slabs or coils and layer them up, scoring and blending each join with a damp tool or finger. This prevents hollow air pockets that crack during drying.
- Keep walls at least 1.5–2cm thick throughout. Bookends need to be substantial — both for looks and structural strength. Thin clay won’t survive the weight of books pressing against it.
- Embed your weight base early. Press a flat river stone or piece of cork into the bottom of each bookend while the clay is still soft, surrounding it completely so it becomes part of the form. This is what stops your bookends from sliding across the shelf under the weight of books.
- Score every join aggressively. Use a toothpick or fork to scratch both surfaces before pressing them together. Smooth the seam with a damp finger. Unsealed joins are where cracks begin.
- Flatten the base perfectly. Press the bottom of each bookend firmly against a flat surface — a tile or cutting board — while the clay is still soft. A level base is non-negotiable for functionality.
Dry your bookends slowly — away from direct sunlight or heat vents. Large clay forms can take three to five days to dry completely through the center. Don’t rush this.
Sanding Into Shape
Once fully dry, this is where your bookends transform from “clay project” to “actual home object.”
Start with your medium-grit sandpaper (120) and work purposefully:
- Sand the base completely flat — test it on a hard surface; there should be zero wobble
- Refine any uneven edges or lumpy sections
- Smooth out fingerprints and surface irregularities
- Sharpen any geometric lines or angles you want to be crisp
Finish with fine-grit sandpaper (220) all over for a surface that feels smooth and intentional to the touch.
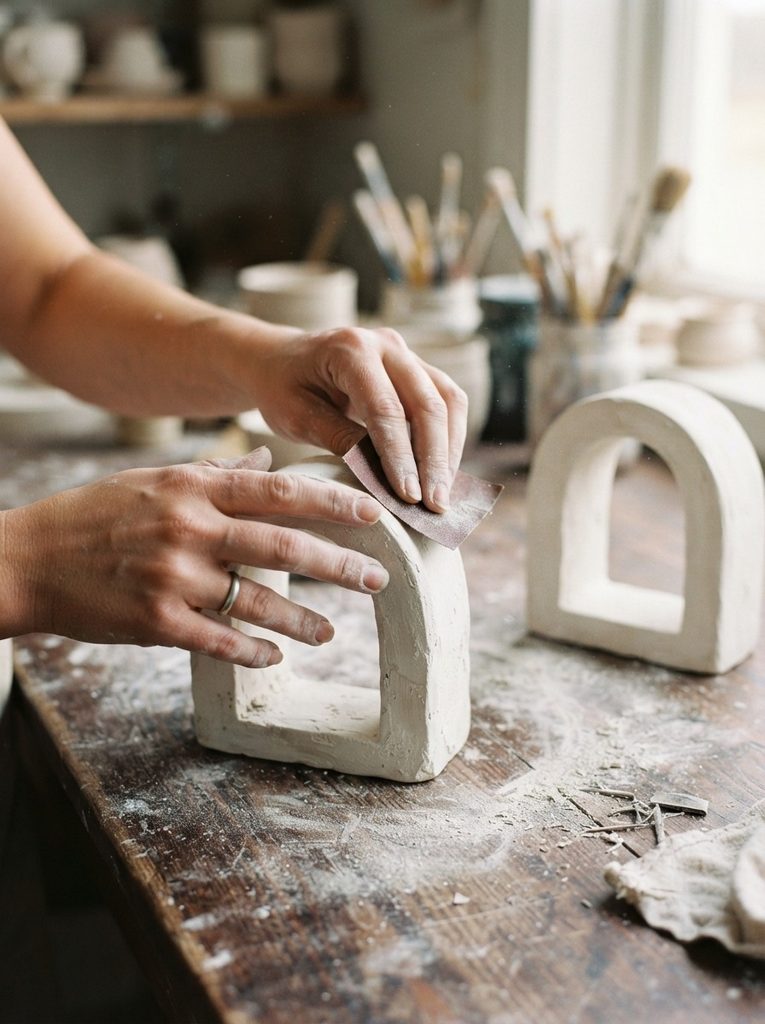
Wipe away all dust with a barely damp cloth and let the surface dry fully before painting.
Painting and Finishing
Now the personality arrives. Choose a finish that works with your existing shelf:
- Matte black — dramatic and architectural. Works on every shelf, with every book colour.
- Raw terracotta — warm, earthy, and organic. Beautiful with plants and wooden shelves.
- Chalky white or cream — bright and clean, almost plaster-like when sealed with matte sealant.
- Sage green — soft and botanical. Unexpected and very current in home décor.
- Two-tone — paint the outer face one colour and the inner face (the side that touches books) a contrasting shade for a design-forward detail only you know is there.
Apply two to three thin, even coats — patience between coats is what separates a smooth finish from a streaky one. Seal with two coats of matte sealant, letting each dry fully.
For extra grip on the base, cut a piece of cork sheet or felt to size and glue it underneath each bookend. This protects your shelf and stops any sliding.
On the Shelf Where They Belong
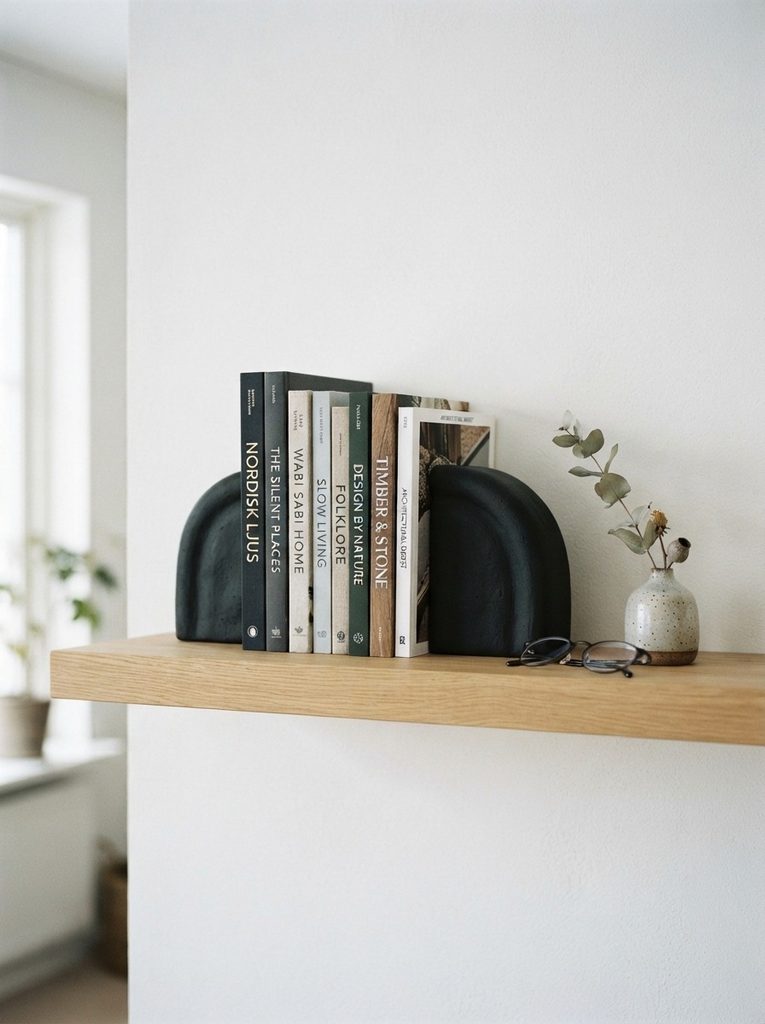
Slide your books in, adjust the spacing, and stand back. That shelf just became the most intentional corner of your home — anchored by something you made from scratch with your own hands.
Save this project for your next creative weekend and share it with a fellow book lover in your life. A pair of handmade bookends wrapped in kraft paper makes one of the most thoughtful, genuinely useful gifts imaginable. Your shelf — and your books — have never looked better.