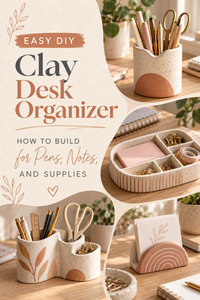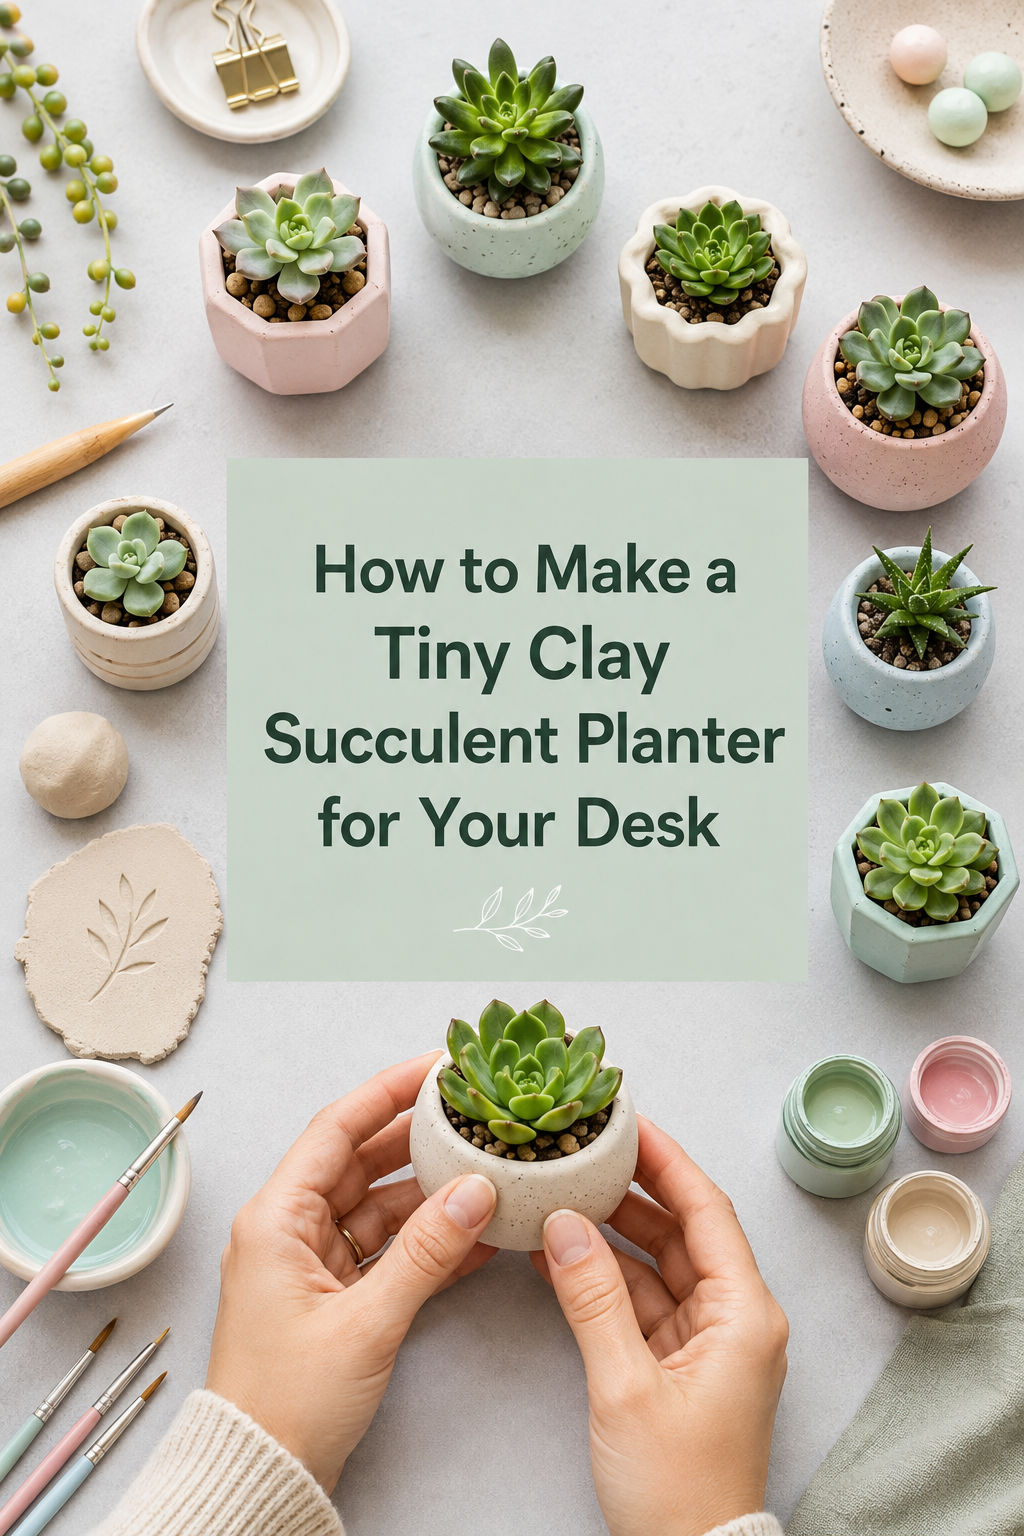
Your desk deserves better than a sticky note graveyard and a forgotten coffee mug. Imagine instead: a tiny, handcrafted clay planter — textured, painted in your favorite color, and cradling a plump little succulent that somehow makes the whole space feel intentional. The kind of thing people notice and immediately ask, “Where did you get that?” And you get to say: “I made it.”

No kiln. No pottery wheel. No experience required. Just air-dry clay, a free afternoon, and this guide.
What You’ll Need Before You Start
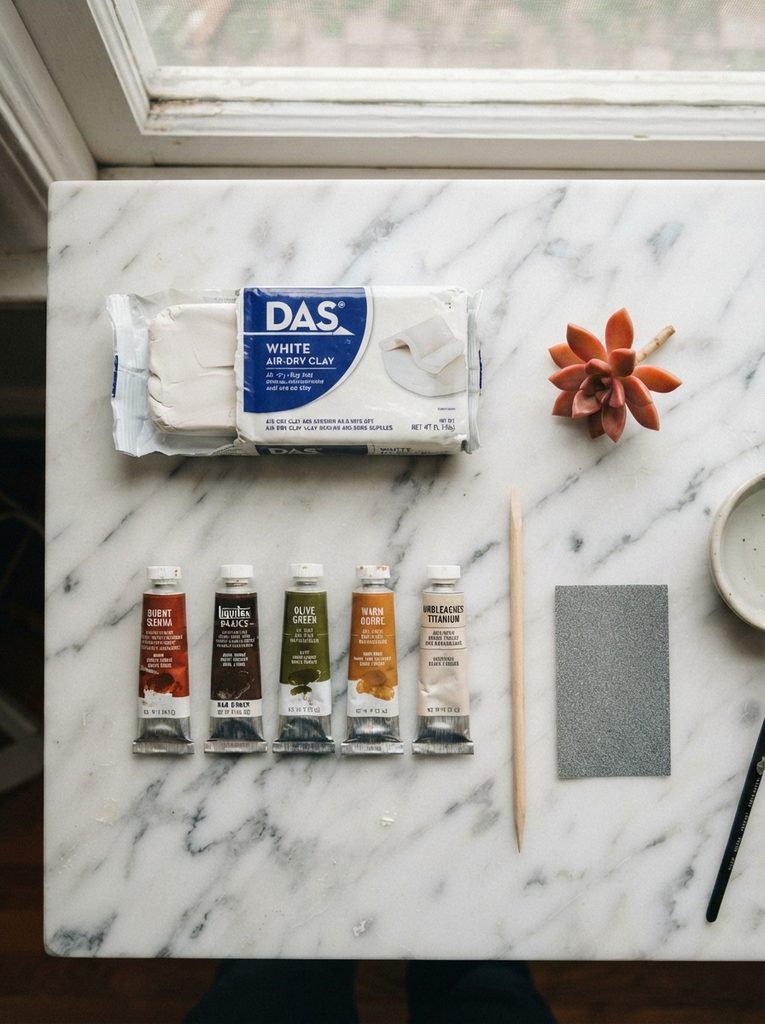
Gather everything before you begin — clay dries faster than you’d expect once you open the package.
- Air-dry clay — a golf ball–sized portion is enough for one planter
- A small bowl or shot glass (your shaping mold)
- Toothpick or wooden skewer for detailing
- Fine-grit sandpaper (220 grit)
- Acrylic paints + a small brush
- Matte sealant spray
- Cactus/succulent potting mix
- A small succulent — real or faux both work beautifully
Total cost is usually under $15, and most of it can be found at any craft store or even the dollar section at Target.
How to Shape Your Planter
This is the most hands-on part, and honestly, the most satisfying.
- Knead your clay for one to two minutes until it feels soft, warm, and smooth — like stiff dough coming to life.
- Roll it into a ball, then press both thumbs into the center to create a deep well.
- Pinch and rotate — use your thumb inside and fingers outside to gradually pull the walls upward. Aim for walls about 5mm thick throughout.
- Smooth with water — dip your fingertips and glide them across the surface. Cracks disappear, rough patches blend, and the clay starts to look intentional rather than accidental.
- Level the base by pressing it gently against your work surface so it sits flat without wobbling.
Don’t chase perfection here. Slightly uneven walls and soft edges are what make handmade pieces feel handmade — that’s their entire appeal.
Quick tip: If you want a drainage hole, push a toothpick through the base now, before drying. For faux succulents, skip this step entirely.
Adding Texture That Makes It Look Artisan
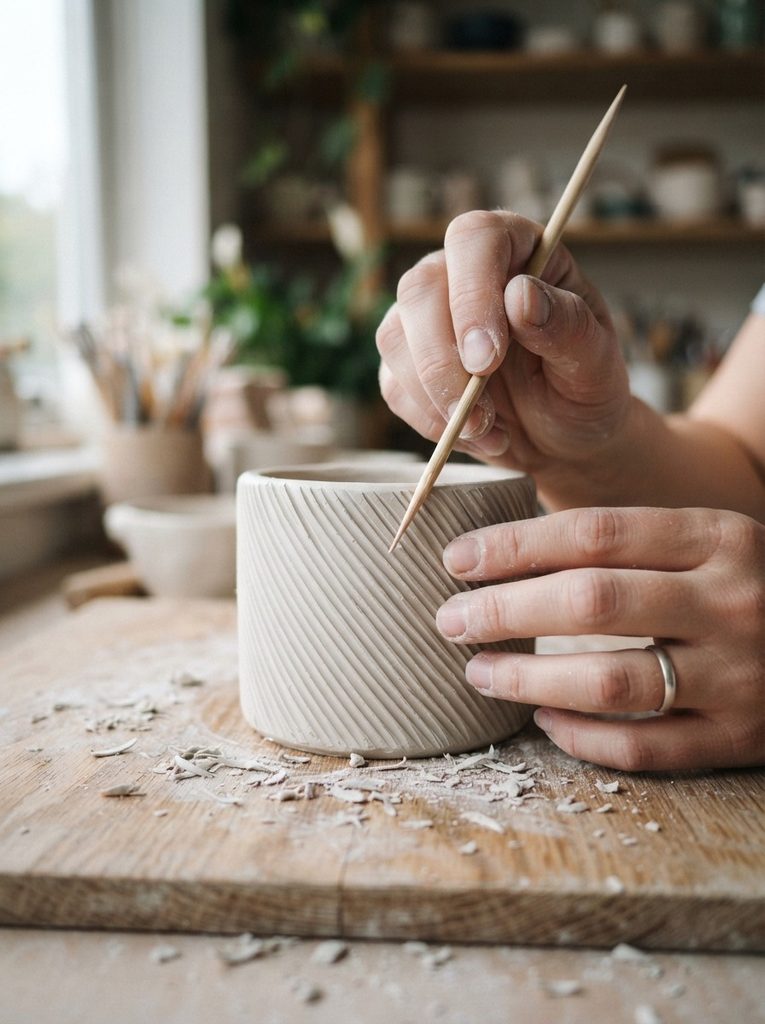
A plain smooth planter is lovely. A textured one is unforgettable. Try one of these:
- Geometric lines — drag your toothpick in parallel diagonal rows for a modern, boho look
- Crosshatch near the rim — creates a subtle woven-basket effect
- Crumpled foil press — dab lightly all over for a natural stone texture
- Dotted pattern — use the blunt end of a skewer for a simple, graphic design
Once you’re happy with the shape and texture, set it somewhere flat to dry for 24–48 hours. Don’t try to speed things up in the oven — air-dry clay can crack badly under direct heat. Patience is the move.
Painting, Sealing, and Making It Yours
When fully dry, sand any rough edges with your fine-grit paper — it only takes 30 seconds and makes a huge difference in the final look.
Then paint. This is where your planter gets a personality:
- Terracotta orange — classic, earthy, never wrong
- Matte white or cream — clean and modern, pairs with everything
- Dusty sage or clay pink — trending heavily in home décor right now
- Charcoal with a raw edge — moody and unexpected
Apply two thin coats, drying fully between each. Seal with a matte spray sealant to protect against moisture from watering.
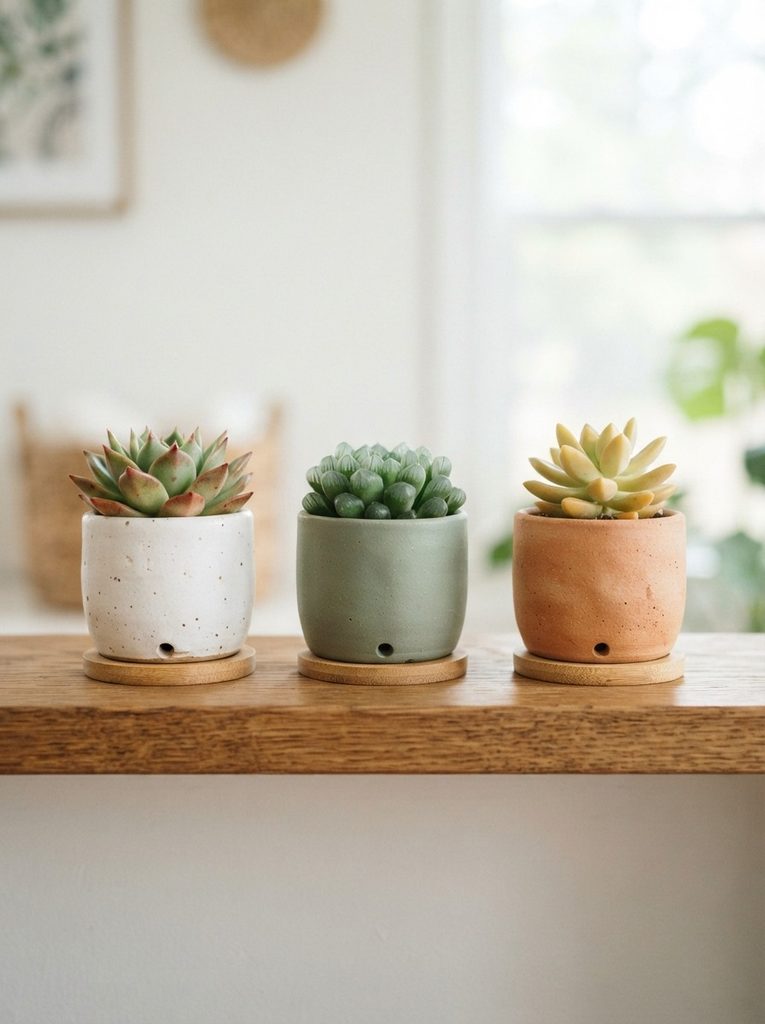
Planting the Succulent
Add a small square of mesh or a folded paper towel over the drainage hole to keep soil in place. Spoon in a small amount of cactus mix, then tuck your succulent in snugly.
Best varieties for tiny planters:
- Echeveria rosettes — the classic plump rosette shape
- Haworthia — tolerates low light, great for desks
- Aloe pups — tiny offshoots from a larger plant, often free
For faux succulents, a small dot of hot glue at the base holds everything perfectly in place.
Go Make Your Desk a Little More You
That’s the whole project — and it’s genuinely that approachable. A few supplies, a couple of hours, and you walk away with something handmade sitting on your desk every single day.
Save this article for your next slow Sunday, or send it to a friend who needs a creative afternoon reset. It also makes one of the most thoughtful handmade gifts you can give — personal, practical, and just a little bit impressive.