There’s a specific kind of calm that settles in when incense is burning — the thin curl of smoke, the slow spread of scent, the way everything just… slows down. Now imagine that moment anchored by a tiny holder you made with your own hands. Something simple, beautiful, and completely yours.

The best part? A minimal incense holder is arguably the most beginner-friendly clay project you can make. No special tools. No complex shaping. Just a small piece of clay, a little intention, and about two hours of your time.
What You’ll Need
Everything on this list is affordable and easy to find at any craft store — or online for even less.
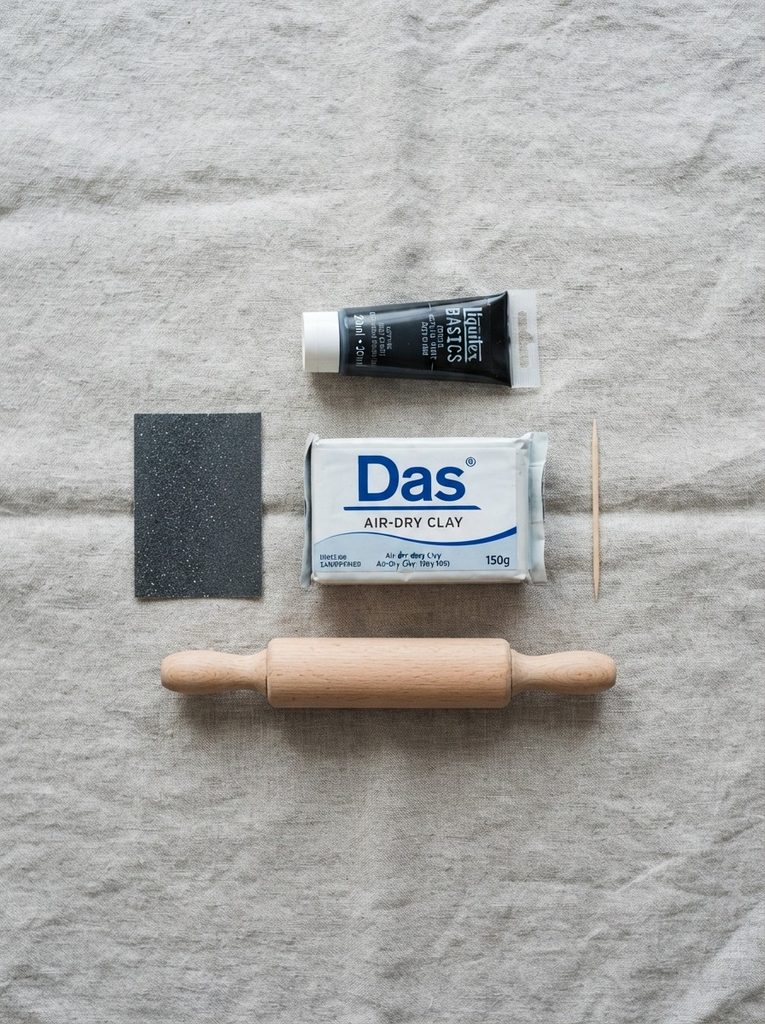
- Air-dry clay — a small handful is genuinely all you need
- A toothpick or thin skewer (for the incense hole)
- A smooth tile, cutting board, or piece of parchment as your work surface
- Fine-grit sandpaper (220 grit)
- Acrylic paint in your chosen finish — or leave it raw for an organic look
- Matte sealant spray
- A rolling pin or smooth glass bottle
Optional but lovely: a small stamp, fork, or leaf for pressing texture into the surface.
Choosing Your Incense Holder Style
Before you touch the clay, decide on your shape. This determines everything about how you’ll work with it. Here are three minimal styles that are beginner-proof:
- The Flat Dish — a small oval or rectangular slab with a pinched-up rim and a single hole. Catches ash beautifully. Easiest of all.
- The Raised Boat — a slightly curved, elongated shape that elevates the stick at a gentle angle. Elegant and sculptural.
- The Cylinder Stand — a short, solid tube or block with a hole drilled straight down the center. Clean, modern, architectural.
Pick one and commit. Trying to merge styles mid-project is where beginners lose their way.
Shaping the Clay
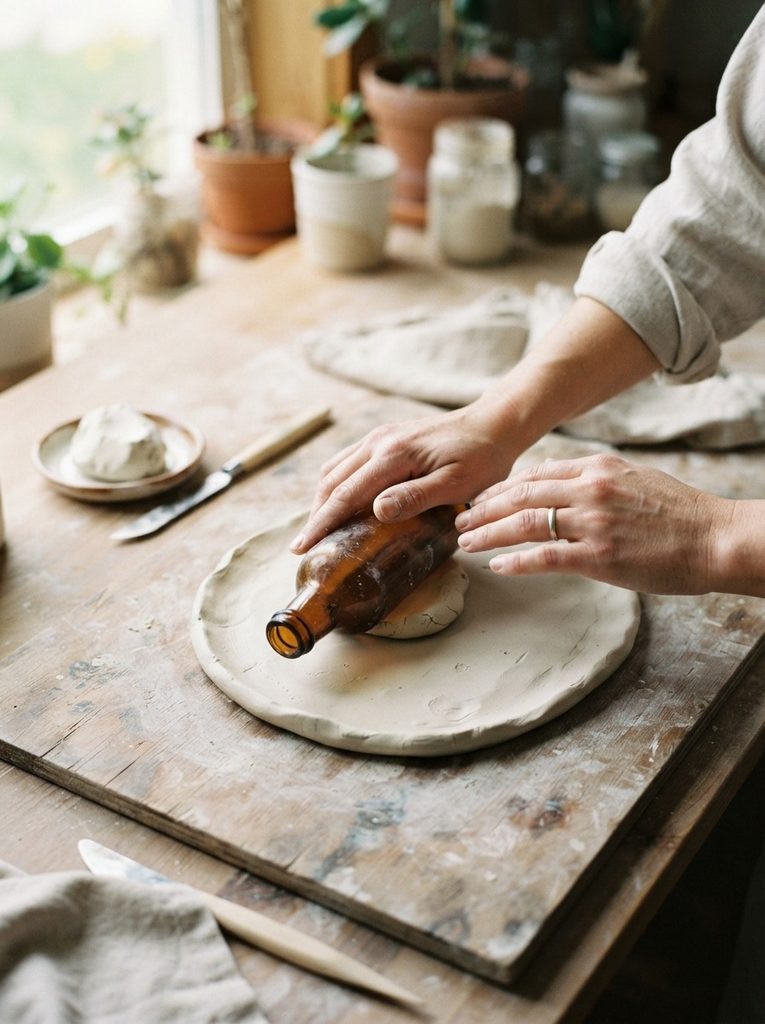
Here’s how to bring your chosen design to life:
- Condition your clay by kneading it for a minute or two. It should feel smooth and slightly warm — no cracks when you bend it.
- Roll it out to about 1cm thickness using your rolling pin or bottle. Keep the pressure even.
- Cut your shape — use a knife, a butter knife, or even just your fingers to form the outline. An oval roughly the length of your palm works perfectly for a flat dish.
- Pinch the edges upward slightly if you’re making the dish style. This creates a subtle rim that catches falling ash like a pro.
- Make the incense hole — this is the most important step. Press your toothpick or skewer straight down near one end of the holder, wiggling gently to create a clean opening. It needs to be snug but not tight. Test with an actual incense stick before the clay dries.
Key tip: The hole should grip the stick firmly enough that it stands upright at a slight angle on its own. If it’s too loose, pinch the clay gently around it while still wet.
Texturing and Detailing
This is where your holder goes from basic to intentional — and it takes less than five minutes.
Try one of these techniques:
- Fork lines drawn parallel along the length for a simple ribbed effect
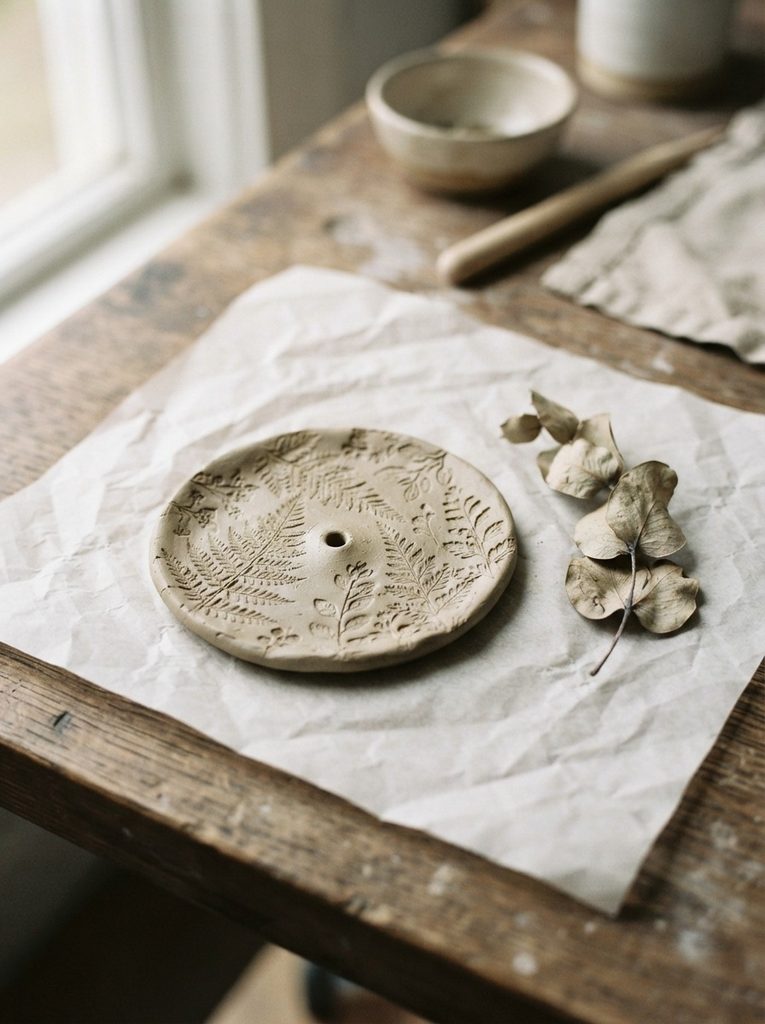
- Leaf press — lay a real leaf face-down and roll over it lightly for a nature-print impression
- Fingertip dimples pressed in a row along the rim for a handmade, organic feel
- Smooth and untouched — sometimes the cleanest look is leaving it completely plain
Once you’re done, set it on a flat surface and leave it to dry undisturbed for 24 to 48 hours. Resist the urge to move or test it early — warping happens fast with thin clay pieces.
Sanding, Painting, and Finishing
Once fully dry, run your fine sandpaper lightly over any rough edges or bumpy patches. It takes thirty seconds and makes the final piece look polished and considered.
Now, the finish:
- Raw and unsealed — beautiful in its own right, with that soft matte clay look
- Matte black — modern, dramatic, pairs with everything
- Warm white or cream — quiet, clean, spa-like
- Terracotta wash — thin down orange-brown paint with water for a sun-baked earthenware effect
Apply paint in thin layers, let each dry fully, then seal with a matte sealant spray. This step is non-negotiable — incense ash and the occasional water droplet will ruin an unsealed piece fast.
Light It Up
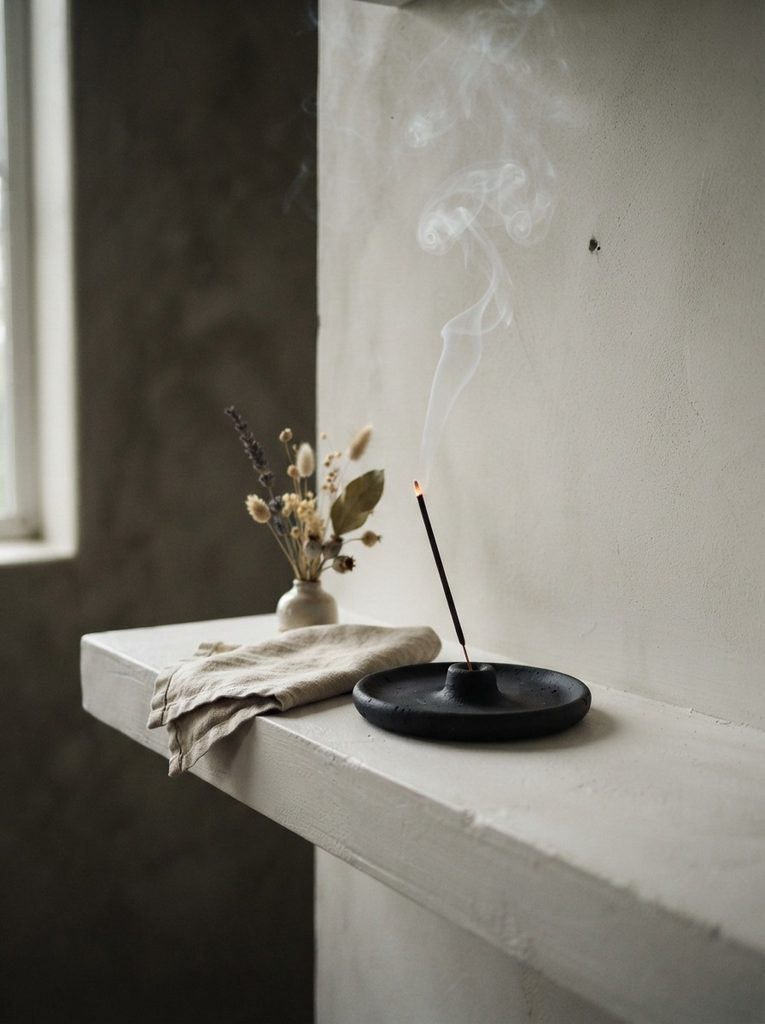
Set your holder somewhere it earns its place — a windowsill, a meditation corner, a bathroom shelf, or right beside your desk. Slide an incense stick into the hole, light it, and take a second to appreciate that this quiet, beautiful object exists because you made it.
Save this project for your next creative afternoon — it also makes one of the most thoughtful handmade gifts around. Pair it with a bundle of quality incense sticks and you’ve got something genuinely special.