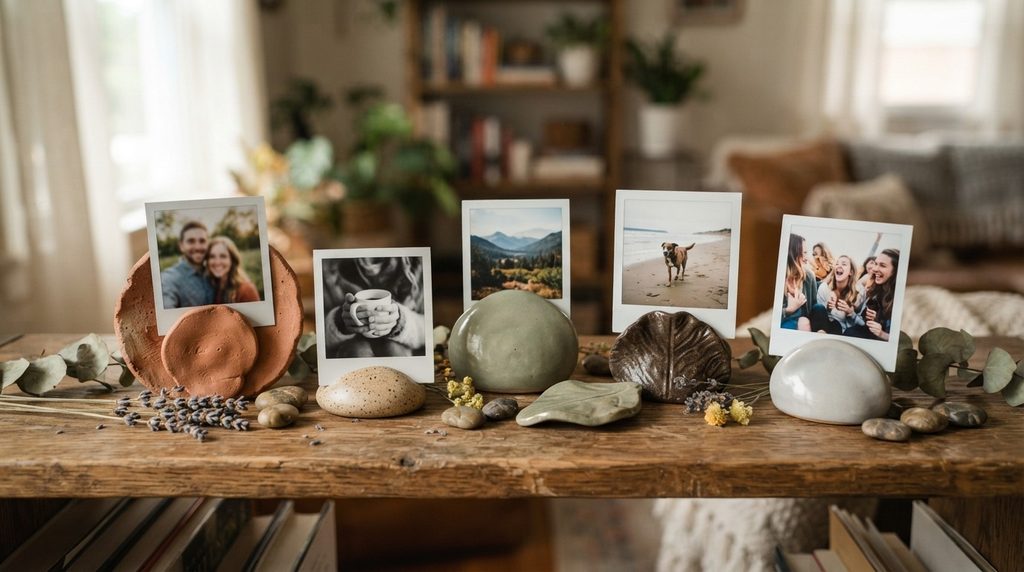
There’s something different about a photo displayed in a holder you made yourself. It feels intentional. Personal. A clay photo holder isn’t just a functional object — it’s a small piece of craft that frames a memory you actually care about. These holders are easy to make at home, cost very little in materials, and suit any style of space from minimalist to bohemian. Whether you want something for your desk, a shelf, a bedside table, or a gift for someone special, clay gives you complete control over the shape, color, and finish. This guide walks through 9 creative clay photo holder ideas that are beginner-friendly, budget-conscious, and genuinely satisfying to make and display.
1. Simple Pinch Pot Photo Stand
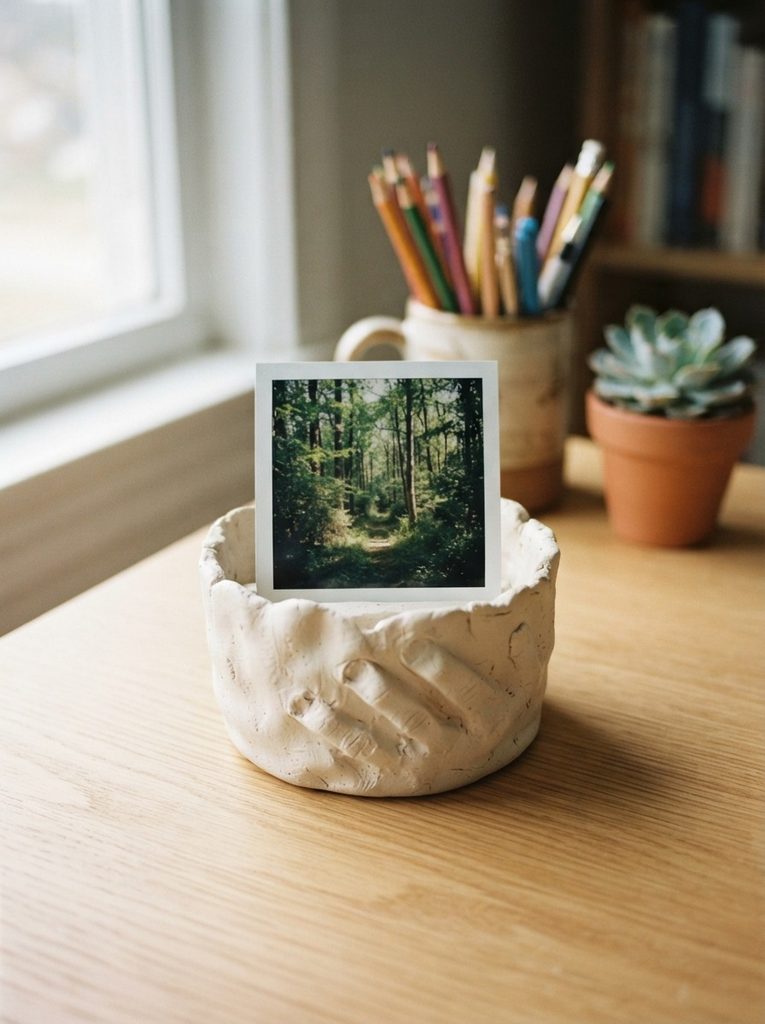
The pinch pot is the oldest clay technique there is — and it makes a surprisingly elegant photo holder.
Take a ball of air-dry clay about the size of a golf ball. Push your thumb into the center. Pinch the walls outward and upward to form a small open cup shape.
As the walls rise, press a small slit or gap into the rim on one side. This slot is where your photo slides in.
The slot should be about a quarter inch wide and half an inch deep — enough to grip a standard 4×4 or 4×6 photo without it falling over.
Let the pot dry naturally for 24–36 hours. Don’t rush it. Drying too fast causes cracking.
Once dry, paint it or leave it in its natural off-white tone. Both look beautiful.
Seal with Mod Podge to protect from moisture.
Budget tip: Air-dry clay from a dollar store works perfectly well for this project. You don’t need a premium brand.
The fingerprint marks left by pinching add texture and character. No two pinch pot holders look the same, which makes each one feel genuinely handmade and personal. Cost to make one: around $2–$4.
2. Flat Slab Arch Photo Holder
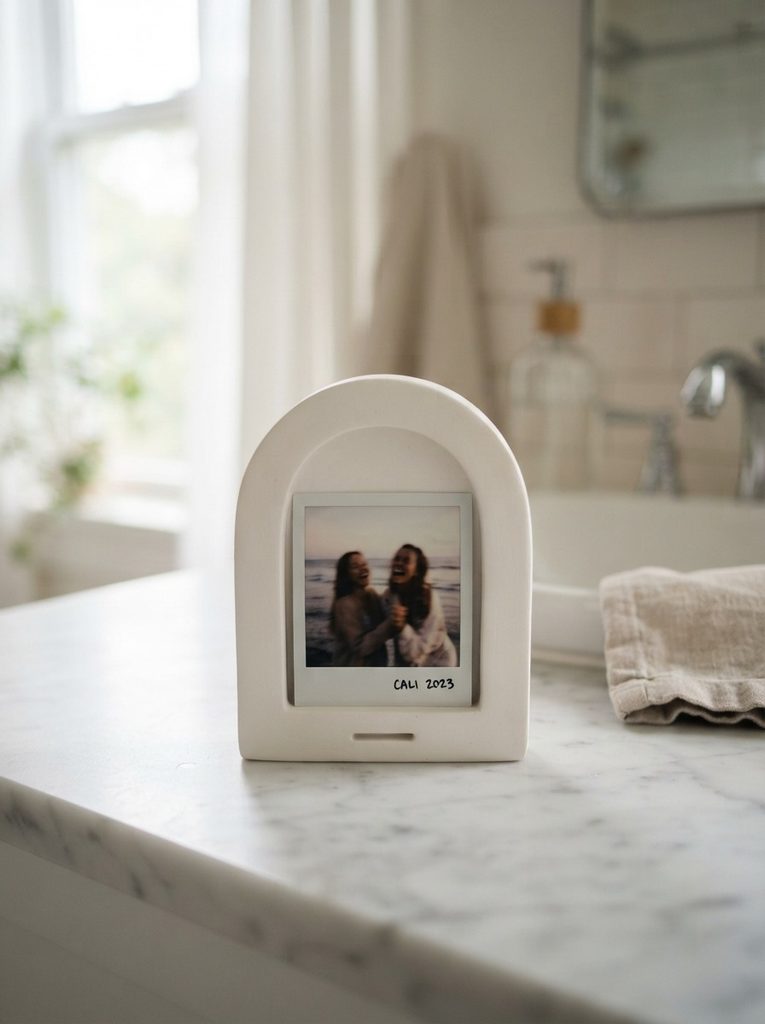
An arch shape looks architectural and minimal. It suits modern, Scandinavian, and neutral-toned spaces perfectly.
Roll your clay into a flat slab about a quarter inch thick. Use a rolling pin or smooth bottle to get an even surface.
Cut a simple arch shape — a rectangle with a rounded top. The total height should be around 3–4 inches.
Cut a narrow rectangular slot near the base of the arch, about half an inch up from the bottom. This holds the photo upright.
The slot should match the thickness of a standard photo print — roughly an eighth of an inch wide.
Let the slab dry completely flat so it doesn’t warp. If it starts to curl, gently press it back flat and weight it with a book.
Once dry, sand the edges lightly with fine-grit sandpaper for a smooth, refined finish.
Paint in white, black, terracotta, or sage green depending on your space.
Display tip: Make a matching set in different heights. Arrange them in a group of three for a styled shelf look.
Cost per arch holder: around $2–$3 in materials. The look is worth far more than that.
3. Air-Dry Clay Leaf Holder

A leaf holder brings organic texture and a natural feel to any shelf or windowsill.
Pick a large, sturdy leaf from outdoors — a magnolia, monstera, or maple leaf all work well. This becomes your texture mold.
Roll clay into a slab. Press the leaf firmly onto the clay, vein-side down. Roll gently over the top to press the texture in.
Lift the leaf carefully. Cut around the impression to follow the leaf shape.
At the base of the stem area, attach a small coil of clay rolled flat to act as a foot and slot. Press it firmly and blend the join.
Let the whole piece dry slowly on a slightly curved surface — like resting over a folded towel — to give the leaf a gentle natural curve.
Once dry, paint in sage green, olive, or rust brown. Dry-brush a slightly lighter tone on the raised veins for depth.
Seal with clear matte sealant.
Tip: Press the leaf on both sides of your clay slab and cut out two identical pieces. Stack and dry slightly apart for a layered look.
Materials cost: around $3–$5. Real leaves are free.
4. Terracotta-Toned Cylinder Stand
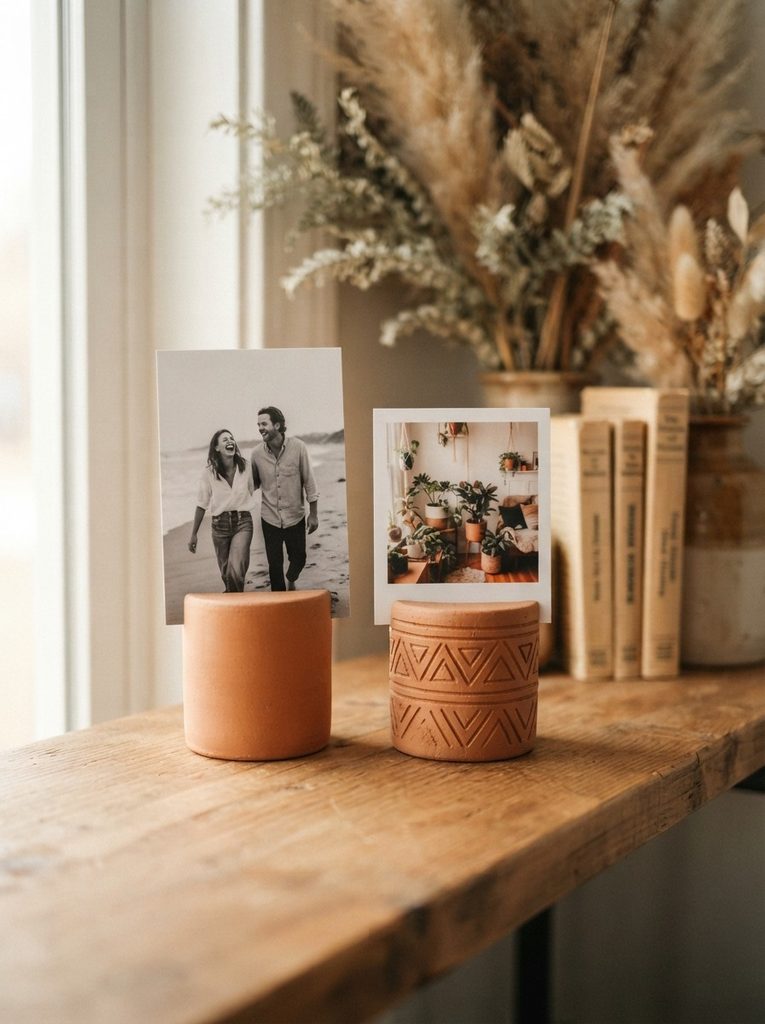
A cylinder stand is clean, stable, and endlessly adaptable in its decoration.
Roll a thick coil of clay. Stand it upright and smooth the outer surface with damp fingers. Aim for a cylinder about 2 inches tall and 1.5 inches in diameter.
Flatten the base by pressing it gently on a smooth surface so it stands without rocking.
Cut a vertical slot into the top of the cylinder, about half an inch deep. This holds the photo upright like a traditional photo stand.
Before drying, decorate the outer surface. Options include:
- Pressing a toothpick in zigzag patterns
- Rolling a textured fabric over the surface
- Pressing small dots with the tip of a pen cap
Let dry fully — about 36–48 hours for a piece this thick.
Paint in terracotta tones or leave the natural clay color. A coat of matte varnish deepens the earthy look.
Budget tip: Mix a little red and orange acrylic into white clay paint to get a true terracotta tone without buying terracotta-colored clay.
Three cylinder stands grouped together on a shelf create a simple, gallery-like display. Total cost for three: under $10.
5. Heart-Shaped Clay Photo Prop
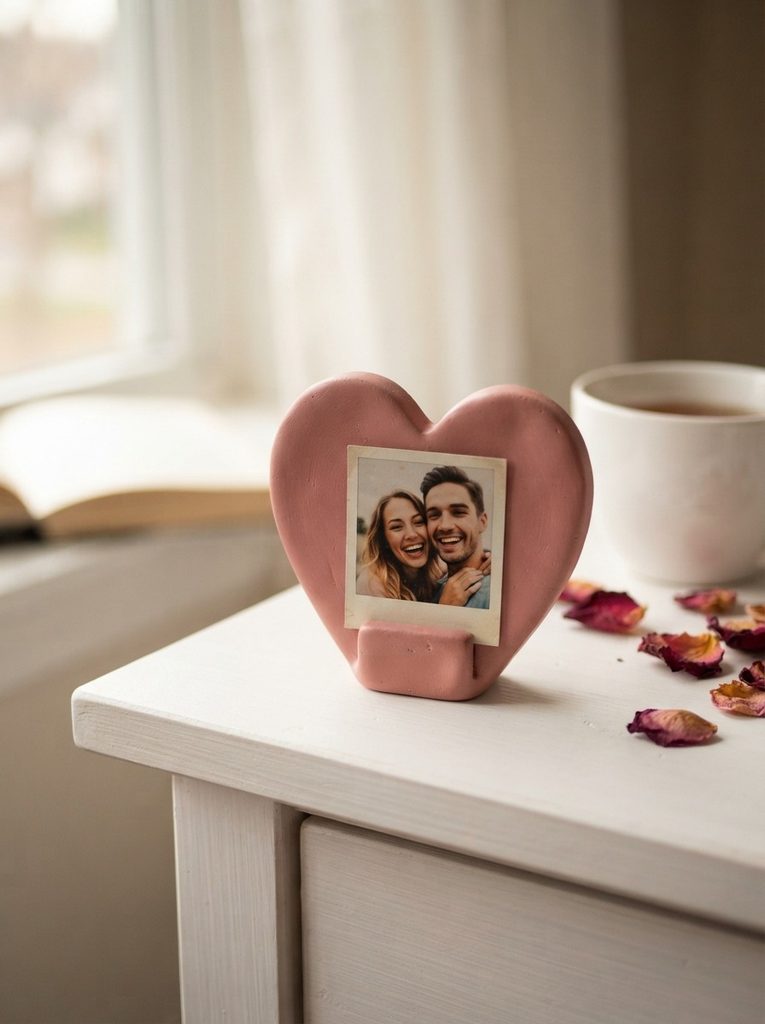
A heart holder is romantic, personal, and works beautifully as a gift for anniversaries, Valentine’s Day, or new parents.
Roll polymer or air-dry clay to about a third of an inch thick. Cut a heart shape using a cookie cutter or by hand with a craft knife.
The heart should be roughly 3 inches wide — large enough to be stable but small enough to sit neatly on a bedside table.
Cut a narrow slot through the bottom center of the heart, running up about an inch. This is where the photo slides in.
For polymer clay: bake according to the package instructions. For air-dry: let dry flat on parchment paper.
Once dry or cured, sand the edges smooth. Paint in dusty rose, white, red, or burgundy.
Add details if you like — a small pressed texture around the border, or a thin gold paint outline along the edge.
Gift wrapping tip: Place the finished heart in a small white gift box with tissue paper and a handwritten note. It looks far more expensive than it costs to make.
Cost per heart holder: $2–$4. A pack of polymer clay gives you enough for 8–10 hearts easily.
6. Wired Coil Clay Base Stand
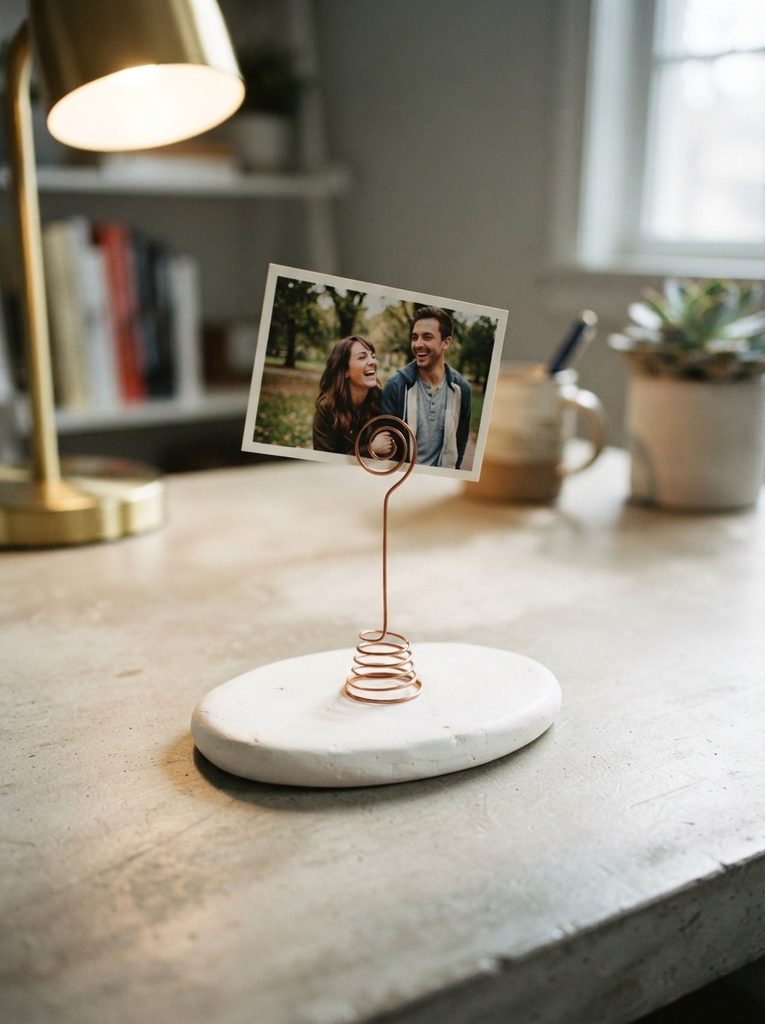
This design uses a wire coil rising from a clay base to hold a photo at a beautiful tilted angle.
Flatten a small oval of clay — about 3 inches long and 2 inches wide — for the base. Make it about half an inch thick so it’s heavy enough to not tip.
Before the clay dries, press a short coil of copper or aluminum wire into the center. The wire should rise about 2–3 inches above the base. Coil the wire loosely — the gaps in the coil grip the edge of a photo.
Press the wire ends firmly into the clay base. Let dry completely with the wire in place.
Once dry, the wire is anchored. Slide a photo or polaroid into the coil — the wire grips it lightly without damaging the photo.
Paint the base in white, black, gold, or terracotta.
Wire tip: Copper wire from a hardware store costs around $3 for a small roll and makes dozens of holders. Aluminum wire from craft stores also works and is easier to bend by hand.
The angled photo display gives this stand a casual, editorial feel — like something from a lifestyle magazine photoshoot.
Cost per stand: under $4.
7. Mini Clay Easel Photo Stand
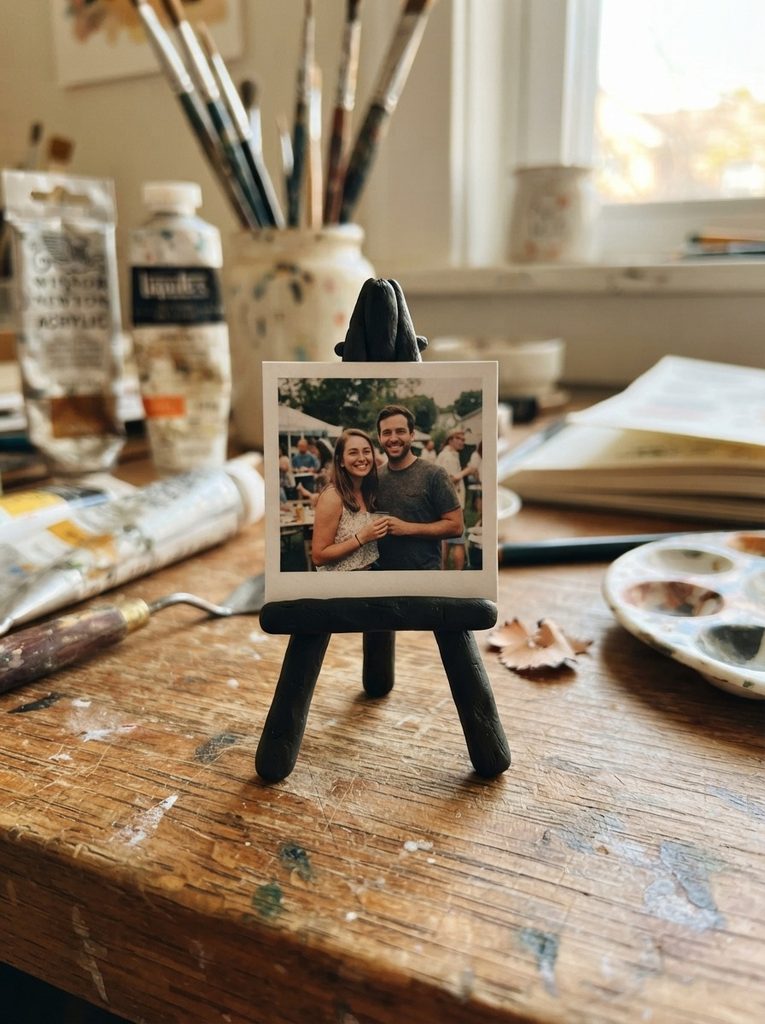
A miniature clay easel mimics a real artist’s easel and gives photos a gallery-style presentation.
Shape three thin clay rods of equal length — about 3 inches each. These are the legs.
Press the tops of all three together. Fan two legs to the front and one to the back to form a tripod base. Press a thin flat crossbar between the two front legs, about halfway down. This is the ledge where your photo rests.
Make sure the crossbar is thick and sturdy enough to hold a photo without snapping after baking.
For polymer clay: bake carefully. Thin pieces can be fragile. Handle gently after baking.
For added strength, reinforce the joint at the top with a tiny ball of clay pressed and smoothed over the connection point before baking.
Once baked and cooled, paint in matte black, white, or natural wood tones using brown and tan acrylic paint.
Lean a small photo against the top of the easel, resting on the crossbar ledge.
Size tip: Keep the whole easel under 4 inches tall. Larger versions become unstable with thin clay legs.
A set of three mini easels looks fantastic on a bookshelf or desktop. Cost for three: around $5–$8.
8. Textured Stone-Look Photo Block
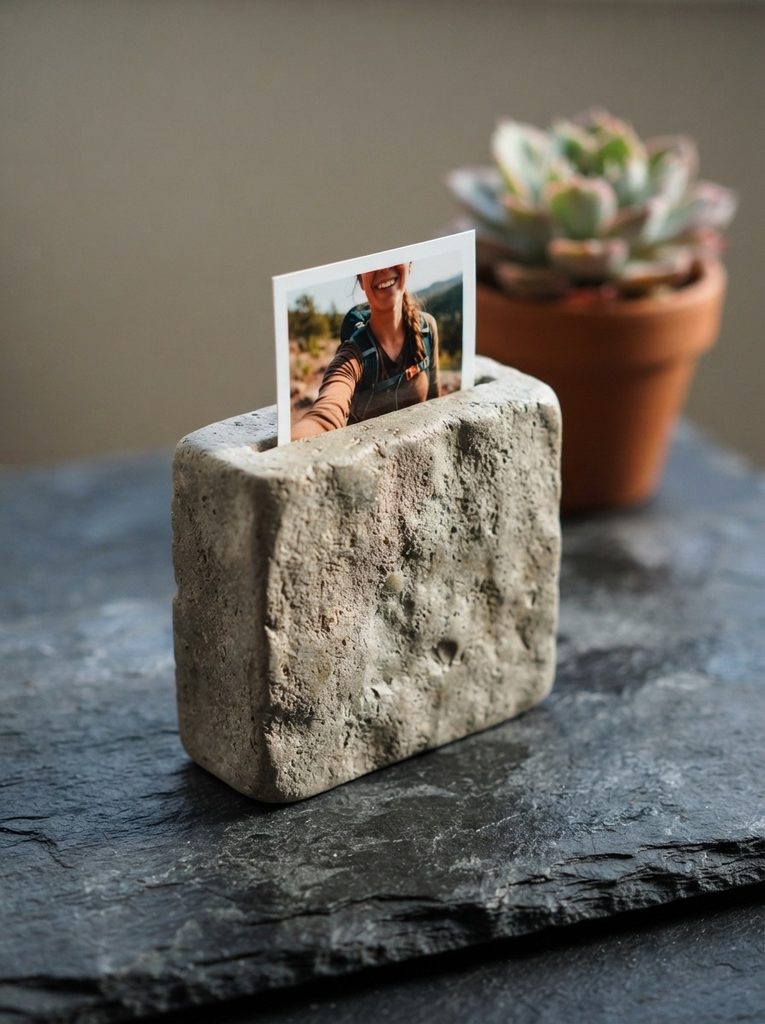
A stone-look block holder is bold, tactile, and suits a modern or industrial-style space.
Shape a rectangular block of air-dry clay — roughly 2.5 inches wide, 1.5 inches deep, and 2 inches tall. Use your hands to press it into a rough block shape.
Don’t smooth the surface. Instead, press crumpled aluminum foil all over the exterior. This creates an irregular, rocky texture that mimics natural stone.
Cut a slot across the top edge of the block, about a quarter inch wide and half an inch deep.
Let the block dry completely. Because it’s thick, this may take 48–72 hours.
Once dry, paint in layers. Start with a dark grey base coat. Dry-brush lighter grey over the texture. Finish with a very light dry-brush of white to highlight the raised areas.
The layered painting technique creates a convincing stone effect without any special materials.
Stabilizing tip: If the block feels light, you can press a few small pebbles into the base before drying to add weight and prevent tipping.
Seal with matte varnish to protect the paint.
Cost per block: around $3–$5. It looks like something you’d find in a high-end stationery shop.
9. Personalized Name Initial Photo Holder
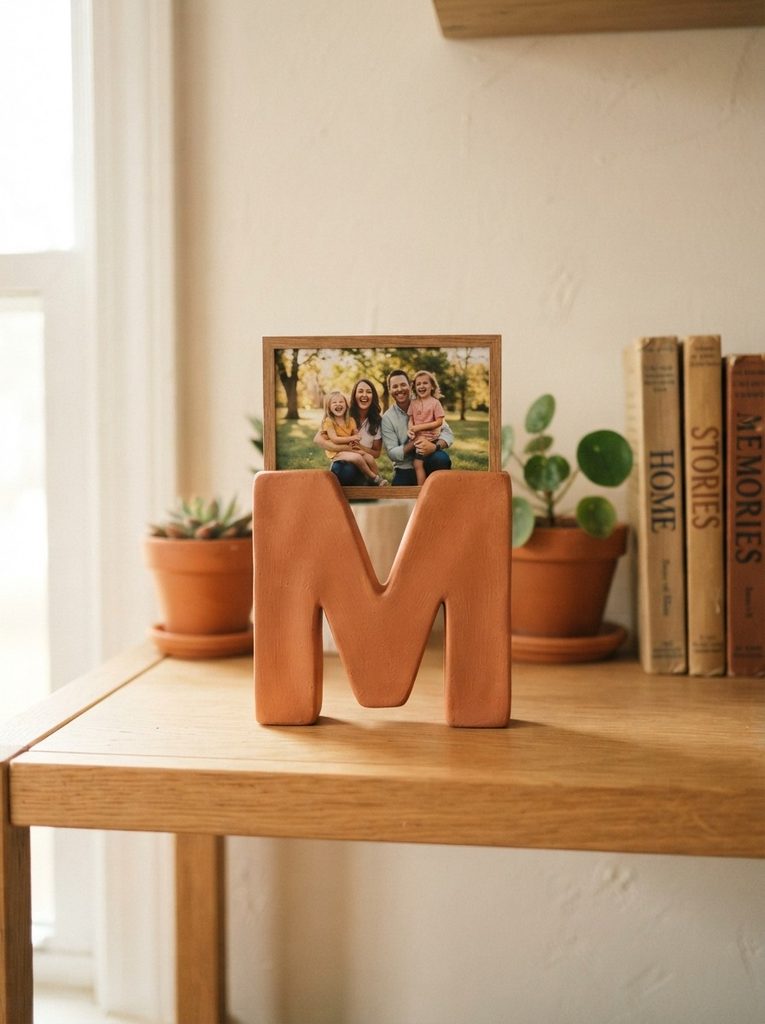
A letter-shaped holder adds a personal, monogram touch that works for any room.
Choose a bold, blocky letter — the first initial of a name, or a word like LOVE or HOME. Blocky fonts are more stable and easier to shape in clay.
Roll clay to about half an inch thick. Cut the letter shape by hand with a craft knife, using a printed paper template as a guide.
The letter needs a flat base to stand on. Make sure the bottom of the letter has enough flat surface to balance upright. If it’s unstable, attach a small clay foot to the back.
Dry the letter upright or propped carefully so it holds its vertical position.
Once dry, sand any rough edges. Paint in your chosen color — terracotta, white, sage, or navy all look refined.
Rest a photo against the back of the letter, leaning it gently. The letter itself acts as the support.
Alternative approach: Attach a small wire loop to the back during drying. Hang the letter on a wall and clip a photo to it with a small clothespin.
Cost: A large letter holder costs around $3–$6 in materials and makes a deeply personal gift.
Conclusion
Clay photo holders are one of the most rewarding things you can make by hand. They’re affordable, beginner-friendly, and the result is something genuinely useful that lives in your home every day. A pinch pot, an arch slab, a leaf impression, or a simple letter — each one takes less than an afternoon to make and costs under $10 in materials. More than that, they give your favorite photographs a home that feels intentional rather than thrown together. Pick one design from this list, gather your clay and tools, and start making. Your photos deserve a display as personal as the memories they hold.