Skip to content

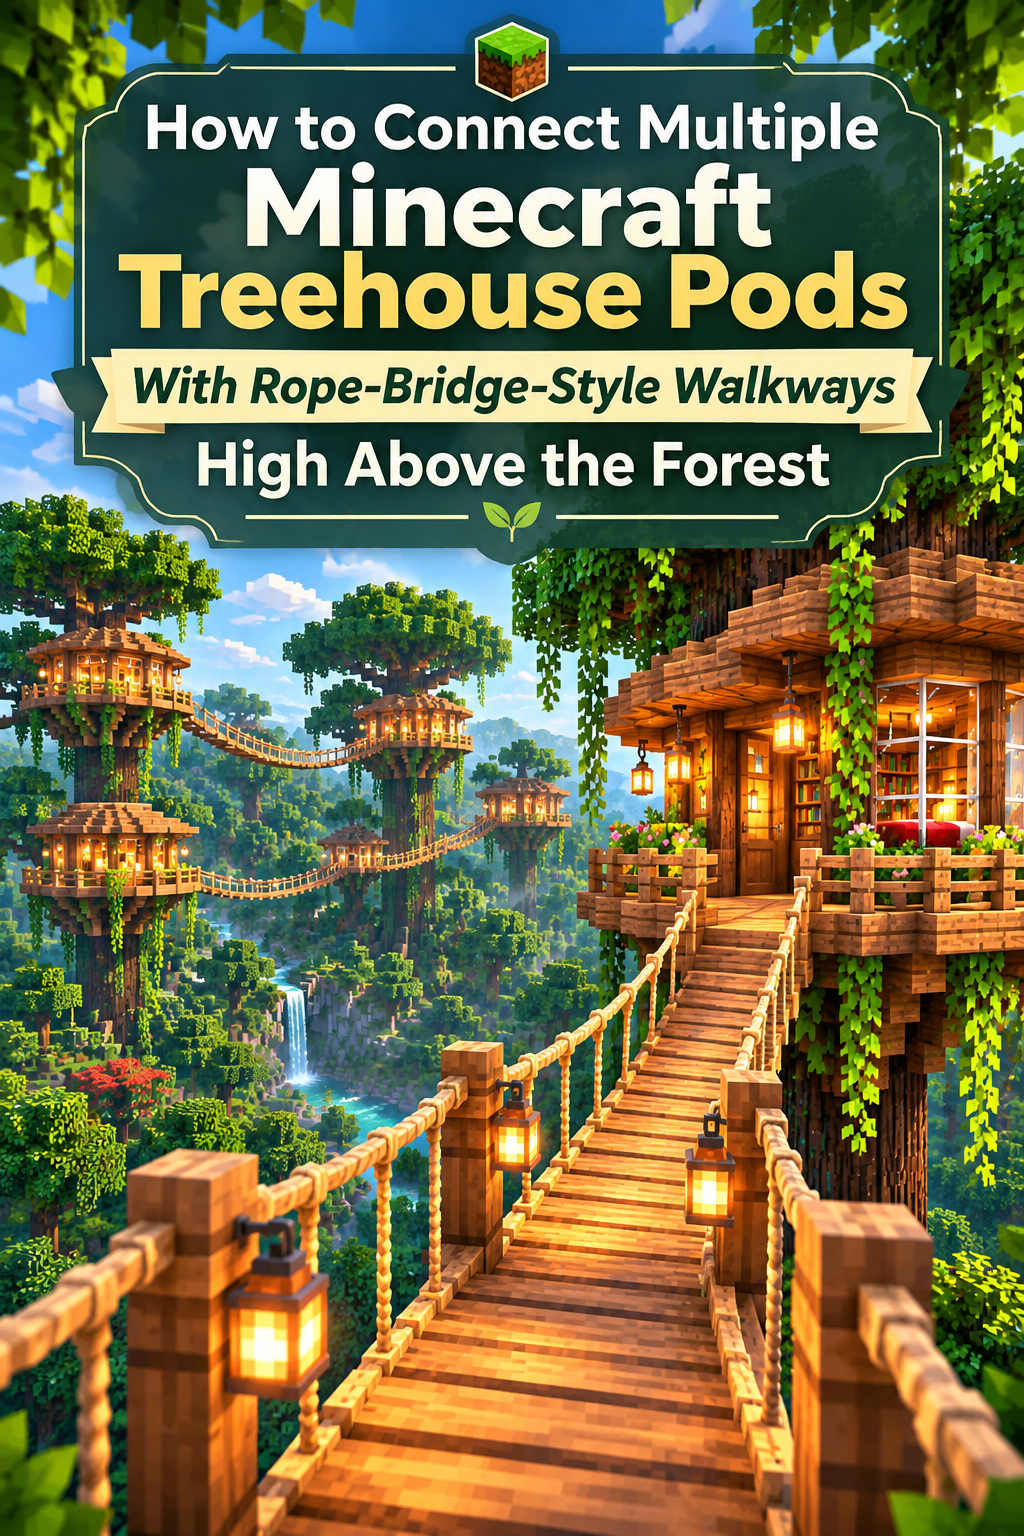
Picture a village in the clouds: little round treehouses nestled in giant canopies, linked by swaying rope bridges, with lanterns glowing as the sun dips behind the trees. Now picture building it yourself, block by block.
Connecting your treehouse pods with rope-style walkways turns separate builds into one magical sky village. Here’s how to do it in a way that looks natural, charming, and a little adventurous.

Plan Your Sky Village Layout
A little planning keeps your bridges from looking tangled.
- Choose a cluster of large trees (dark oak, jungle, or custom giant trees)
- Place pods at different heights for a layered look
- Decide on a central “hub” pod with the biggest platform
- Sketch bridge routes with temporary wool or scaffolding blocks
Tip: Keep bridges between 8 and 15 blocks long. Shorter feels cramped, and longer needs extra supports.
Pick a Cohesive Block Palette
Consistent materials make the whole village feel connected.
- Pods and platforms: spruce or oak planks with stripped log frames
- Bridge deck: dark oak or bamboo planks for a rope-and-plank feel
- Ropes and rails: fences, chains, and lead-colored accents
- Accents: lanterns, vines, moss, and leaf blocks
Mixing two woods plus one accent color is plenty.

Build Sturdy Anchor Points
Every good bridge starts with strong supports.
- Build a small platform or landing on each pod’s edge.
- Add corner posts using logs or stripped logs.
- Attach fences or chains to the posts as bridge anchors.
- Add a small roof or lantern post at each landing to mark the entry.
Use stairs and slabs around the anchors so they feel structural, not stuck on.
Lay the Bridge Deck
Here’s where the rope-bridge look begins.
- Place planks in a straight line between the two anchors
- Alternate between slabs and full blocks for a slightly uneven feel
- Add trapdoors on the sides to mimic hanging wooden boards
- Keep the walkway 1 to 2 blocks wide
Pro tip: A small sag in the middle looks more realistic than a perfectly flat bridge. Lower the center by 1 to 2 blocks.
Create the Rope Railings
Railings make a bridge look believable.
- Place fences or chains along both sides of the deck.
- Add a second rail one block higher with fences or walls.
- Hang chains or vines downward at intervals for rope support lines.
- Run diagonal supports from the anchor posts to the rail for a suspended look.
Use chains for the upper line and fences for the lower for a layered effect.

Add Depth and Detail
Details turn a plain walkway into something special.
- Add stairs on the corners for curved railing shapes
- Use trapdoors as hanging boards or ropes under the deck
- Attach banners or flags at the bridge’s midpoint
- Hang lanterns from chains every 3 to 4 blocks
- Drape vines and leaves for a lived-in look
Link the Pods With Variety
Don’t repeat the same bridge everywhere.
- Straight bridge: simple and classic
- Curved bridge: use stairs and slabs for a gentle arc
- Covered bridge: add a small wooden roof for rainy weather
- Spiral path: wrap a walkway around a trunk for vertical connection
- Lift platform: use a slime or honey elevator for a pod high above
Mix two or three styles so the village feels like it grew over time.
Light It Up for Night
Lighting keeps the build safe from mobs and looks stunning.
- Place lanterns on every post or hang them from chains.
- Add glow lichen or shroomlights under the decks for hidden light.
- Use campfires on platforms for a cozy glow.
- Keep spacing even so no dark gaps allow monsters to spawn.

Furnish the Pods and Walkways
A few touches make the whole village feel inhabited.
- Add benches, barrels, and flower pots along the platforms
- Place item frames and banners on pod walls
- Set up a small lookout with a spyglass and a telescope-like design
- Add ladders and rope-style climbing routes down to the forest floor
- Include storage chests tucked into corners
Safety and Survival Tips
- Add railings everywhere to avoid accidental falls
- Place water buckets or slow-falling potions near high edges
- Light every platform to prevent mob spawns
- Use scaffolding for fast building, then replace it with final blocks
- Build in creative mode first if you want to test layouts

Final Thoughts
Rope-bridge walkways turn a handful of treehouses into a living, breathing village in the sky. Plan your anchors, add a gentle sag, light every path, and layer in the details. Start with two pods and one bridge, then watch your forest grow.
Loved this guide? Save this post to your Minecraft Builds board and start connecting your treehouse village this weekend!