Skip to content

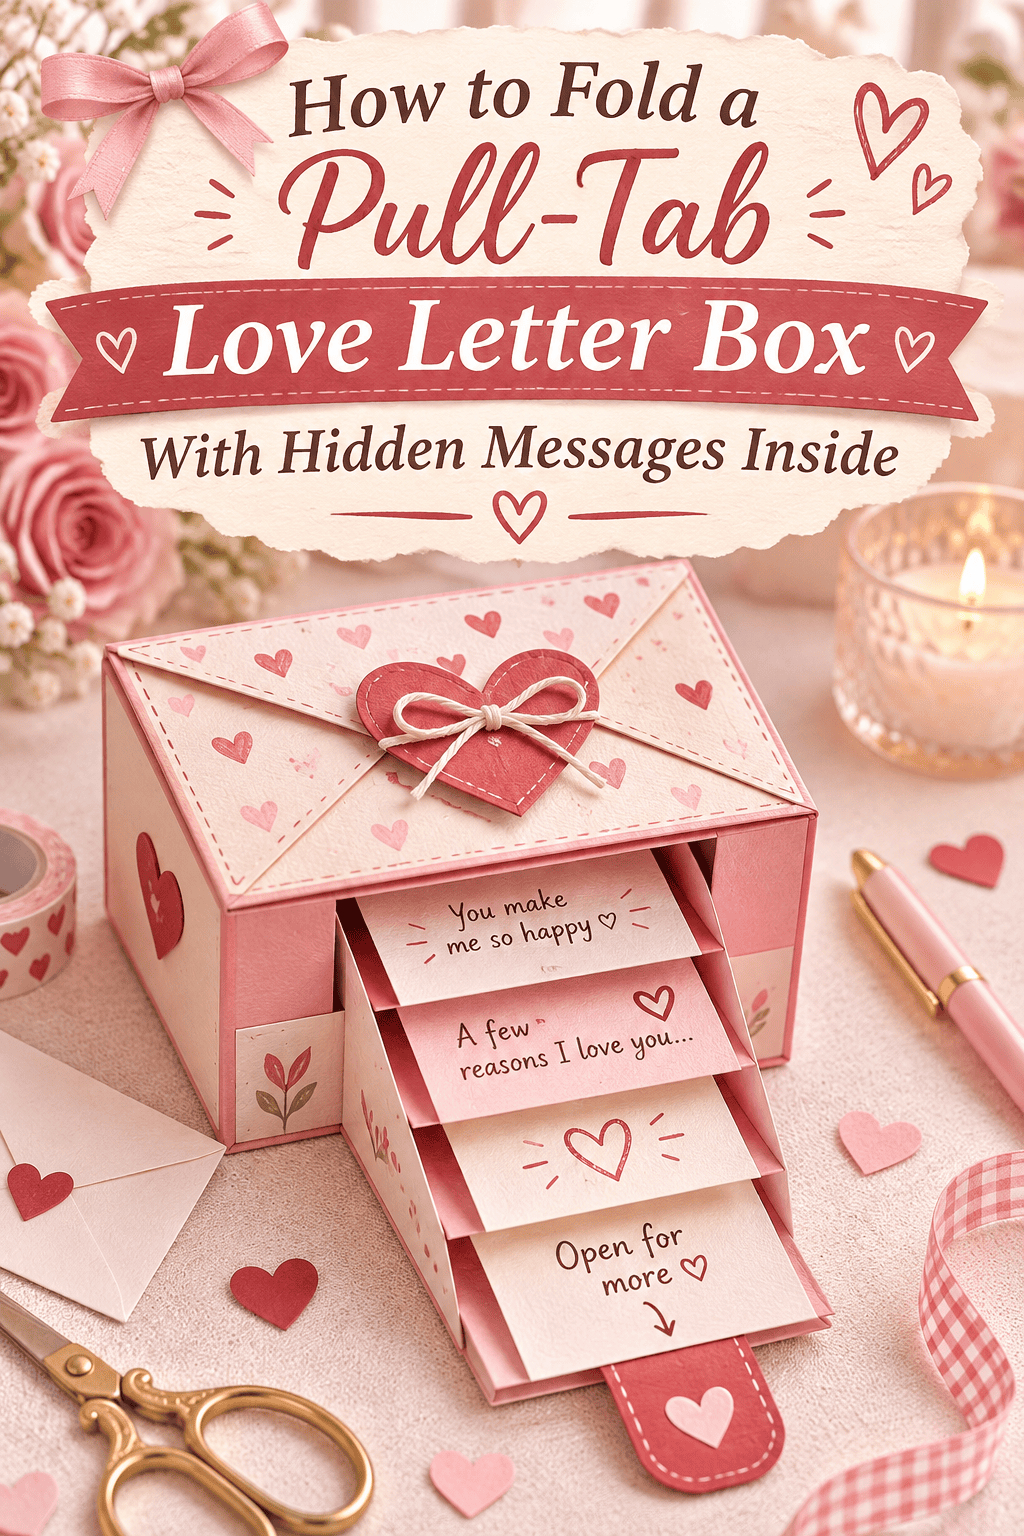
Imagine handing someone a small, beautiful box. They tug a little paper tab, and the lid glides open to reveal tiny folded notes, each one a message just for them.
It’s romantic, playful, and surprisingly simple to make with paper and patience. Perfect for anniversaries, birthdays, or a “just because” surprise. Let’s fold one.

What You’ll Need
- Heavyweight cardstock (65 to 80 lb) in two coordinating colors
- Thin patterned or vellum paper for the lining
- Ruler and pencil
- Bone folder or the back of a spoon
- Craft knife and cutting mat
- Double-sided tape or strong craft glue
- Small scissors
- Thin ribbon or string for the tab
- Small slips of paper for messages
- Optional: stickers, wax seal, dried flowers, and gel pens
Tip: Score every fold before creasing. It gives sharp, professional edges and prevents cracking.

Step 1: Cut Your Pieces
You’ll make two parts: an outer sleeve and an inner sliding tray.
- Sleeve: Cut a rectangle 8 x 4 inches.
- Tray: Cut a rectangle 7 x 5 inches.
- Pull tab: Cut a strip 1 x 3 inches.
- Mark all fold lines lightly with pencil before scoring.
Adjust sizes if you want a larger box. Just keep the tray slightly narrower than the sleeve so it slides smoothly.
Step 2: Fold the Sleeve
- Score the sleeve rectangle every 2 inches along the long side
- Fold along each score line to form four sections
- Overlap the last section by half an inch and glue it to form a square tube
- Press flat and let it set
The tube should be open at both ends, like a sleeve for a matchbox.
Step 3: Build the Sliding Tray
- Score 1 inch in from each long edge of the tray piece.
- Fold the edges upward to make walls.
- Cut small notches at the corners and fold the short sides up.
- Tuck and glue the corner flaps for a sturdy box shape.
- Test the fit inside the sleeve and trim if it sticks.
Pro tip: Rub a pencil lightly along the tray’s outer sides. The graphite helps it slide like silk.

Step 4: Add the Pull-Tab Mechanism
This is what makes the box feel magical.
- Fold the 1 x 3 inch strip in half lengthwise and glue it flat.
- Attach one end to the inside front edge of the tray with strong tape.
- Leave the other end sticking out of the sleeve as your pull-tab.
- Tie a thin ribbon or add a small paper heart at the tab’s end.
- Test by sliding the tray in and out a few times.
If it catches, trim the tab or smooth the inside of the sleeve.
Step 5: Write the Hidden Messages
Here’s where the heart comes in.
- Cut small slips of paper (about 1 x 3 inches)
- Write short notes: memories, compliments, inside jokes, or reasons you love them
- Number them for a guided reading
- Try themed notes like “Open when you’re sad” or “Read on your birthday”
- Fold or roll each note and tie with thin twine
Aim for 7 to 12 messages. Variety keeps it fun.

Step 6: Decorate the Outside
Make it unmistakably yours.
- Layer a patterned paper panel on the sleeve
- Add a vellum overlay for a soft, dreamy effect
- Stick on a wax seal, sticker, or tiny dried flower
- Draw a border with a gold pen
- Add initials or a small heart in the corner
Stick to two or three colors so the design feels polished.
Step 7: Fill It With Extras
Go beyond paper.
- Tiny photos of favorite memories
- A pressed flower or a sprig of lavender
- A wrapped chocolate or a tea bag
- A small ticket stub or a handwritten coupon
- A secret message on the inside of the lid or tray
Tip: Add a note at the bottom of the tray. Pulling it out slowly reveals the final surprise.
Gift It Beautifully
- Tie the box with a ribbon and tuck in a dried rose
- Set it on a small plate with a card and a candle
- Slip it into a kraft envelope for mailing
- Present it with a bouquet or breakfast tray

Fun Variations
- Anniversary box: gold accents with 12 notes, one for each month
- Friendship box: bright colors and silly memories
- Birthday box: a note for each year or favorite quality
- Advent-style box: a note to open each day of a week
- Long-distance box: mail it with a playlist and a photo
Troubleshooting Tips
- Tray won’t slide? Sand the edges or trim a few millimeters
- Tab keeps tearing? Use thicker paper or add a ribbon loop
- Folds look rough? Re-score and use a bone folder
- Glue showing? Use double-sided tape for cleaner edges
Final Thoughts
A pull-tab love letter box is more than paper and glue. It’s a small, tactile way to say “I thought of you.” Fold with care, fill it with honest words, and watch their face light up with every pull.
Loved this idea? Save this post to your DIY Gifts board and make your love letter box this weekend!