Skip to content

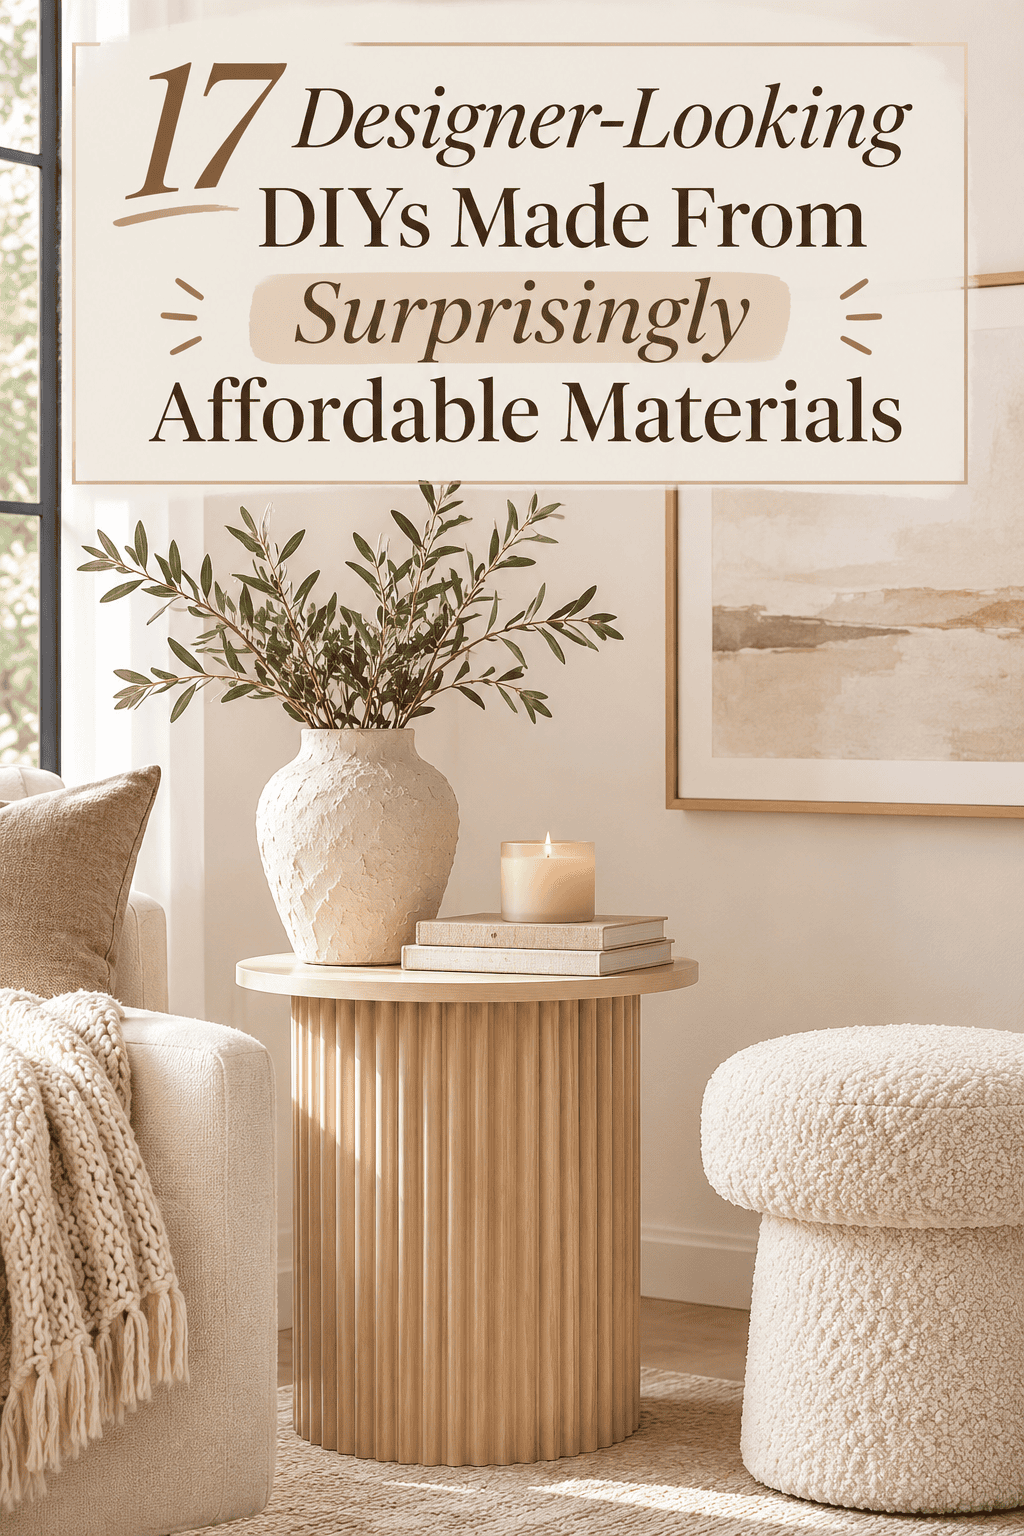

Designer decor often costs more for the finish than for the materials. Plaster, rope, wood slats, linen, and paint all cost little, yet they show up in expensive shop pieces. The trick is copying the shapes and textures, not the price tag. If you are searching for designer-looking DIY home decor on a budget, this list gives you 20 projects to try. Each one starts with a cheap material from a hardware store, thrift shop, or craft aisle. Each one finishes in an afternoon and looks calm and polished on a shelf. Pick one, gather your supplies, and make something that looks far more expensive than it was.
1. Fluted Vase From a Plain Bottle
Fluted vases cost a lot in stores. You can copy the look with a bottle and a bag of dowels.
Pick a tall glass bottle or jar with straight sides. Wash it and dry it well. Cut thin wooden dowels or craft sticks to match its height.
Glue each dowel upright around the bottle with strong craft glue. Press them close together with no gaps. Work in small sections and hold each one for a few seconds.

Wrap a rubber band around the bottle to hold the dowels while the glue sets. Let it dry for a few hours.
Paint the whole vase in cream, sand, or soft sage with matte acrylic paint. Two coats give an even, stone look.
Use it for dried stems only. Water can loosen glue.
Save money by using bamboo skewers with the points trimmed.
Make three in different heights for a styled trio.
2. Textured Plaster-Look Canvas Art
Textured art sells for hundreds. You can make a version with a cheap canvas and joint compound.
Buy a plain canvas at a craft store. Scoop lightweight joint compound from a small tub onto it. Spread it with a putty knife in sweeping arcs. Leave ridges and ripples.
Keep the layer thin in some areas and thicker in others. The unevenness is the design.

Let it dry for 24 hours. Sand any sharp peaks lightly.
Paint it in warm white, sand, or clay with a wide brush. Dry brush a slightly darker shade over the ridges to bring out the texture.
Save money by using leftover wall filler from home repairs.
Wear a dust mask when sanding.
Lean the canvas on a shelf or hang it with a sturdy hook. Pair a large piece with a small matching one.
3. Rope-Wrapped Storage Basket
Rope baskets look pricey in shops. Rope costs little by the foot.
Buy cotton clothesline or rope about a quarter inch thick. Coil one end into a tight flat circle for the base. Glue as you go with hot glue or fabric glue.
Keep coiling outward until the base is the size you want. Turn the rope upward to build the walls. Stack each layer on top of the last and glue it.

Pick a size that fits a throw blanket. About 14 inches wide and 12 inches tall works well.
Add a dark thread or fabric strip wrapped around a few rows for a stripe. It looks planned.
Make two small rope handles by leaving a gap and gluing a loop of rope.
Save money by wrapping rope around a plain cardboard box instead of coiling from scratch.
Set the basket beside the sofa for blankets or on a shelf for towels.
4. Stacked Stone-Look Candle Holder
Stacked stones look natural and expensive. Clay and paint give you the same effect.
Roll air-dry clay into three balls of different sizes, from a plum to a golf ball. Flatten the top and bottom of each slightly so they stack. Smooth them with a damp finger.
Press a taper candle into the top ball to make a snug hole. Remove the candle. Let all pieces dry for two days.

Paint them in gray, cream, and charcoal with a sponge. Flick on tiny specks with a toothbrush for a granite look.
Glue the stones together from largest to smallest. Seal with a matte varnish.
Use a battery taper if you prefer no flame. Keep real candles away from curtains and paper.
Save money by making a set of three stacks from one block of clay.
Group them on a tray with a small plant.
5. Linen-Wrapped Lamp Shade
A plain shade is dull. Linen turns it into a warm, textured piece.
Buy a plain white drum shade or find one at a thrift store. Cut linen or cotton fabric a few inches taller than the shade and about two inches longer than its circumference.
Spray the shade with fabric adhesive or brush on thin glue. Press the fabric on, smoothing as you go. Overlap the seam at the back.

Fold the extra fabric over the top and bottom edges and glue it inside. Trim any extras.
Add a trim of ribbon or twine along each rim to hide the edges.
Choose oatmeal, cream, or soft gray. Neutral tones look high-end.
Save money by using an old linen napkin set or a pillowcase.
Use a warm LED bulb. Keep it cool to the touch so the glue and fabric stay safe.
6. Wooden Slat Wall Panel
Slat walls are a design trend. Thin lath strips make one for a fraction of the cost.
Buy wood lath or thin pine strips in lengths of four feet. Sand them lightly. Stain or paint them in oak, walnut, or black.
Cut a backing board from thin plywood or felt. Glue the strips onto it, spaced about half an inch apart. Use a small spacer to keep the gaps even.

Let the glue dry for a day. Hang the finished panel with heavy-duty strips or screws. Check the weight first.
Keep the panel to a small area, like behind a bed or desk. A narrow section looks sleek.
Save money by using scrap wood from a home project.
Rent a place? Build the panel on a freestanding board and lean it against the wall.
Add a small lamp or a plant beside it.
7. Boucle-Look Pillow Cover
Boucle costs a lot per yard. A cozy towel or fleece gets close.
Find a cream bath towel or a thick terry cloth at a thrift store. Terry loops look like boucle from a distance. Cut two squares about 18 inches wide.
Place the squares with right sides together. Sew three sides with a half-inch seam. Turn right side out. Insert a pillow form and stitch the last side closed.

Skip the sewing machine with fabric glue or iron-on hem tape. Press the seams flat.
Add a simple trim along the edge in a matching color. It adds a clean border.
Save money by cutting an old towel you no longer use.
Choose cream, oatmeal, or soft gray. Pair the pillow with a linen throw.
Wash gently by hand. Terry loops can snag on rough fabrics.
8. Stone-Look Tray From Air-Dry Clay
A stone-look tray feels heavy and luxe. You make it from clay and a few drops of paint.
Roll air-dry clay into a slab about half an inch thick. Cut a circle or oval using a plate as a guide. Lift the edge gently to form a low rim. Smooth every surface with a damp sponge.
Let it dry for two to three days. Sand lightly. Paint it warm gray or cream. Flick black and brown specks with a toothbrush for a granite look.

Seal with matte varnish.
Use it on a bathroom counter, a dresser, or a coffee table. Place three or four items on it.
Save money by making a small tray from leftover clay.
Make a matching dish to sit beside it.
Wipe the tray gently. Avoid soaking it.
9. Marbled Paper Frame Art
Marbled paper looks like fine art. Shaving cream and food coloring make it at home.
Spray shaving cream across a shallow tray. Smooth it flat with a ruler. Drip drops of food coloring or acrylic paint over the top. Drag a toothpick through the colors.
Lay a sheet of thick paper on the foam. Press gently, then lift. Scrape off the foam with a ruler. A marbled pattern remains.

Let the paper dry flat for an hour.
Pick two or three colors that suit your room. Blue, blush, and cream look soft.
Cut the paper to fit thrifted frames. Use a wide white mat for a gallery look.
Save money by using printer paper for practice.
Hang three prints in a row. Keep spacing even for a clean line.
10. Wooden Bead Garland
Bead garlands look expensive when the beads are large and the cord is thick.
Buy a bag of large wooden beads, about one inch wide. Pick up thick cotton cord. Dye or paint some beads in white or sage. Leave others natural.
String the beads in a pattern. Try three natural, one painted, and repeat. Tie small knots between the beads for gaps.

Add a cotton tassel at each end. Wrap thread around your hand twenty times, tie one end, and snip the other.
Drape the garland across a shelf or a stack of books.
Save money by using mixed bead bags. One bag makes several garlands.
Make a short one for a lamp base.
Keep the palette to three tones so it looks planned.
11. Concrete Planter
Concrete planters look sleek and modern. Craft concrete costs only a few dollars.
Buy a small bag of quick-set cement or craft concrete. Wear gloves and a dust mask. Mix it with water until it is thick and smooth.
Use two plastic containers as molds, one larger and one smaller. Coat the inside of the larger one with cooking oil. Pour in an inch of concrete. Push the smaller container in and fill the gap with more concrete. Tap the sides.
Weigh the smaller container down with stones. Let it set for 24 hours.
Pop out the molds. Sand edges smooth. Seal with a clear matte sealer.
Poke a drainage hole before the concrete sets, or drill one after with a masonry bit.
Save money by using yogurt cups as molds.
Plant a succulent or a small herb.
12. Cane-Look Door Panel
Cane panels are a popular designer detail. Cane webbing is cheap and easy to apply.
Buy a roll of natural cane webbing at a craft or hardware store. Soak it in warm water for fifteen minutes so it bends easily.
Cut a panel from a thin cabinet door or a flat piece of wood. Cut the center out with a jigsaw or ask the store to do it. Sand the edges.

Cut the cane a bit larger than the opening. Press it into the frame. Staple it to the back with a staple gun. Trim the extra.
Let the cane dry. It tightens as it dries.
Save money by using a thrifted dresser or cabinet with a flat panel front. Remove the center and replace it with cane.
Stain the frame in a warm tone to match the cane.
Use the panel on a sideboard or a bookshelf.
13. Linen Table Runner With Fringe
A fringed runner looks high-end and takes no sewing.
Buy linen fabric by the yard, or use an old linen sheet. Cut a strip about 14 inches wide and as long as your table. Cut the ends straight along the grain.
Pull out the horizontal threads at each end, about an inch deep. This leaves a soft fringe.

Press the fabric flat with a steam iron. For a clean edge, fold the long sides over a quarter inch and use hem tape.
Choose natural, oatmeal, or soft gray. Neutral tones suit any table.
Save money by buying a remnant at a fabric shop.
Add a row of hand stitches in thread along the long edge for a texture.
Lay the runner on a dining table with candles and a small bowl of fruit.
14. Painted Terracotta Bowl Set
Terracotta saucers look like pottery after a coat of paint. They cost a dollar each.
Buy large terracotta saucers at a garden store. Wash and dry them. Paint the outside cream or white. Let it dry. Add a second coat.
Flick dark specks with a toothbrush for a speckled finish. Add a thin line of sage or gold on the rim with a fine brush.

Seal with clear matte varnish.
Use them as bowls for keys, fruit, or decor. Do not use them for food unless they are food-safe. Paint is for decor only.
Stack three bowls in different sizes on a shelf.
Save money by painting dollar-store plates and saucers.
Group a bowl with a candle and a small plant for a styled vignette.
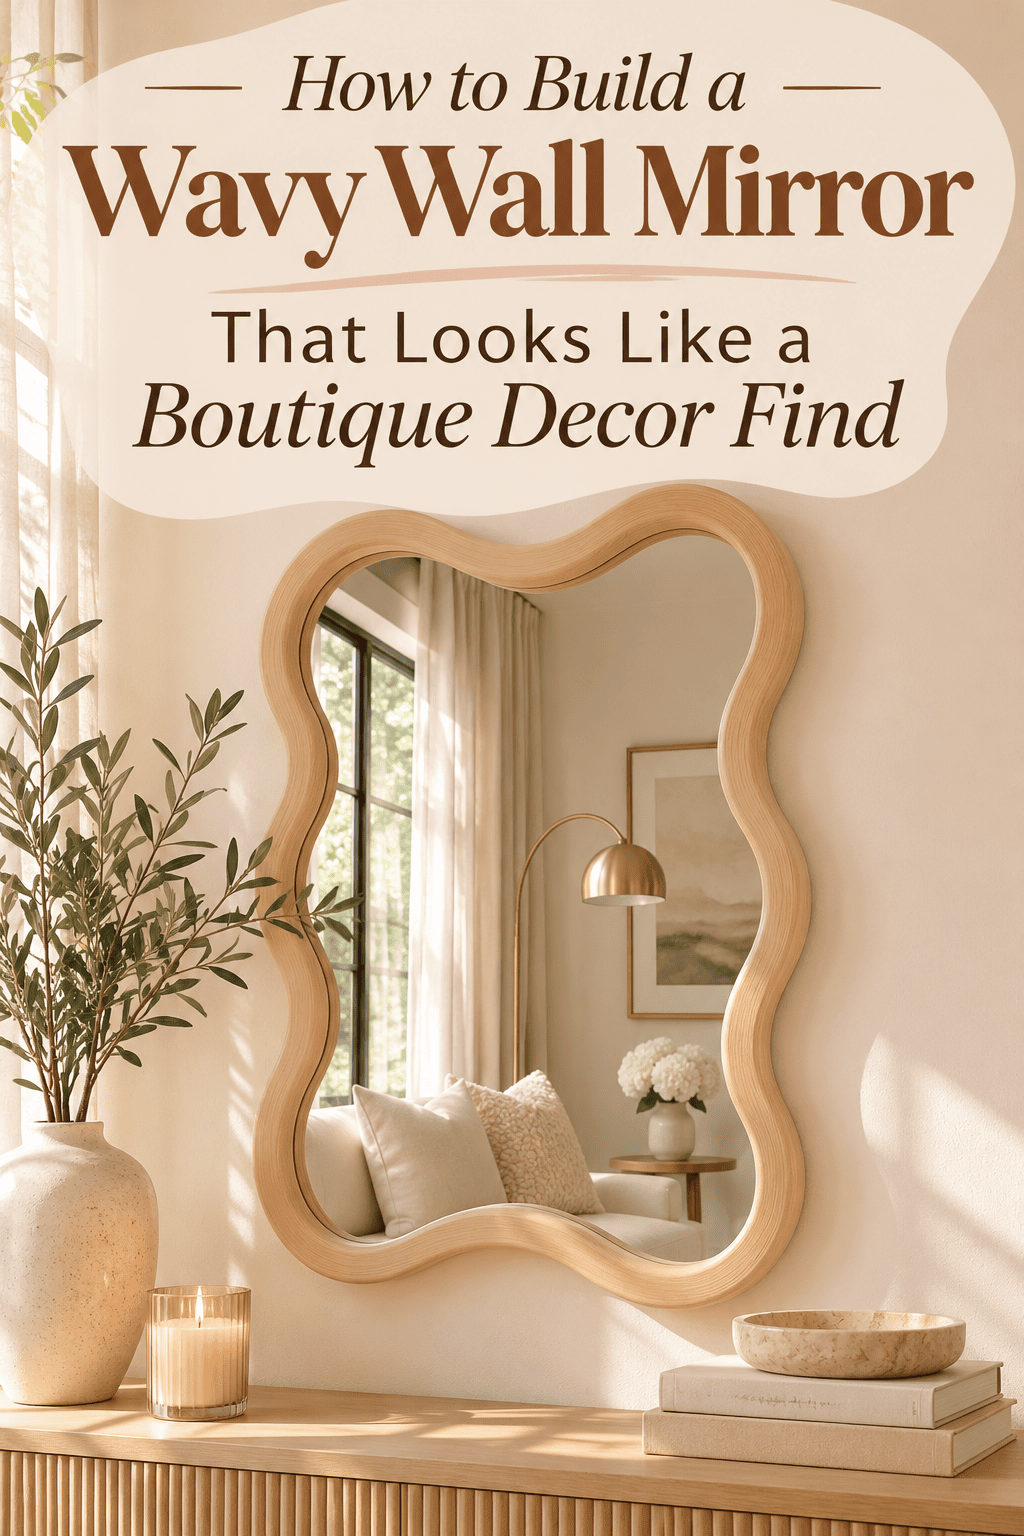
15. Oversized Wall Mirror With Wood Frame
A big mirror makes a room feel larger. A wood frame makes it look designed.
Buy a plain full-length mirror at a discount store. Measure the edges. Cut thin trim wood to fit around the mirror with mitered corners, or ask the store to cut them.
Sand and stain the wood in walnut, oak, or black. Seal with a clear coat.

Glue the frame to the mirror edge with mirror adhesive. Hold it with painter’s tape for a day.
Lean the mirror against a wall, or hang it with heavy-duty hardware. Mirrors are heavy, so anchor them well.
Save money by buying scrap trim from a hardware store.
Choose an arch shape if you can find one. It looks more custom.
Place a small console or a plant beneath for a styled corner.
16. Handmade Clay Wall Hooks
Handmade hooks add charm to a plain wall. Designer shops sell them for a lot.
Roll air-dry clay into a ball and press it into an oval. Add a small knob for the hook. Blend the seam with a damp finger. Poke a hole near the top for a screw.
Let each hook dry for two days. Sand lightly. Paint cream or terracotta. Flick on specks for a pottery look.

Seal with varnish. Mount the hooks on a painted wooden rail and hang it on the wall.
Keep them for light items like aprons and small bags.
Save money by using one block of clay for a whole row.
Space the hooks about six inches apart.
17. Hand-Poured Candle in a Thrifted Bowl
A candle in a thrifted bowl looks like a boutique piece. The mismatched vessel gives it character.
Look for small ceramic bowls or teacups at thrift stores. Pick pieces with no cracks. Wash them well.
Buy soy wax flakes, cotton wicks, and fragrance oil. Melt the wax in a pouring pitcher set in a pot of hot water. Stir in the oil, about one ounce per pound of wax.

Stick a wick to the bottom with a dab of hot glue. Hold it straight with a clothespin across the rim. Pour slowly.
Let it cool for a full day. Trim the wick to a quarter inch.
Pick calm scents such as cedar, fig, or linen.
Save money by buying wax flakes in a larger bag.
Never leave a burning candle alone. Keep it away from curtains and paper.
Conclusion
Designer looks come from simple shapes, calm colors, and good texture, and all three are cheap to copy. Fluted vases, plaster-look art, rope baskets, linen shades, and clay hooks use materials that cost only a few dollars. Start with one project that fits your style, such as the fluted vase or the stone-look tray. Gather your supplies, set aside an afternoon, and finish one piece before you start another. Keep your colors neutral and your finishes matte. Pick your first project today and make something that looks far more expensive than it was.