Skip to content

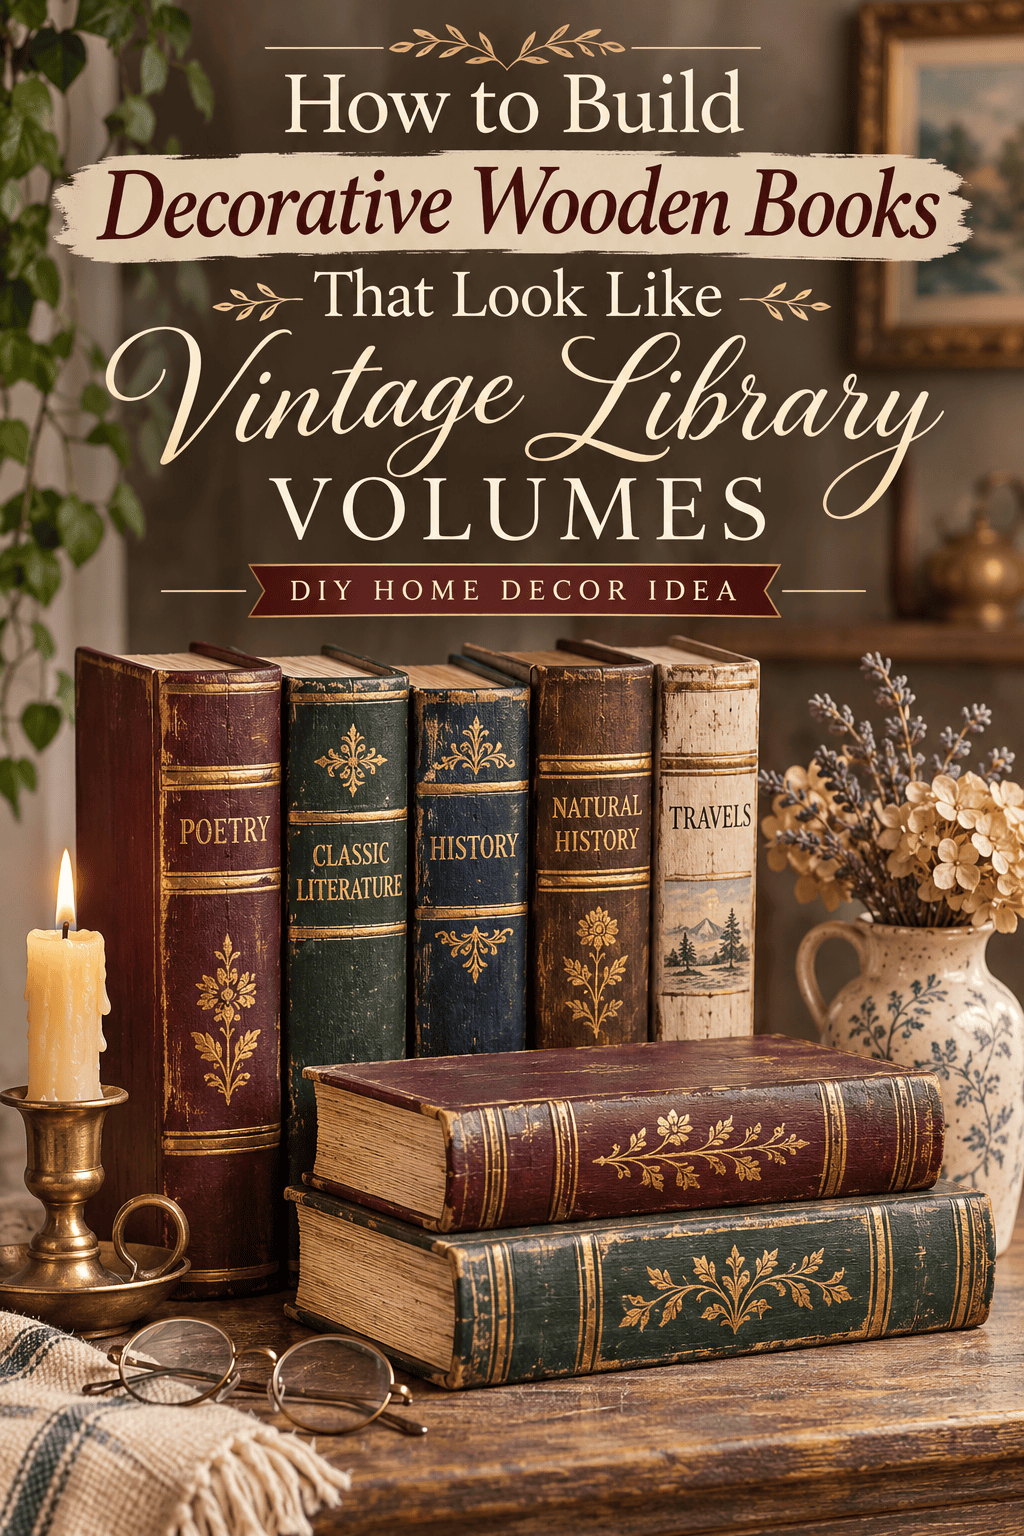
Imagine a shelf lined with leather-bound classics, gold-stamped spines, and softly worn edges. Now imagine making every one of them from scrap wood in a single weekend.
Decorative wooden books give you that old-library charm without the cost of antiques. They’re perfect for styling shelves, filling gaps, and adding instant character. Let’s build a set.

What You’ll Need
- Pine, poplar, or scrap lumber (1×4 or 1×6 boards work well)
- Hand saw or miter saw
- Sandpaper in medium and fine grit
- Wood glue
- Thin wood strips or craft sticks for spines and page edges
- Wood stain or acrylic paint in rich jewel tones
- Gold or bronze metallic paint and a fine brush
- Dark wax, glaze, or tea for an aged finish
- Clear matte sealer
- Optional: leather scraps, twine, and vintage book covers
Tip: Ask a local lumber yard for offcuts. They’re often free or cheap.

Step 1: Plan Your Set
Variety makes a collection look real.
- Cut blocks in 3 to 5 different heights and thicknesses
- Try sizes like 8 x 5 x 1 inches, 10 x 6 x 1.5 inches, and 6 x 4 x 1 inches
- Plan a color scheme of two or three jewel tones plus neutrals
- Sketch spine designs with bands, titles, and ornaments
Aim for at least five books so your shelf looks full.
Step 2: Cut and Shape the Blocks
- Measure and mark your boards.
- Cut each block cleanly with a saw.
- Sand every edge and corner smooth.
- Round the spine edge slightly for a more authentic look.
Wear safety glasses and a dust mask while cutting and sanding.
Step 3: Create the Page Look
This detail makes the biggest difference.
- Carve or draw thin parallel lines along three sides to mimic pages
- Paint the page edges cream or ivory
- Dry-brush a bit of tan along the edges for an aged feel
- Leave the spine side for the cover
Pro tip: A craft knife and a ruler make clean page lines in minutes.

Step 4: Paint or Stain the Covers
- Apply two thin coats of paint or stain to the spine and covers
- Choose rich shades: burgundy, navy, emerald, caramel, or charcoal
- Let each coat dry fully before the next
- Sand lightly between coats for a smooth finish
Mix colors on the shelf. A balanced mix of dark and light looks most natural.
Step 5: Add Gold Details
- Paint thin horizontal bands across the spine with metallic gold.
- Add small ornaments, like diamonds, leaves, or dots.
- Paint a label rectangle near the top for a faux title.
- Add tiny dotted lines or borders for a vintage feel.
Steady hands help here, so rest your wrist on the table.
Step 6: Age and Distress
Vintage books are never perfect.
- Rub dark wax or glaze over the covers and wipe back
- Sand corners and edges for a gently worn look
- Dab tea or coffee for a warm, faded tone
- Press a rag with diluted brown paint along the edges for shadowing
- Rub in a little gold dust for a worn metallic look

Step 7: Seal and Finish
- Apply a thin coat of matte sealer
- Let dry completely, then buff gently
- Add felt pads underneath to protect shelves
- Glue on small leather strips or twine bookmarks for extra charm
Style Your Wooden Books
Display them with intention.
- Stack three or four horizontally and top with a small plant or candle
- Lean a few vertically between real books
- Mix heights, colors, and sizes
- Use a tray on a coffee table for a styled vignette
- Pair with brass accents, dried flowers, and framed art

Creative Variations
- Make a “secret” book with a hollowed-out compartment
- Create a faux antique set with title lettering stencils
- Build mini versions for dollhouses or fairy gardens
- Craft seasonal books in red and green for holiday shelves
- Use them as photo props or window display pieces
Care Tips
- Dust with a soft, dry cloth
- Keep out of damp areas to prevent warping
- Touch up chips with matching paint
- Re-wax every year for a fresh glow

Final Thoughts
Decorative wooden books bring old-world warmth to any room. With a few scraps, some paint, and a little patience, you can create a collection that looks like it’s been gathering stories for generations. Start with one book, enjoy the process, and let your shelf tell its own tale.
Loved this project? Save this post to your DIY Home Decor board and start building your wooden library this weekend!