Skip to content

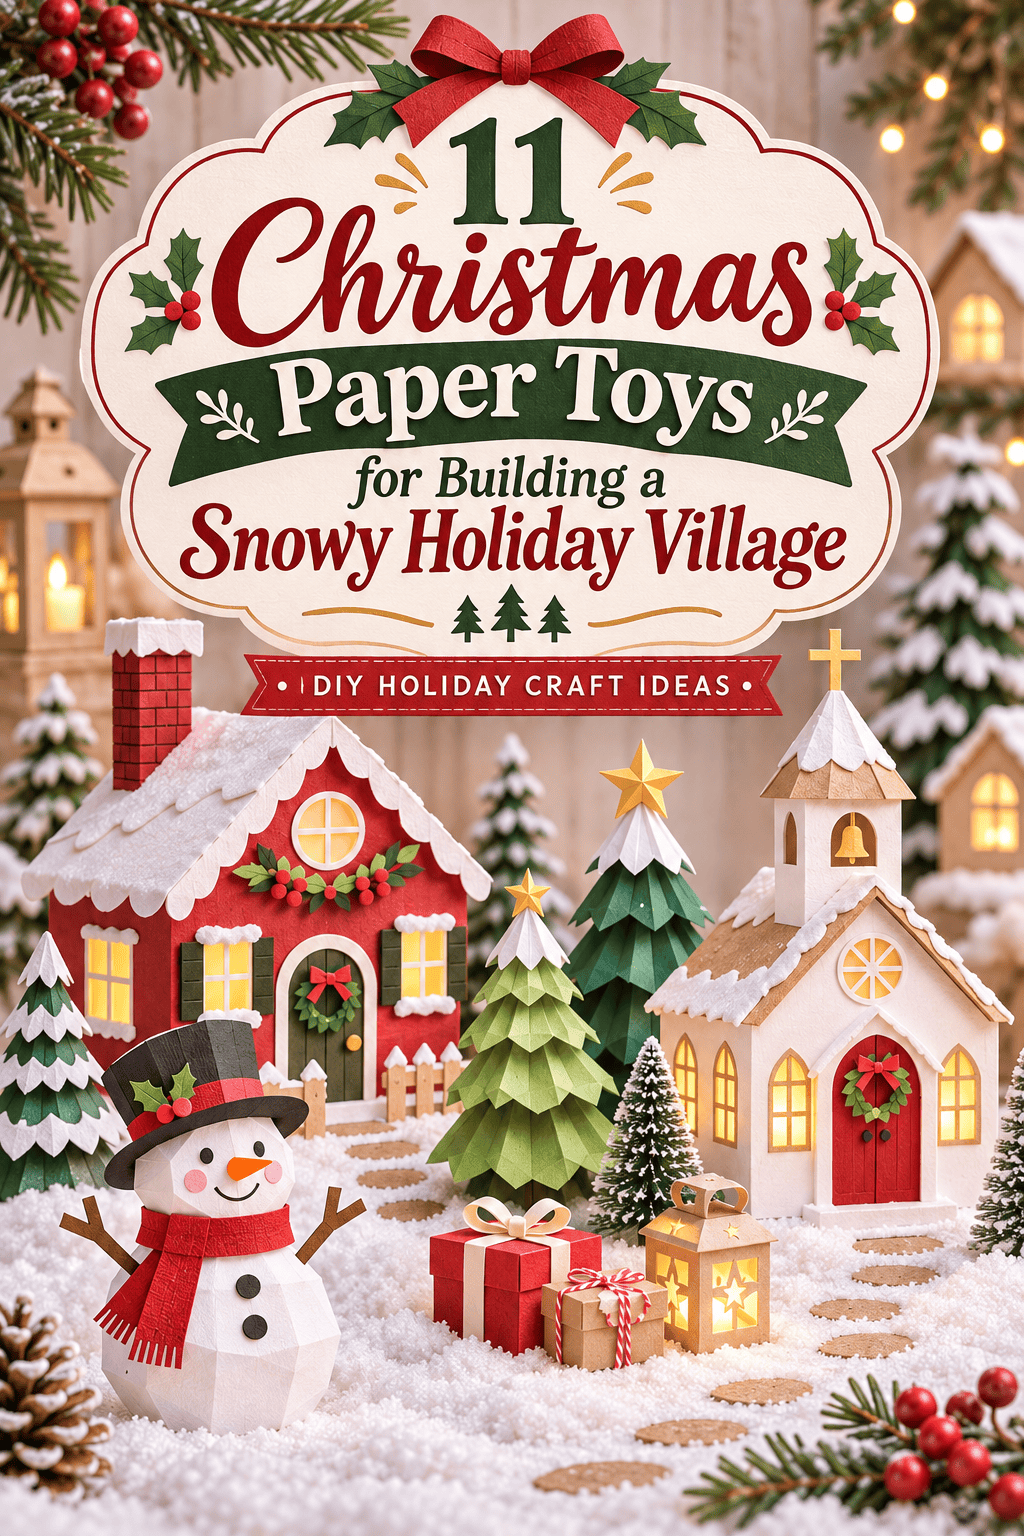

A snowy village on your mantel starts with flat paper. Cardstock, scissors, and a glue stick fold into cottages, churches, trees, and tiny townspeople in an afternoon. You can print a template or draw simple shapes with a ruler. Add cotton for snow and a battery light inside each house, and the whole scene glows. If you are searching for Christmas paper toy village ideas and templates, this list gives you 20 pieces to build. Each one uses cheap supplies and a few clean folds. Pick one building, make it this weekend, and add a new piece every few days until the street fills up.
1. Classic Gabled Cottage
A cottage is a box with a pitched roof. It is the building block of every village.
Cut a long strip of cream cardstock, about 12 inches by three inches, with a narrow glue flap. Score four equal panels with a ruler and a dull pen. Fold along each line.
Glue the flap to make a square tube. Cut two triangles from the ends of a second strip to make the gable fronts. Glue them to two opposite sides.

For the roof, fold a red rectangle in half and glue it over the peak. Let it overhang each side by a quarter inch.
Cut small window squares with a craft knife. Glue yellow tracing paper behind them so light glows through.
Add a door from brown paper.
Save money by cutting the strip from a cereal box and covering it with plain paper.
Build three cottages in different heights.
2. Tiny Village Church
A church gives the village a center. The steeple is a thin box topped with a point.
Build the main hall like a cottage, but make it longer. Use a strip about 14 inches long so the roof lines look right.
For the steeple, cut a strip one inch wide and six inches long. Score and fold it into a small square tube. Cut a square cap with four triangular flaps and glue it on top as a pointed roof.

Glue the steeple to the front of the hall, centered above the door.
Cut arched windows by tracing a coin for the curve. Cover the openings with yellow tracing paper.
Add a round paper wreath on the door using a hole punch and green paper.
Save money by using white printer paper over cardboard.
Place the church at the back of your scene so it stands tallest.
3. Snowy Pine Tree Cone
Trees fill the gaps between buildings. A cone is the fastest way to make one.
Cut a half circle from green cardstock, about eight inches wide. Curl it into a cone and overlap the straight edges. Glue them and hold for a minute.
Trim the bottom flat so it stands. For a fuller look, cut a fringe along the lower edge, making small triangles. Bend each one outward.

Dab white paint on the tips with a sponge for snow.
Make trees in three sizes. A tall one, a medium one, and a small one look natural grouped together.
Save money by painting old cardstock scraps green.
Add a tiny star from gold paper on the tallest tree.
Glue a round cardboard base under each tree for extra steadiness.
4. Mini Snowman
A snowman is three circles and a scarf. Kids can make this one alone.
Cut three white circles from cardstock. Make them about two, one and a half, and one inch wide. Cut a matching set for the back.
Glue the front and back circles together with a thin strip of folded paper between them. This adds depth and lets the snowman stand.

Stack the circles and glue them with small overlaps.
Add a black paper hat on top and two small dots for eyes. Cut a tiny orange triangle for the nose.
Wrap a strip of red paper around the neck as a scarf. Draw white stripes with a gel pen.
Save money by using paper from a magazine for the scarf.
Add a few black dots down the middle for buttons. Make a snowman family.
5. Village Bakery
A bakery gives the village a story. The striped awning is the star.
Build a cottage base in pink cardstock. Cut a larger front door opening and a wide window beside it.
Make the awning from a strip of paper folded into a long accordion. Use red and white for stripes. Glue the flat top edge above the window so it sticks out and slopes down.

Glue a small round circle of tracing paper behind the window. Draw a tiny loaf or cake on it with markers.
Add a chimney from a narrow box and glue it on the roof. Paint a white cap on top for snow.
Save money by making the awning from gift wrap scraps with stripes.
Tuck a battery tealight inside for a warm glow. Place a few tiny paper bread loaves by the door.
6. Snowy Street Lamp
A street lamp makes a village feel alive at night. It is a pole and a box.
Roll a strip of black paper tightly around a skewer to make a pole. Glue the edge and slide the skewer out. Make it about five inches tall.
Cut a small square box from yellow tracing paper. Fold it into a cube with a small flap. Glue it to the top of the pole.

Fold a black cap from paper and glue it over the cube like a tiny roof.
Make a base from a cardboard circle and glue the pole to it. Cover the base with white paper.
Place a tiny LED light behind the lantern. Use a battery fairy light from a string.
Save money by using chopsticks or bamboo skewers for the pole.
Make three lamps and line them along the street.
7. Santa’s Sleigh
A sleigh is a curved box on two runners. It makes a great centerpiece.
Cut a long rectangle from red cardstock, about eight inches by three inches. Fold it into a shallow box with a curved front. Use a small piece of paper to shape the curve.
For runners, cut two long strips of gold paper. Curl the front end of each into a swirl by rolling it around a pencil.

Glue the runners under the sleigh. Add a small cross strip between them for support.
Fill the sleigh with tiny gift boxes. Cut small squares of colored paper, fold them into cubes, and add a ribbon of gold paper.
Save money by using foil scraps for the runners.
Add a small bag by gluing a paper pouch on the back. Place the sleigh next to the roof of a cottage.
8. Reindeer Pair
Reindeer stand in front of the sleigh or beside a tree. A folded body keeps them upright.
Cut a long strip of brown cardstock, about six inches by two inches. Fold it in half so the two halves make the body and the neck. Glue the ends together at the back.
Cut a small oval for the head. Add two thin antlers by cutting a branching shape from a tan strip. Glue it behind the head.

Add four thin legs from folded paper strips. Glue them under the body. Make them the same height so the reindeer stands.
Add a red dot nose with a marker. Draw two small dots for eyes.
Save money by using brown paper bags for the body.
Make two reindeer and place them in front of the sleigh. Tie a thin thread between them as harnesses.
9. Gingerbread House
A gingerbread house is a cottage with sweets. The details make it special.
Build a cottage from brown cardstock. Cut a roof from a slightly lighter brown. Fold and glue as you did for the classic cottage.
Add white icing drips by cutting a wavy white strip. Glue it along the roof edges. Use a white gel pen to draw dots and lines along the walls.

Cut small gumdrop circles from red, green, and yellow paper using a hole punch. Glue them along the roof in a pattern.
Make a candy cane pillar by rolling a thin red and white strip into a tube. Glue it beside the door.
Save money by using hole-punch scraps from other projects for gumdrops.
Cut a tiny paper door with a round top. Add a circle for a candy doorknob. Place the house near the bakery.
10. Frosty Fence and Gate
A fence frames a house and makes a garden. It is a strip of pickets.
Cut a long strip of white cardstock, about 24 inches by one and a half inches. Cut the top edge into small pointed pickets, about half an inch wide. Fold the strip into an accordion every three inches. This makes it stand in a zigzag.
Cut a shorter piece for the gate. Add a small paper hinge on the side.

Dab white paint on the tips of the pickets for snow. Add a few dots of glitter if you like.
Place the fence around a cottage. Bend the corners to fit the base.
Save money by using old file folder scraps for the strips.
Add a paper wreath on the gate by gluing a small green ring and a red dot.
Make a mailbox from a small folded box on a stick.
11. Town Square With Skaters
An ice rink brings movement to the village. Foil makes a perfect frozen pond.
Cut a large circle from cardboard, about eight inches wide. Cover it with aluminum foil, shiny side up. Smooth it flat with your fingers. Add a thin ring of white cotton around the edge for snowbanks.
Make tiny skaters from small paper cones. Cut a half circle, curl it, and glue it. Add a round head and a scarf. Make coats in red, green, and blue.

Cut small blade shapes from gray paper and glue them under each skater so they look like they are gliding.
Place the skaters on the rink at angles. Pose them in pairs for a fun scene.
Save money by using a mirror or a baking tray instead of foil.
Add a small paper bench beside the rink. Place a tree next to it.
Conclusion
A paper village grows one piece at a time. Cottages, a church, trees, snowmen, a bakery, and a skating rink all start with flat cardstock and a few clean folds. Each project here uses cheap supplies and takes under an hour. Start with the classic cottage, then add a tree and a lamp to see the scene come alive. Keep a small box for scraps, cotton, and battery lights so you can build whenever you have a free evening. Pick your first building today, cut out the shapes, and start your own snowy village.