 Skip to content

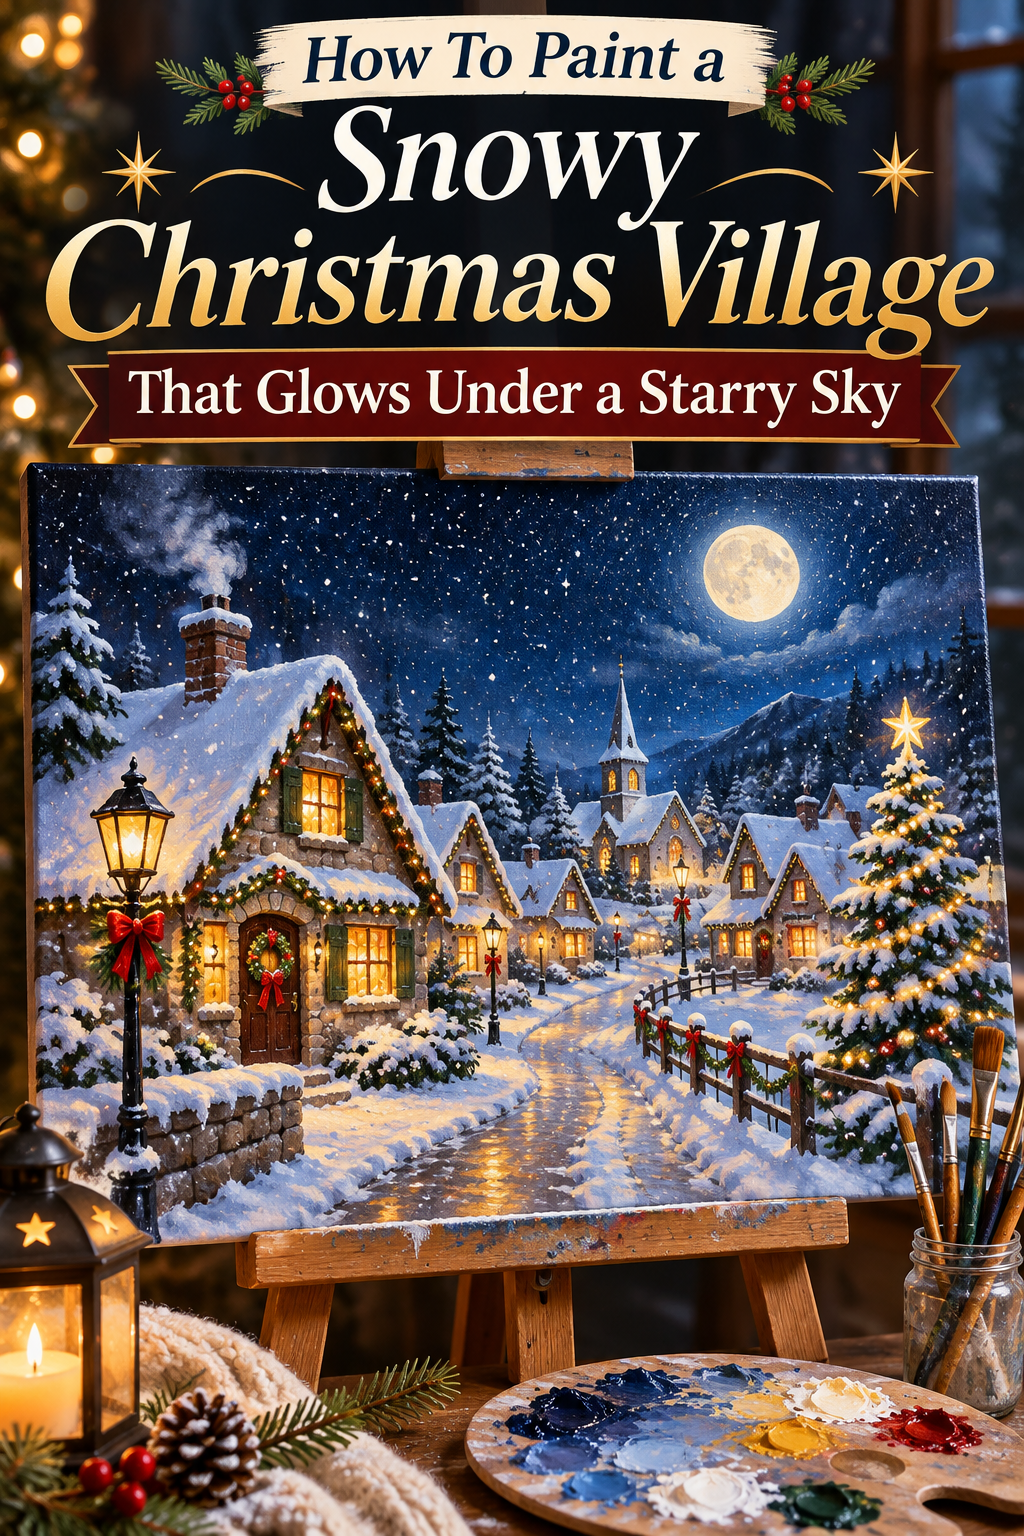
Picture a tiny village tucked under a deep blue sky, every window glowing gold, snow piled on the rooftops, and a thousand stars twinkling overhead. Now picture painting it yourself with a handful of acrylics and one cozy evening.
This project looks magical, but it’s built on a few simple tricks: a gradient sky, easy shapes, and strategic pops of light. Let’s paint a village that glows.

What You’ll Need
- Canvas (8×10 or 11×14 inches)
- Acrylic paints: titanium white, ultramarine blue, phthalo blue, purple, black, yellow, orange, and a touch of brown
- Flat brushes (1 inch and 1/2 inch)
- Round brushes (sizes 2 and 6) and a fine liner brush
- Old toothbrush for snow and stars
- Palette, water cup, and paper towels
- Pencil and masking tape
- Optional: white gel pen and metallic gold paint
Tip: Tape the edges of the canvas for a crisp, framed border once you peel it off.

Step 1: Paint the Starry Sky Gradient
The sky sets the whole mood, so start here.
- Paint the top of the canvas with deep ultramarine and a touch of black.
- Blend in purple through the middle.
- Fade into lighter blue and a hint of pale yellow near the horizon.
- Blend while the paint is still wet, using a dry flat brush in soft crisscross strokes.
A warm glow near the horizon makes the village feel lit from within.
Step 2: Add Stars and a Moon
- Dip an old toothbrush in white paint and flick it with your thumb for tiny stars
- Dot a few larger stars with a round brush
- Paint a crescent moon in pale yellow and white
- Add a faint halo around the moon with a dry brush
- Let everything dry before moving on
Don’t overdo it. A scattering of stars looks more natural than a crowded sky.
Step 3: Paint the Snowy Hills
- Paint rolling hills across the bottom third in soft blue-gray.
- Highlight the tops with white and a touch of lavender.
- Add shadows in the valleys with deeper blue.
- Leave space for the houses to sit on the slopes.
Pro tip: Use curved, sweeping strokes so the snow looks smooth and drifting.

Step 4: Build the Village Shapes
Keep the houses simple and charming.
- Use dark navy or black for silhouetted houses
- Paint squares and rectangles for the walls
- Add triangle roofs of different heights
- Include a tall steeple or tower for a focal point
- Vary the sizes so the village feels layered
Overlap houses slightly to create depth, with bigger ones in front and smaller ones farther back.
Step 5: Make the Windows Glow
This is where the magic happens.
- Paint tiny rectangles with bright yellow.
- Add orange over the edges for warmth.
- Dab a touch of white in the center for a hot glow.
- Add a soft yellow halo around each window with a dry brush.
Vary the windows. Some can be tall, some round, and some dark for a lived-in feel.
Step 6: Add Snowy Rooftops
- Paint thick white caps along the top of each roof
- Let the snow droop slightly over the edges
- Tint the shadows with light blue
- Add small drifts at the base of walls and doors
- Place tiny chimneys with a puff of smoke

Step 7: Add Trees, Paths, and Lights
Bring the village to life.
- Paint pine trees as simple triangles in deep green or black.
- Dab white snow on each branch.
- Add a winding path from foreground to village in light blue and white.
- Place a lamppost with a warm glowing orb.
- Paint tiny string lights across a few rooftops with dots of yellow and red.
Step 8: Final Glow and Details
- Add white highlights on the snow where the moon hits
- Paint soft golden reflections on the snow under each window
- Flick a few more white snowflakes with the toothbrush
- Outline select window frames with a fine liner brush
- Add a touch of gold metallic paint on stars and the moon
Step back often to check the balance of light and dark.

Troubleshooting Tips
- Sky looks streaky? Blend while wet or add another thin layer
- Windows look dull? Layer white in the center and glow around the edges
- Snow looks flat? Add blue shadows and white highlights
- Muddy colors? Let layers dry before adding new ones
- Too many details? Simplify and keep silhouettes bold
Display and Gift Ideas
- Frame it for a mantel or entryway
- Paint a smaller version as a holiday card
- Make a set of three canvases for a village triptych
- Give it as a hand-painted gift with a ribbon and a small candle
- Host a paint night with friends and cocoa
Final Thoughts
A glowing snowy village is all about contrast: deep blues against warm golds, soft snow against bold silhouettes. With a few simple shapes and a little patience, you can create a scene that brings holiday magic into your home. Pick up a brush, put on some carols, and let the stars come out.
Loved this tutorial? Save this post to your Christmas Painting board and start your glowing village this weekend!


