 Skip to content

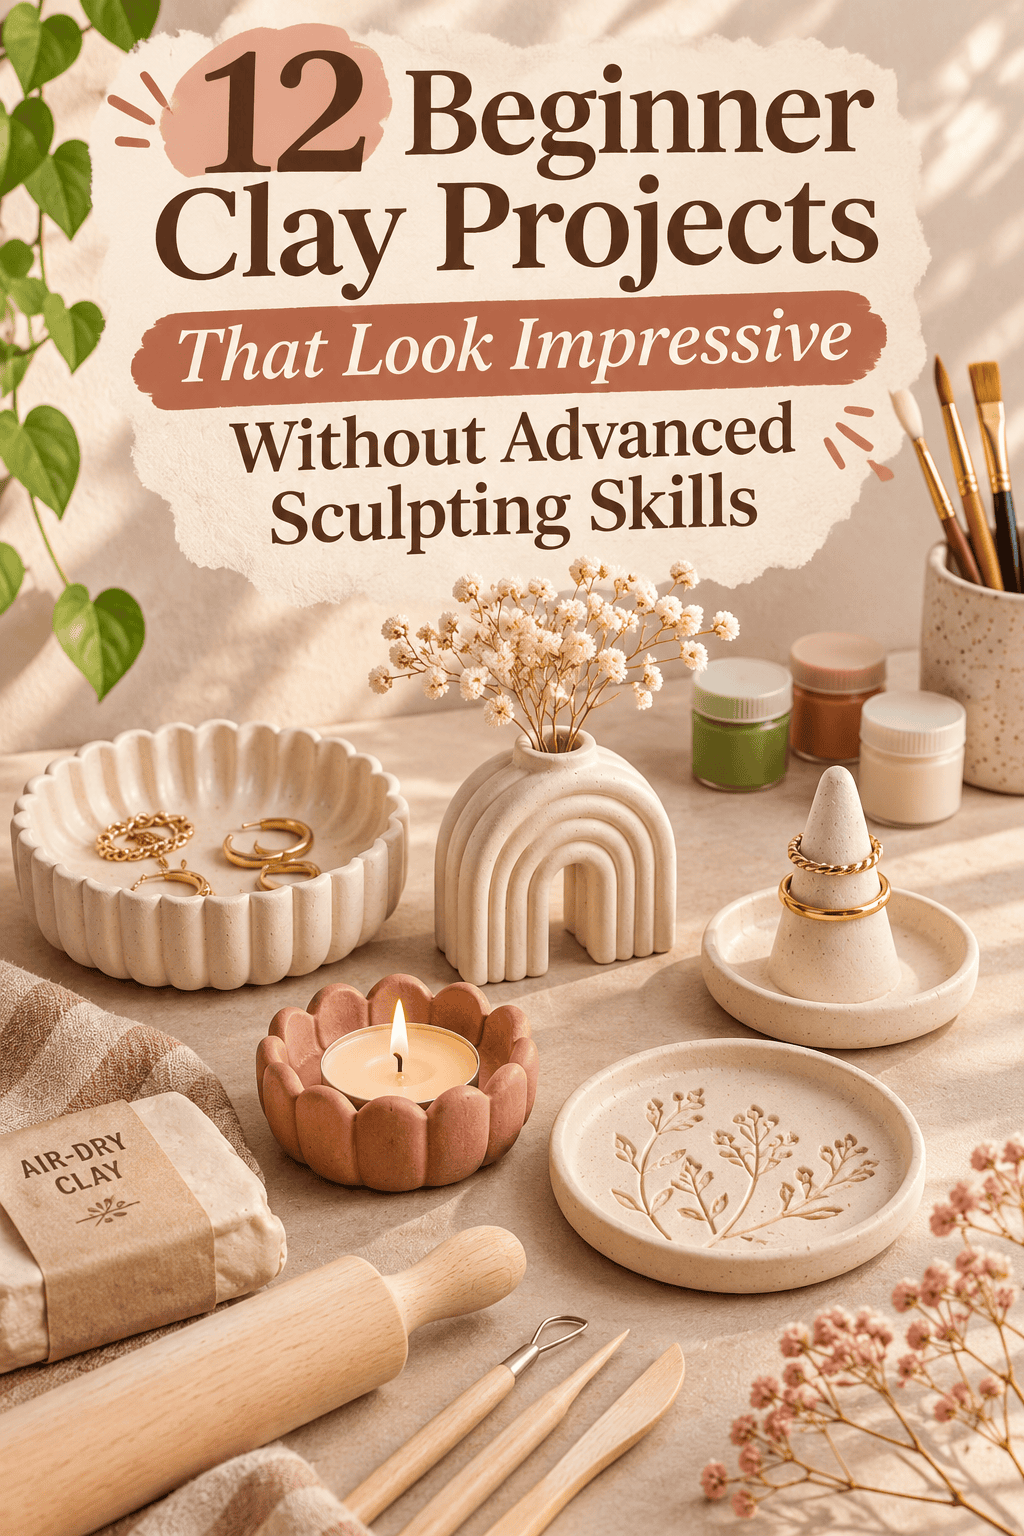

Clay looks hard until you realize most polished pieces come from three moves: roll, cut, and press. You can skip the carving tools and the sculpting classes. A rolling pin, a cookie cutter, and a damp finger do the work. If you are searching for beginner clay project ideas that look store-bought, this list gives you 12 pieces to try. Each one is useful around the house, costs little, and finishes in an afternoon. You will make holders, hardware, jewelry, and table pieces. Pick one, open a block of clay, and make something you will use tonight.
1. Slim Incense Holder
An incense holder is a flat shape with one tiny hole. That makes it a perfect first project.
Roll air-dry clay about half an inch thick. Cut a rounded rectangle about five inches long and one and a half inches wide. Smooth the edges with a damp finger.
Poke a small hole near one end with a pencil. Tilt the pencil slightly so the stick leans. Press a shallow groove from the hole to the far end to catch ash.

Let it dry for two days, flipping it once. Sand the edges.
Paint it in matte white, terracotta, or sage. Add one thin stripe along the groove for a clean design.
Seal with varnish. Never leave burning incense alone, and keep the holder on a heat-safe surface.
Save money by making two holders from one small block. Give one as a gift with a pack of sticks.
Make the hole a little wider than the stick. Clay shrinks as it dries.
2. Taper Candle Holder
A candle holder is a pinched dome with a hole on top. It looks like pottery from a design store.
Roll a ball of clay about the size of a small orange. Press it down on the table to flatten the bottom. Push your thumb into the top to form a shallow dip. Then push a taper candle into the center to make a snug hole. Pull the candle out.
Smooth the surface with a damp sponge. Dry the holder for two to three days. Sand lightly.

Paint it in cream, rust, or soft gray. Add speckles with a toothbrush dipped in dark paint.
Use polymer clay and bake it if you want extra heat resistance. Air-dry clay works for short burns, but keep a small dish of sand or a foil liner in the hole.
Save money by buying dollar-store candles and trimming the base to fit.
Never leave a burning candle alone. Keep it away from curtains and paper.
3. Napkin Rings
Napkin rings turn a plain dinner table into a set table. You only need a cardboard tube.
Cut a paper towel tube into rings about one and a half inches wide. Roll air-dry clay into a slab a quarter inch thick. Wrap the slab around a ring, trim the extra, and press the seam shut. Smooth it with a damp finger.
Press a pattern into the clay before wrapping. Try wavy lines with a fork, tiny dots, or a leaf print.

Leave the cardboard inside while the clay dries. It keeps the shape round. Dry for two days, then slide the tube out gently or leave it in as a liner.
Paint the rings in a color that suits your dishes. Seal with varnish.
Make a set of four or six. Use the same pattern on each so the set looks planned.
Save money by using one block of clay for the whole set. Wrap each napkin with a sprig of greenery for a gift.
4. Wall Pocket Vase
A wall pocket hangs flat against the wall and holds a few dried stems. It looks like a gallery piece and uses one cut.
Roll air-dry clay into a slab about a quarter inch thick. Cut a large circle with a plate. Cut the circle in half. Curl one half into a cone and overlap the straight edges. Press the seam together and smooth it with a damp finger.
Squash the cone gently so one side is flat. This side goes against the wall. Pinch the bottom point closed.

Poke a hanging hole through the flat back near the top. Let it dry on its side for two days. Support the shape with a rolled towel so it keeps its curve.
Paint it cream, blush, or sage. Seal the outside with varnish.
Fill it with dried grass or wheat. Air-dry clay cannot hold water.
Save money by using a nail you already own. Hang a trio at slightly different heights.
5. Mushroom Cabinet Knobs
New knobs change a kitchen or dresser in minutes. Clay mushrooms look custom and cost pennies.
Buy plain knob screws at a hardware store. Measure the screw length against your door thickness. Most doors take one-inch screws.
Roll a ball for the cap and a short log for the stem. Press them together and smooth the seam. Push the screw into the center from the bottom while the clay is soft. Pull it out and let the hole dry.

Dry for two to three days. Paint the cap in cream, rust, or soft green. Add a few small dots with a toothpick. Seal well.
Glue the screw into the hole with strong epoxy. Let it cure overnight, then mount it.
Use polymer clay and bake it for tougher knobs. Air-dry clay can chip with heavy use.
Save money by changing only the knobs you touch most. Keep the old ones in a bag for move-out day.
6. Arch Dangle Earrings
Arches are one cut and one hole. Dangles hang beautifully and weigh almost nothing.
Roll polymer clay about an eighth of an inch thick. Cut an arch with a small cutter, or trace a paper template with a craft knife. Make two the same size. Cut a smaller arch from the center for an open shape.
Poke a tiny hole at the top of each piece with a toothpick. Bake as the package says. Let them cool fully.

Sand the edges lightly. Paint a thin gold line on one side if you like.
Add a jump ring to each hole. Attach an earring hook to each ring. Close the rings with small pliers.
Mix two clay colors by twisting them before rolling. The marbled look needs no paint.
Save money by buying hooks and rings in a bulk pack. Hypoallergenic hooks protect sensitive ears.
Keep the pieces light. Large clay earrings can pull on the ear.
7. Marbled Catch-All Tray
Marbling looks like skill but is just twisting two colors together. The clay does the pattern for you.
Take two lumps of polymer clay in colors that suit each other, such as white and sage. Roll each into a log. Twist the logs together a few times. Fold the twist in half and roll it again. Stop early for bold swirls.
Roll the marbled clay flat, about a quarter inch thick. Cut a circle or oval with a plate. Lift the edges gently to form a low rim. Press the center so it lies flat.

Bake as the package says. Let it cool and sand the edges.
Skip paint. The marbling is the design. Add a thin coat of varnish for shine.
Use the tray for keys, coins, and rings by the door.
Save money by marbling leftover scraps from other projects. Mixed scraps make great swirls.
Make a smaller tray to hold earbuds on a desk.
8. Phone Stand
A phone stand is a chunky wedge with a groove. It is sturdy, useful, and easy to shape.
Roll a ball of air-dry clay the size of a lemon. Press it into a thick wedge about four inches wide and three inches tall. Make the back taller than the front.
Press your phone edge into the front slope to make a groove. Wrap the phone in plastic wrap first so clay does not stick. Make the groove slightly wider than the phone.

Remove the phone and smooth the groove with a damp finger. Check that the stand does not wobble. Flatten the base on the table.
Dry for two to three days. Sand lightly. Paint it a solid color and seal it.
Add a thin strip of felt inside the groove to protect the phone.
Save money by using one block of clay for stands in three sizes. A small one fits a tablet or a recipe card.
Use a thick base so the stand holds a phone with a case.
9. Tealight Luminary
A cutout luminary throws little stars of light on the wall. It is a slab, a cutter, and a wrap.
Roll air-dry clay into a slab about a quarter inch thick. Cut a rectangle about three inches tall and ten inches long. Use a tiny cutter or a straw to punch holes and shapes along the middle. Stars, dots, and moons all work.
Wrap the slab around a tin can or jar covered in plastic wrap. Overlap the ends and press the seam together. Smooth it with a damp finger.

Roll a thicker disk for the base. Press the wall onto the disk and seal the join with a thin rope of clay.
Let it dry for two days with the can inside. Slide the can out and sand the edges.
Paint it white or leave it natural. Use a battery tealight for safety.
Save money by using one cutter in different patterns. A single straw makes a full dot design.
10. Hair Clips
Hair clips are tiny, wearable, and a great gift. A flat shape glued to a plain clip does the job.
Buy plain metal clips in a bulk pack. Cut shapes from polymer clay rolled to an eighth of an inch. Try flowers, moons, or simple hearts. Keep each piece under two inches.
Press a texture into the surface with a fork or a stamp. Bake as the package says. Let it cool.

Sand the edges lightly. Paint thin details with a fine brush, such as a flower center or a tiny line.
Glue each shape to a clip with strong craft glue or epoxy. Hold for a minute and let it cure overnight.
Make a flower by layering five small petals around a bead. Press them together before baking.
Save money by making a set of three from one small block. Match the colors to your wardrobe.
Check the glue before wearing the clip. A pull test keeps shapes from popping off.
11. Salt Cellar With a Lid
A salt cellar is a pinch pot with a matching lid. It looks nice beside the stove and stays tidy.
Roll a ball of polymer clay the size of a plum. Press your thumb into the center and pinch the walls up evenly. Make the opening about two inches wide. Flatten the base.
Roll a thin disk slightly larger than the opening. Add a small ball in the center for a handle. Press it on and smooth the seam.
Bake the pot and lid as the package says. Let them cool.
Clay should not touch food directly. Line the inside with a thin glass dish or a small piece of parchment, or use the cellar only for decor and keep salt in a small cup inside.
Paint the outside in cream or terracotta. Seal it.
Save money by making a matching spice dish from leftover clay. Add a tiny wooden spoon from a thrift shop.
Place the cellar by the stove or on a counter tray.
12. Place Card Holders
Place card holders make a dinner feel planned. A tiny clay shape with a slit is all you make.
Roll a ball of air-dry clay about the size of a walnut. Shape it into a small leaf, a mushroom, or a plain pebble. Press the bottom flat so it sits steady.
Cut a slit across the top with a craft knife or a plastic card. Make it about an inch long and as deep as half the piece. Wiggle the blade gently so the slit stays open.
Let them dry for a day. Sand the edges and paint them in soft colors. Seal with varnish.
Slide a folded paper card into each slit. Write a name with a fine pen.
Make six to eight at once. They are quick, so batch the work.
Save money by using scrap clay from larger projects.
Reuse the holders for photos, recipe cards, or notes. They also look sweet as a small set on a shelf.
Conclusion
Simple clay shapes can make useful, good-looking pieces without any sculpting skill. Holders, knobs, earrings, trays, and table pieces all start with a roll, a cut, or a pinch, and each one costs little. Start with an incense holder or a napkin ring set, then try the luminary once your edges feel smooth. Keep a damp sponge nearby and sand every piece after it dries. Pick one project today, open a block of clay, and make something you will use this week.



