 Skip to content

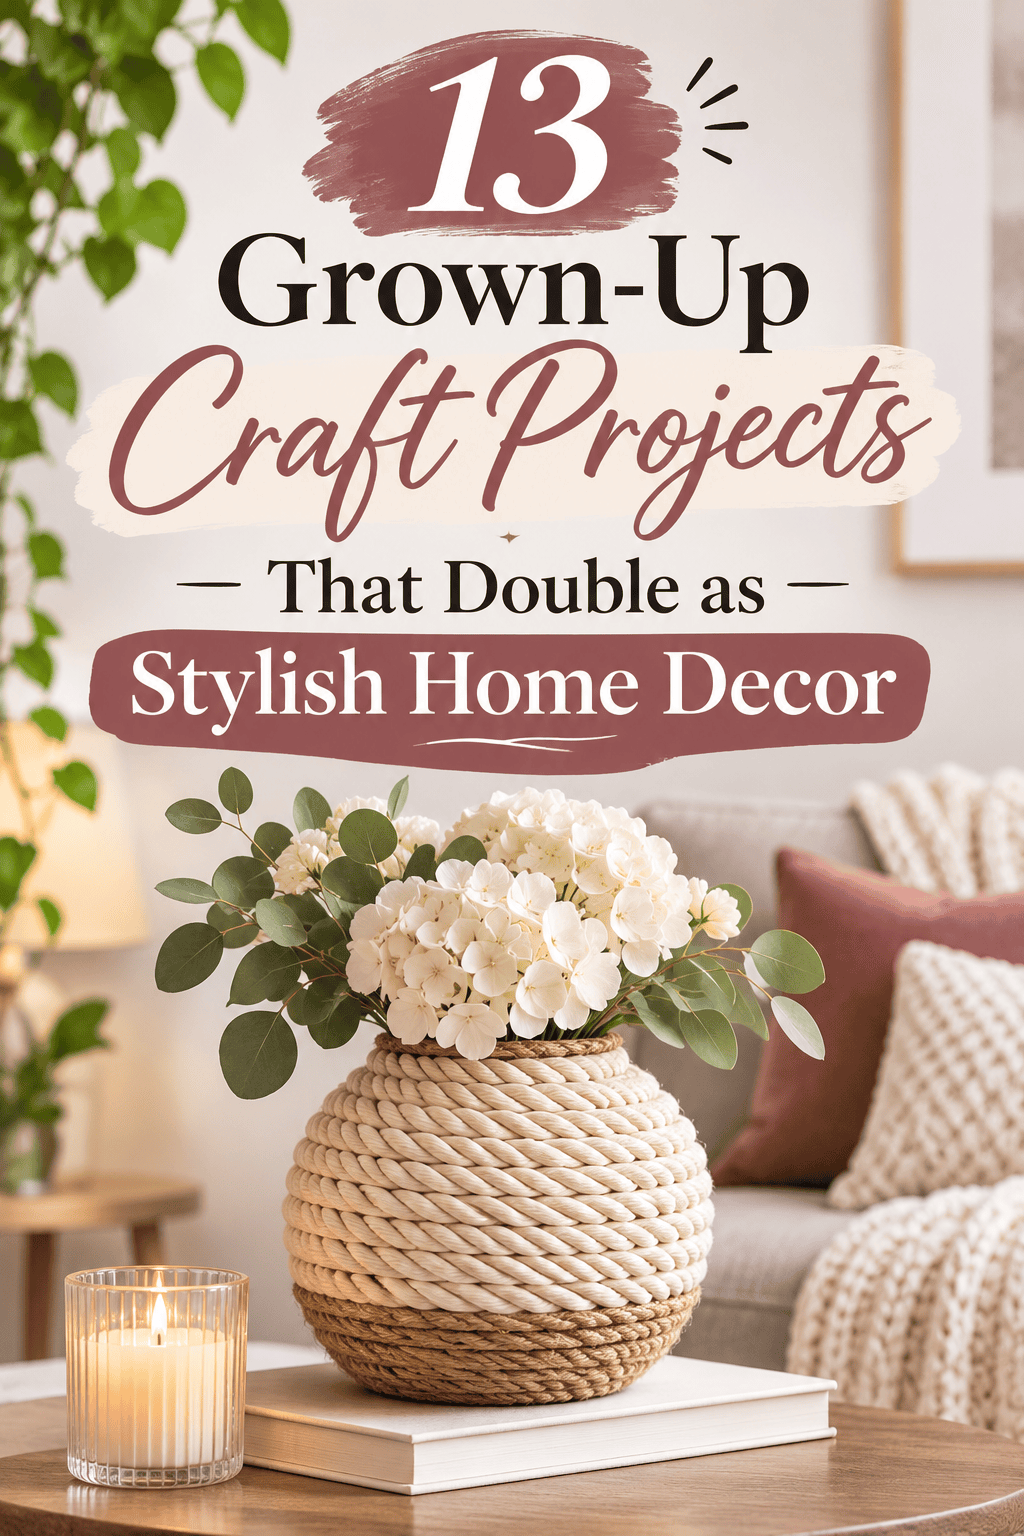

Craft projects are not just for kids. Grown-up crafts use calm colors, clean shapes, and good materials, and the results look like pieces from a design shop. You do not need a studio or a big budget. A table, a few simple tools, and an afternoon are enough. If you are searching for DIY craft projects for adults that look like home decor, this list gives you 20 projects to try. Each one uses clay, wax, fabric, wood, or paper, and each one ends as something you will display. Pick one that fits your style, gather your supplies, and start with the room that feels most plain.
1. Speckled Clay Vase
A clay vase is the best starter project for adults. It looks like studio pottery and needs no kiln.
Roll a ball of air-dry clay about the size of a grapefruit. Press your thumb into the center and pinch the walls up. Turn the clay as you work. Keep the walls even, about a half inch thick. Narrow the top with your fingers for a bottle shape.
Smooth the surface with a damp sponge. Let it dry for two to three days. Sand lightly.

Paint it with cream or warm white acrylic paint. Flick a toothbrush dipped in dark paint over the surface for speckles. Seal with matte varnish.
Use the vase for dried stems only. Air-dry clay cannot hold water. Slip a small glass jar inside if you want fresh flowers.
Save money by buying one block of clay and making three sizes. A trio looks planned on a shelf.
Keep the shape simple. Plain curves look more refined than fancy details.
2. Hand-Poured Soy Candles in Thrifted Vessels
A candle in a thrifted bowl looks far more expensive than it is. Mismatched vessels give a collected feel.
Hunt for small ceramic bowls, teacups, or heavy glass jars at thrift stores. Choose pieces with no cracks. Wash them and let them dry.
Buy soy wax flakes, cotton wicks, and fragrance oil. Melt the wax in a pouring pitcher set in a pot of hot water. Stir in oil, using about one ounce per pound of wax.

Stick a wick to the bottom of each vessel with a dab of hot glue. Hold it straight with a clothespin across the rim. Pour slowly.
Let each candle cool for a full day. Trim the wick to a quarter inch.
Pick calm scents like cedar, fig, or linen. Heavy florals can feel strong in a small room.
Save money by buying wax flakes in a larger bag. One bag fills many vessels.
Never leave a burning candle unattended. Keep it away from curtains and paper.
3. Woven Wall Hanging on a Branch
A woven hanging adds texture to a plain wall. It is slow, calming work, and the result looks like gallery art.
Find a sturdy branch about two feet long. Wash it and let it dry. Tie a length of yarn to each end for hanging.
Cut warp threads about 30 inches long. Fold each in half and tie it to the branch with a loop knot. Use 20 to 30 strands.

Weave a long piece of yarn over and under the warp strands. Push each row up snugly with your fingers or a comb. Switch colors every few rows for stripes.
Keep the palette small. Cream, oatmeal, and charcoal look calm and modern.
Trim the bottom into a straight or angled fringe. Brush out the strands for a soft look.
Save money by using cotton string or leftover yarn. Old T-shirt strips work too.
Hang it above a sofa or bed with two small nails or removable hooks.
4. Marbled Paper Art in Frames
Marbled paper looks like fine art once it is framed. You make it with shaving cream and a baking tray.
Spray a layer of shaving cream across a shallow tray. Smooth it flat with a ruler. Drip drops of food coloring or acrylic paint over the top. Drag a toothpick through the colors to make swirls.
Lay a sheet of thick paper or cardstock on the surface. Press gently, then lift it. Scrape off the foam with a ruler. A marbled pattern is left behind.

Let the paper dry flat for an hour.
Pick two or three colors that suit your room. Blue, blush, and gold look soft. Green and cream look natural.
Cut the paper to fit thrifted frames. Hang three in a row.
Save money by using plain printer paper for practice. Save the best sheets for frames.
Wipe the tray and tools with warm soapy water when you finish.
5. Concrete Candle Holders
Concrete gives craft projects a sleek, modern look. A candle holder is a small and forgiving first try.
Buy a small bag of quick-set cement or craft concrete. Wear gloves and a dust mask. Mix it with water to a thick, smooth paste, like pancake batter.
Use a plastic cup as the outer mold. Lightly coat the inside with cooking oil. Pour in the mix about halfway. Push a smaller cup or a taper candle into the center to form a hole. Tap the sides to remove bubbles.

Let it set for 24 hours. Peel off the molds. Sand rough edges with sandpaper.
Seal the surface with a clear matte sealer. Stick felt pads on the base to protect your table.
Save money by using yogurt cups and takeout containers as molds.
Group three holders at different heights on a tray. Use taper candles or tea lights, and keep flames away from anything flammable.
6. Hand-Dyed Linen Napkins
Dyed napkins dress up a table with almost no effort. They also make a good gift.
Buy plain white or cream linen napkins, or cut your own from fabric. Wash them first to remove any coating. Leave them damp.
Pick a fabric dye in a soft shade like sage, indigo, or clay. Mix it in a bucket of hot water following the package steps. Add salt if it says so.

Dip the napkins for the time on the label. For an ombre look, dip only half of each napkin and lift it slowly.
Rinse in cool water until it runs clear. Wash alone on a gentle cycle. Hang to dry.
Try natural dyes from avocado pits or onion skins. They give soft peach and gold tones.
Wear gloves and old clothes. Work outside if you can.
Save money by dyeing thrifted napkins or old sheets. Both take dye well.
Fold the napkins into a loose stack and tie with twine.
7. Pressed Flower Botanical Frames
Pressed flowers look elegant when you give them space. A large frame with a few stems feels like a museum piece.
Gather flat flowers and leaves like ferns, daisies, and small wildflowers. Place them between sheets of paper inside a heavy book. Stack more books on top. Wait two weeks.
Short on time? Press the flowers under paper with a warm iron for a few seconds at a time.

Find a thrifted frame with a wide mat. Wipe the glass. Cut cream paper to fit the backing.
Arrange the stems with tweezers. Leave plenty of empty space. One fern and two small blooms look better than a crowded layout.
Dab a tiny bit of clear glue on each stem. Close the frame.
Save money by picking flowers from your yard or a roadside. Use any frame size you find.
Hang a pair of frames side by side for a classic look.
8. Clay Bead Garland for a Mantel
A bead garland adds soft color to a mantel or shelf. Handmade clay beads give it a custom look.
Roll polymer or air-dry clay into balls of different sizes. Poke a hole through each with a skewer. Make about thirty beads. Let them dry or bake them.
Paint the beads in three muted colors. Terracotta, cream, and sage look calm. Add a coat of matte varnish.

Cut a length of thick cotton cord, about four feet. Thread the beads in a pattern. Try two small beads and one large bead. Tie a knot between each for spacing.
Finish each end with a cotton tassel. Wrap embroidery floss around your hand twenty times, tie one end, and snip the other.
Drape the garland across a mantel or shelf. Let the ends hang at different lengths.
Save money by mixing clay beads with plain wooden beads. One bag stretches your supply.
Make a shorter garland for a window or a bookcase.
9. Macrame Plant Hanger
A macrame hanger gets a plant off a shelf and adds height to a room. It needs one simple knot.
Cut four lengths of cotton cord, each about five feet long. Fold them in half and tie a loop at the top with a wrapping knot. Spread the strands into four pairs.
Tie a square knot in each pair about six inches below the loop. Then join strands from neighbors and tie a second row of knots lower down. This forms a net.

Set a pot in the net and adjust the knots until it sits level. Tie all strands together under the pot and trim the ends.
Use natural cord in cream or tan for an adult look. Skip bright colors.
Hang from a ceiling hook screwed into a joist. Test it with a hard tug before you hang a plant.
Save money by cutting old T-shirts into long strips for cord.
Place a tray under the pot to catch drips.
10. Wooden Serving Board With Stain
A serving board looks great on a counter and works when guests come over. A basic one takes an afternoon.
Buy a plain pine or poplar board at a hardware store. Many shops cut one to size for you. Choose a piece about 12 by 18 inches.
Sand the board with medium sandpaper, then fine sandpaper. Round the corners with a sanding block. Wipe off the dust.

Apply a food-safe finish such as mineral oil or board butter. Rub it on with a cloth. Let it soak for an hour, then wipe off the extra. Repeat twice.
Drill a hole near one end and thread a leather strap or rope through it. The board can hang on a hook when not in use.
Save money by buying a scrap piece or an unfinished cutting board.
Skip stain on boards that touch food. Use only food-safe oils.
Lean the board against a backsplash for a casual display. Add a small bowl of olives or a small plant.
11. Painted Ceramic Plates for the Wall
Plates make fun wall art. Paint turns plain ones into a handmade gallery wall.
Collect white or cream plates from thrift stores. Different sizes work well. Wash them and wipe with rubbing alcohol so paint sticks.
Paint abstract shapes using ceramic paint or acrylic paint. Think half circles, arches, and wavy lines. Use two or three colors. Terracotta, sage, and cream look warm together.

Let each plate dry for a day. Seal the painted side with a clear spray or bake it if the paint label says so.
Hang each plate with a plate hanger. Stick-on hangers cost only a few dollars.
Group five to seven plates in a loose cluster. Lay them out on the floor first. Take a photo so you remember the layout.
Save money by using chipped plates you already own.
Keep these for decor only. Do not use painted plates for food.
12. Resin-Free Pressed Leaf Coasters
Leaf-print coasters protect a table and look like fine pottery. Clay makes them easy to craft.
Roll air-dry clay into a slab about a quarter inch thick. Lay a fresh leaf on top, vein side down. Roll over it with a pin to press it in. Peel off the leaf to leave a crisp print.
Cut around the leaf with a round cutter or a small bowl as a guide. Cut a circle about four inches wide. Smooth the edge with a damp finger.

Let the coasters dry flat for two days. Sand the edges. Rub a bit of paint into the leaf lines, then wipe the surface. The veins stay colored.
Paint the coaster in cream, sage, or gray. Seal both sides with water-based varnish.
Glue felt pads on the back to protect furniture.
Save money by using leaves from your yard. Ferns, mint, and oak all print well.
Make a set of four and stack them in a small dish.
13. Hand-Stitched Boro-Style Cushion
Boro is a Japanese mending style that layers patches with visible stitches. It turns scraps into a textured cushion.
Gather indigo, blue, or neutral fabric scraps. Old jeans and shirts work well. Cut them into rectangles of different sizes.
Lay a base piece of cotton or linen flat. Arrange the patches on top in a loose pattern. Overlap edges. Pin them down.

Stitch each patch with white or cream thread using a simple running stitch. Make the stitches visible. Space them close for texture. Add rows of stitches across the surface for a quilted look.
Cut a matching back piece. Sew the front and back together on three sides with the right sides facing. Turn it right side out, insert a pillow form, and stitch the last side closed.
Save money by buying a plain cushion cover at a thrift store and stitching patches on top.
Use thick embroidery thread for bolder lines.
Place the cushion on a sofa or a reading chair.
Conclusion
Grown-up crafts can look as good as anything in a design shop. Clay vases, candles, woven hangings, framed botanicals, and stitched cushions each add texture and personality to a room, and every project here uses simple tools and cheap materials. Start with one idea that suits your style, such as a speckled vase or a set of leaf coasters. Gather your supplies, set aside an afternoon, and finish one piece before you start another. Keep your colors calm and your shapes simple. Pick your first project today and make something worth displaying.



