 Skip to content

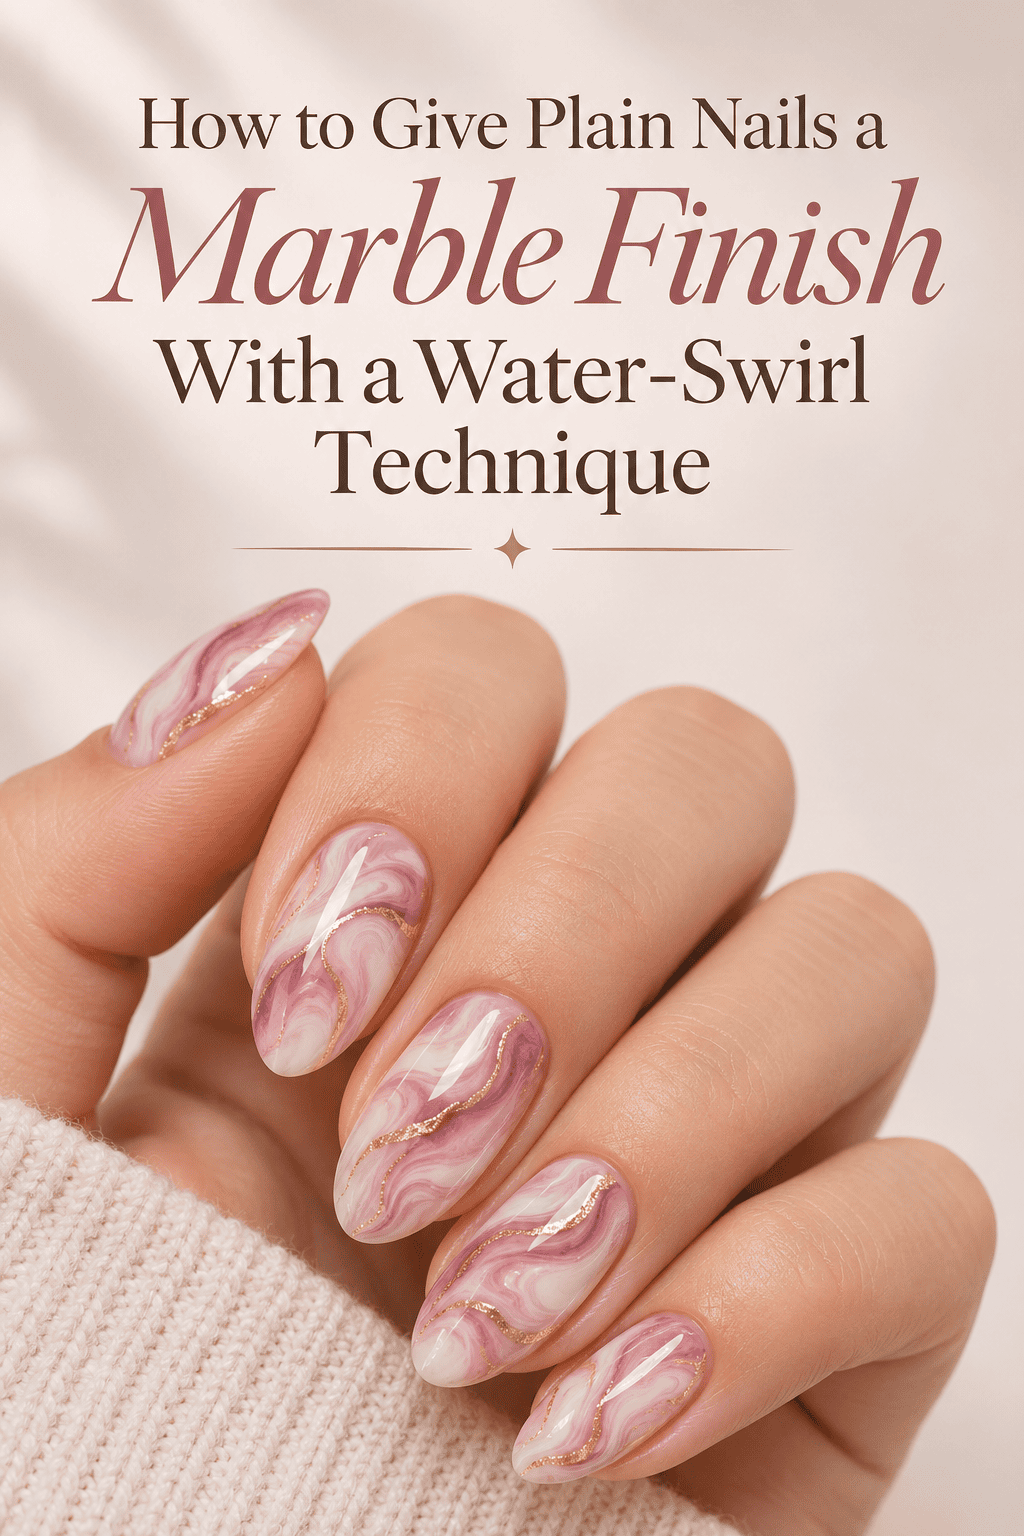
Imagine dipping your fingertip into a cup of water and pulling it out wearing a swirl of color that looks like polished stone. No salon, no pricey nail art tools, just a few polishes and a little patience.
Water marbling looks complicated, but it’s really just floating polish and a toothpick. Let’s turn your plain nails into tiny works of art.

What You’ll Need
- Base coat and top coat
- A light base polish (white, nude, or pale pink)
- 2 to 3 polishes in coordinating colors
- A small cup of room-temperature water
- Toothpicks or a thin dotting tool
- Liquid latex, cuticle oil, or tape for skin protection
- Cotton swabs and nail polish remover
- Paper towels or a protective mat
Tip: Regular, fresh polishes work best. Thick or old polish won’t spread across the water.

Step 1: Prep Your Nails
Good prep makes cleanup easier and the design last longer.
- Shape your nails and gently push back your cuticles.
- Wipe with remover to clear away oils.
- Apply a base coat and let it dry.
- Paint two coats of your light base color and let them dry completely.
A fully dry base keeps the design from smudging later.
Step 2: Protect Your Skin
Marbling is messy, and polish sticks to skin.
- Brush liquid latex around each nail, or wrap the skin with thin tape
- Let the latex dry until it turns tacky
- Cover your workspace with paper towels
No latex? Use a thick layer of petroleum jelly around your nail, though it may take more cleanup afterward.
Step 3: Make the Water Swirl
This is the fun part, so work quickly.
- Fill your cup with room-temperature water.
- Drop one polish color onto the surface and let it spread into a circle.
- Add a second color into the center, then a third.
- Repeat the drops 4 to 6 times so you have rings of color.
- Drag a toothpick from the center outward, or in and out, to create swirls.
Pro tip: Polish dries fast on water, so start dipping within 30 seconds of the last drop.

Step 4: Dip Your Nail
- Hold your finger flat and dip the nail straight down into the design
- Slide a toothpick across the water’s surface to pull away leftover polish
- Remove your finger slowly
- Clean the surface of the water with a toothpick before each new dip
Repeat for each nail. Use a fresh swirl for every finger, since the pattern thins out after one dip.

Step 5: Clean Up and Seal
- Peel off the liquid latex or tape.
- Dip a cotton swab in remover and tidy the edges.
- Let the marble dry for several minutes.
- Apply a generous top coat for a smooth, glossy finish.
- Finish with cuticle oil.
Cap the free edge with top coat to help prevent chipping.
Color Combos to Try
- Classic marble: white, gray, and black
- Blush and gold: pink, cream, and metallic gold
- Ocean stone: teal, navy, and white
- Earthy neutral: beige, brown, and cream
- Soft pastel: lavender, mint, and white
Choose colors in the same family for a stone-like effect, or add one bold accent for a modern pop.
Troubleshooting Tips
- Polish sinks? The water may be too cold or the polish too old
- Pattern won’t spread? Add a tiny bit of polish thinner to the bottle
- Design looks muddy? Use fewer swirls and avoid stirring too long
- Bubbles on the nail? Dip slowly and keep your finger still
- Messy edges? Clean up with a small brush dipped in remover
Make It Last
- Apply a fresh top coat every 2 to 3 days
- Wear gloves when washing dishes
- Keep nails moisturized with oil or hand cream
- Avoid using your nails as tools

Final Thoughts
Water marbling is playful, a little messy, and surprisingly rewarding. Every nail comes out different, which is part of the charm. Start with colors you love, take your time with the swirl, and enjoy the stone-like finish.
Loved this tutorial? Save this post to your Nail Art board and try your first marble manicure this weekend!



