 Skip to content

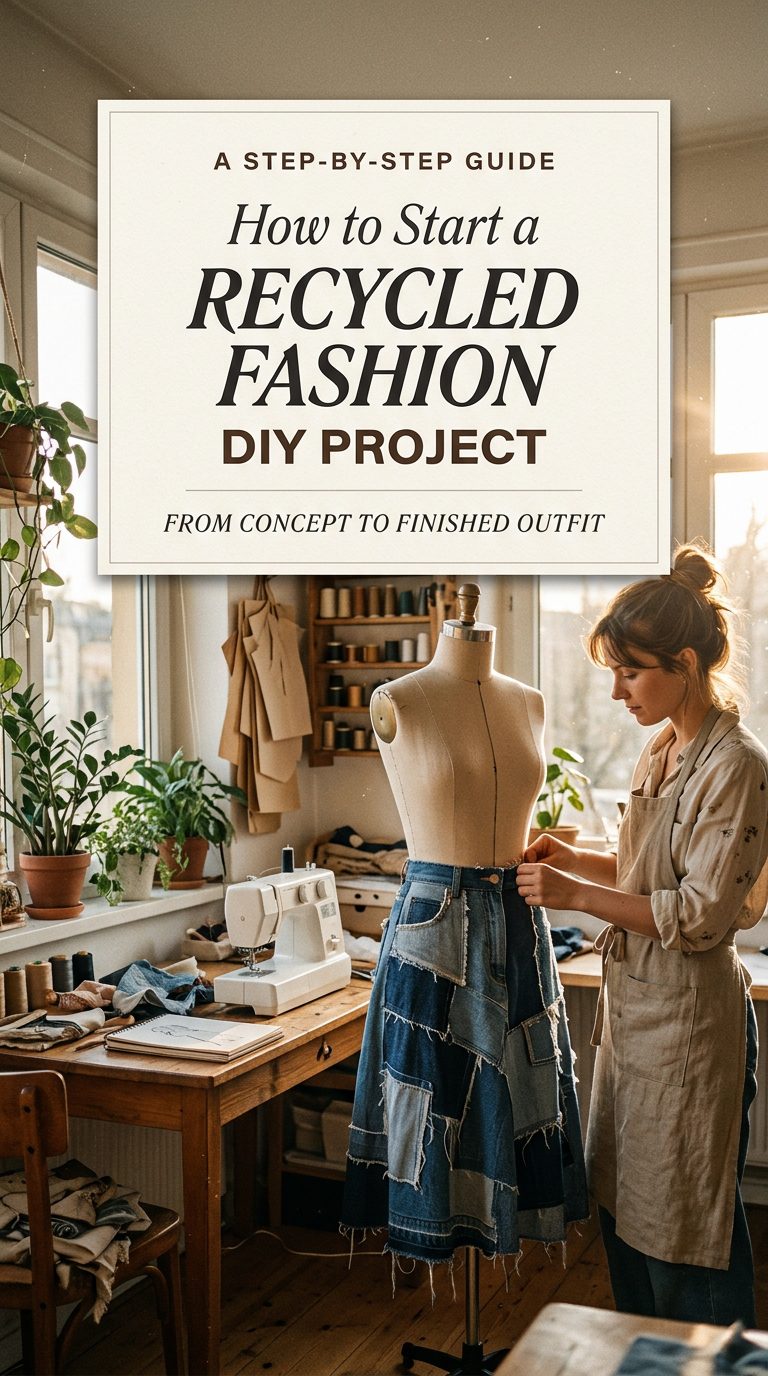
Your closet is hiding a runway collection. That faded denim jacket, the shirt you never wear, the curtains in the attic: they’re all raw material waiting for a second life.
Recycled fashion saves money, reduces waste, and gives you a piece nobody else owns. Here’s how to go from a vague idea to a finished outfit you’ll actually wear.

Start With a Concept
Every great project begins with a clear idea. Don’t start cutting until you know where you’re headed.
- Browse Pinterest or magazines and save 5 to 10 looks you love
- Pick one piece to create: a skirt, tote, jacket, or top
- Choose a mood, such as boho, vintage, streetwear, or minimalist
- Decide when and where you’ll wear it
Tip: Start small. A first project like a tote bag or crop top builds confidence fast.
Sketch and Plan
A quick sketch saves a lot of fabric and frustration.
- Draw the silhouette and mark where each fabric will go.
- Note measurements for your body and the finished piece.
- Choose two or three main colors and one accent.
- List the techniques you’ll need, like patchwork, dyeing, or embroidery.
Rough is fine. It’s a map, not a masterpiece.
Hunt for Your Materials
The best fabrics are often free or nearly free.
- Your own closet: worn jeans, oversized shirts, old sweaters
- Thrift stores and clothing swaps
- Bedsheets, tablecloths, and curtains
- Friends’ donation piles
- Leftover scraps from past sewing projects
Look for sturdy fabrics with interesting textures, prints, or colors. Skip anything with heavy damage or strong odors.

Gather Your Tools
You don’t need a full studio. Start with the basics.
- Fabric scissors and a seam ripper
- Pins or sewing clips
- Needle and thread, or a sewing machine
- Measuring tape and chalk
- Iron and ironing board
- Fabric glue or fusible web for no-sew options
Pro tip: No sewing machine? Fusible web, hand stitching, and fabric glue can handle many projects.
Prep Your Fabrics
Good prep makes everything easier.
- Wash every piece before you begin.
- Remove buttons, zippers, and labels you want to save.
- Open seams with a seam ripper to create flat panels.
- Iron each piece smooth.
- Sort by color and texture.
Saved hardware like buttons and zippers can become the finishing details on your outfit.
Cut and Create Your Pattern
Work from a pattern or trace a favorite garment.
- Lay a well-fitting piece flat on paper and trace its outline
- Add a half-inch seam allowance around the edges
- Cut pattern pieces from paper first
- Pin them to your fabric and trim carefully
Measure twice and cut once. It’s the golden rule for a reason.

Stitch It Together
Time to bring your pieces to life.
- Start with the simplest seams first.
- Pin pieces right sides together before sewing.
- Sew slowly and check your fit often.
- Press every seam flat as you go.
- Finish raw edges with a zigzag stitch, a fray-check, or bias tape.
Mismatched fabrics are part of the charm, so don’t stress over perfection.
Add Personality With Details
Details make a recycled piece look designed instead of mended.
- Embroidery: Add flowers, stars, or simple stitched lines
- Patches: Cover worn spots with bold or sweet shapes
- Buttons and trims: Use your saved hardware for a vintage touch
- Dye or bleach effects: Try tie-dye, ombre, or sun-faded looks
- Fringe or raw hems: Give edges a relaxed, boho feel

Style the Finished Outfit
Now for the fun part. Build a look around your creation.
- Pair a patchwork skirt with a simple white tee
- Wear a statement jacket over neutral basics
- Add thrifted accessories like a belt, scarf, or woven bag
- Keep shoes simple so your handmade piece stays the hero
Take photos in natural light to share your project and track your progress.

Care for Your Creation
- Wash gently in cold water, inside out
- Air dry to protect stitching and dyes
- Mend loose threads quickly
- Store folded or on padded hangers
Final Thoughts
Recycled fashion begins with a spark of an idea and ends with a piece that’s entirely yours. Plan it, prep it, stitch it, and style it. Every cut and stitch keeps good fabric out of the landfill.
Loved these ideas? Save this post to your DIY Fashion board and start your upcycled outfit this weekend!



