 Skip to content

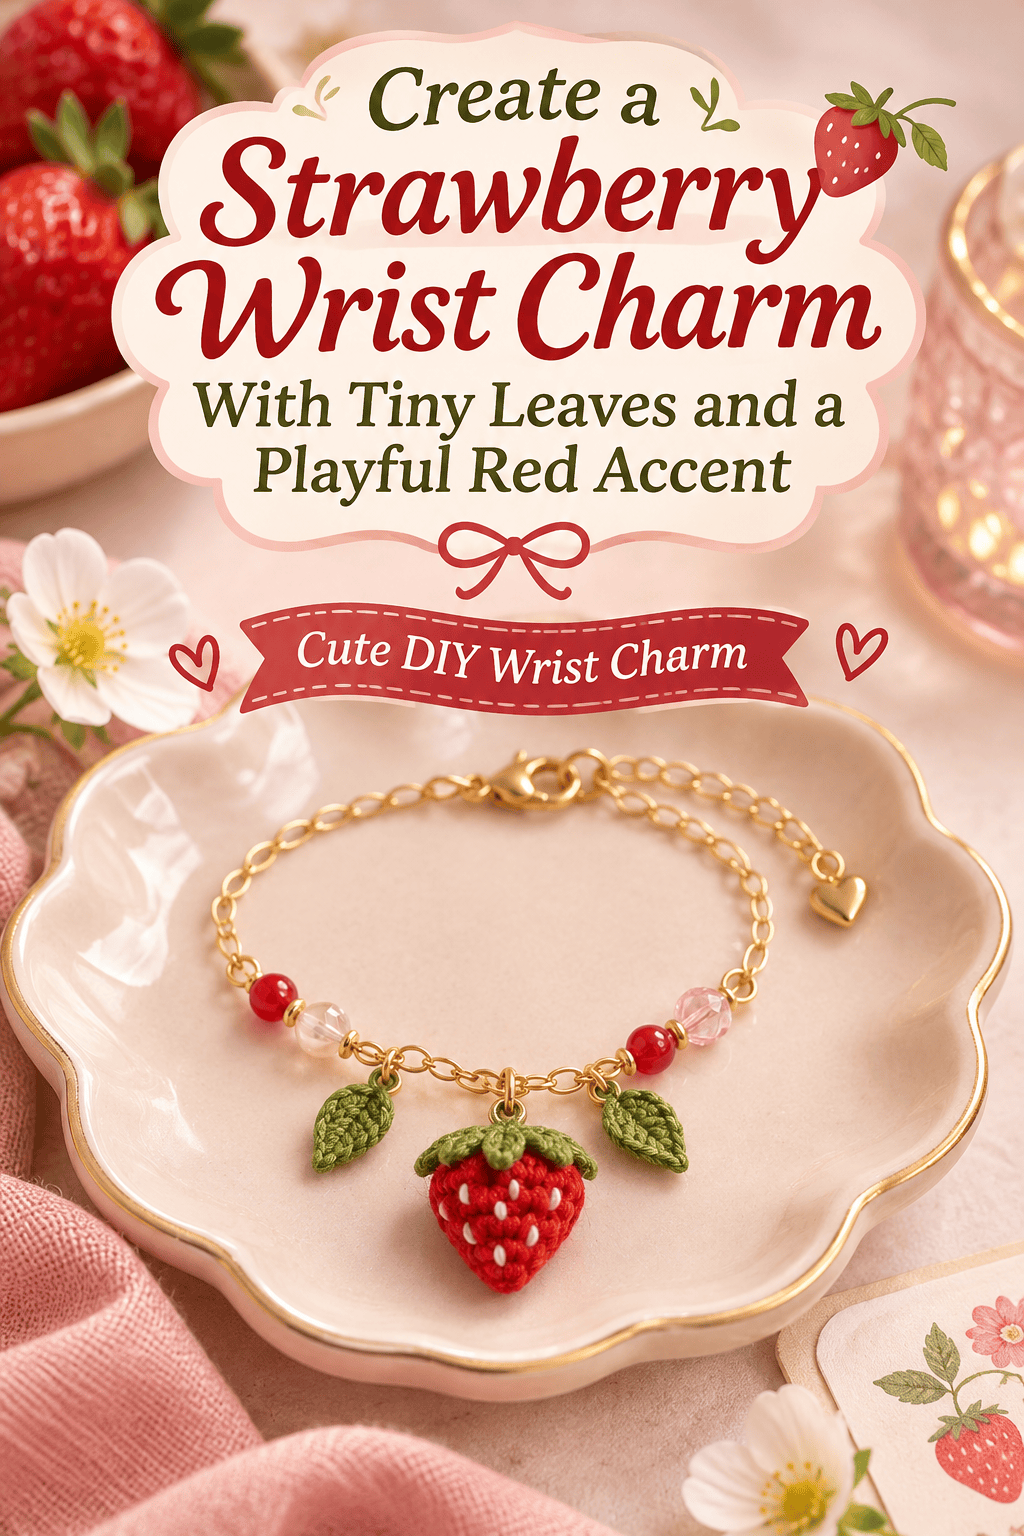
Tiny, juicy, and impossible not to smile at: a little strawberry dangling from your wrist, complete with a leafy green crown and a sweet pop of red.
It’s a quick craft, a cute gift, and a bracelet that actually starts conversations. Best of all, you can finish it in an afternoon. Let’s make one.

What You’ll Need
- Red polymer clay (or air-dry clay)
- A small amount of green clay for the leaves
- A toothpick or needle tool for seed texture
- A thin metal eye pin or small screw eye
- Small gold beads and pearl beads
- Stretch cord or a chain bracelet with a jump ring
- Round-nose pliers and jump rings
- Glossy glaze or clear nail polish
- White or pale yellow paint (for seeds, optional)
- Baking sheet and parchment paper (for polymer clay)
Tip: Polymer clay holds fine detail best and gives a durable, glossy finish.

Step 1: Shape the Strawberry
- Warm a pea-sized piece of red clay in your hands until soft.
- Roll it into a smooth ball.
- Gently pinch one end into a soft point to form the classic strawberry shape.
- Flatten the top slightly so the leaves will sit neatly.
Keep your charm small, about 1 to 1.5 cm long, so it feels delicate on the wrist.
Step 2: Add the Seed Texture
This tiny detail makes it look real.
- Press the toothpick lightly into the clay in a staggered pattern
- Space the dots evenly, in rows that alternate
- Keep the holes shallow so they don’t distort the shape
- Optional: fill each dot with a dab of pale yellow paint after baking
Pro tip: Work slowly. Even, tiny dots make the strawberry look professional.

Step 3: Make the Leafy Crown
- Roll a tiny ball of green clay and flatten it into a thin circle.
- Use a craft knife or toothpick to cut or pinch 4 to 5 small pointed leaves.
- Add a faint vein line down each leaf with the needle tool.
- Press the crown onto the flattened top of the strawberry.
- Add a tiny green stem in the center.
Slightly curl the leaf tips for a more natural, playful look.
Step 4: Insert the Hanger
- Push the eye pin straight into the top center of the strawberry
- Pull it out and dab a little liquid clay or glue on the pin
- Reinsert it firmly so the loop sits just above the leaves
- Make sure the loop is facing the direction you want the charm to hang
Step 5: Bake and Glaze
- Place the charm on parchment over a baking sheet.
- Bake according to your clay’s package directions (usually about 15 to 30 minutes at the recommended temperature).
- Let it cool completely.
- Paint seeds if you like, then brush on a thin coat of glaze for a juicy shine.
Use a ventilated space for baking and glazing, and keep your clay tools separate from food prep items.

Step 6: Assemble the Bracelet
Choose your style:
- Beaded: Thread gold and pearl beads onto stretch cord with the charm in the center
- Chain: Attach a jump ring to the eye pin loop and clip it onto a delicate chain
- Pop of red: Add one or two red beads on each side to echo the strawberry
Tie a secure double knot on stretch cord and dab a drop of glue on it. Trim the ends neatly.
Style It Your Way
Once you’ve made one, try these ideas:
- Strawberry cluster: Add three tiny charms of different sizes
- Mix with florals: Pair with daisy beads for a picnic look
- Pastel palette: Use pink clay for a strawberry-milk version
- Gift set: Make matching earrings or a keychain

Care Tips
- Avoid soaking the bracelet in water or wearing it in the shower
- Store it in a small pouch away from direct sunlight
- Re-glaze lightly if the shine fades
- Check the knot on stretch cord occasionally
Final Thoughts
A strawberry wrist charm is tiny, bright, and full of personality. With a little clay and a few beads, you can create a piece that looks like it came from a boutique. Make one for yourself, then a few more for friends.
Loved this project? Save this post to your DIY Jewelry board and make your strawberry charm this weekend!



