 Skip to content

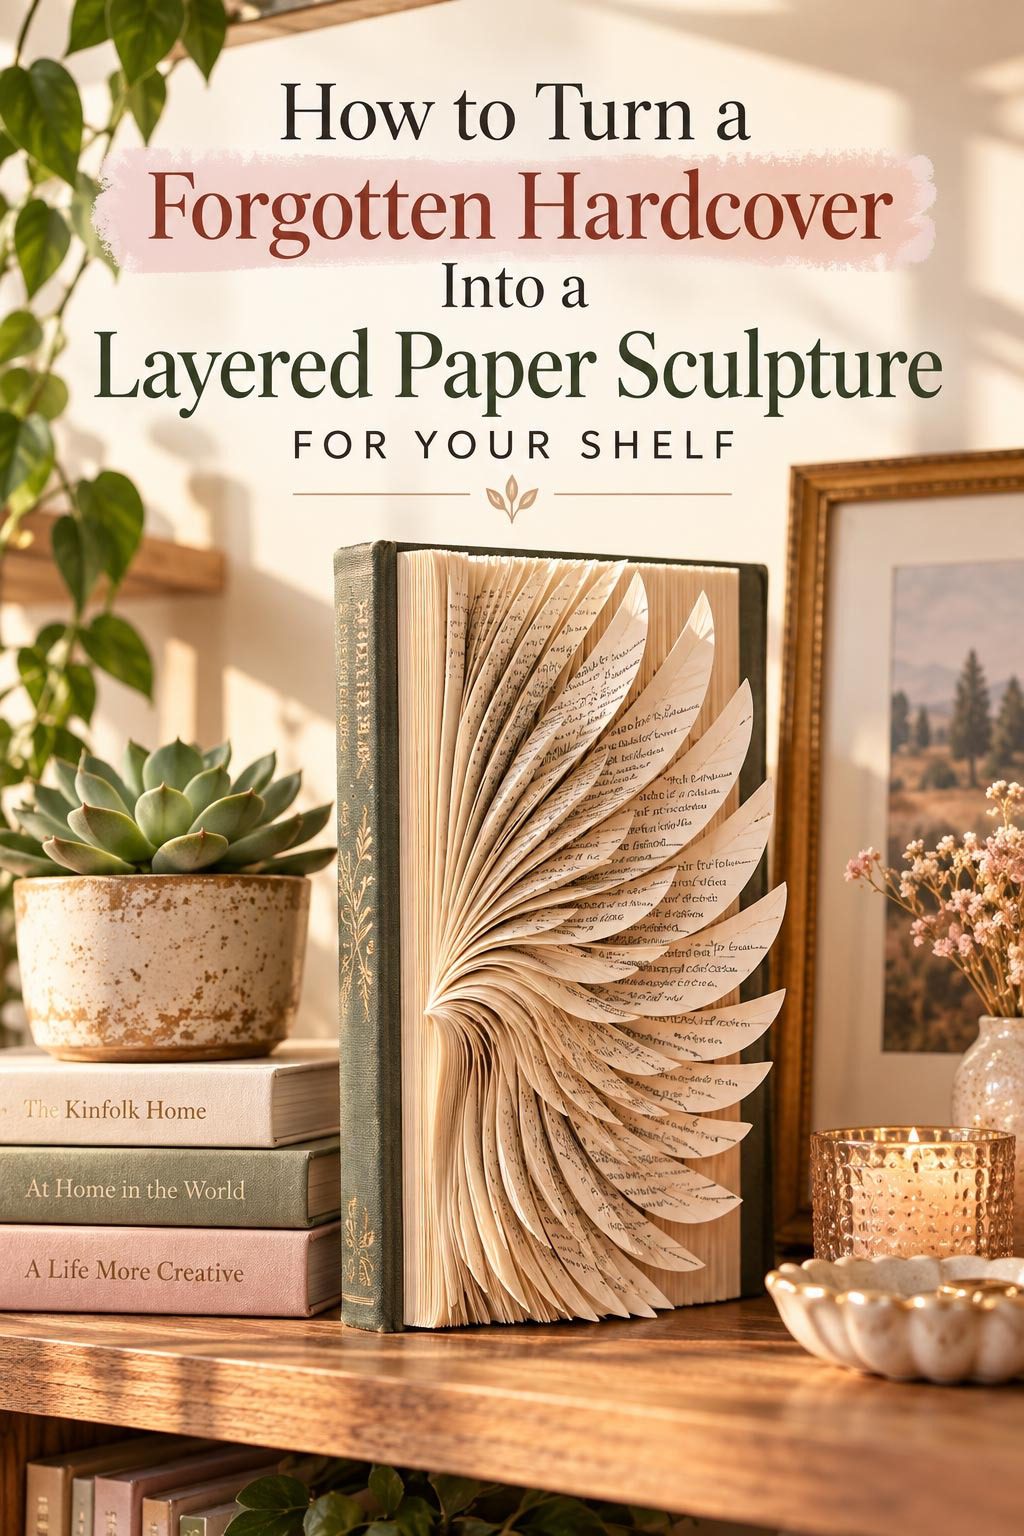
Every bookshelf has one — the hardcover that arrived as a gift, got read once or never, and has been taking up space between better-loved books for years. It’s too substantial to throw away, too forgettable to reread, and too present to ignore. What it actually is, if you look at it with different eyes, is a base, a canvas, and several hundred pages of raw material for one of the most satisfying shelf objects you can make.

Book folding and page sculpture turn a forgotten hardcover into something people stop to look at — a dimensional object that sits on your shelf and is completely, unmistakably made rather than purchased. The techniques range from beginner-accessible to satisfyingly complex, and this guide covers the approach that produces the most beautiful results with the least experience required.
What You’ll Need
The beauty of this project is that the book itself provides most of the material.
- A hardcover book — minimum 200 pages, ideally 300–400 for more sculptural volume. Thicker pages (older books, encyclopaedias, textbooks) hold folds more crisply than thin paperback-weight pages. The content is irrelevant — this book is becoming art.
- A ruler
- A pencil for marking fold points
- A bone folder or empty ballpoint pen for crisp scoring
- PVA glue and a brush (for optional painted or stiffened finishes)
- Sharp scissors or a craft knife
- Optional: diluted tea or coffee for toning pages to a warmer, more uniform cream
- Optional: acrylic paint and a dry brush for adding colour
- A cutting mat if using a craft knife

Choosing and Preparing Your Book
Not every hardcover is equally suited to this project — and five minutes of assessment before you begin saves frustration later.
What makes a good book sculpture candidate:
- Page count — more pages create more visual density. Below 200 pages, the result can look sparse.
- Page weight — thicker, slightly heavier pages hold folds more crisply and produce cleaner shadow lines between layers. Thin, tissue-weight pages are harder to work with.
- Condition — pages that are brittle, water-damaged, or heavily annotated in ink that bleeds may be problematic. Yellowed pages are absolutely fine — they’re often more beautiful.
- Spine flexibility — the book needs to open fully flat and stay open. A stiff spine that fights you will make the whole process frustrating.
Optional: toning your pages
If your book has pages of mismatched whiteness — some pages yellowed, some still bright white — a tea wash creates visual uniformity. Brew strong black tea, let it cool, and paint it lightly across the page edges with a wide brush while the book is held open. The warm amber tone it produces is beautiful and reads as intentional rather than aged.
The Basic Fold: Mountain and Valley

Before beginning your pattern, master the two fundamental folds. Everything in book sculpture derives from these.
Mountain fold:
The page folds away from you — the crease rises like a mountain peak toward the viewer when the book stands upright. This creates the raised ridges that catch light in the finished sculpture.
Valley fold:
The page folds toward you — the crease dips away from the viewer. This creates the recessed channels between ridges.
The standard diagonal fold (your main technique):
- Open the book to your starting page
- Fold the top outer corner of the page diagonally down to meet the spine — the point of the corner should touch the inner margin line
- Press firmly with your bone folder along the entire fold line until the crease is completely sharp
- Fold the bottom outer corner upward to meet the spine in the same way
- The page now has a point at the spine end and a V-shape at the outer edge
- Repeat, identically, on every page
The rhythm of this fold becomes almost automatic by page thirty. By page one hundred, you have the beginnings of something extraordinary.
Creating Pattern and Variation
Folding every page identically produces a beautiful uniform result — but deliberate variation is what creates the sculptural forms that make people stop and look.
Pattern techniques:
- Graduated depth — gradually increase the fold depth (how far the corner travels toward the spine) across sections of pages, then decrease it again. This creates a wave or arch form across the book’s open profile.
- Alternating fold direction — fold some sections mountain, some valley, to create a woven, interlocking visual rhythm
- Skipped pages — leaving occasional pages unfolded creates visual breathing room and contrast between dense folded sections and open flat sections
- Double fold — fold the corner down, then fold it again in the same direction. The double fold creates a thicker, more dimensional individual page element that stands out from single-folded neighbours.
Template patterns to try:
- Symmetrical arch — start with shallow folds at each end of the book, gradually deepen toward the center, then mirror back. When the book stands open, the pages form a beautiful arch that rises and falls symmetrically.
- Feather or chevron — alternate the direction of folds in a repeating pattern to create a herringbone or chevron form visible across the full width of the open book.
- Scattered geometric — fold in precise sections with flat unfolded breaks between them, creating a series of distinct geometric forms rather than one continuous pattern.

Finishing and Displaying Your Sculpture
Once every page is folded to your satisfaction, the finishing stage transforms a craft project into a display-worthy object.
Stiffening with PVA:
Dilute PVA glue 50/50 with water and brush it lightly across the folded page edges. This stiffens the paper slightly, holds folds in their exact position permanently, and gives the surface a subtle sheen. Allow to dry completely before standing the book upright.
Colour options:
- Natural cream and ivory — no paint, no treatment. The most minimal and often the most beautiful result.
- Ombre edge painting — with a barely loaded dry brush, drag a single colour (gold, dusty rose, deep navy) lightly across the outer folded edges for a gradient that gets more intense toward the top or center
- Full painted edge — a single flat colour across all exposed page edges creates a clean, graphic look that photographs brilliantly against a white shelf
Displaying the sculpture:
Stand the book upright on the shelf with the spine facing out or hidden, the open folded pages facing forward. The sculpture needs a few centimetres of clearance on each side so the folded pages can fan fully.

The Book Always Had This In It
The pages were always there. The folds were always possible. All that was missing was the decision to look at a forgotten book as material rather than just as a book.
Save this project for a slow weekend afternoon — put on something to listen to and fold your way through it page by page. Share the finished result with fellow book lovers and watch them try to figure out how it was done. The answer is simpler than it looks. It always is. 📚✨



